Rapid Anesthesia Photo Gallery

July 30, 2008
 image
Michael DiTolla, DDS, FAGD

I get more questions about the Rapid Anesthesia Technique than any other topic I talk about, so I thought it would be good to demonstrate it step by step. I have stopped giving lower blocks for single mandibular molars. It is a painful injection for the patient, it takes a while before the anesthesia is profound, and the block is missed approximately 20% of the time by dentists. A couple of years ago I was prepping tooth #19 for a crown and the patient still had some sensitivity. I stopped and gave the patient a PDL furcation injection and was able to finish the prep without any more sensitivity. After the patient was dismissed, my dental assistant asked me, if that furcation injection is the one that finally provided pulpal anesthesia on many cases, why didn’t I just start with that injection? I now use the Rapid Anesthesia Technique for all single mandibular molars and some occasions where I am working on two mandibular teeth. For full mandibular quadrants I still give a lower block, but the STA™ System (Milestone Scientific; Livingston, N.J.) you will see demonstrated in this article makes lower blocks less painful and more effective. Patients who hate injections don’t mind the Rapid Anesthesia Technique, making it a great way to deal with the dental phobics in your practice as well.

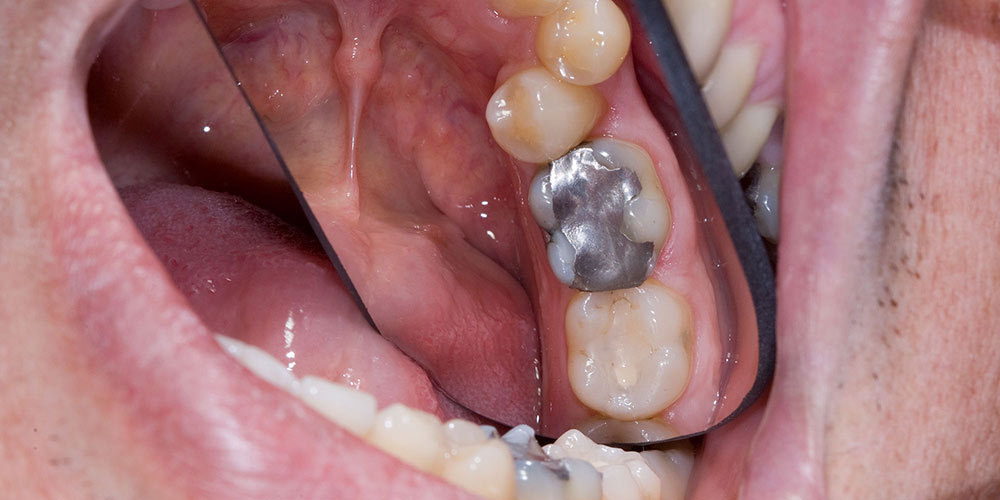
Figure 1

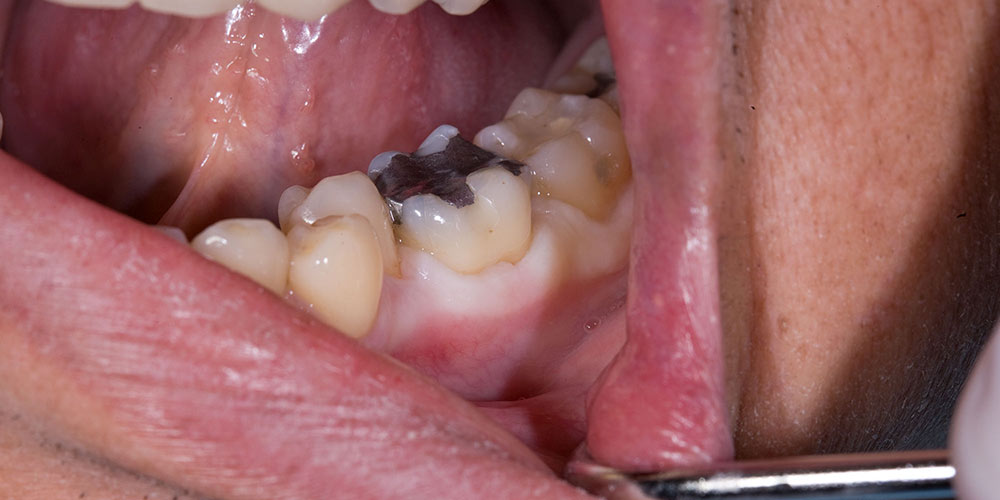
Figure 1: The occlusal view of tooth #19. It will be prepared for an all-ceramic crown (Prismatik Clinical Zirconia™[Glidewell Laboratories; Newport Beach, Calif.]) and is the only tooth in the quadrant that will be prepared. For single mandibular molars an inferior alveolar block seems like overkill to me, so I am going to use the Rapid Anesthesia Technique prior to preparing tooth #19. This technique will result in profound pulpal anesthesia, as well as buccal and lingual soft tissue anesthesia. The lower lip and the tongue will not be anesthetized so that when the procedure is done, patients are thrilled that they do not feel numb. In addition, patients love that they don’t have to have a 27-gauge needle pushed through two pterygoid muscles and tapped against their mandible to achieve anesthesia.

Figure 2

Figure 2: Profound Lite (Steven’s Pharmacy; Costa Mesa, Calif.) is the strongest topical anesthetic I have ever used, and it allows me to brag to patients that I can give them a painless injection. By placing the Profound onto any intraoral tissue for 60 to 90 seconds and then rinsing it off, I know the patient will NOT feel the needle penetration. As soon as the needle penetrates, stop advancing the needle and give a drop or two of Septocaine® (Septodont; New Castle, Del.). It may be old school, but I still wiggle the patient’s lip during needle penetration and while expressing the first few drops of anesthetic. On nonphobic patients I have just stretched the tissue taut and asked them if they could feel it, and they say no.

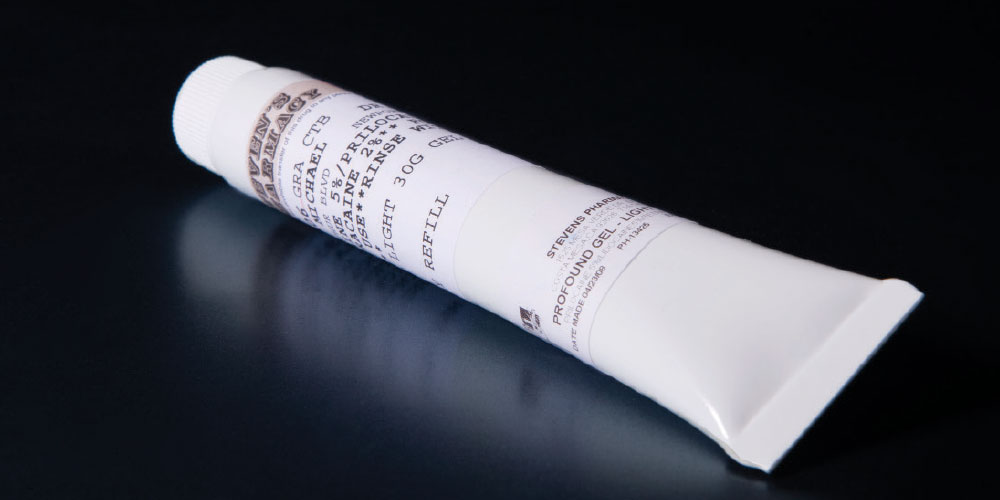
Figure 3

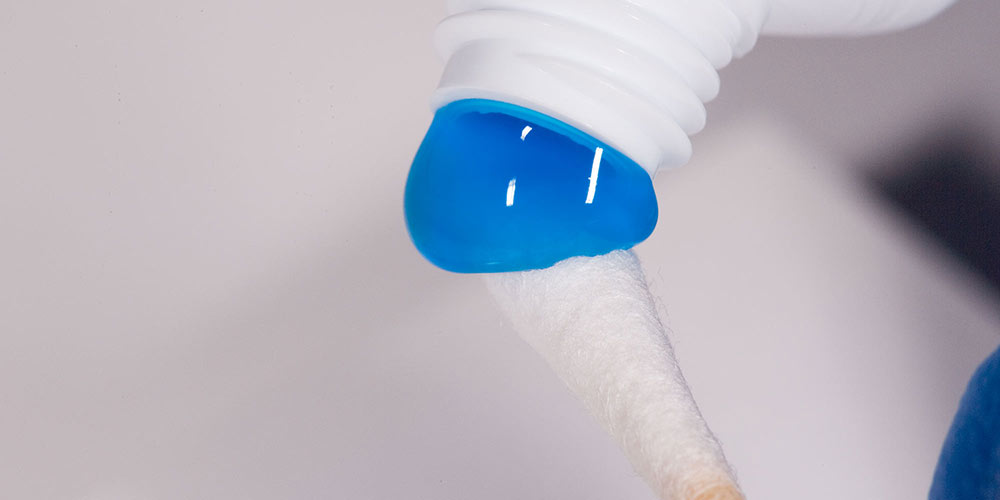
Figure 3: Even though Profound Lite is supplied in syringes that can be applied with disposable syringe tips, I find it is more economical to buy the larger tubes and simply squirt them onto cotton-tipped applicators. Because my hygienists are using Profound in the sulci of multiple teeth, they use the syringes with the disposable tips. If a hygiene patient is sensitive but doesn’t necessarily need the local anesthesia that comes with four quadrants of root planing, they are great candidates for Profound or Cyclone (a liquid topical anesthetic, also from Steven’s Pharmacy).

Figure 4

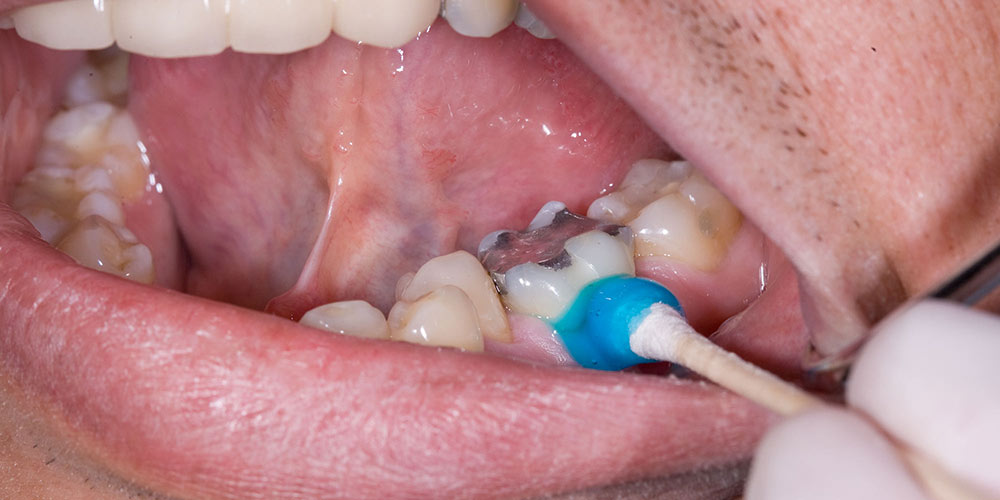
Figure 4: The Profound is placed with a cotton-tipped applicator on the gingival sulcus on the buccal. I place it from mesial line angle to the distal line angle on the buccal tissue, trying to get the gel to sit on top of the sulcus. Another use for Profound includes extraction of primary teeth. (I tested this on my own kids with no local!)

Figure 5

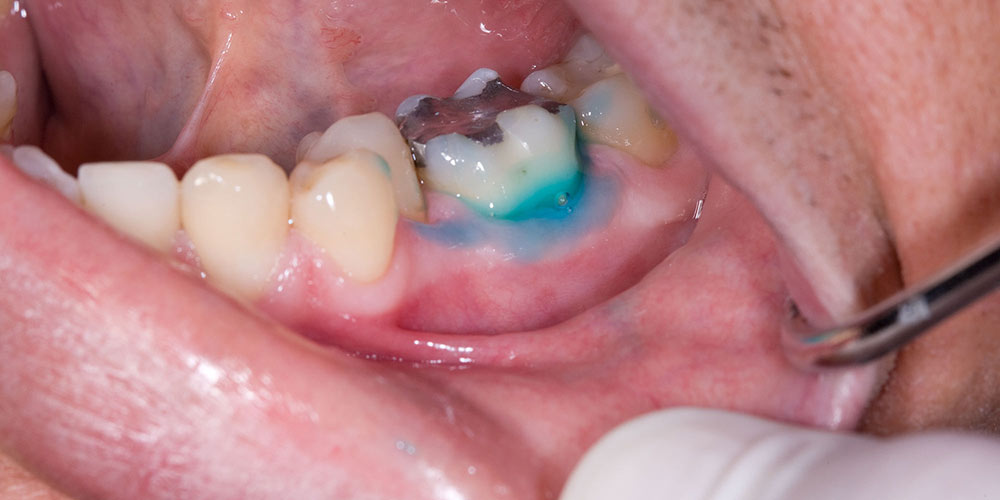
Figure 5: As the Profound reaches body temperature it gets more runny and will find its way into the sulcus. You may also use a periodontal probe or an explorer to ensure it gets into the sulcus if you wish.

Figure 6

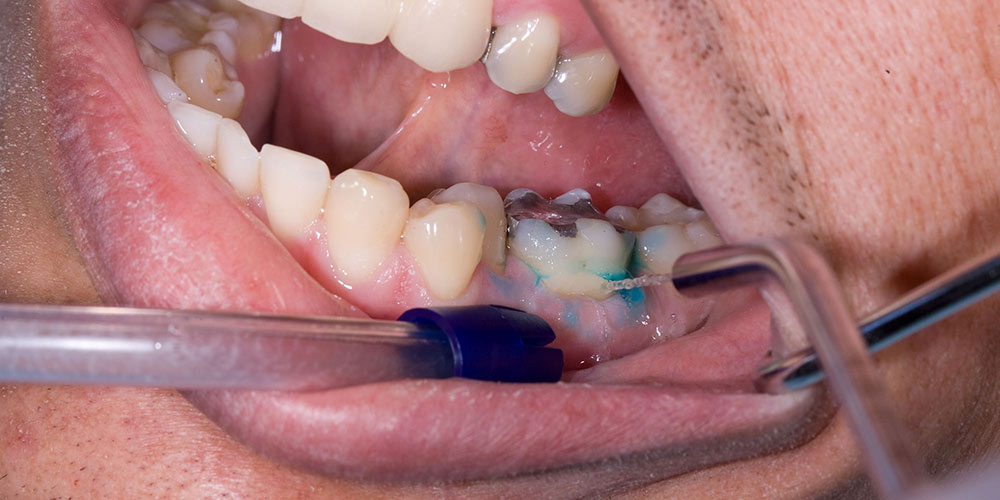
Figure 6: After 60 to 90 seconds, I rinse off the Profound on the outside of the tissue because it is not important to numb the surface of the gingival; it is the anesthetic in the sulcus that we are concerned with. This is not an intraosseous technique; no puncture will be made through the cortical plate.

Figure 7

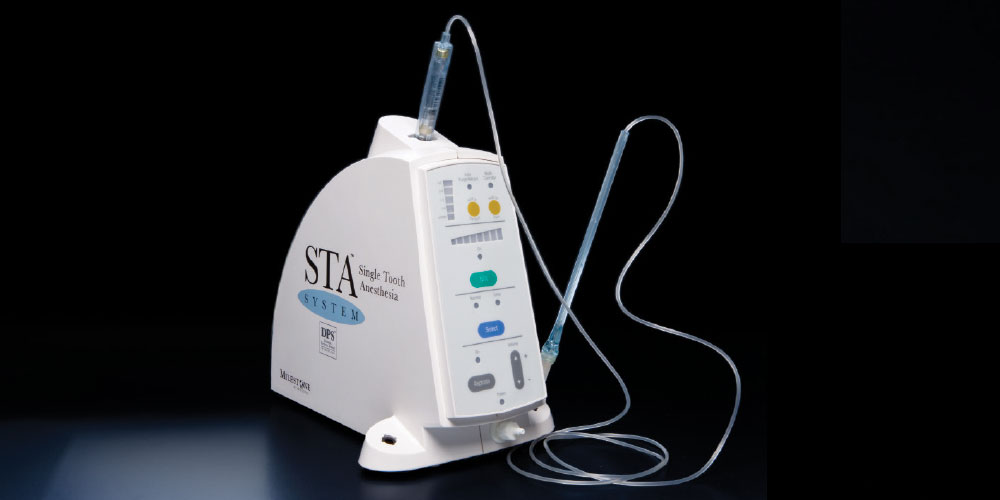
Figure 7: I give all of my injections with the STA System. I purchased it specifically for the Rapid Anesthesia Technique demonstrated in this article, but I now give every injection with it. I never realized how stressful injections were for me to give until I switched to this device. The computer controlled delivery rate makes every injection a slow one, without me having to spend any mental effort to accomplish it.

Figure 8

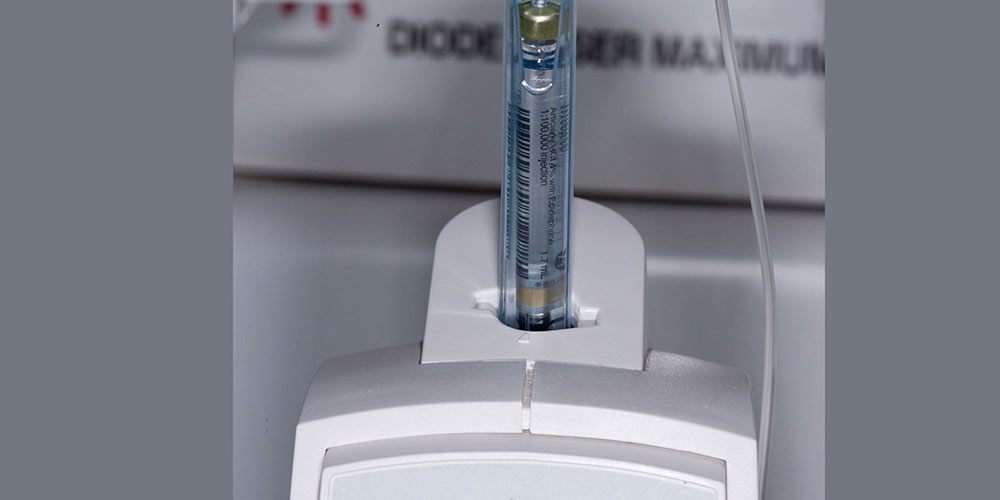
Figure 8: In this close-up view of the top half of the STA System, you can see that the carpule is loaded on the top of the unit, not in the handpiece as with a traditional manual syringe. I find this to be a huge benefit when I am giving a lower block, such as when I am working on an entire lower quadrant. This allows me to give multiple carpules without ever having to remove the needle from the patient tissue to reload. So I am able to give two or three carpules of 2% lidocaine with only one injection! I will never go back to giving multiple “shots” to deliver two or three carpules for a lower block.

Figure 9

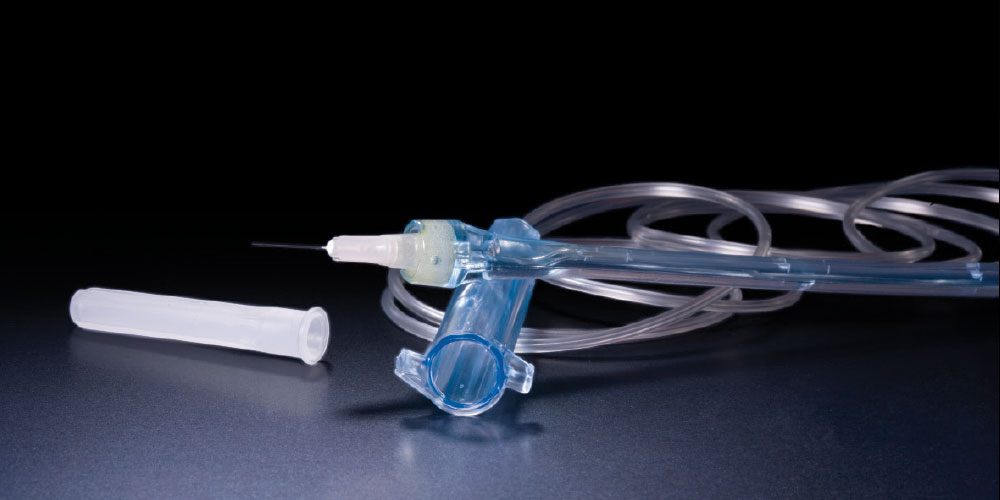
Figure 9: Here is the STA handpiece with the needle. This is a one-piece disposable device, and the entire thing gets thrown out in a sharps container after we finish with the patient. They come in a variety of needle sizes and lengths for any injection you may wish to give.

Figure 10

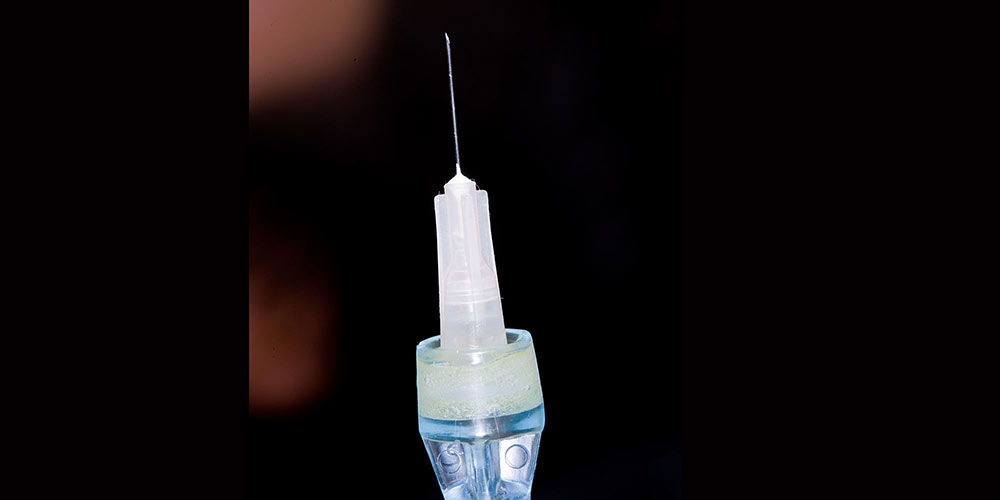
Figure 10: This is a close-up of the 30-gauge extra short (1/2 inch) needle. The bevel is clearly evident and is facing the right-hand side of the picture. The needle is fused to the handpiece as a disposable unit.

Figure 11

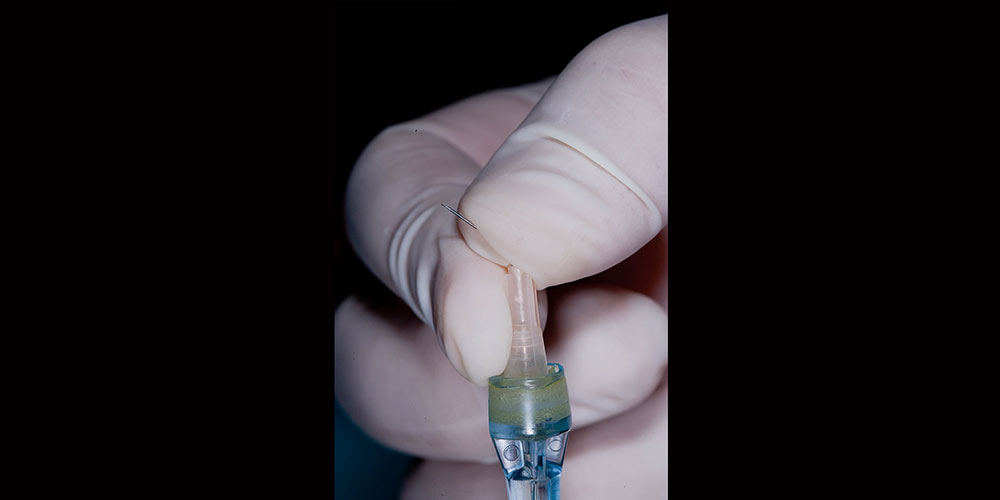
Figure 11: I use my thumb to bend the needle tip at a 45-degree angle. The bevel now faces the upper right-hand corner of the picture. This is done mainly for access to get into the buccal furcation without having the back of my hand pressed against the patient’s face.

Figure 12

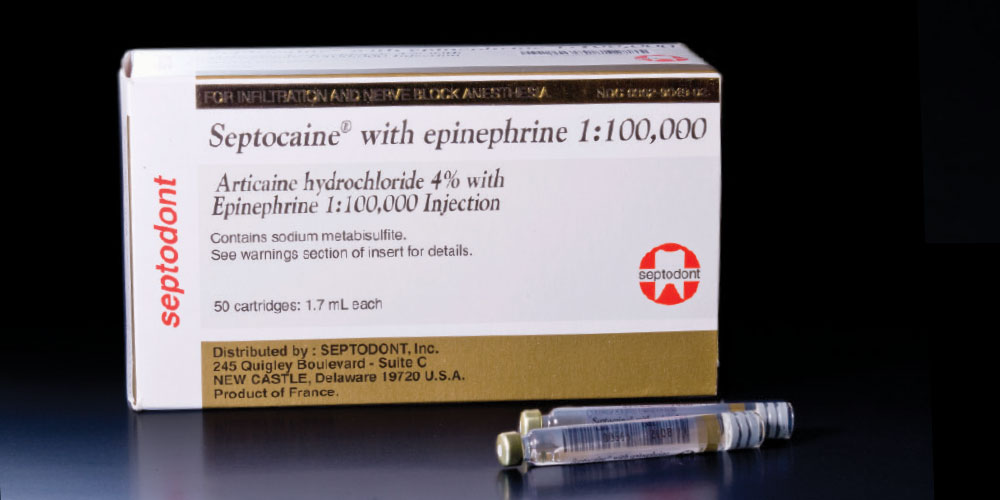
Figure 12: I use Septocaine for this procedure due to its high rate of absorption and its quick onset of anesthesia. I also use Septocaine for any infiltration where I need 90 minutes or less of pulpal anesthesia. Due to anecdotal stories of possible paresthesias with 4% anesthetics, I do not use Septocaine for any nerve block injections.

Figure 13

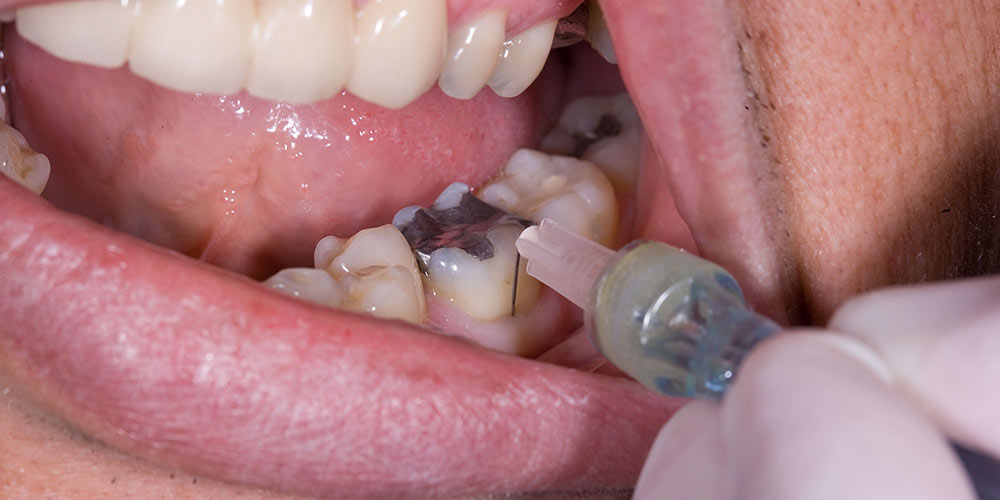
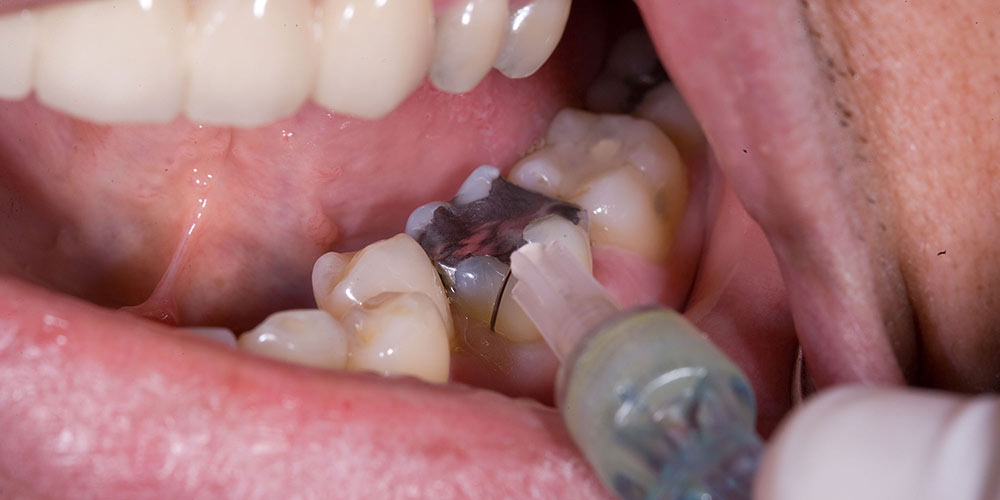
Figure 13: With the needle bevel facing the tooth, the tip is slowly inserted into the sulcus and a few drops of Septocaine are expressed. I wait 5 to 10 seconds and then, as I begin to express anesthetic solution again, I push the needle through the epithelial attachment in the area of the buccal furcation. I glance at the bitewing prior to confirm the roots are not fused. If they are, I give the injections at the MB and DB line angles.

Figure 14

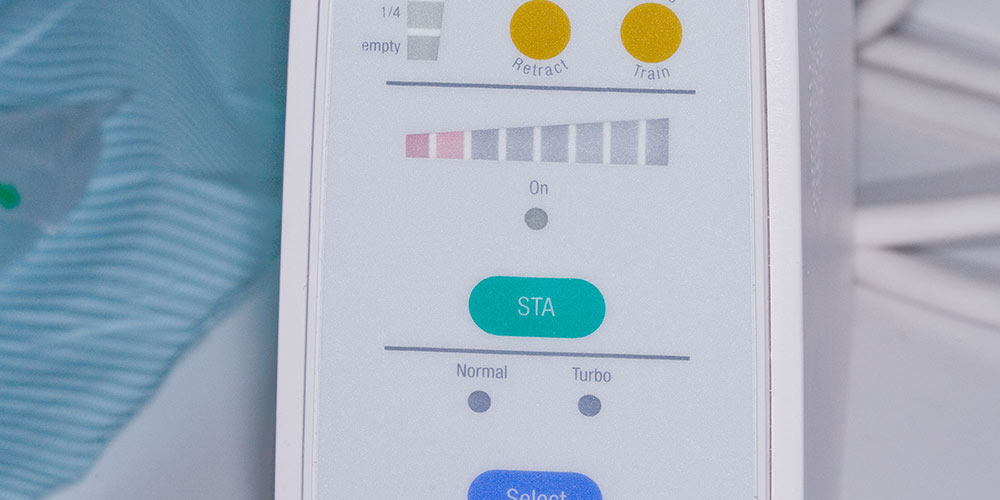
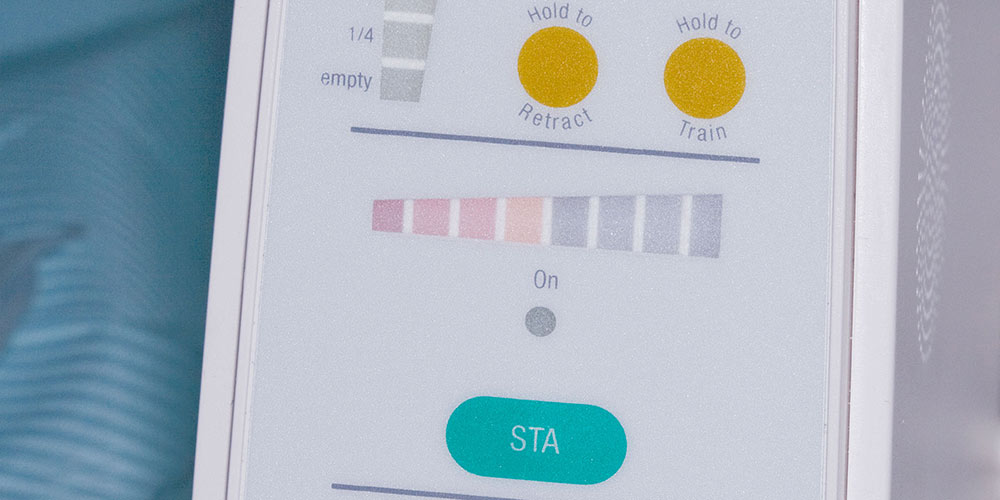
Figure 14: One of the advantages of the STA System is how it tells you whether or not you are in the PDL space. Most practitioners are familiar with the concept that a PDL injection is only effective when you can feel the pressure of expressing the anesthetic into the ligament. If there is no pressure, the anesthetic is escaping out into the sulcus. The STA System gives you audio and visual confirmation that you are in the PDL space. Notice how the two left-hand lights are lit during my injection at this point.

Figure 15

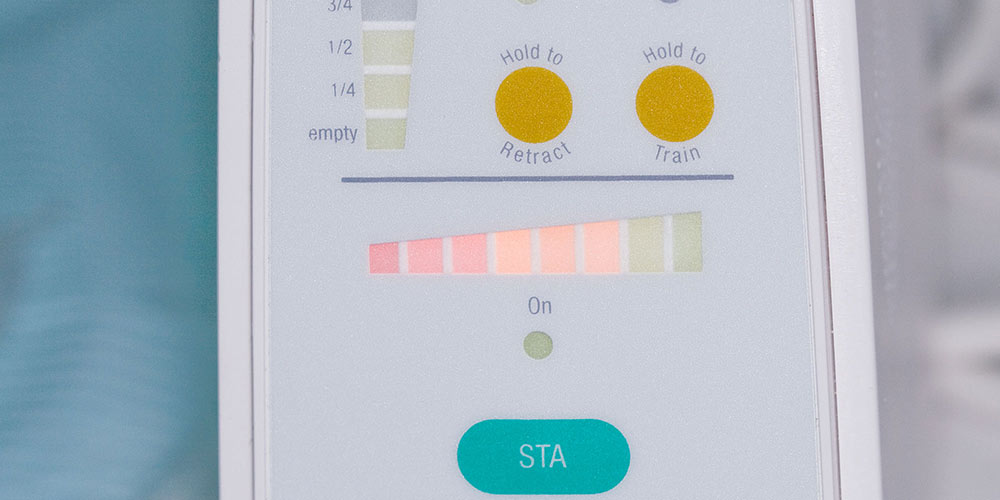
Figure 15: Because the tip of the needle is in the PDL at the buccal furcation, the STA System measures the pressure and the four bars on the left are now lit up. Audio tones also inform you of this, in case you cannot see the unit directly. Because the tip of the needle is in the furcation, anesthetic is traveling down the PDL apically, and coronally it is moving up into the nutrient canals that go from the furcation itself into the pulp chamber.

Figure 16

Figure 16: All of the lights are now lit on the STA System. At this point we have achieved maximum pressure and the STA System will announce that you are in the PDL. You have been successful giving the injection. Notice the upper left-hand corner of the unit where it shows how much of the Septocaine has been given. It has taken us one-half of a carpule of Septocaine to achieve this injection. Sometimes it may take two-thirds of a carpule, but I have never had to use more.

Figure 17

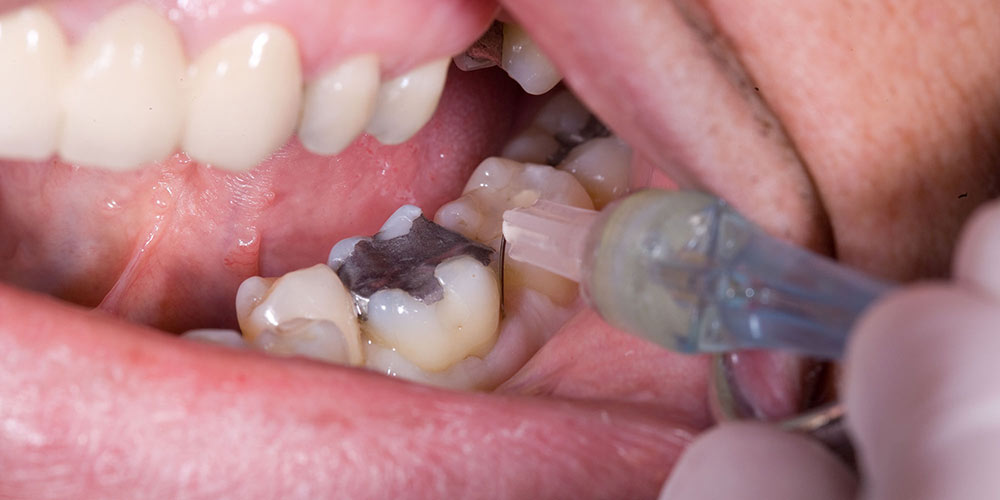
Figure 17: There are times when you cannot achieve proper pressure with the needle in the buccal furcation location. If I cannot get enough pressure on the STA System with the needle tip in the furcation, I move the needle tip to the MB line angle, as seen here. The patient should have good periodontal health around the tooth for the technique to work.

Figure 18

Figure 18: In my experience, there have been a fair amount of patients whose tissue was not healthy enough for this technique in the furcation, but their tissue was healthy enough at the MB and DB line angle, as seen here. The advantage of the furcation location is being able to get anesthetic into the PDL and the pulp chamber directly through the nutrient canals, and being able to inject in one spot versus two.

Figure 19

Figure 19: Tooth #19 has been completely anesthetized in about 90 seconds, and I will literally set the STA handpiece down and pick my electric handpiece up and start to prep. Patients love this injection compared to the lower blocks I used to give, and they report way less postoperative discomfort when I see them for the seat appointment. Patients who made crown seats difficult by wanting to tough it out now willingly accept furcation anesthesia, making it much easier for me to do what I need to do in a pain-free manner.

Profound Lite is the strongest topical anesthetic I have ever used, and it allows me to brag to patients that I can give them a painless injection.