In this issue:
Detecting Computer-Enhanced Dentistry
Authors
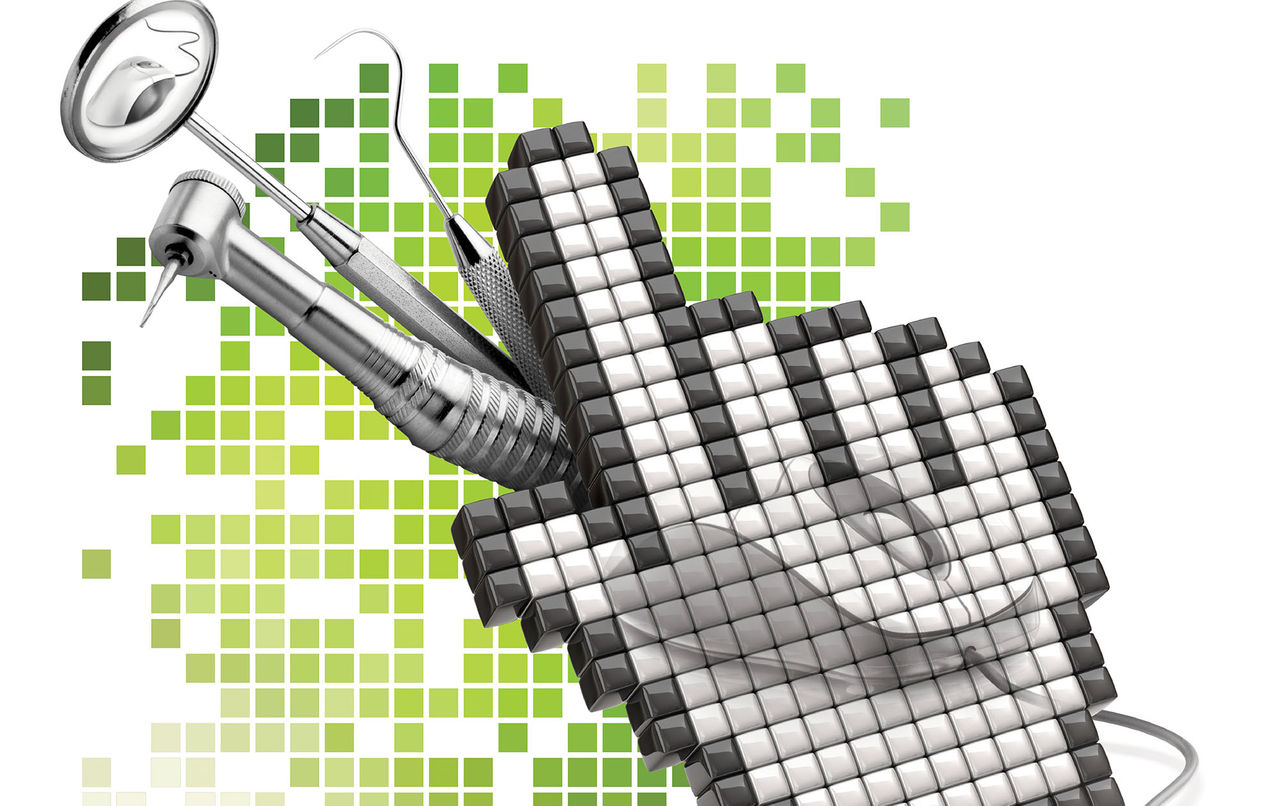
Recent developments in digital imaging in dentistry and easy-to-use editing software present many occasions for altering or fraudulently changing digital images of products, patients and their dental conditions, treatments and radiographs. Though seemingly impossible to detect when carefully done, there are numerous clues of digital editing that can be detected by the observant practitioner.
Introduction
In the last few years, more dentists and publications have increasingly switched from standard film photography and radiography to computer-generated digital techniques.1,2,3,4 Digital photography (DP) and digital radiography (DR) are produced by an electronic sensor linked to a computer, which generates and manipulates the virtual image either by light or X-ray exposure. Sophisticated editing software can magnify, shade, duplicate and infinitely change the image.1,2,3,4
Image modification is not new. Since the 1870s, images on photographic film have been manipulated to show desired, artificial changes.5,6 The creation of “spirit images,” burning, dodging, airbrushing, cropping, reverse printing and adding new subjects (e.g., a filled endodontic canal or whiter teeth) on an existing photo image has always been possible with photographic film. The famous disappearances of “vanishing commissars” in photos from Stalinist Russia, fantasy motion pictures (e.g., “Titanic” or “Harry Potter”), TV shows and the “retouched” photos of the many tabloid newspapers are prime examples.4,5,6
Until recently, these changes were technologically demanding and expensive to do.6 Often they were done poorly, showing obvious signs of manipulation. However, with the advent of DP, DR and inexpensive, easy-to-use editing software, quality changes are as simple and inexpensive to achieve as pressing a computer key or pointing a mouse.4,5,6 Most photographers and publications will use editing software to “clean up” images: from cropping and eliminating red eye in portraits to repositioning the Egyptian pyramids (National Geographic) in order to fit the page better.5 Many dentists and dental publications do the same.
Today, a digital photo or radiograph may show a virtual (false) reality that is considerably different than actual reality. Therefore, there is a need for the practitioner to know how to detect virtual (computer-generated) images and distinguish them from reality.7 The quality of treatment and research, the descriptions of commercial products and the desire for honest cosmetic predictions for our patients depend on these skills.
A digital photo or radiograph may show a virtual reality that is considerably different than actual reality. Therefore, there is a need for the practitioner to know how to detect virtual images and distinguish them from reality.
What Digital Photography Can Do
Popular software such as Adobe® Photoshop® (San Jose, Calif.), Corel® PaintShop Photo® Pro (Mountain View, Calif.), Apple iPhoto (Cupertino, Calif.), Google Picasa™3 (Mountain View, Calif.), and hundreds of bundled digital camera photo programs have found their way into many offices and homes.6 If one buys a digital camera, it most likely comes with a functional editing program that allows the manipulation of photos. Using these programs, one can cut, paste, erase, combine, overlay, reshade and otherwise retouch any photo taken. Patient photos can be enhanced to show better-shaped, positioned or whiter teeth and then used as a marketing tool or prognostic inducement for additional treatment.1,2,3,4,7
Alternately, this means one can also create decay, cracks and abscesses on DR images of normal teeth in order to mislead other professionals, third-party payers and the courts.1,2,3,4,7,8
DP and DR software allows the operator to change the presence, shade, color saturation, brightness and contrast of bone or tooth structure in a digital image.4,5,6 Restorations, teeth and pathology can be virtually created, removed or modified in the digital image. In some cases, this activity may approach the level of fraud, where images of restorations or treatments (e.g., endodontics or extractions) can be created by computer and submitted as evidence in trials or sent to third-party payers as proof of actual diseased conditions or previously billed treatments.1,2,3,4,7
Virtual Examples


Figures 1, 1f: Computer-generated extraction of deciduous tooth and creation of two restorations.
Figures 1–6 are digital images of actual radiographs. Figures 1f–6f are corresponding digital images that have been edited to show pathologic changes, healing and restorations that have not actually occurred. They are computer simulations.
Figure 1f shows computer enhancements to Figure 1 where a tooth has been virtually extracted, the bone of the extraction socket partially healed and two virtual restorations placed. Note the root fragment left in Figure 1f’s extraction.


Figures 2, 2f: Virtual endodontics, periapical healing and four restorations.
Figure 2f shows a re-edited Figure 2 where virtual endodontic treatment was performed, the periapical radiolucency partially healed (smaller size) and four restorations placed. Nothing was really done except for computer simulations.


Figures 3, 3f: Computer-created crown and three carious lesions (molars).
Figure 3 shows distal decay in the upper second premolar and no other decay. Figure 3f demonstrates a virtual crown that “restored” distal caries in the upper second premolar; also note the virtual decay on the upper second (distal) and third (mesial) molars and mesial decay on the lower second molar.


Figures 4, 4f: Virtual removal of root, bone healing and creation of a 3-unit fixed bridge.
Figure 4f presents virtual treatment of Figure 4 where a root appears to have been extracted, partial healing of the socket accomplished and a 3-unit fixed bridge made — all within a few minutes of computer work.

Figures 5f: Computer-generated endodontics and crown on first premolar.
Figure 5f shows the addition of an extra endodontic filling and crown on the first bicuspid of the perfectly natural tooth in Figure 5.


Figures 6, 6f: Virtual tooth whitening.
Figure 6f shows whiter teeth than what actually appears in Figure 6. This can be used as proof of the power of “Virtual Product X,” which bleached the patient’s teeth in a few seconds — except the active ingredient came from the computer.
How to Detect Computer-Enhanced Images
Sophisticated photos of dental products and techniques are appearing in dental literature in the form of advertisements or research treatment results. Many of these images are computer-generated and retouched.
Sophisticated photos of dental products and techniques are appearing in dental literature in the form of advertisements or research treatment results. Many of these images are computer-generated and retouched.
The discriminating practitioner must be able to identify the virtual from the real so that he or she can view the material presented on a sound, accurate scientific basis, rather than a virtual basis. There are a number of classic techniques one can use to detect computer enhancements in digitally produced photos and radiographs.
- If it looks too good to be true, it probably is. Wild claims (supported by impressive photos) that defy your own experience can indicate potential computer editing. Perfect margins, shading, alveolar bone regrowth and other signs of perfection should raise questions. Whether it is seen in a lecture on clinical dentistry or in a magazine or journal touting whitening, etc., one must be cautious. In the real world, nothing is perfect. Any photo that is becomes suspect.5,6,7,8
If it looks too good to be true, it probably is. Wild claims (supported by impressive photos) that defy your own experience can indicate potential computer editing. Perfect margins, shading, alveolar bone regrowth and other signs of perfection should raise questions.
- Computers are made to make straight lines and perfect angles. This seldom occurs in real life and is a dead giveaway for deception. The straight edges and perfect angle of the virtual molar mesial occlusal restoration in Figure 1f is a very good example. Compare the irregular shape of real restorations in Figure 3 with the straight, even artifacts in Figure 1f. The four virtual restorations in Figure 2f are another example. They are too perfectly rounded and of similar size and shape — a rarity in real life. Close examination of the margin of the virtual crown in Figure 3f reveals a jagged border. This is an unrealistic attempt to eliminate a straight line, and thus detection that the image has been modified.2,5,6
- Many digitally enhanced DR restorations appear as one solid color. Most natural restorations will show various degrees of radiopaqueness (density), as the restoration becomes thinner or thicker when placed on or in a real tooth. Actual restorations are seldom all one color or shade. Compare the real crown in Figure 5 or the restorations in Figure 3 to the restoration images of Figures 1f, 2f and 3f. There are subtle differences in each real restoration’s peripheral density.
- Look for “Frankenstein” images where, in many photos, the head of a subject appears to be stitched onto the body or a virtual tooth is inserted into a jaw. Changes in shading, angles and seams can identify this kind of manipulation. Relative uniform lighting requires that shadows appear in the same direction and on all areas of the photo. If they do not, then editing should be suspect. Look at the reflections of light on the skin of the patient in Figure 6 as compared to virtual Figure 6f. In Figure 6f, there are more highlights on the skin around the lips, indicating that the shade of the entire photo was lightened in order to make the teeth appear whiter.1,2,3,4,5,6,7,8
Look at the reflections of light on the skin of the patient in Figure 6 as compared to virtual Figure 6f. In Figure 6f, there are more highlights on the skin around the lips, indicating that the shade of the entire photo was lightened in order to make the teeth appear whiter.
- Look for imperfections in geometry and whether the vanishing point is “off.” Check if the quality of the image is the same throughout the photo. If it is not, then something may have been added. Look for reoccurring patterns and objects, as well as discontinuities in the background. A lazy image editor may use standard shapes to fake restorations rather than spend the time to draw each restoration individually. Figure 2f shows virtual restorations of similar size and perfect shape. These were digitally enhanced.5,6
- Often, enhancements to images can become apparent if you use “false color image” editing. Radically changing the contrast and brightness can also be telltale signs. Using your computer to radically change the colors (false coloring) of the suspected photo will serve to identify otherwise subtle changes. This process can be done in just a few seconds with most photo editing software.5,6,7,8
- Look for artifacts of the editing process. These may include tracks, brush marks, cavities and unnatural compression. Rough texture transitions and uneven pixilation (the small dots that make up the image) across the image is strong evidence of editing.6
- Experienced image editors can detect metadata, short digital fingerprints formed on every digital image. In addition to storing information on the exact date of creation and the modification of a file, metadata can link the photo to the camera used, ownership (e.g., watermarking) and a variety of manipulations that may have been used to modify the raw image. Unfortunately, an image editor bent on deception can remove this data and thus play an infinite cat-and-mouse game of detecting and hiding or scrubbing evidence of image manipulation. Unless you wish to spend considerable sums of time and money for this service, this level of detective work is seldom practical in dentistry.5,6,8
- Look at the size (megabytes) of the image file. Enhanced images will have a considerably larger file size than those that have no changes.
Conclusion
Because digital imaging has become so popular in dentistry, images of photos and radiographs may be edited to show different conditions than what is seen in reality. Photos can be enhanced to show whiter and straighter teeth, smoother skin or a well-blended margin on a crown. Digital radiographs can be changed to show additional pathology or treatment. There are numerous signs of this manipulation, which an informed practitioner can detect.
Acknowledgment
The authors wish to thank Andent Inc. for permission to republish the photos in this article.
Dr. Ellis Neiburger is a general practitioner in Waukegan, Illinois. Contact him at 847-244-0292 or eneiburger@comcast.net.
Yehonatan Frandzel is a forensic photography consultant based in Haifa, Israel.
References
- ^Calberson F, Hommez G, De Moor R. Fraudulent use of digital radiographs: secret reality or fiction? Rev Belge Med Dent. 2005;60(1):58-67.
- ^Guneri P, Akdeniz BG. Fraudulent management of digital endodontic images. Int Endod J. 2004 Mar;37(3):214-20.
- ^Bóscolo F, et al. Fraudulent use of radiographic images. J Forensic Odontostomatol. 2002 Dec;20(2):25-30.
- ^Wadkins P. Digital radiographs. J Am Dent Assoc. 2000 Jan;131(1):18, 20.
- ^Henshall J. Beware false reality. Photographer. 1998 Feb:28-30.
- ^Casimiro S. Seeing is not believing. Popular Science. 2005 Oct:71-9.
- ^Tsang A, Sweet D, Wood RE. Potential for fraudulent use of digital radiography. J Am Dent Assoc. 1999 Sep;130(9):1325-9.
- ^Gaylord C. Digital detectives discern Photoshop fakery. Christian Sci Monitor. 2007 Aug 29. Accessed 15 Dec 2007.
Reprinted with permission from the Journal of the Massachusetts Dental Society, Vol. 57/No. 2, Summer 2008.