Defend the Dimension … the Vertical Dimension! Case of the Week: Episode 136

August 25, 2015
 image
Michael DiTolla, DDS, FAGD

In our Case of the Week, we’ve got a doctor who really took a logical approach to maintaining the vertical dimension on a full-mouth BruxZir® restoration case. Everything has been prepped on the upper and lower, and in cases like this, it’s sometimes difficult for dentists to be able to take a good bite registration for us, especially when we want to maintain the vertical dimension that we know the patient is comfortable with. Let’s take a look at what the doctor did to get a great result.

Figure 1

Figure 1: I happened to see a case from a doctor who’s doing a full-mouth rehabilitation, and he did a really good job of maintaining the vertical dimension. When we want to maintain the vertical dimension on a case like this, we find that one of the easiest ways to do it is with BioTemps® Provisionals (Glidewell Laboratories; Newport Beach, Calif.). Not only can you maintain (or open) the vertical, but you can also have a very nice, esthetic result and have some strong temporaries that are going to look pretty good, especially if you’re going to have the temporaries on longer than the usual two weeks.

Figure 2

Figure 2: When we make the temporaries, we suggest to the doctor that we do it in three segments. One segment will have a temporary that spans from teeth #12–15, another from teeth #2–5, and the third temporary will take care of the canines and the incisors. You can see all the wear on the patient’s teeth. This patient broke some PFMs before, so the doctor is doing this as a full-mouth BruxZir zirconia rehabilitation, assuming that’s the only material this patient won’t be able to break. Considering these are all single-unit crowns, I feel pretty strongly that I would have also chosen BruxZir Solid Zirconia for this case. You’ve seen us take a hammer and smash a BruxZir crown into a two-by-four, but bridges are not quite the same. We need to follow the Rule of 27 when we get those extended spans, but for single units like this, I’m highly confident that if the doctor reduces enough, we will in fact have crowns that will be able to withstand this patient’s biting forces.

Figure 3

Figure 3: When prepping these, you can start wherever you want. Sometimes it’s fun to start in the anterior if you’re not opening the bite, just to be able to get some esthetic change there. You can certainly start in the posterior as well, if you wanted. Let’s pretend we’re going to prep these four posterior teeth, too. We’re going to start by prepping the two bicuspids and the two molars on one side of the arch. When we’re done, before we take the impression, we’re just going to reline those BioTemps. Because only these four teeth are prepped and the rest of the teeth in the arch are unprepped, it’s very easy to maintain the vertical dimension on those temporaries by just having the patient bite them into place while the reline material is on the inside of the temporary.

Figure 4

Figure 4: After teeth #12–15 are prepped and have temporaries, we can prep the four teeth on the other side of the arch. And when these four preps (#2–5) are complete and we’re ready for an impression, we’ll put the BioTemps for #12–15 back in place. You can set them in or cement them in, depending on how far you’re going to go today. Then, we’re going to reline the BioTemps for #2–5 at that same dimension. If the BioTemps for #12–15 were out, or we had to prep both sides at the same time, we would just be hitting on the anterior teeth, which is a little sketchy for holding vertical dimension. Now, after all the molars and bicuspids have been prepped and have temporaries, we then prep the six anteriors and reline those with the posterior temporaries in place. If you finish those all in one appointment, now that you’ve relined all three segments at the correct vertical dimension, you’re free to take a master impression and then put these temporaries back into place. But typically, that’s a lot of work for the patient and you’re going to end up maybe just prepping the whole arch, getting the temps on, and having the patient back next time to pack cord and take the impression.

Figure 5

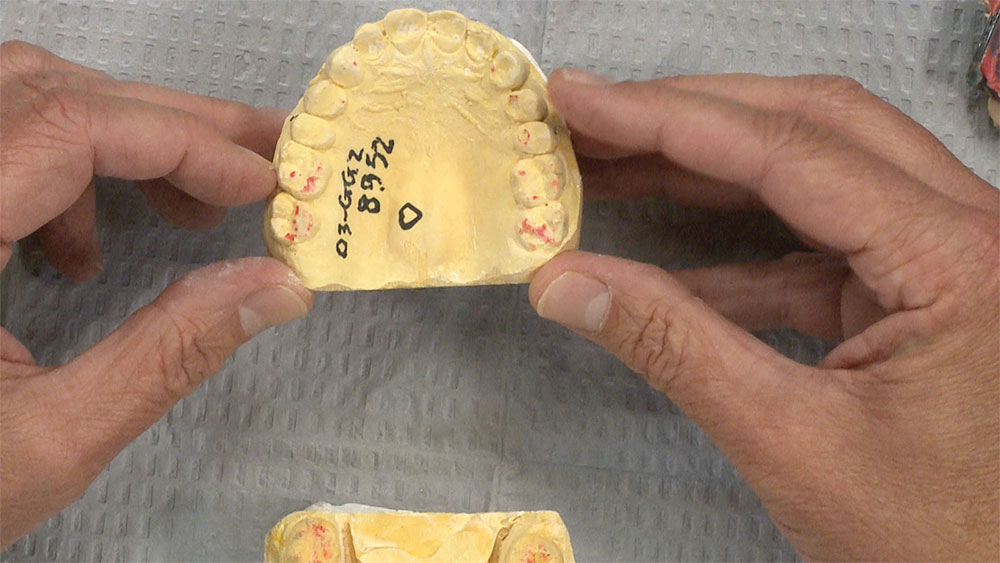
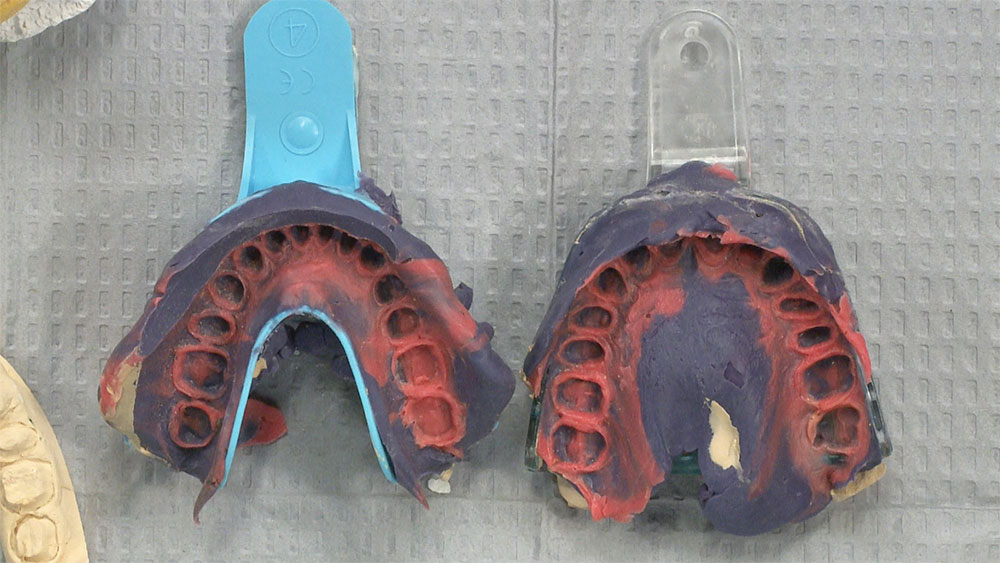
Figure 5: Here are the impressions we got in from the doctor. Full-arch trays, of course, because they’re full-arch preparations — that’s absolutely necessary. Plastic trays; we can certainly work with that. We like metal a little better, but we know we’re splitting hairs sometimes. These types of impressions are the most difficult thing to do in dentistry. I mean, come on. You have to prep 14 teeth and then have to control the tissue and pack cord around all of them. This is more difficult than surgically placing an implant, more difficult than taking out an impacted wisdom tooth; this is as tough as it gets. That’s why I like this to be its own appointment. And I also like to see what the BioTemps are going to do to the tissue in case we have to drop some margins.

Figure 6

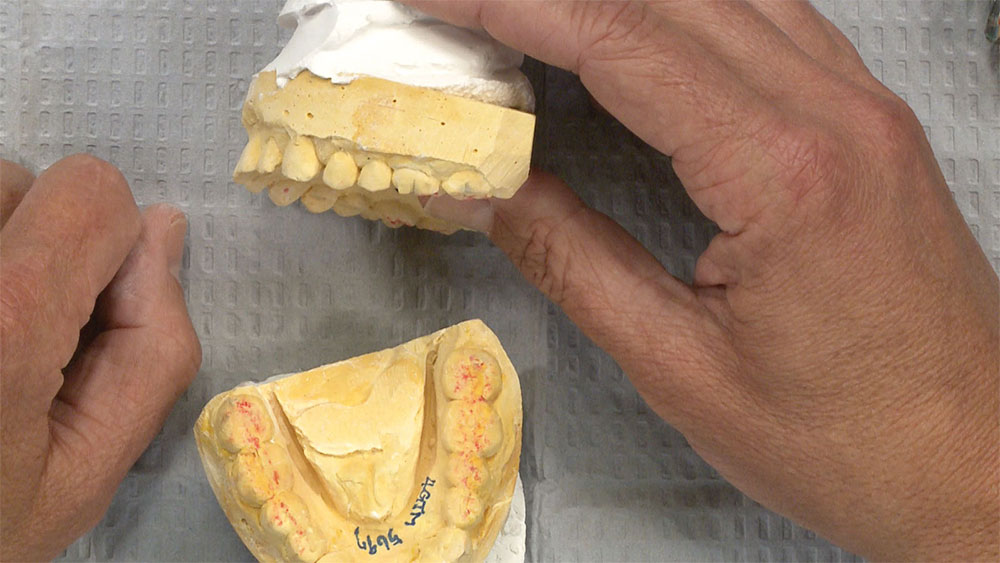
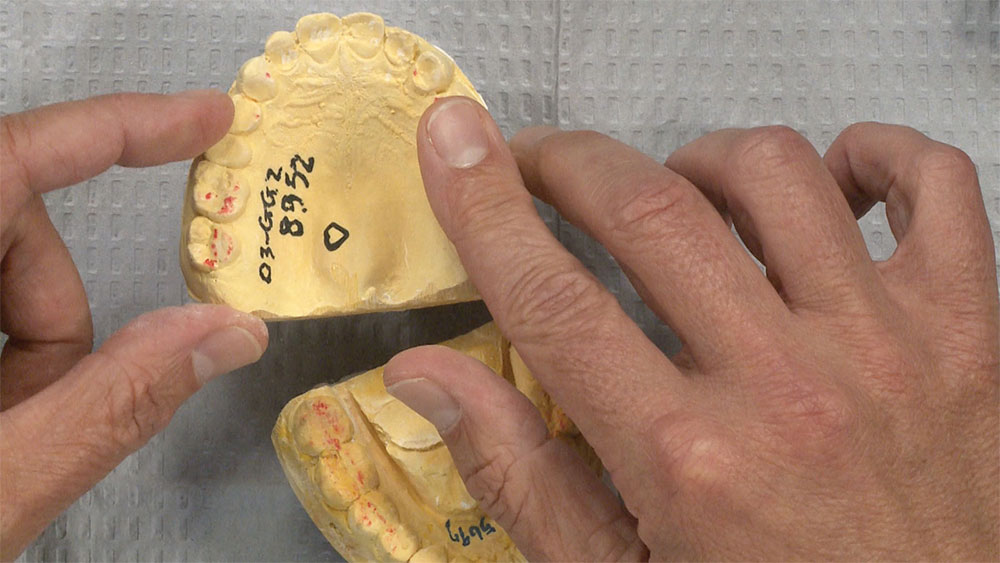
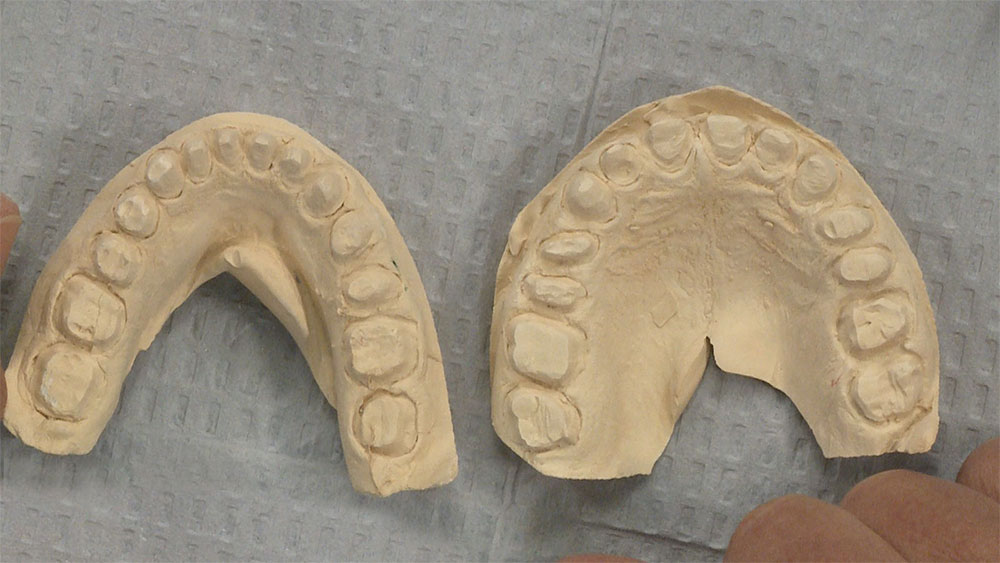
Figure 6: So the doctor takes two acceptable impressions, and then we pour them up to get our uppers and lowers. Of course, the issue here is going to be: How do we maintain the vertical between these if we’re not going to open the bite? If we’re going to have enough room to put these BruxZir crowns in place, if we don’t need to add to the incisal edge length of, say, the central incisors, or need more room — essentially, if the doctor’s reduced enough — then we want to maintain that same vertical.

Figure 7a
Figure 7b

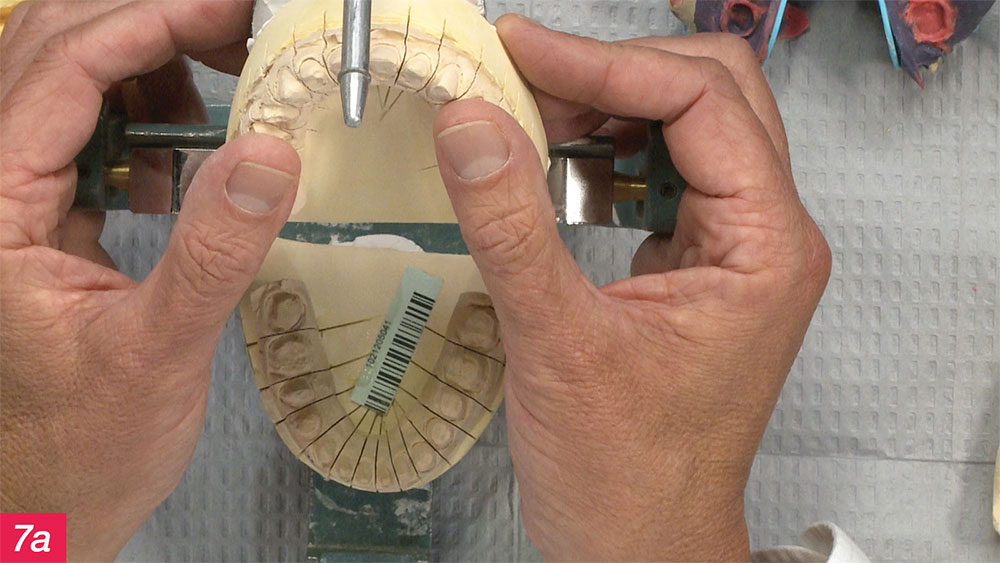
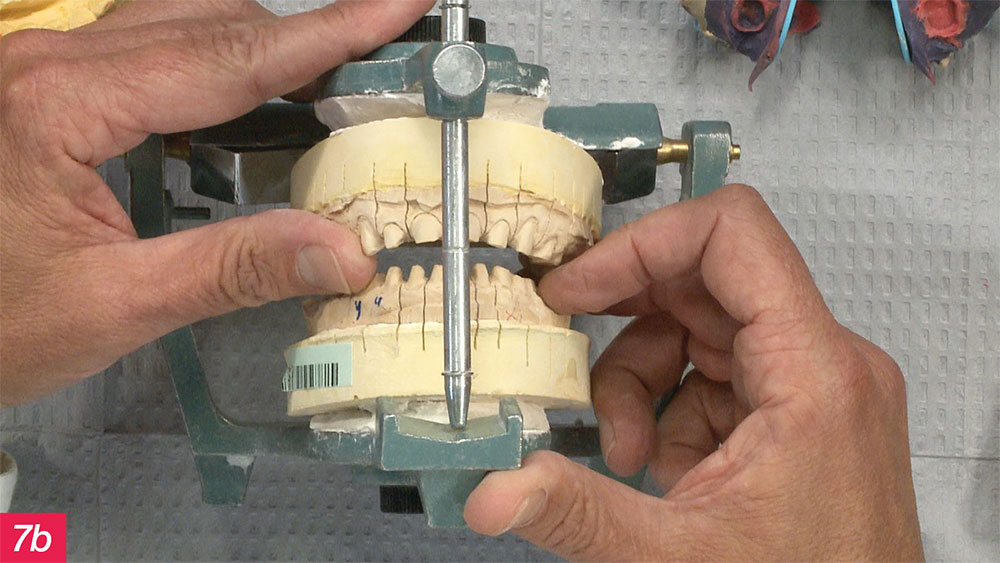
Figures 7a, 7b: We know the patient is comfortable at that previous vertical. And the best way to be able to maintain that vertical is to take the fully prepped patient, and place the BioTemps that have all been relined on the lower, just like they were on the upper, at the proper vertical dimension. You place them on the bicuspids and molars on both sides and on both arches so that when the patient bites together, they’re at their normal occlusal dimension because the temporaries are in place.

Figure 8a
Figure 8b

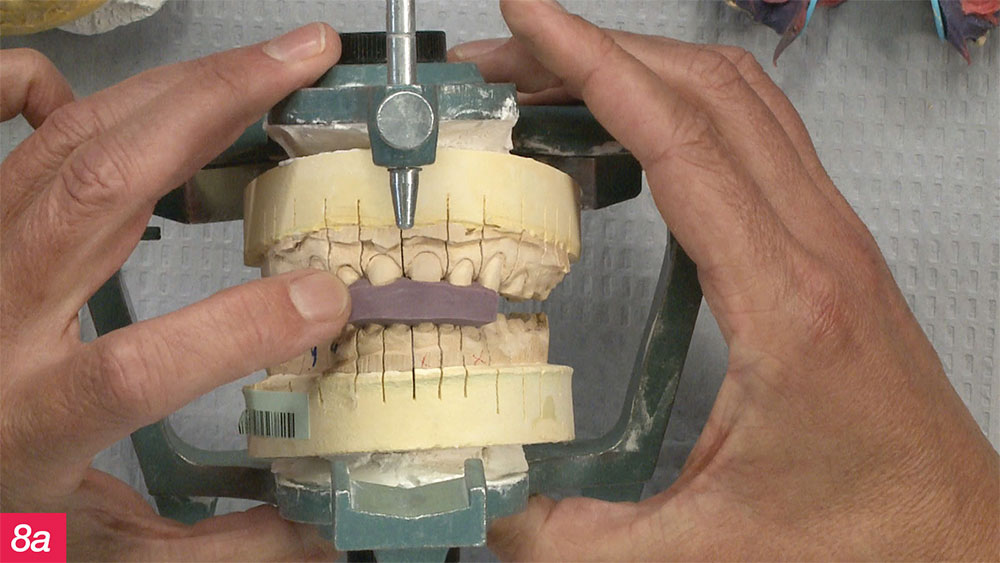
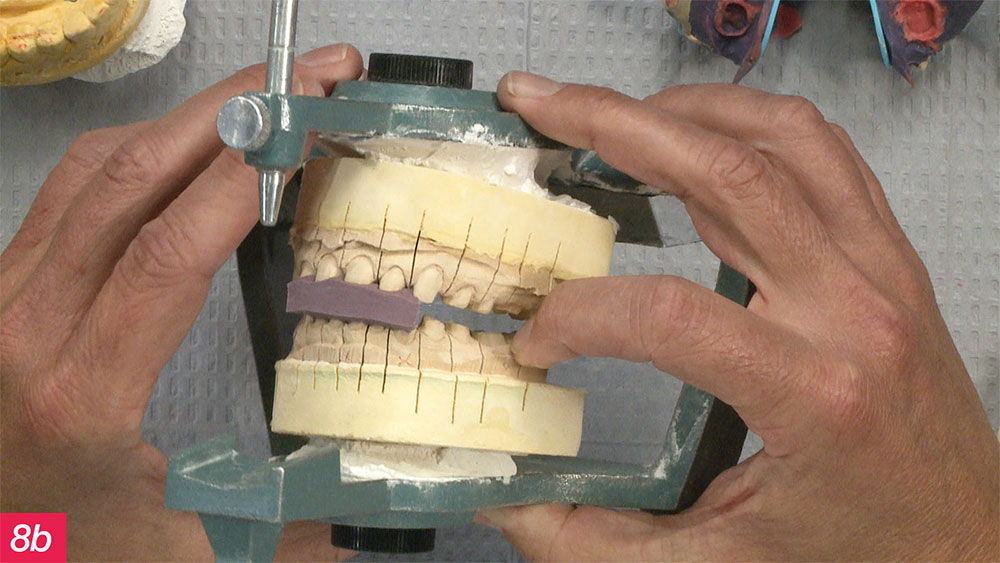
Figures 8a, 8b: Then, when the patient bites together, you just squirt a little bite registration in between the anteriors so, intraorally, the upper and lower temporaries are in place and holding the patient open at the right dimension here on the anterior. Once you have this little bite segment here on the anterior, you’ll be able to take out the temporaries on one side, and still have the temporaries on the other side.
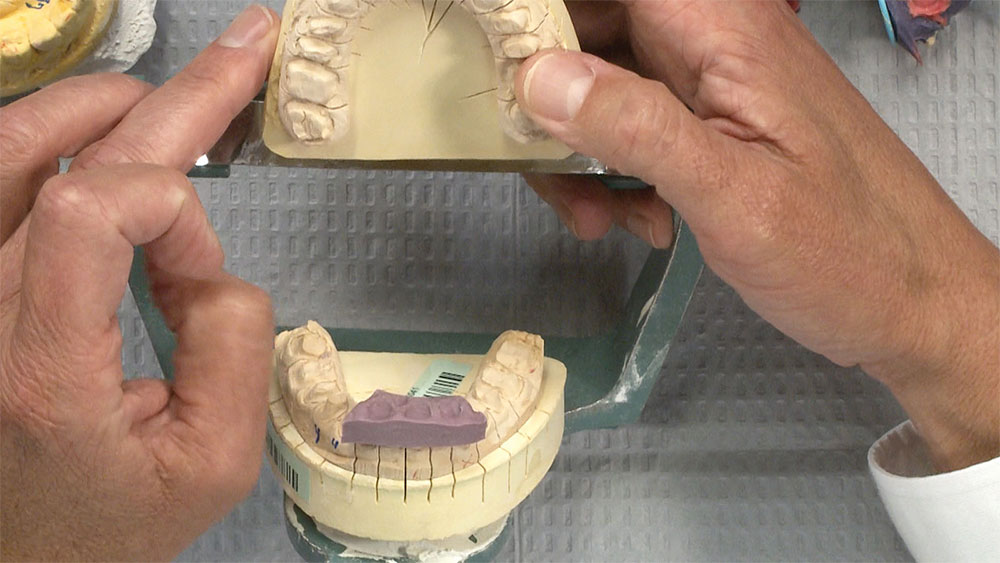
Figure 9

Figure 9: The temporaries on #2–5 alone are off, and we have our anterior bite in place. But when the patient closes together, we still have the same vertical dimension to take the bite registration for #2–5.

Figure 10a
Figure 10b

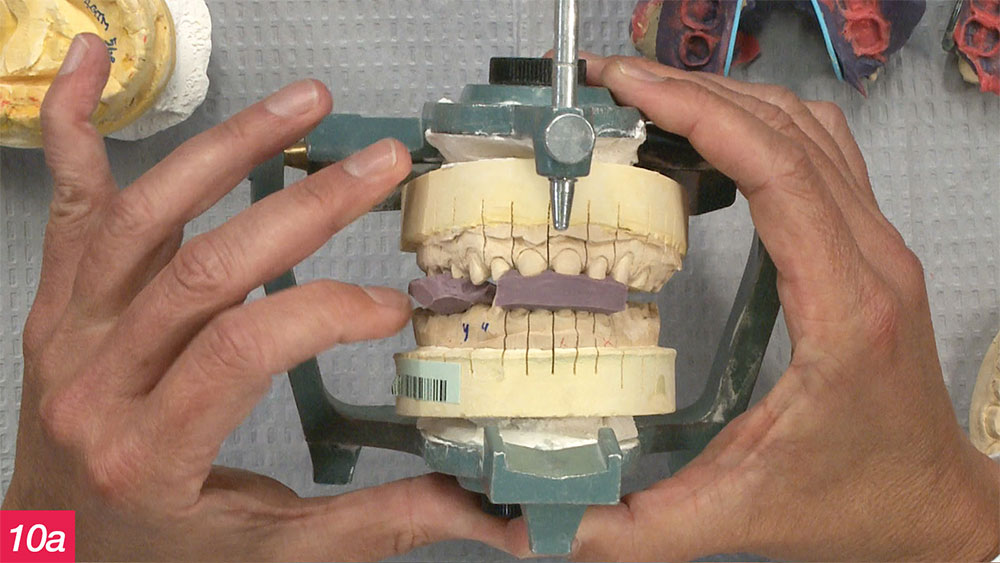
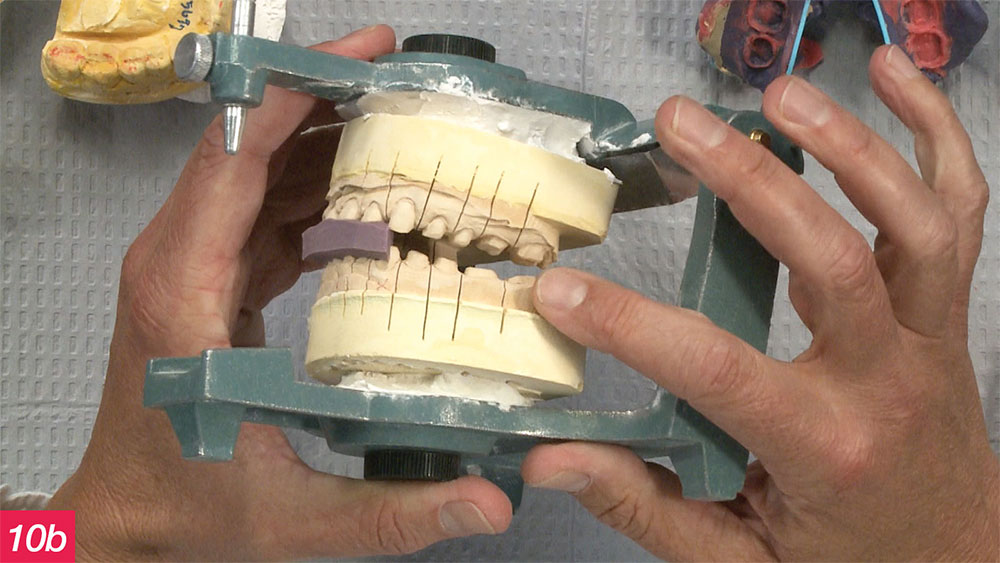
Figures 10a, 10b: So now we have two pieces of bite registration, and we still have the temporaries over on the other side.

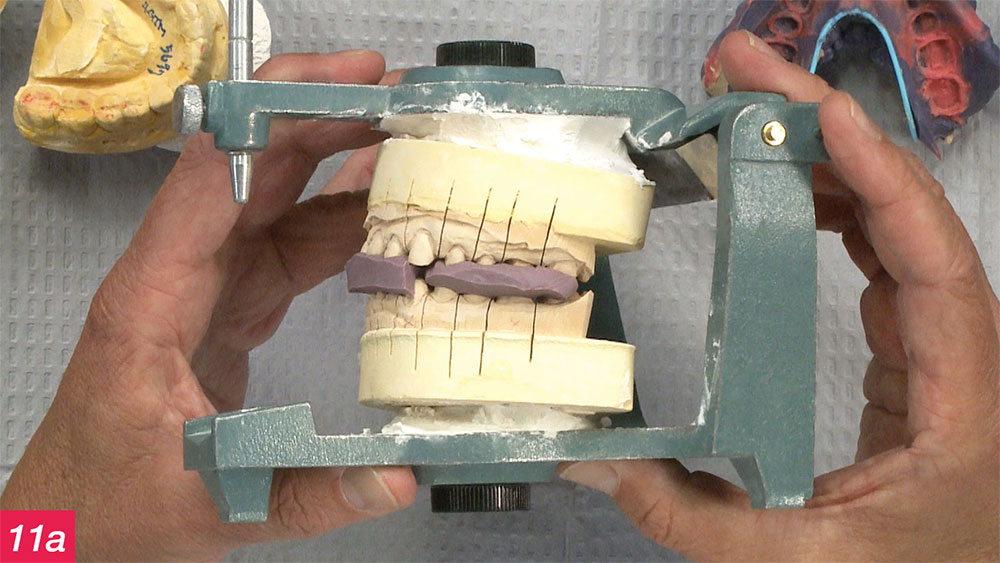
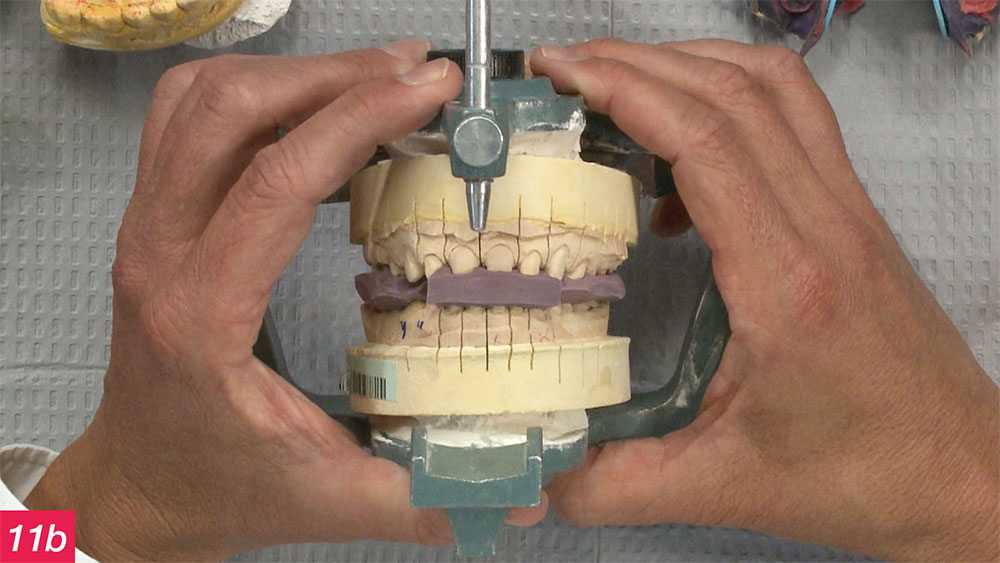
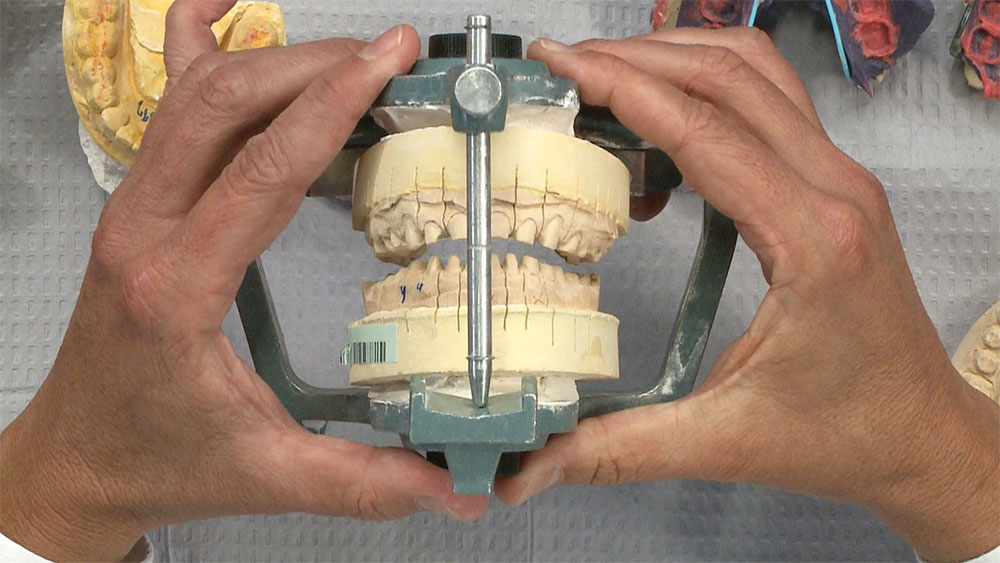
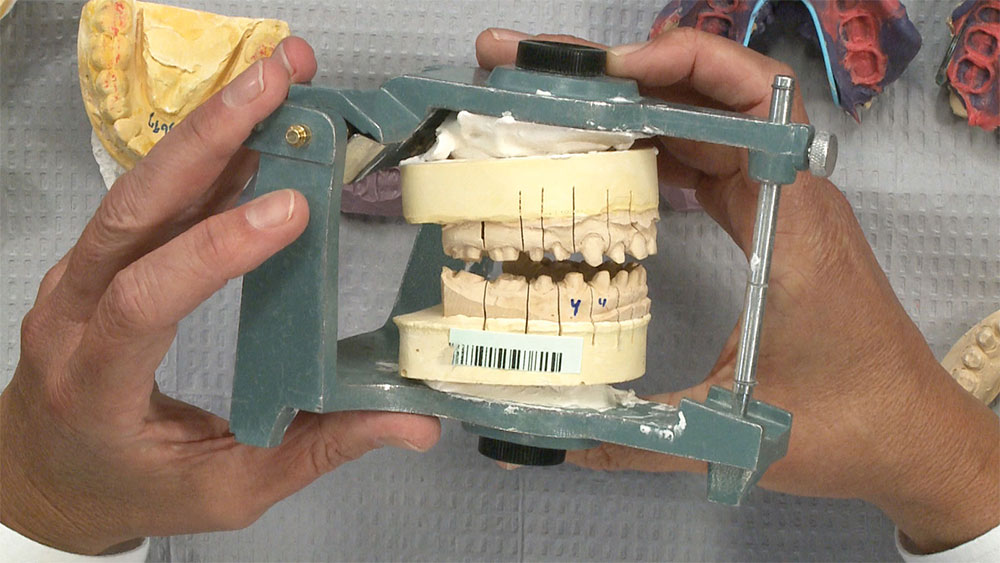
Figure 11b
Figure 11b

Figures 11a, 11b: Then lastly, we can have the patient open again, take out the temporaries on #12–15, and do one more bite registration in between those teeth. And because we had the temporaries segmented like that, we’re able to do all of these at the same time, segmentally. Now, the vertical dimension represented by the three bite registrations is exactly the same as when the patient started off before the teeth were prepared. So we’ve maintained it in the BioTemps and we’ve maintained it with the bite registration as well.

Figure 12

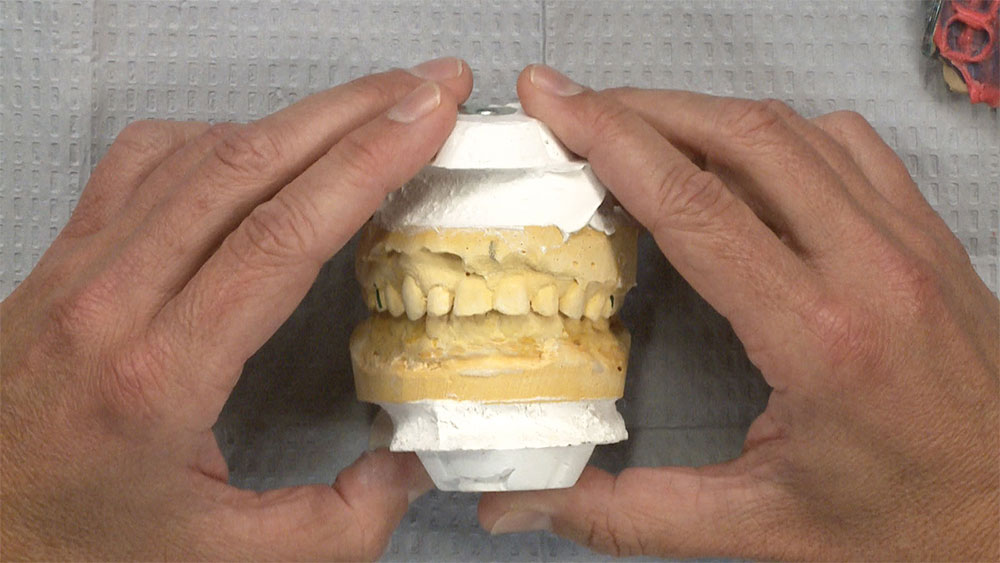
Figure 12: At that point, we can confidently mount the models to these three bite registrations, and then set the pin on the articulator and see how much room the doctor gave us. And we have plenty of room. We only need six-tenths of a millimeter to do BruxZir Solid Zirconia minimally, and here, we can manage a millimeter and a half — hammer-test-strength — on these teeth, upper and lower.

Figure 13

Figure 13: That’s a great job done by the doctor in getting this bite registration, holding the vertical, and making sure we got an accurate bite to go forward with this full-mouth case. He’s not going to have to adjust for hours when he goes to seat this in the patient’s mouth.