In this issue:
Restoring the Posterior with a BioTemps® Bridge – Case of the Week: Episode 186
Author
The best provisional is one that supports the patient’s long-term restorative success and, for the patient’s comfort, can be efficiently placed. While a chairside temporary can be convenient, it is no panacea — especially when you’re facing a fresh extraction site. Check out this Case of the Week from Episode 186 of “Chairside Live,” and you’ll see how I used a lab-fabricated provisional to avert complications and temporize with ease.
For an extraction case like this, I would have multiple concerns about applying a heavy amount of viscous chairside temporary acrylic resin. The material could lock into the freshly placed sutures, or the extraction site could be contaminated. Plus, the recall appointment could reveal the chairside temporary has prevented the formation of a smooth ovate pontic. Fortunately, a lab-fabricated provisional allowed me to eliminate these risks. Veronica, a Glidewell Dental employee who keeps company facilities in tip-top shape, required treatment for missing posterior teeth and super-erupted molars. Placing a 3-unit BioTemps® Provisionals bridge (Glidewell Laboratories; Newport Beach, Calif.), I provided Veronica with a comfortable temporary that bolstered her treatment’s lasting success.
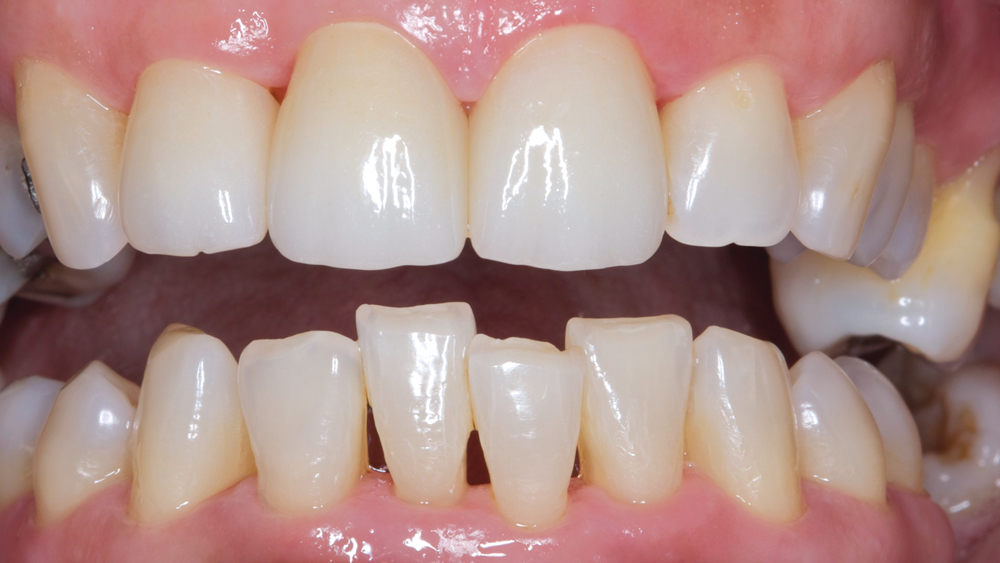
Figure 1: Veronica had missing posterior teeth and super-erupted molars.
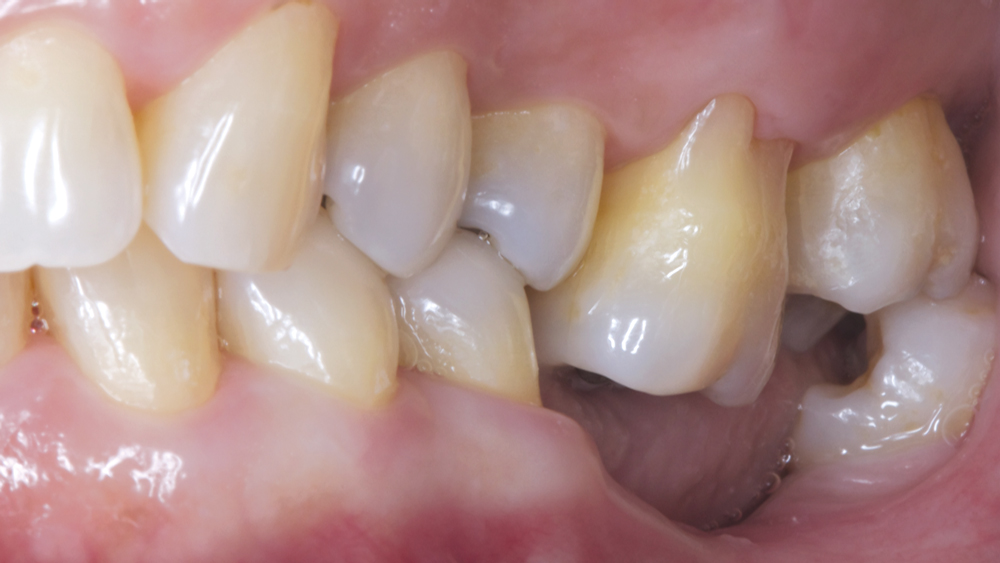
Figure 2: Tooth #14 has erupted to the point where there is not enough room to fabricate an opposing partial denture.
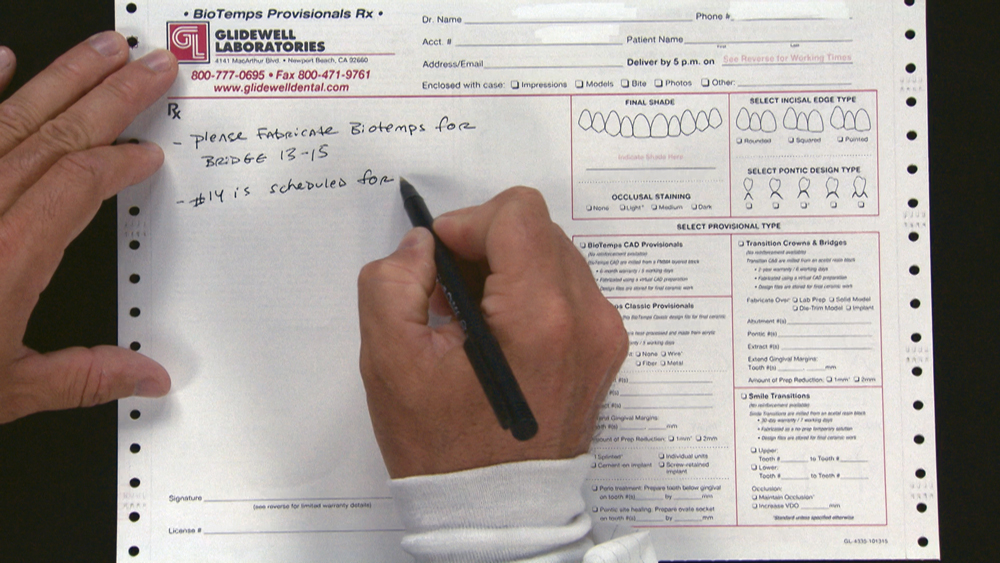 Figure 3a
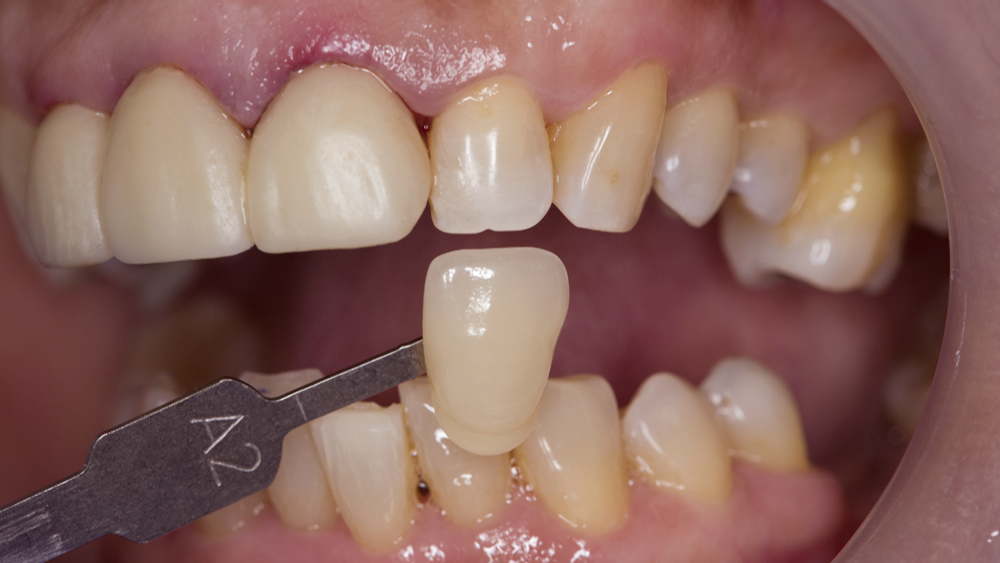 Figure 3b
Figures 3a, 3b: To prepare for the doctor’s treatment plan, I sent a set of full-arch upper and lower impressions with a bite registration to the lab on a dedicated BioTemps Provisionals Rx form. I attached photos of the shades chosen. I made sure to include a note that specified that #14 is scheduled for extraction, so an ovate pontic could be fabricated.
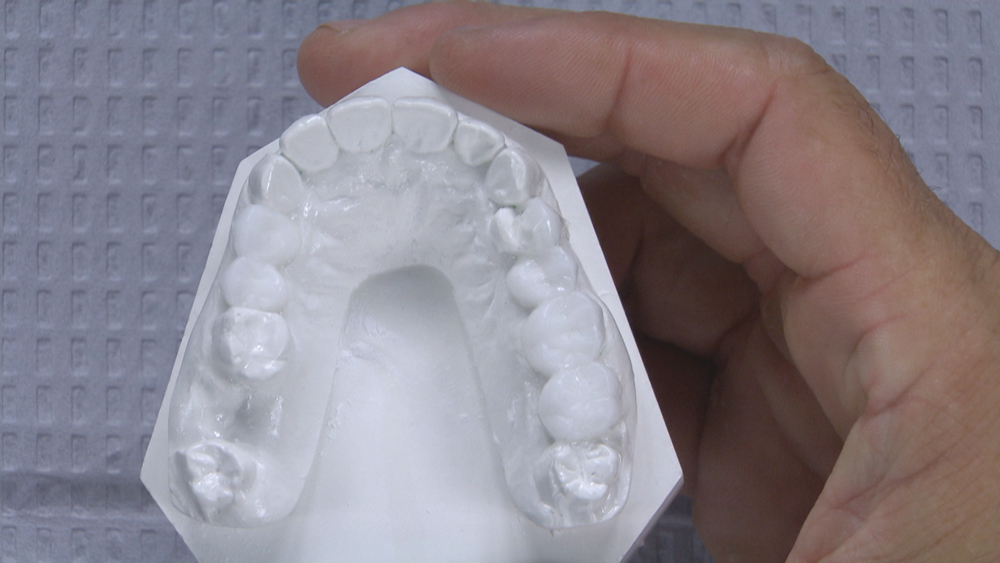
Figure 4: On the lab model, note the detailed anatomy of the BioTemps Provisionals.
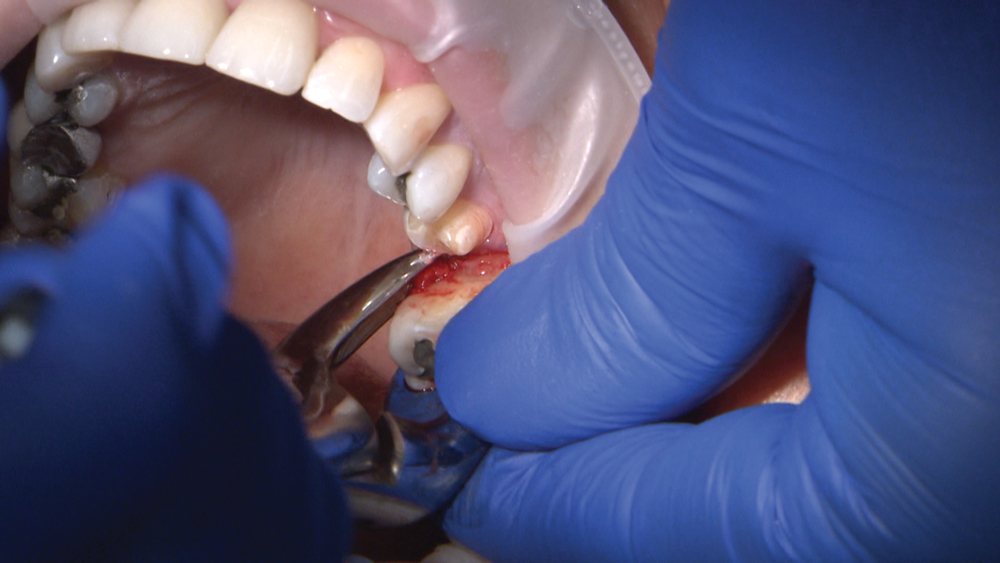 Figure 5a
 Figure 5b
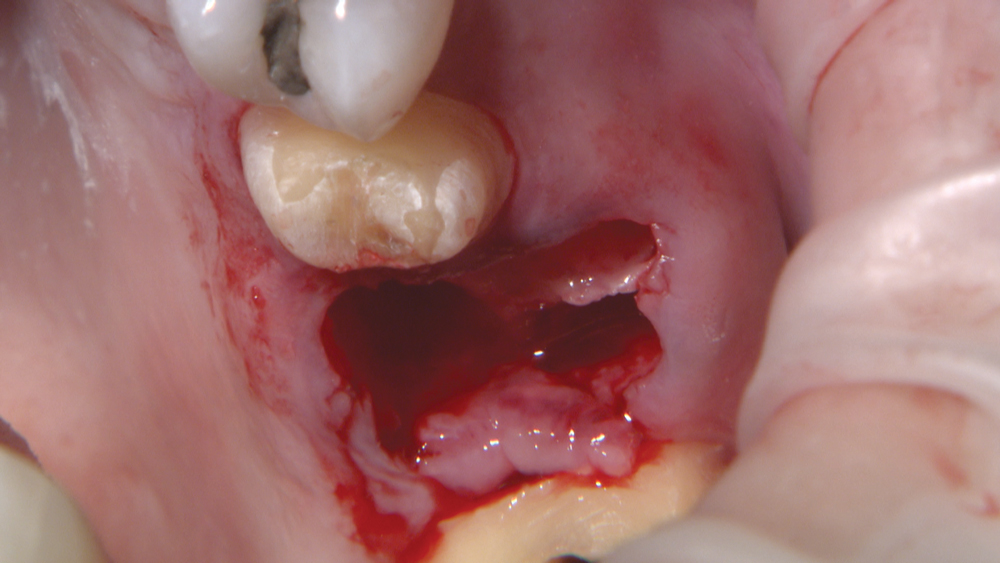 Figure 5c
Figures 5a–5c: Dr. Anamaria Muresan’s treatment plan called for the extraction of #14 and the preparation of a bridge from #13 to #15. An immediate BioTemps bridge would be used to temporize the area until healing allowed for a final impression.
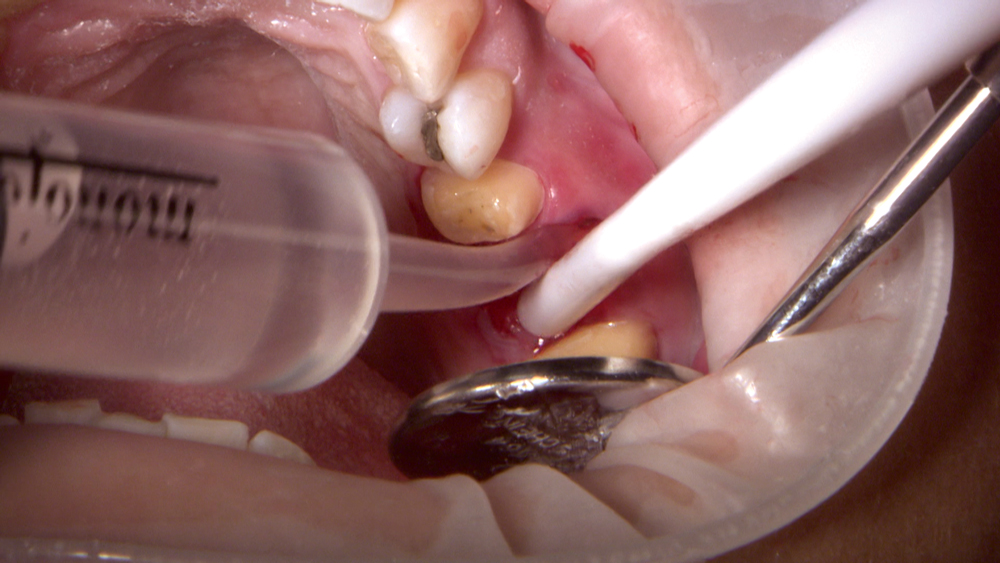
Figure 6: After Dr. Muresan has completed the preparation of #13 and #15, as well as the extraction of #14, and bleeding is controlled, I will continue with the BioTemps procedure.
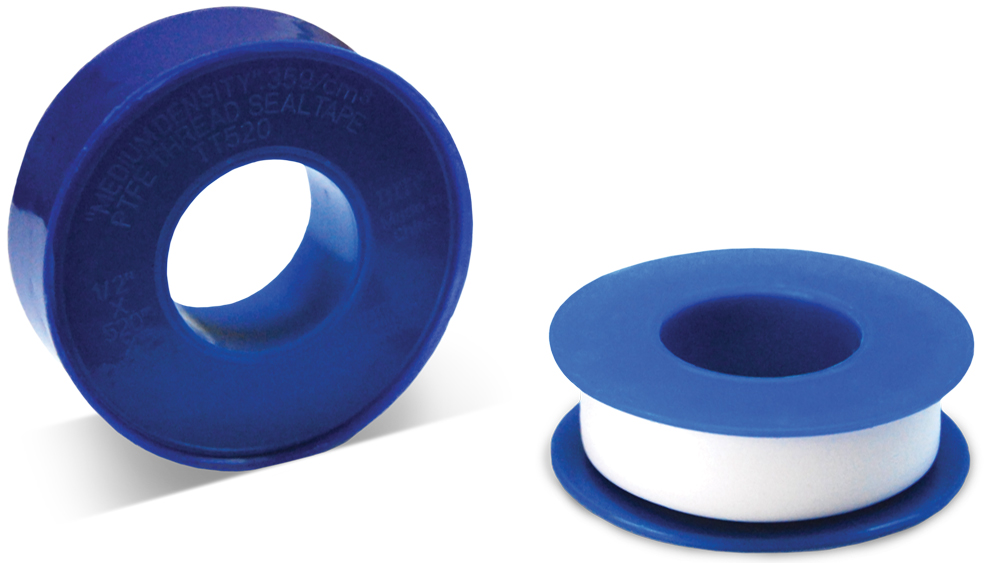
Figure 7: I use strips of Teflon tape to cover the extraction site. This avoids locking acrylic reline material into the dressing, especially in cases where sutures have been placed.
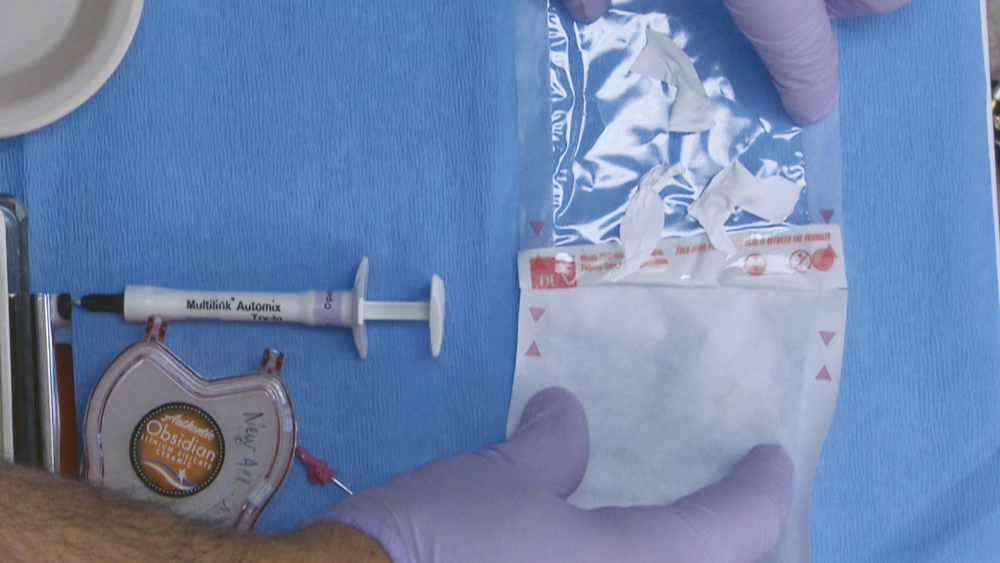
Figure 8: Prior to treatment, I sterilize strips of Teflon tape for use in the procedure.
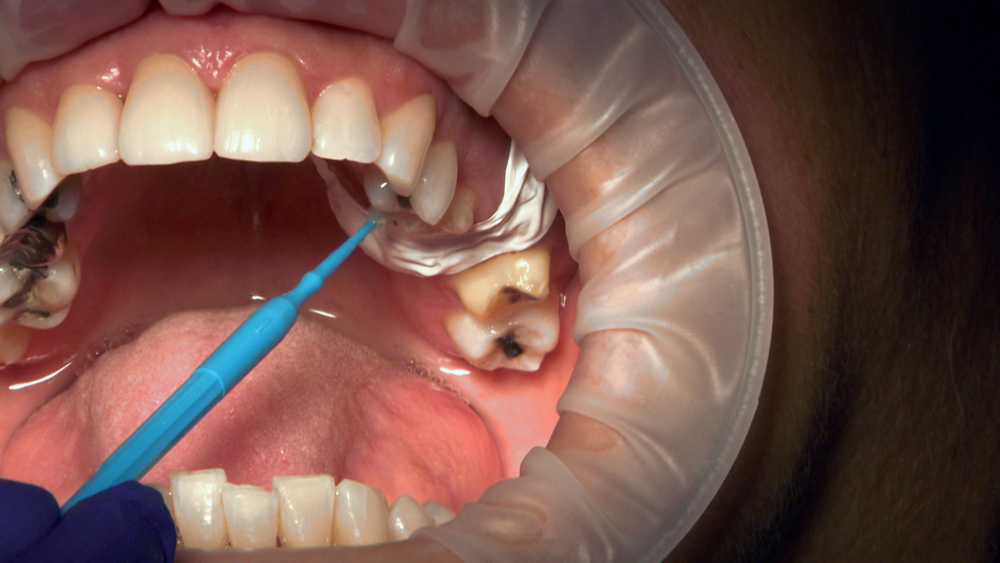
Figure 9: Using a microbrush, I apply a layer of Vaseline® (Unilever; Englewood Cliffs, N.J.) to the preparations to prevent fusing of the reline material to the dentin and aid in the initial removal of the BioTemps.
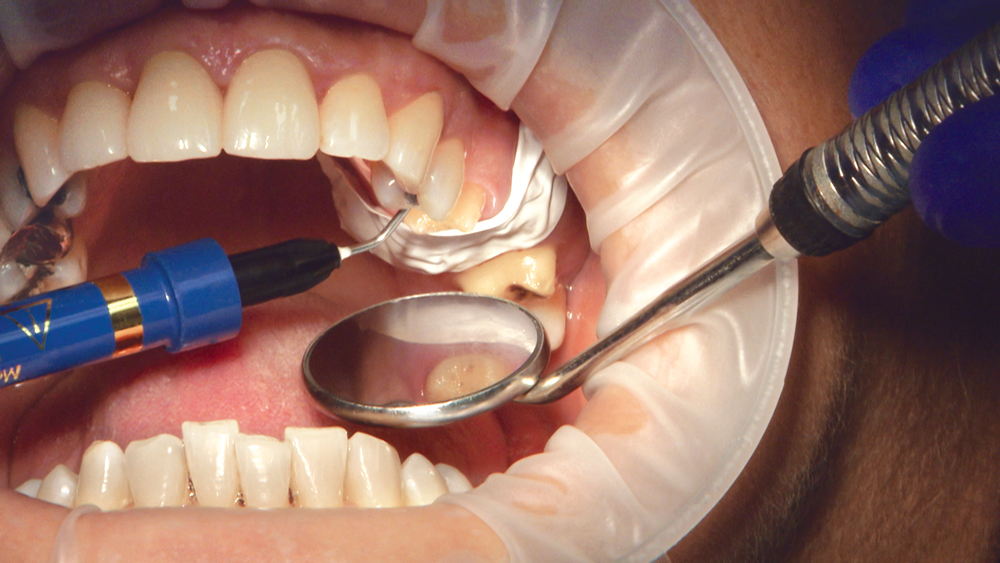
Figure 10: I block out any undercut areas of the adjacent teeth with a light-curable block-out resin, such as OpalDam® Green (Ultradent; South Jordan, Utah). I make sure that the intaglio of the BioTemps shell is completely dry, then extrude reline acrylic into the shell and press it firmly into place.
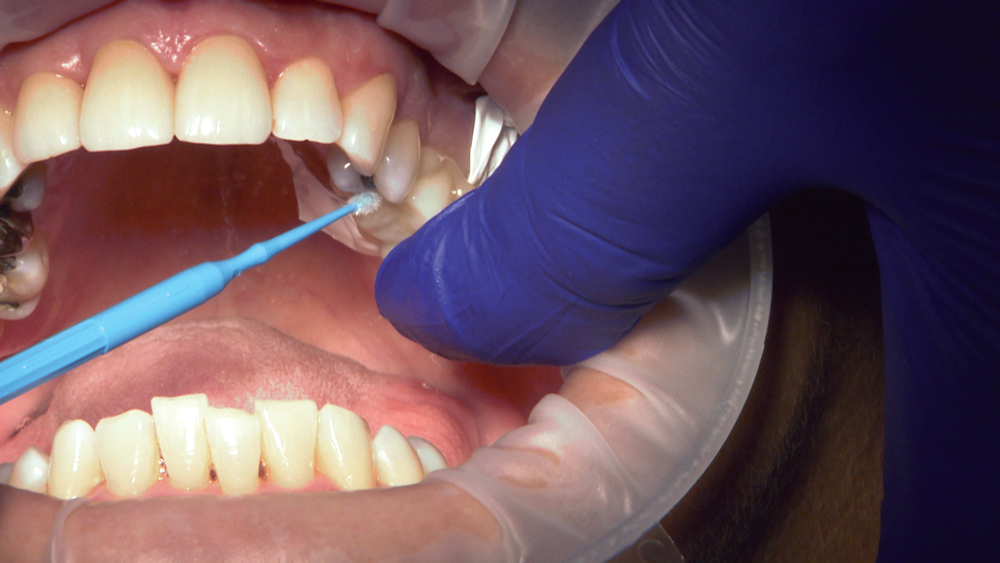
Figure 11: To ensure ease of initial removal, a clean microbrush is used to remove excess material that flows around the adjacent teeth.
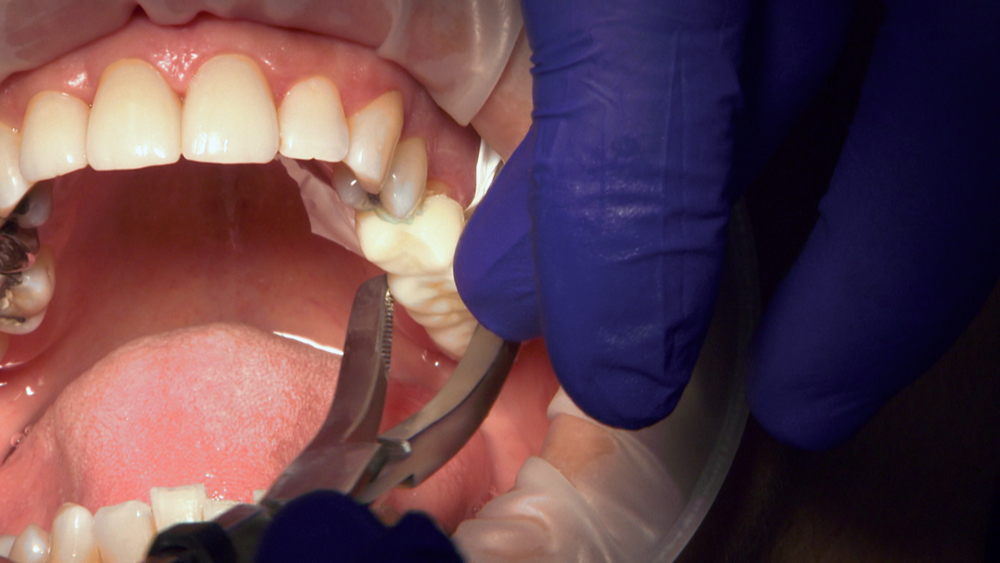 Figure 12a
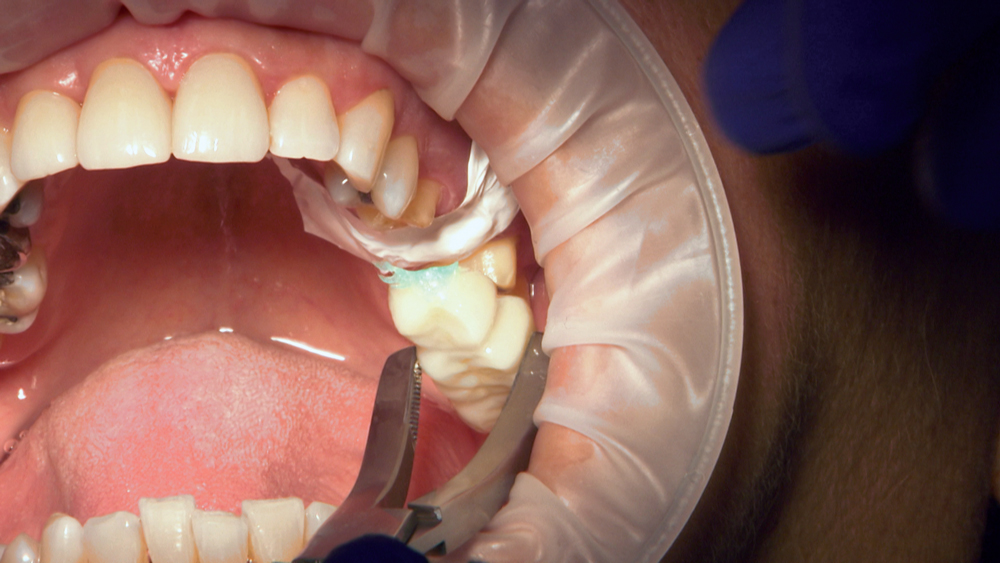 Figure 12b
Figures 12a, 12b: Lateral movements with a crown remover quickly dislodge the relined BioTemps.
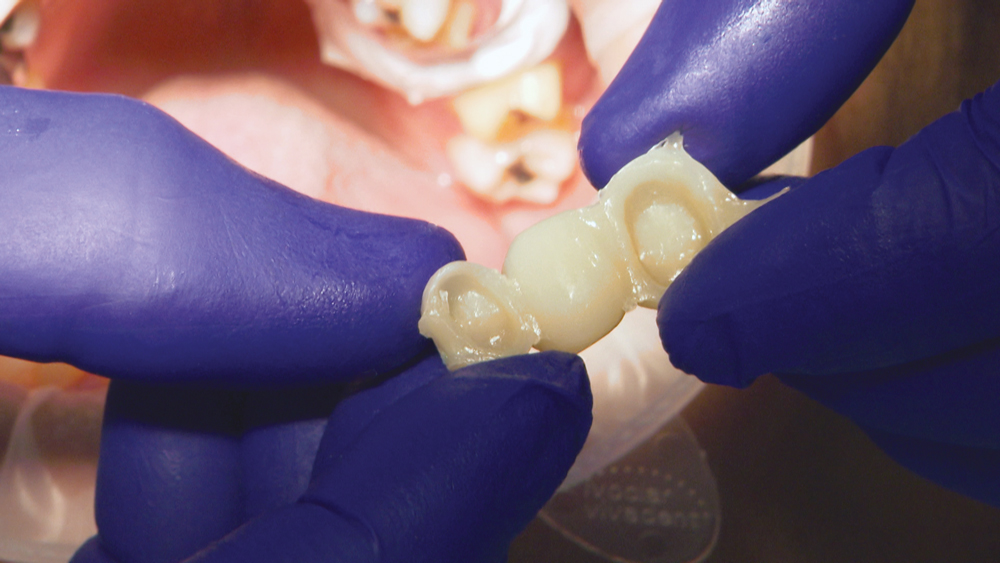
Figure 13: Note that the pontic is smooth and shiny with no embedded particulate.
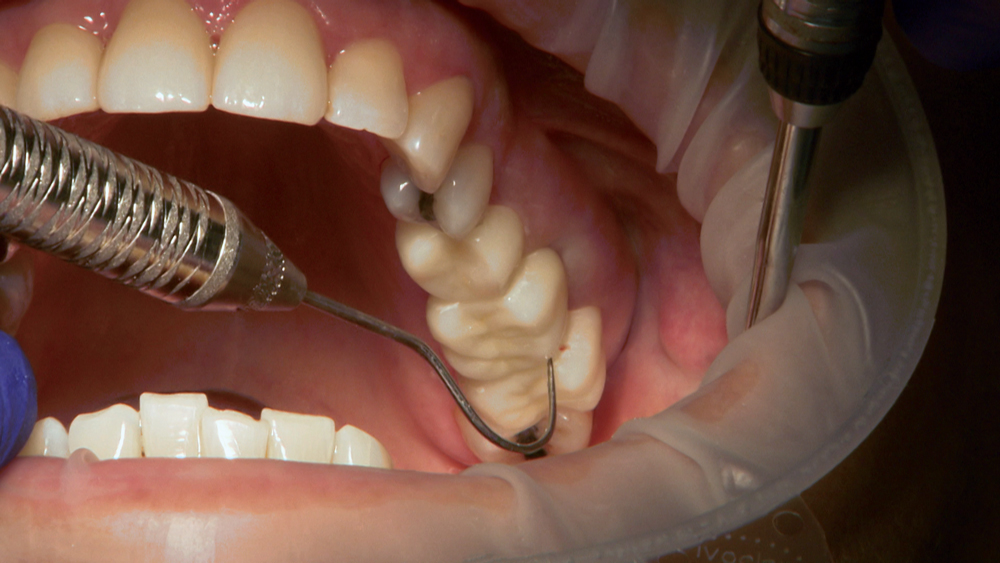 Figure 14a
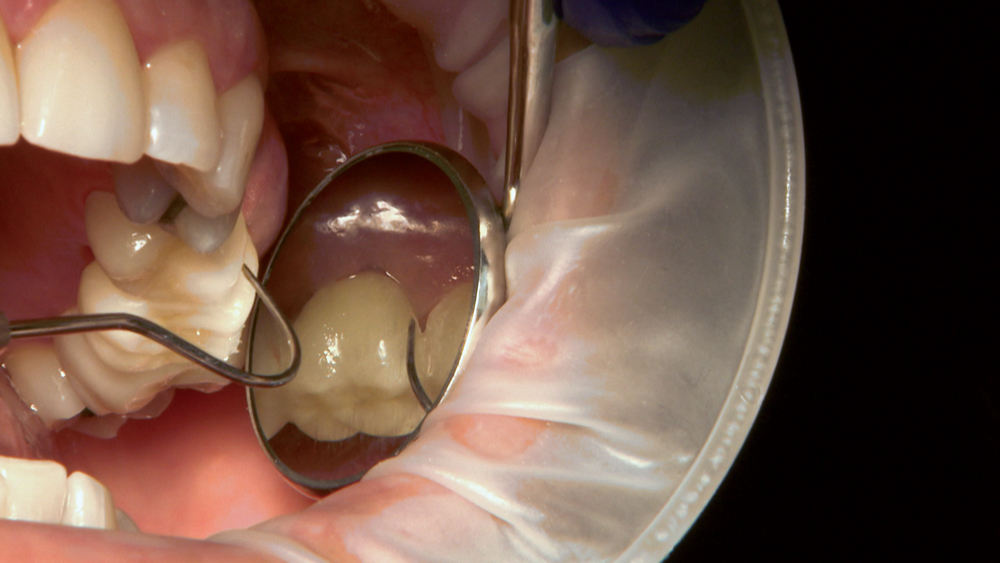 Figure 14b
Figures 14a, 14b: Upon the try-in of the BioTemps, it is important to first check for any overhang that may invade the extraction site and then check the occlusion. A BioTemps crown or bridge should require minimal occlusal adjustment.
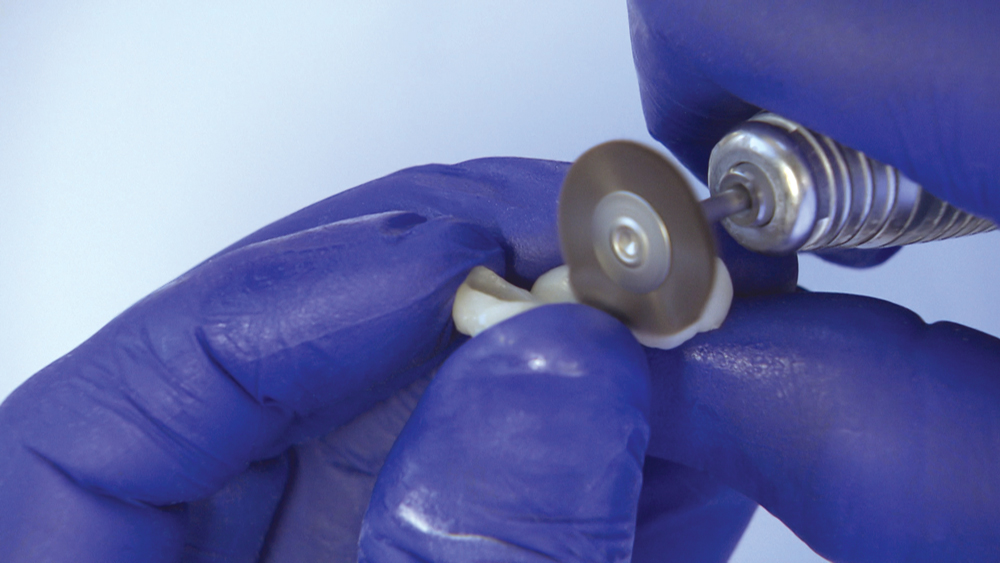
Figure 15: Moving to the lab bench, I’ll use an Abbott-Robinson® brush wheel (Buffalo Dental Manufacturing Co., Inc.; Syosset, N.Y.) on medium speed and DiaShine® (VH Technologies; Lynnwood, Wash.) to form a high-luster shine on the temporary, paying special attention to the ovate pontic area that faces the extraction site.
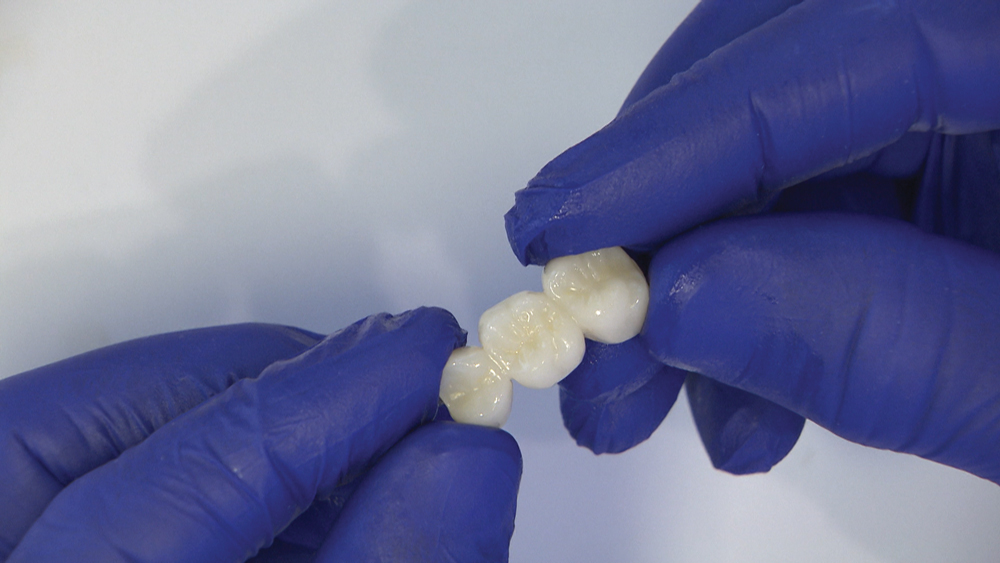
Figure 16: A light-curable chairside glaze such as GC Fuji COAT™ LC (GC America; Alsip, Ill.) — or even a bonding agent that remains unused from earlier in this procedure — can be used to seal the BioTemps and give it a lasting wet look.
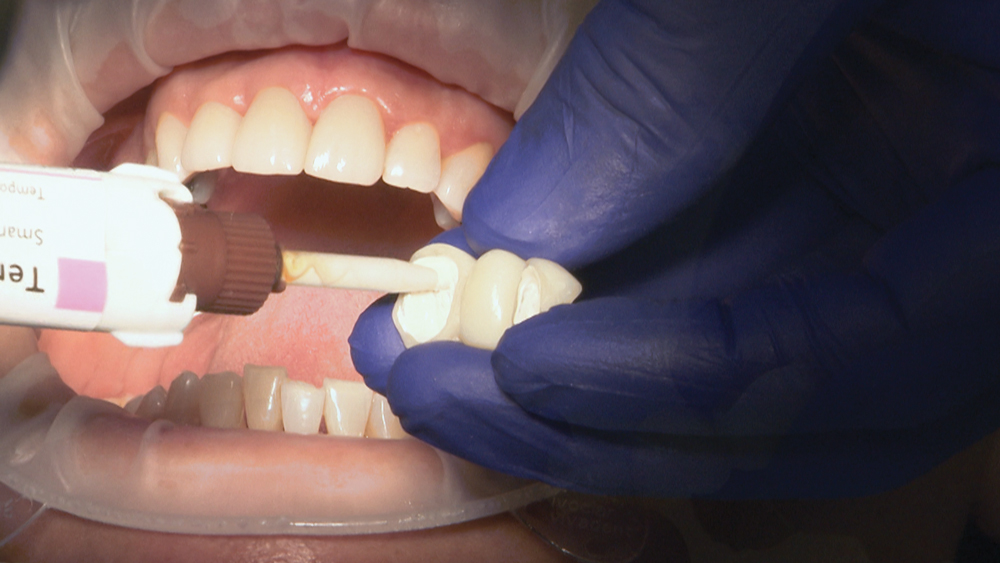
Figure 17: I place a new Teflon tape base, dry the preparations and apply temporary cement to the BioTemps. I prefer a non-eugenol cement for easier cleanup. While holding the BioTemps in place, I immediately remove the Teflon tape. This takes cement overflow with it, simplifying cleanup. Veronica can now bite on a cotton roll until the cement is in a gel state and I can remove the flash.
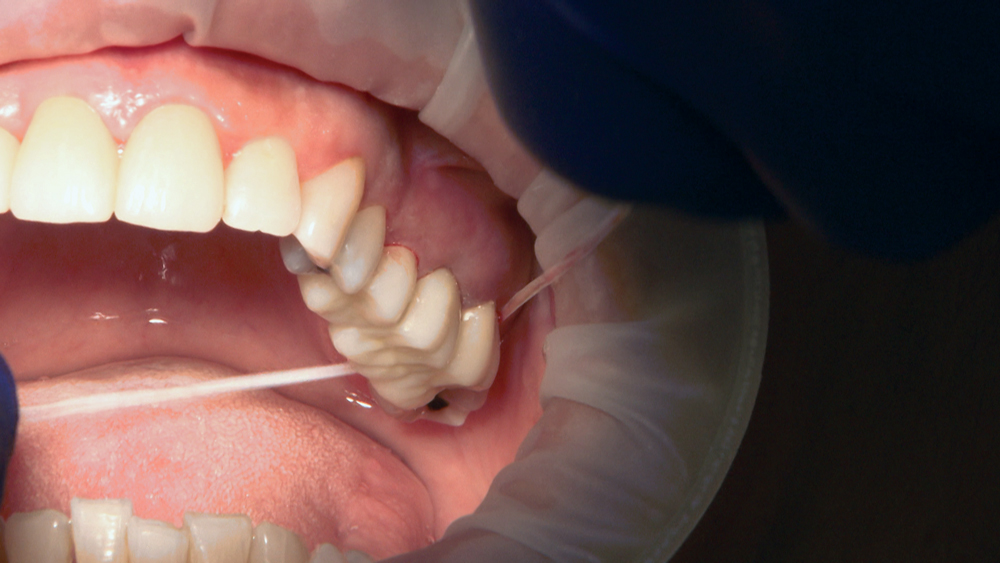
Figure 18: I complete the procedure by lightly flossing to check and clean the contacts.
 Figure 19a
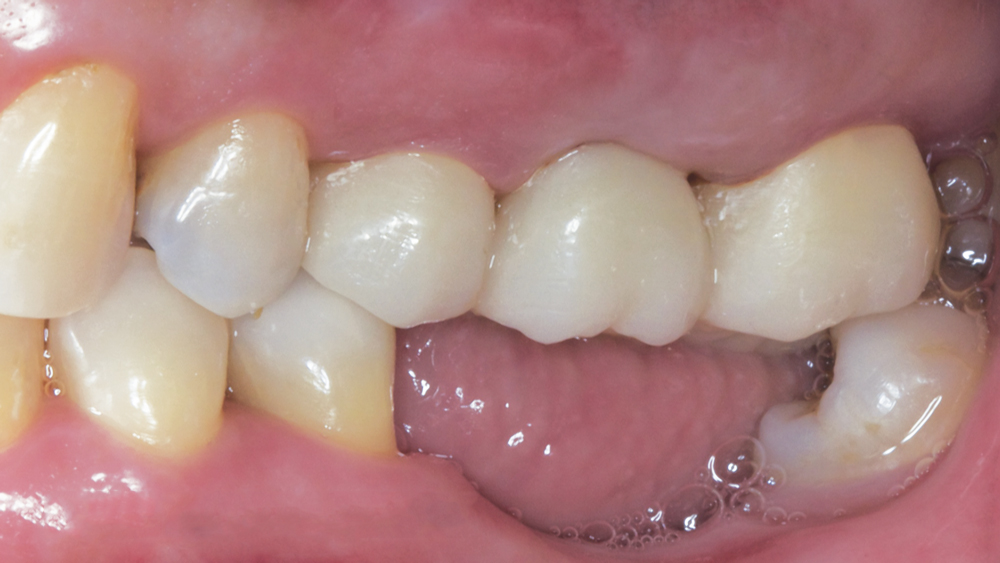 Figure 19b
Figures 19a, 19b: My post-procedural instructions include how to clean under the pontic and care for the extraction site. We now have plenty of room for a maxillary fixed restoration and a mandibular partial denture after healing.
Conclusion
BioTemps Provisionals can help procedures run smoothly and create lower stress for the practitioner, dental auxiliary and patient.