In this issue:
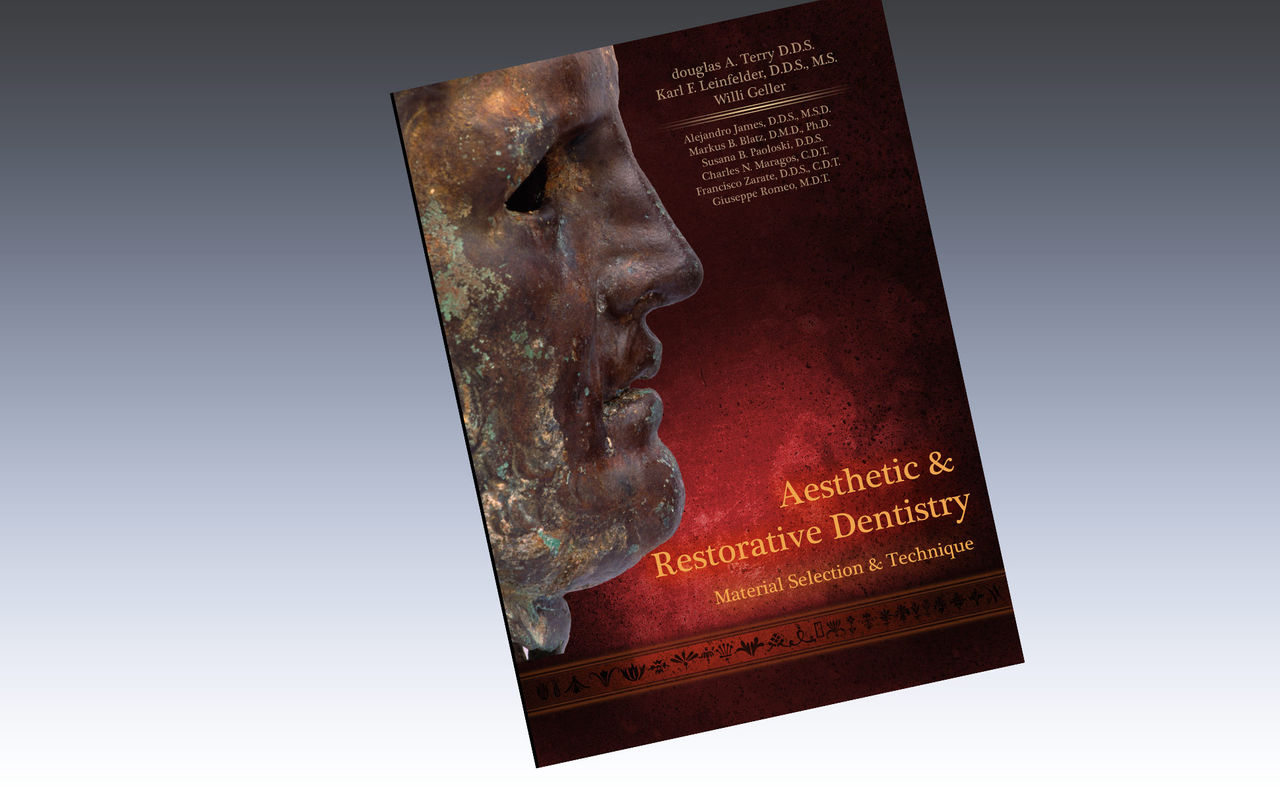
Book Review – ‘Aesthetic & Restorative Dentistry: Material Selection & Technique’
Author

Most of us purchased our last dental textbooks in dental school and probably rarely refer to them. I still pull out my color atlas of human anatomy and local anesthesia book from time to time, but that’s about it. For the most part, the books we studied from were boring but served their purpose: to educate. However, I have found that I’m a visual learner. I learn better through pictures, and the better the photography is, the more drawn in to the subject matter I am.
Toward the end of last year, I received an email about a new book being completed by Dr. Douglas Terry, Dr. Karl Leinfelder and Master Dental Technician Willi Geller. I was only familiar with Dr. Terry at the time and had actively followed his numerous published articles. Many of these articles focused on direct composites, and you could clearly see his skill and artistry. As a dentist who has focused exclusively on indirect restorations for the past 10 years, I told myself I would reprint the next article on indirect restorations that Dr. Terry wrote.
Since the book arrived in mid-January, it has had its own reserved parking spot on my desk. It is 700-plus pages of some of the most accomplished photography in dentistry, and more importantly, it is downright useful. “Aesthetic & Restorative Dentistry: Material Selection & Technique” is an exhaustive work, but an absolute joy to read.
Dr. Terry covers composite resins as expected, but I was surprised and delighted to see him cover such diverse topics as: principles of tooth preparation, ceramic materials, elastomeric impression materials, contemporary adhesive cements, provisionalization and periodontal plastic surgery. It is exactly the table of contents I would have come up with, because it contains all the topics that I love.
A number of dental journals publish articles in which amazing dentistry is accomplished with, for example, multi-layered direct composites. A patient with a fracture of an anterior tooth needs a large Class IV composite with an incisal edge involved. The dentist takes an impression, pours a study model, repairs the defect, makes a putty matrix, and then begins rebuilding the tooth. The result is absolutely gorgeous, but I don’t know a single dentist who routinely practices like this. That is why it is so refreshing to see the practical knowledge Dr. Terry has included in this book.
I wanted to give you a sneak peek of the stunning visuals I am referring to, and Dr. Terry was kind enough to give us permission to reprint one such case from the book. Following is a short photo essay on utilization of the total etch technique for rebonding a fractured porcelain veneer. There have been other articles on the same topic, but none have been done with the same style and simplicity of this case. Like our dental school textbooks, this book will certainly educate you, but with a passion, clarity and detail rarely seen in dental publishing today.


Purchase “Aesthetic & Restorative Dentistry: Material Selection & Technique” at quintpub.com or amazon.com. For an autographed copy of the book, log on to everestpublishingmedia.net.
Contact the author, Dr. Douglas Terry, at 281-481-3470, dentalinstitute.com or dterry@dentalinsititue.com.
References
Terry DA, Leinfelder KF, Geller W. Aesthetic & restorative dentistry: material selection & technique. Stillwater (MN): Everest Publishing Media; 2009.