Dental Photography: A New Perspective, Part 2 — Techniques
Introduction
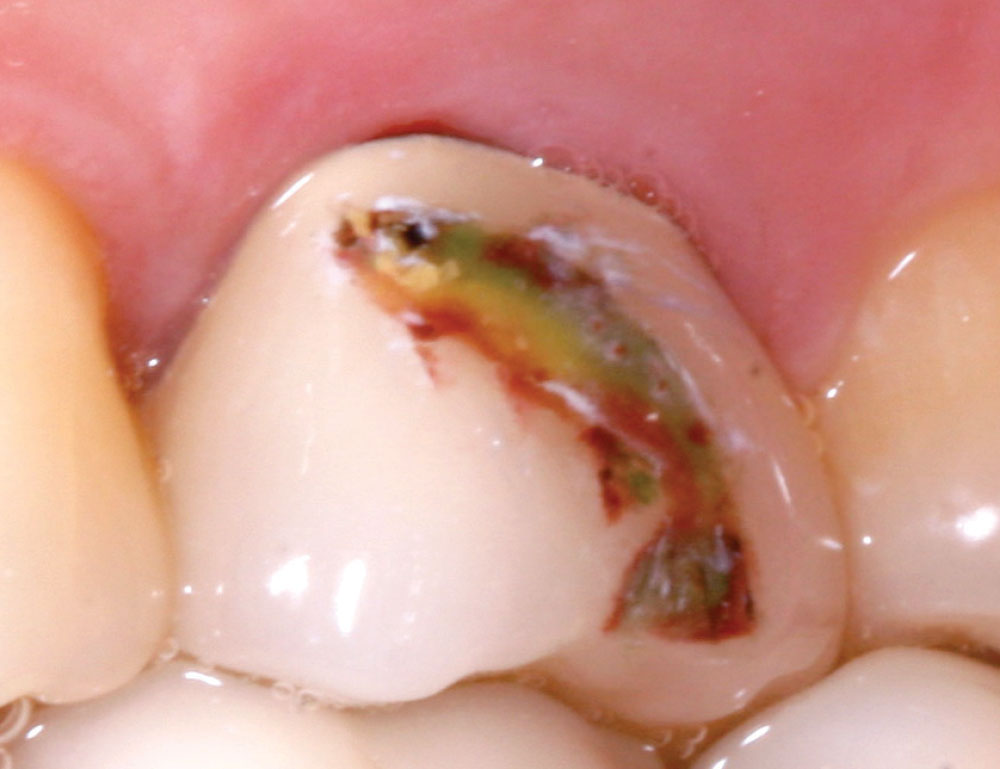
Part one of “Dental Photography: A New Perspective” (Chairside®, Vol. 6, Issue 3) described two types of photographs used in dentistry. The traditional “record-keeping” dental photograph, with a prescribed pose, magnification ratio and lighting, is a factual record of a dental subject. The second type of dental photograph is used to communicate a dental message to patients, dental labs or referral doctors, and in presentations or marketing. The communication dental photograph follows artistic or general photographic principles of “storytelling” and artistic design. The subject is the same: teeth, oral and perioral anatomy. However, the techniques used to take the photographs follow good photographic guidelines.
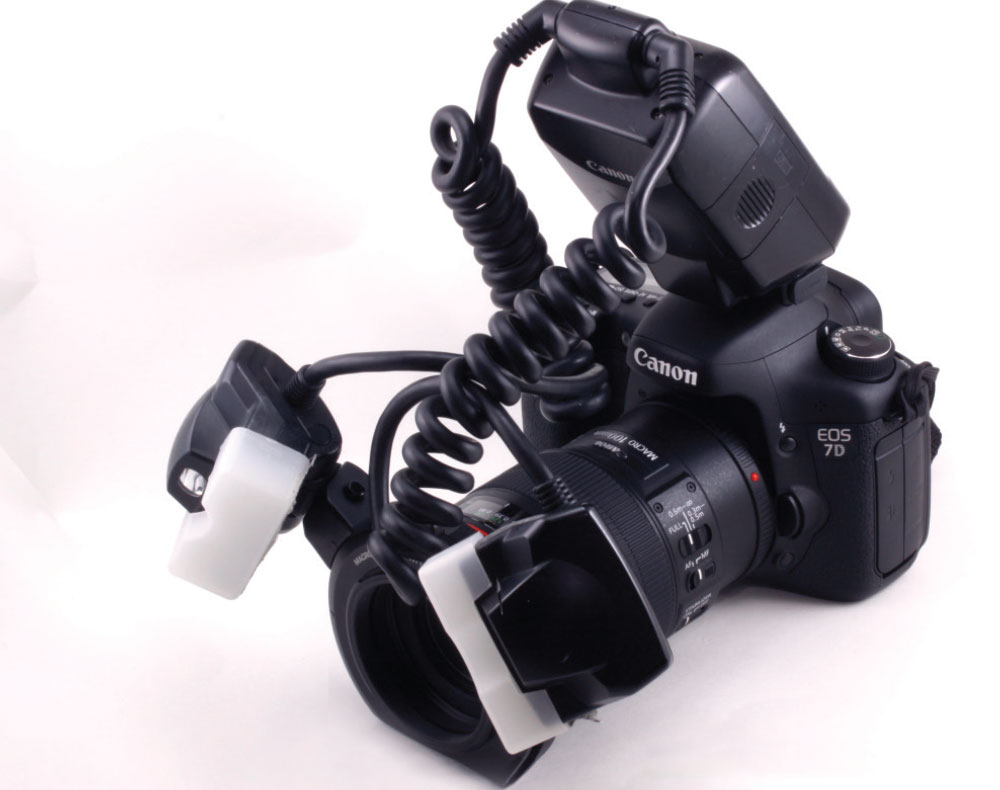
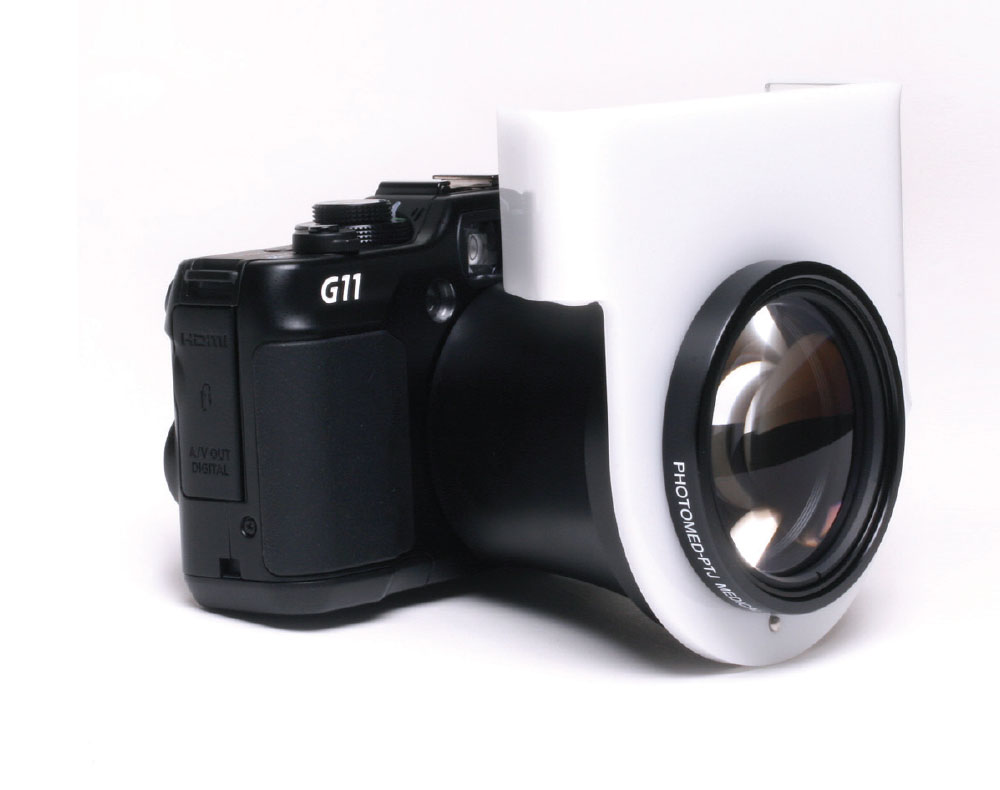
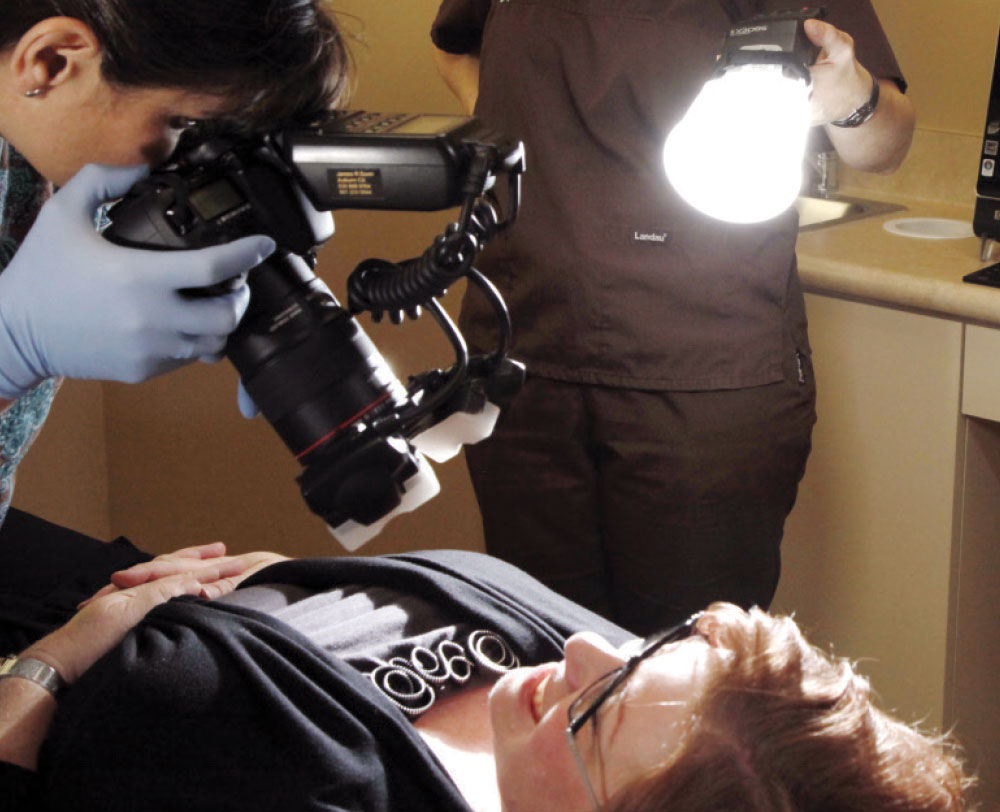
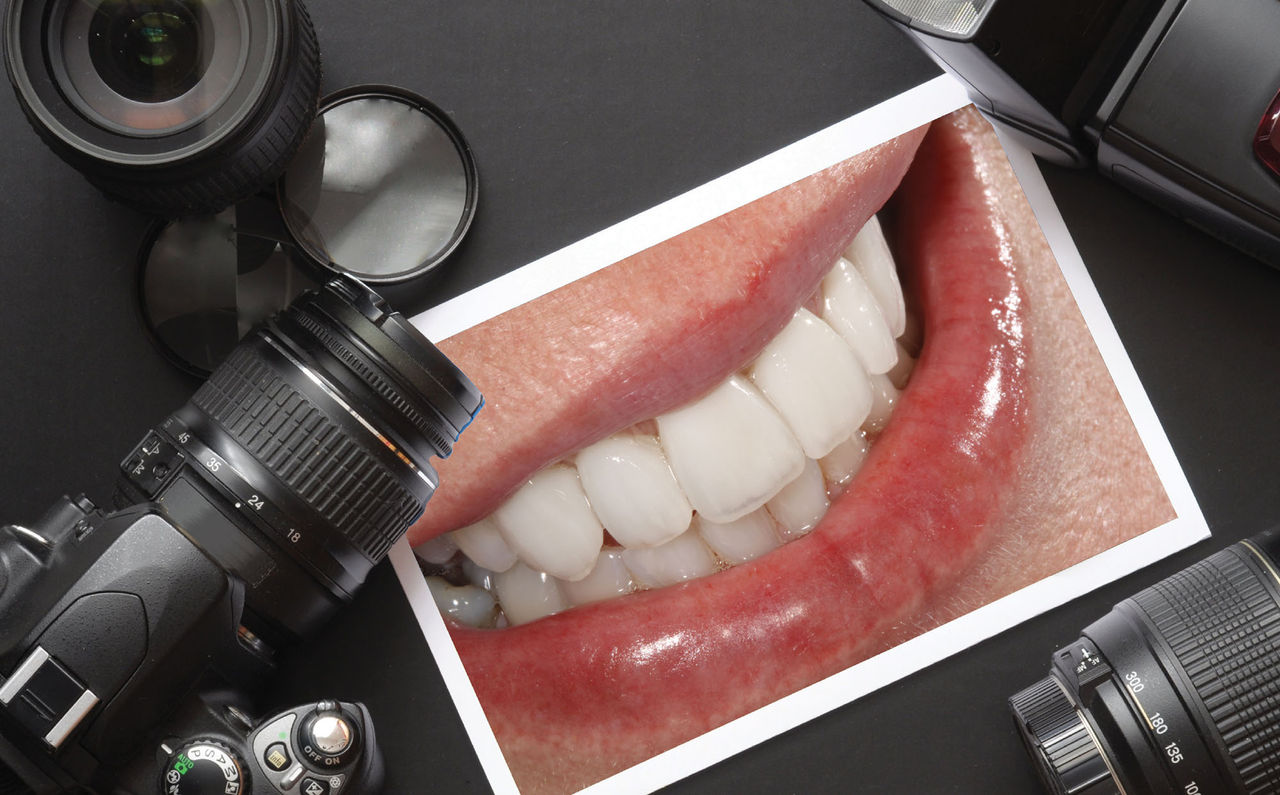
A quality single-lens reflex (SLR) digital camera with attached macro lens and macro flash or a point-and-shoot camera with a close-up attachment* can be used to take quality dental communication photographs (Figs. 1a, 1b). Remember: Cameras are important, but photographic technique and photographic style are more important!
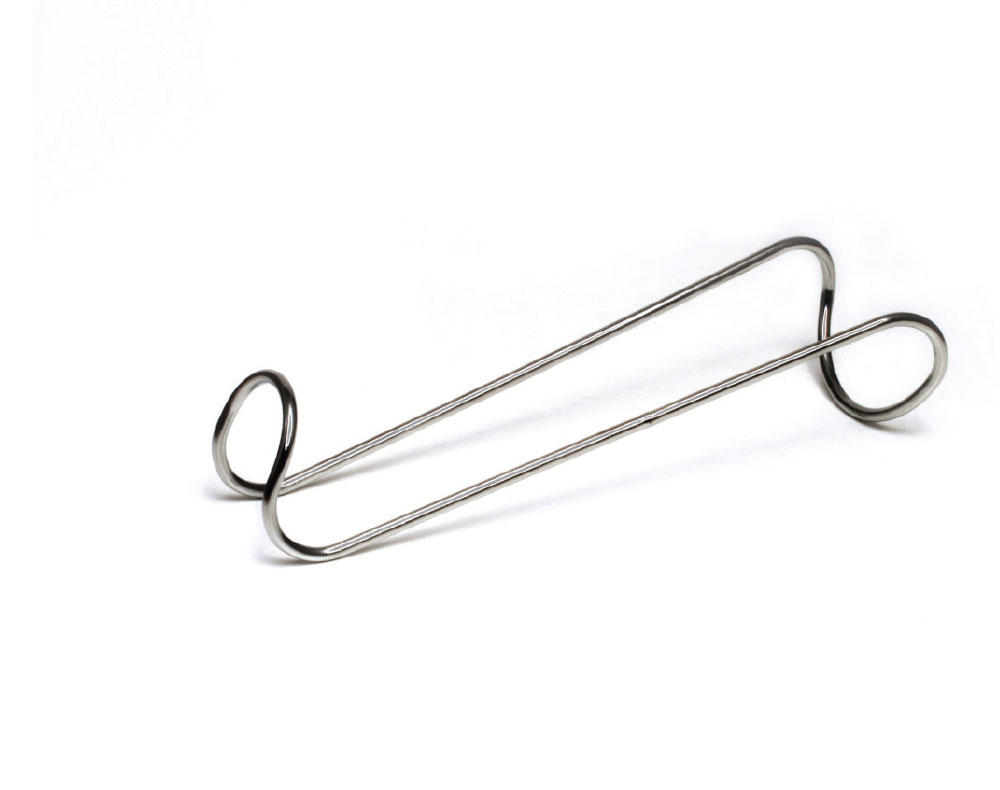
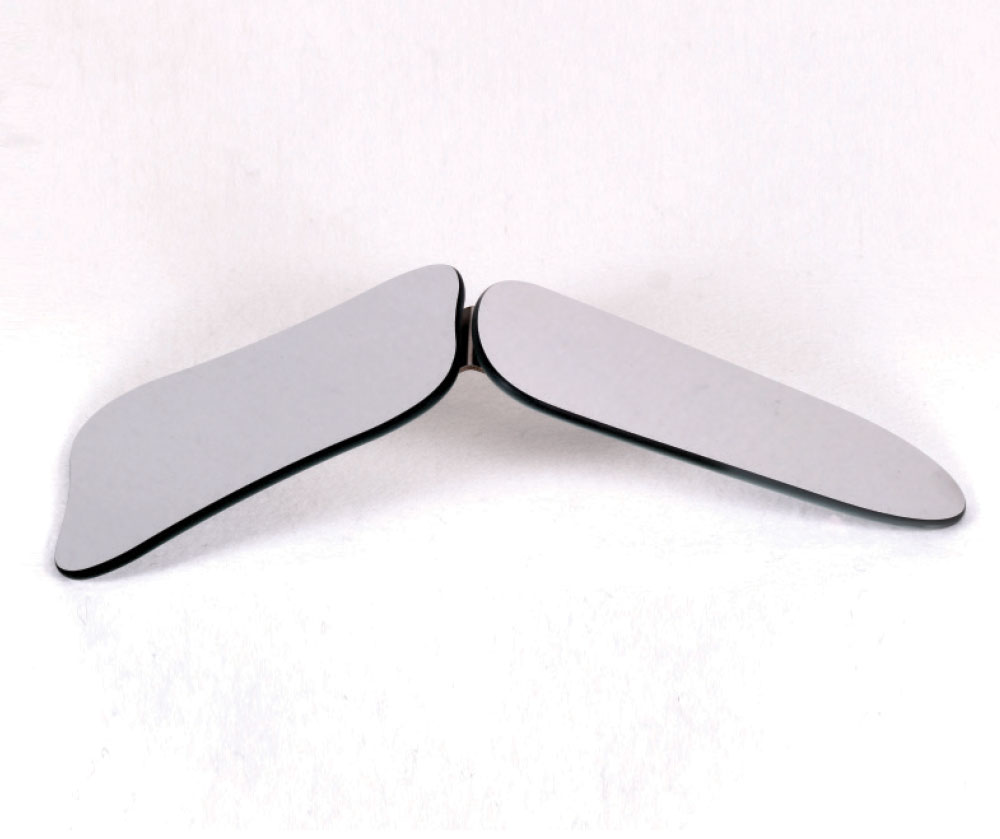
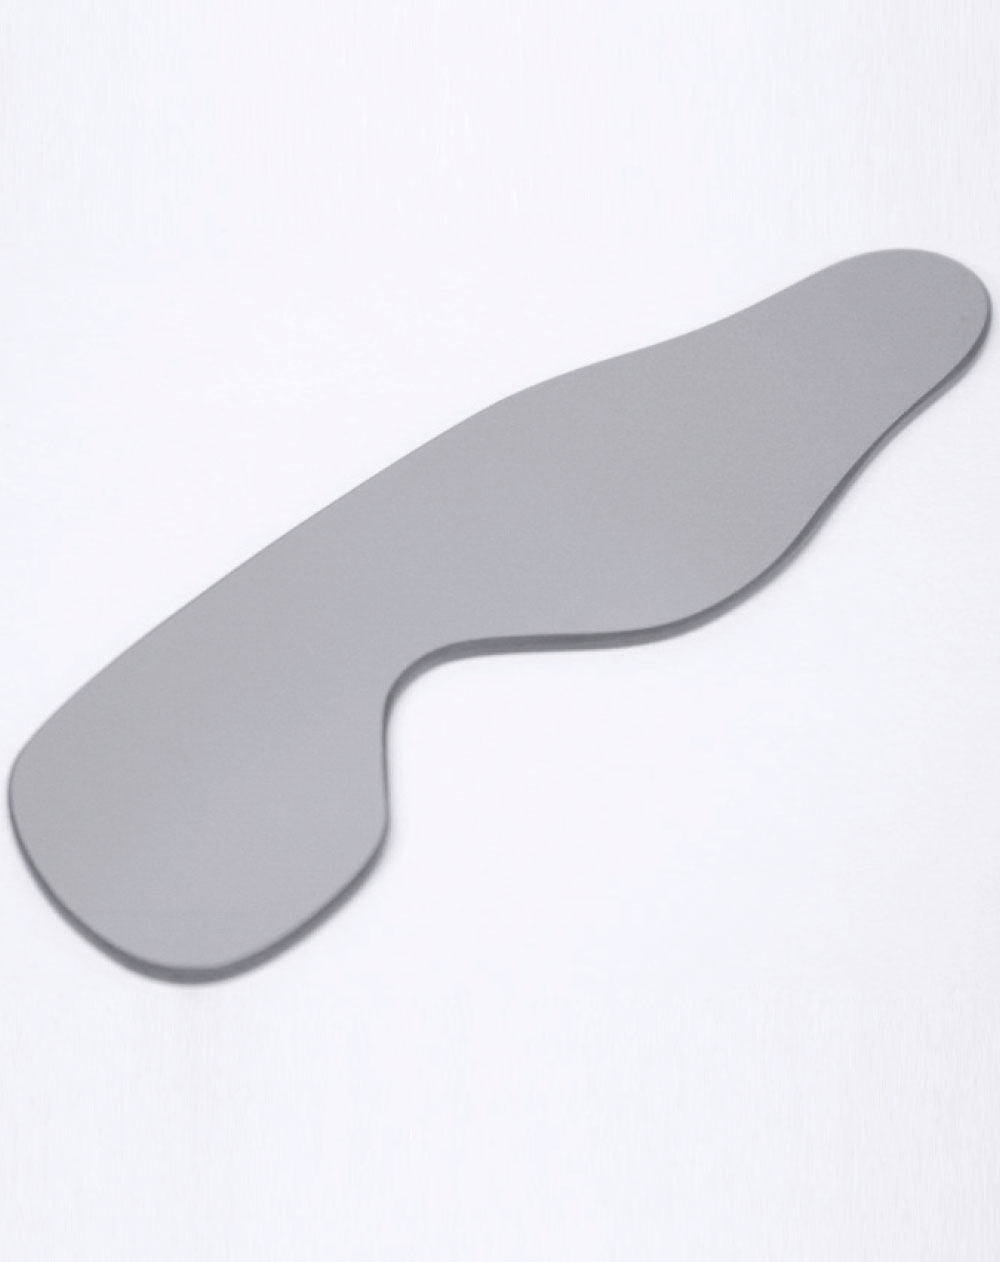
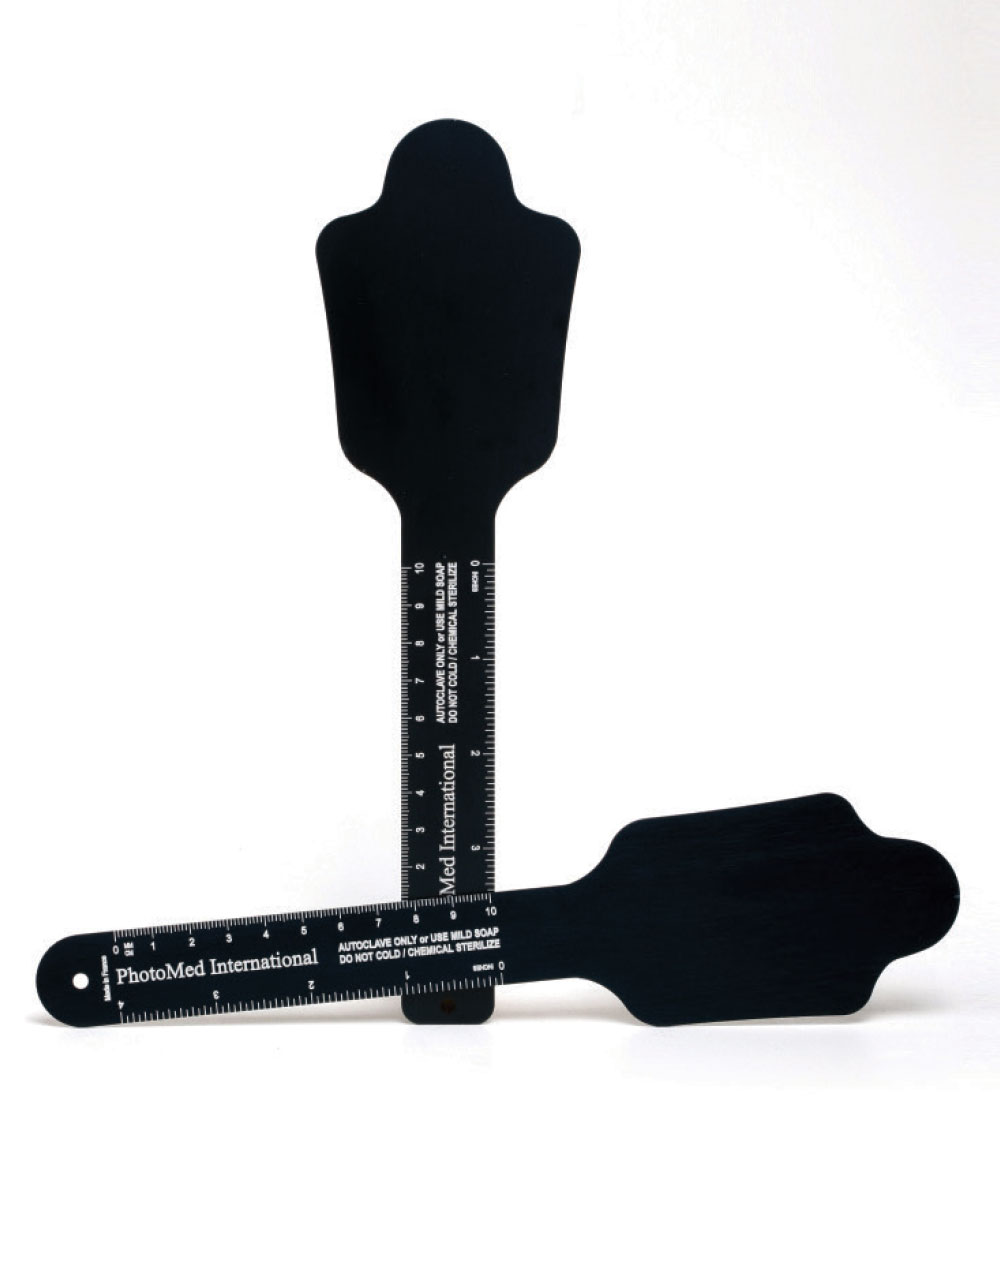
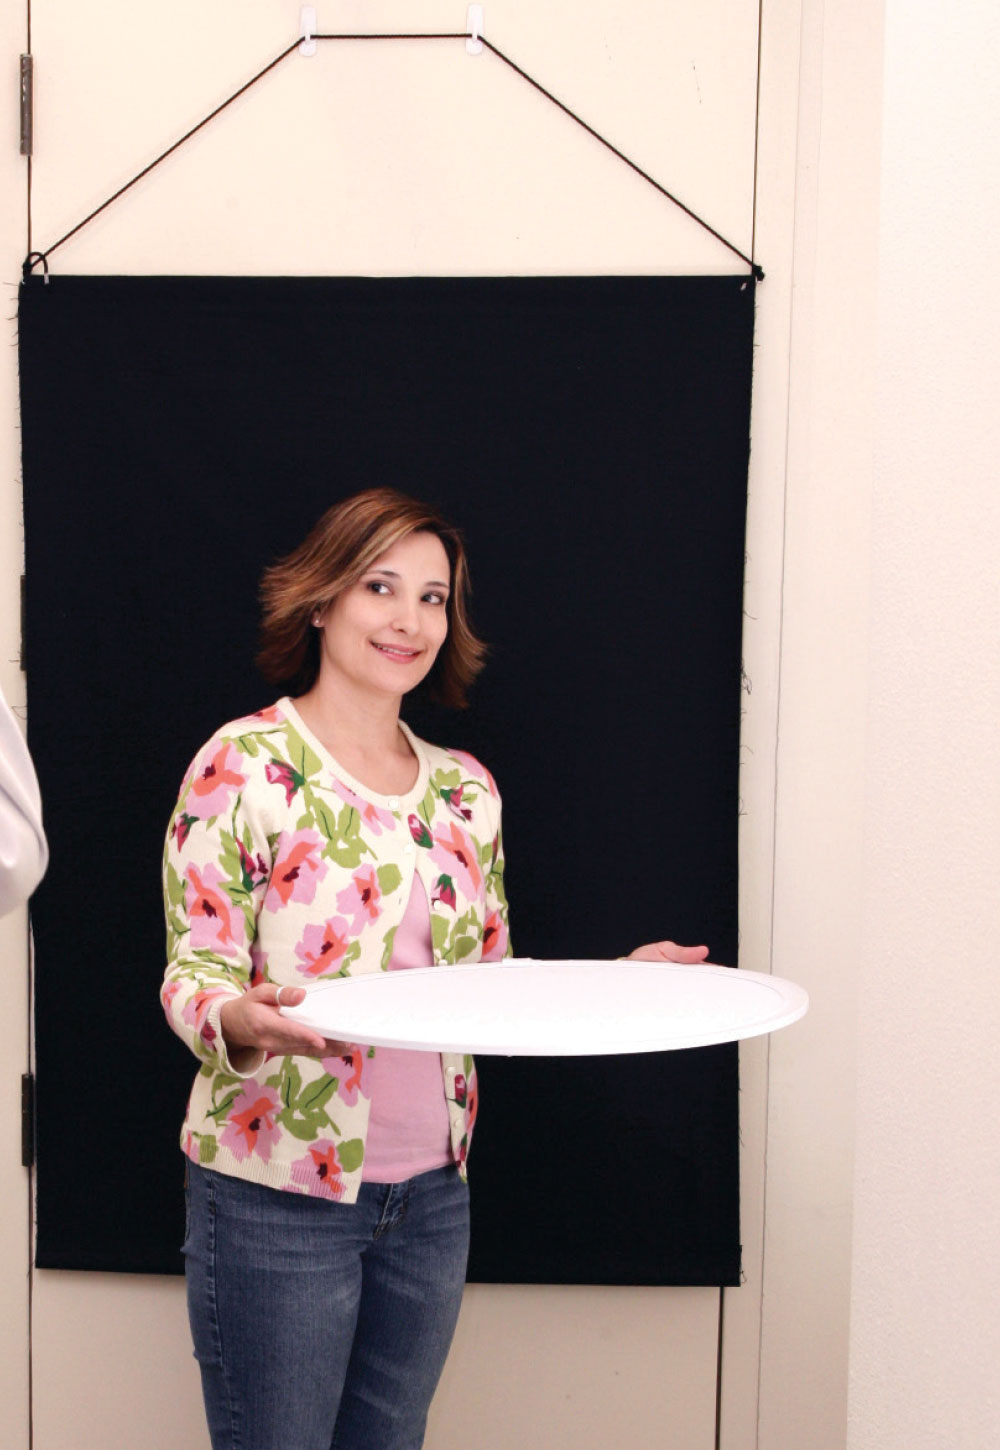
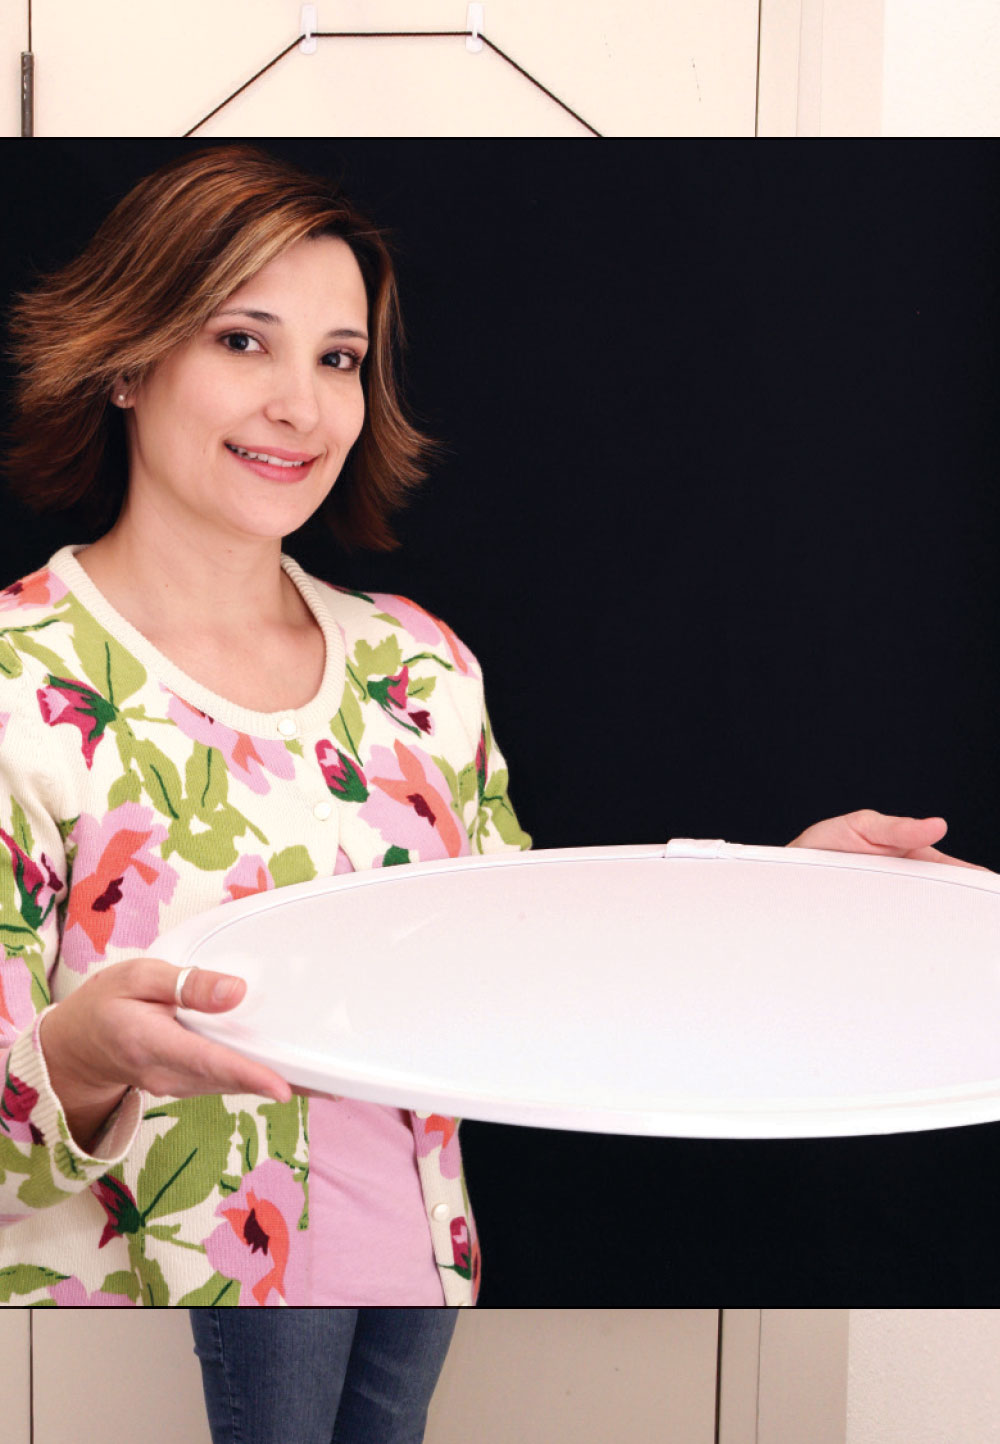
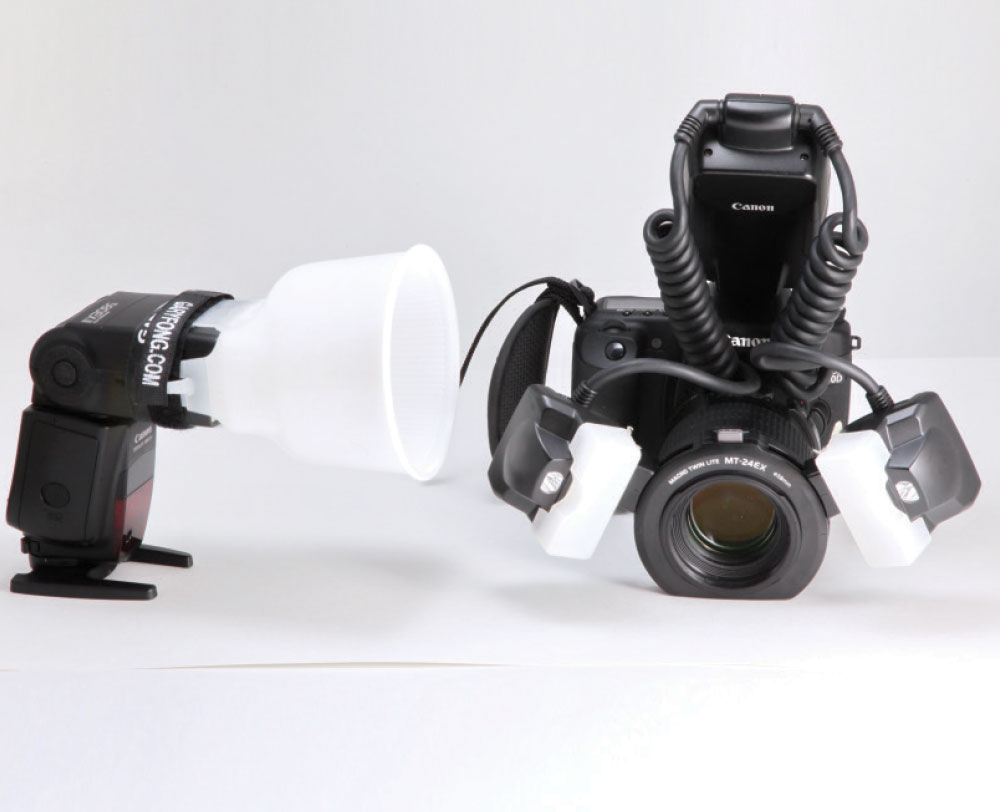
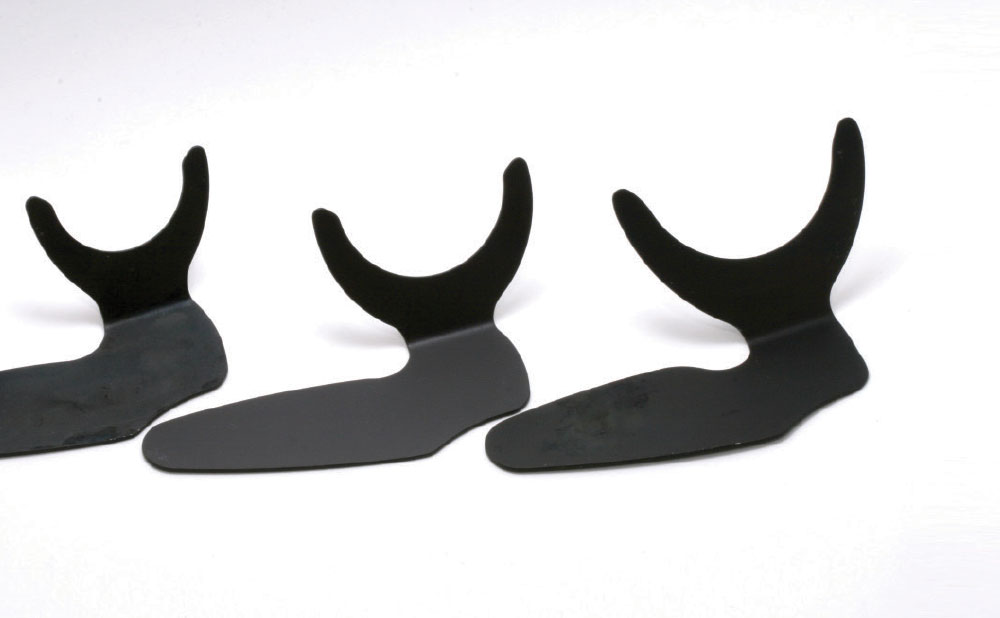
Accessory items used to create communication photographs include: cheek retractors, mirrors, contrasters, and on- and off-camera flashes (Figs. 2–4). Simplified portraits also use backgrounds* and reflectors* (Figs. 5, 6).
This article will describe “artistic” techniques, which can be used to enhance the visual quality of dental photographs with minimal interruption to the dental practice.
The communication dental photograph follows artistic or general photographic principles of “storytelling” and artistic design. The subject is the same: teeth, oral and perioral anatomy. However, the techniques used to take the photographs follow good photographic guidelines.
Camera Settings
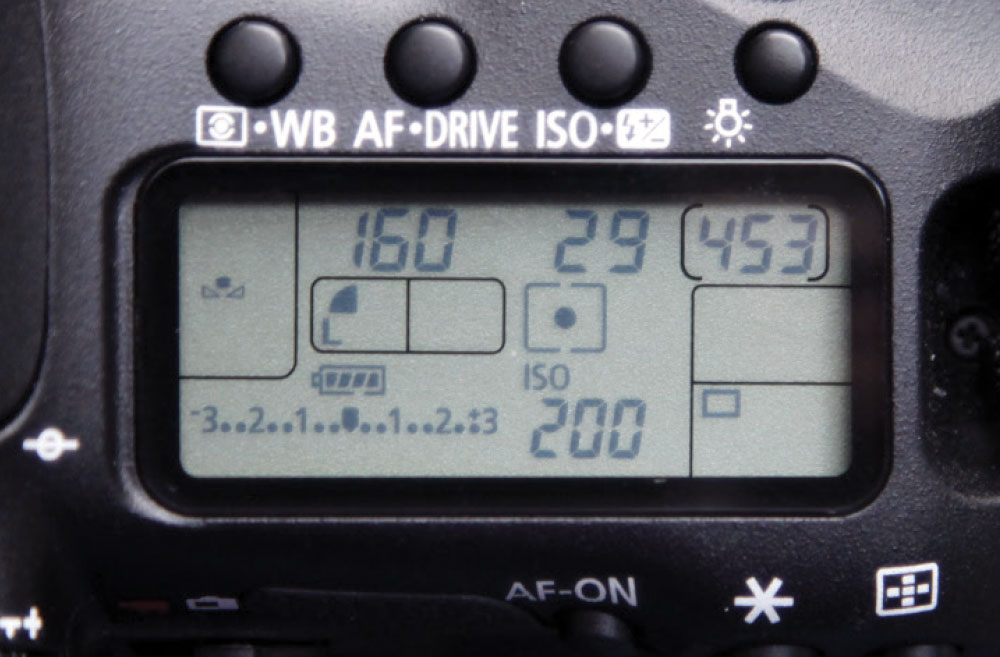
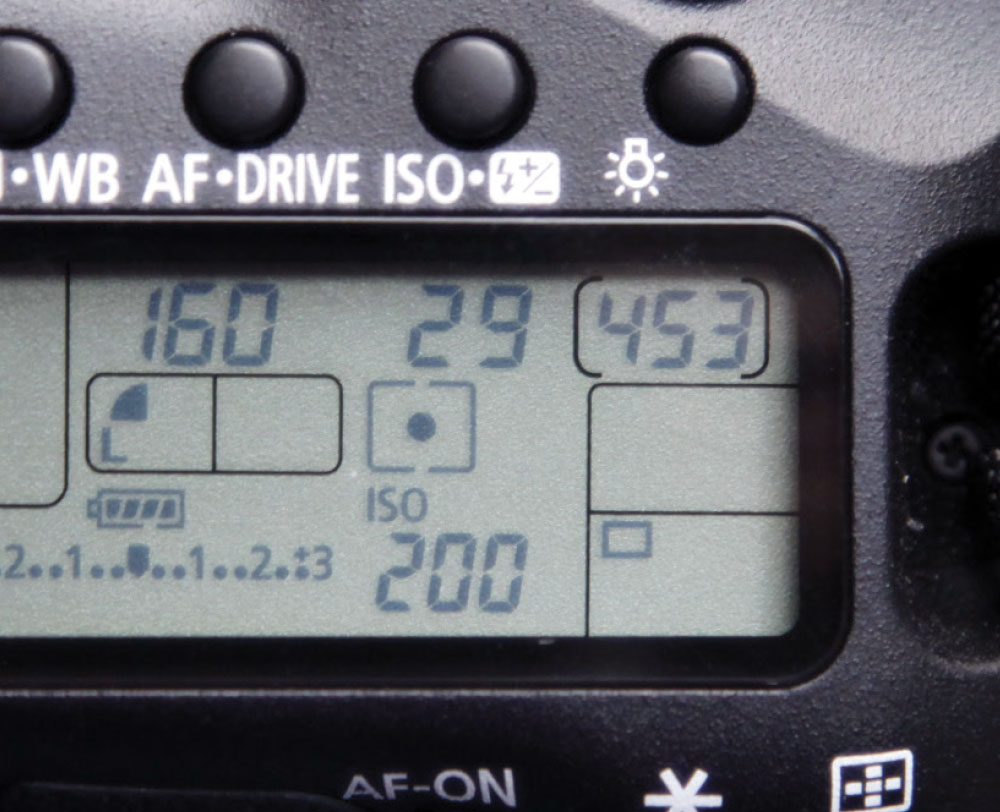
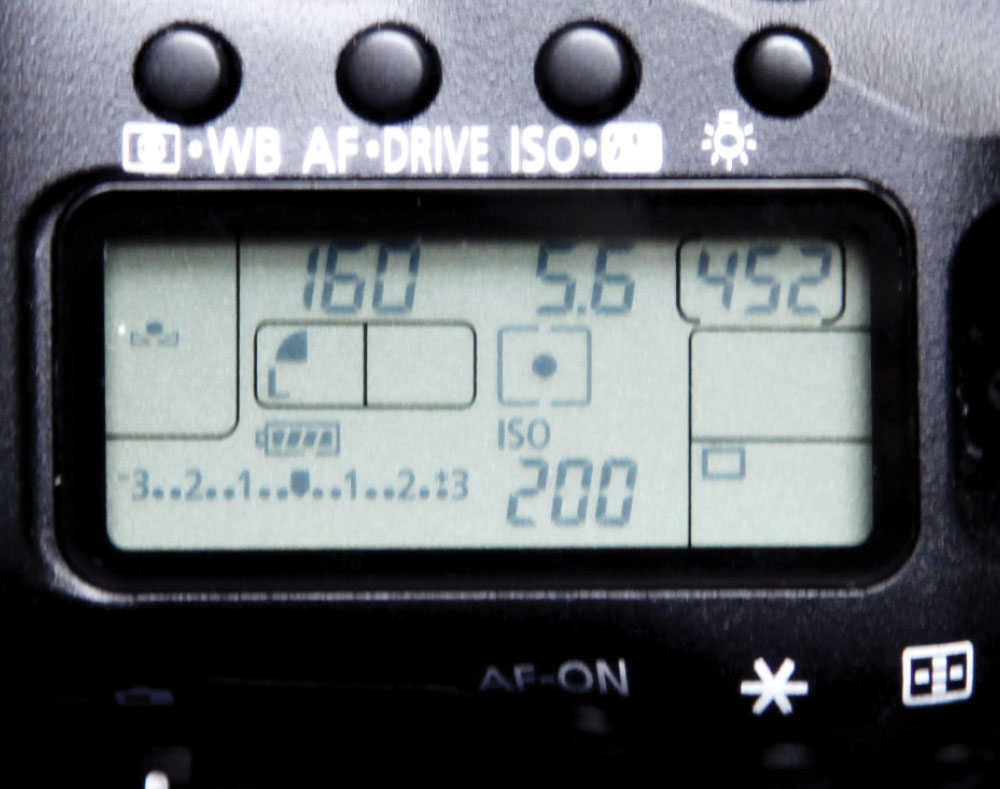
Lens f-stop (which determines how much light enters the camera through the lens) should be set to as high a number as possible, and shutter speed (which regulates how long light enters the camera) should be set above 1/100 to ensure maximum focus sharpness. The ISO setting should be between 100 and 200 for highest resolution. Suggested settings are: manual mode, f/29, 1/160 sec, ISO 200 (Fig. 7).
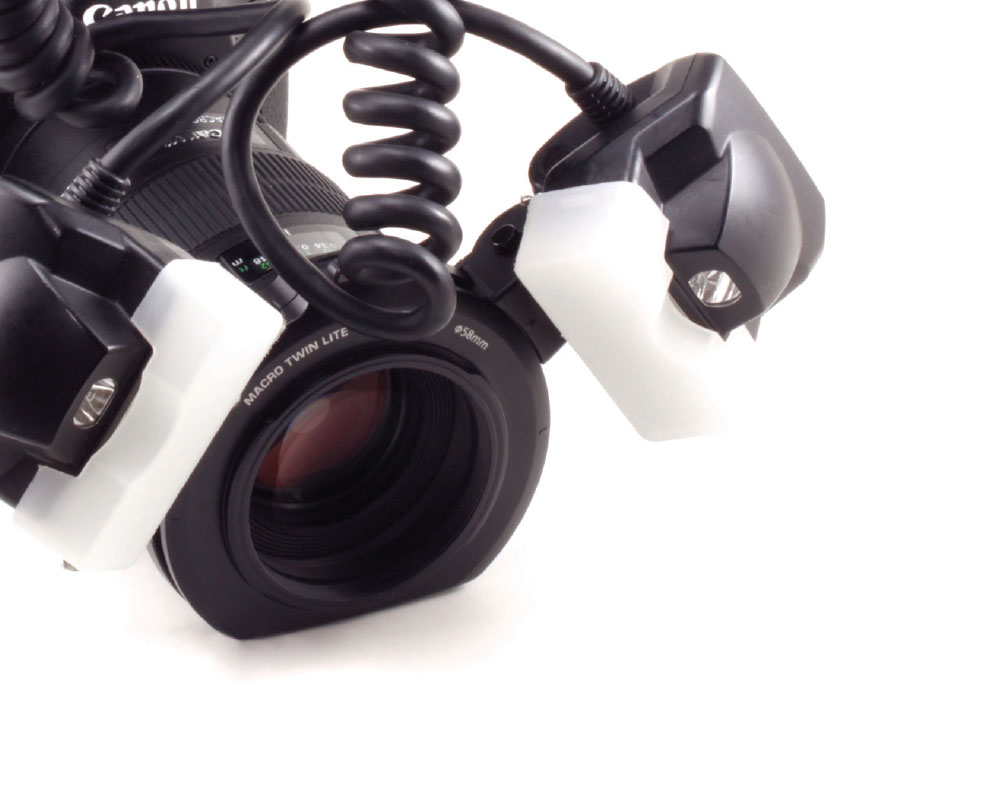
A macro flash adequately lights the dental subject (Fig. 8). Ring lights de-emphasize detail, while point lights can cause excessive shadows. A twin-point light can be used to highlight and also reduce shadows. Point lights also can be rotated to direct light on important subjects.
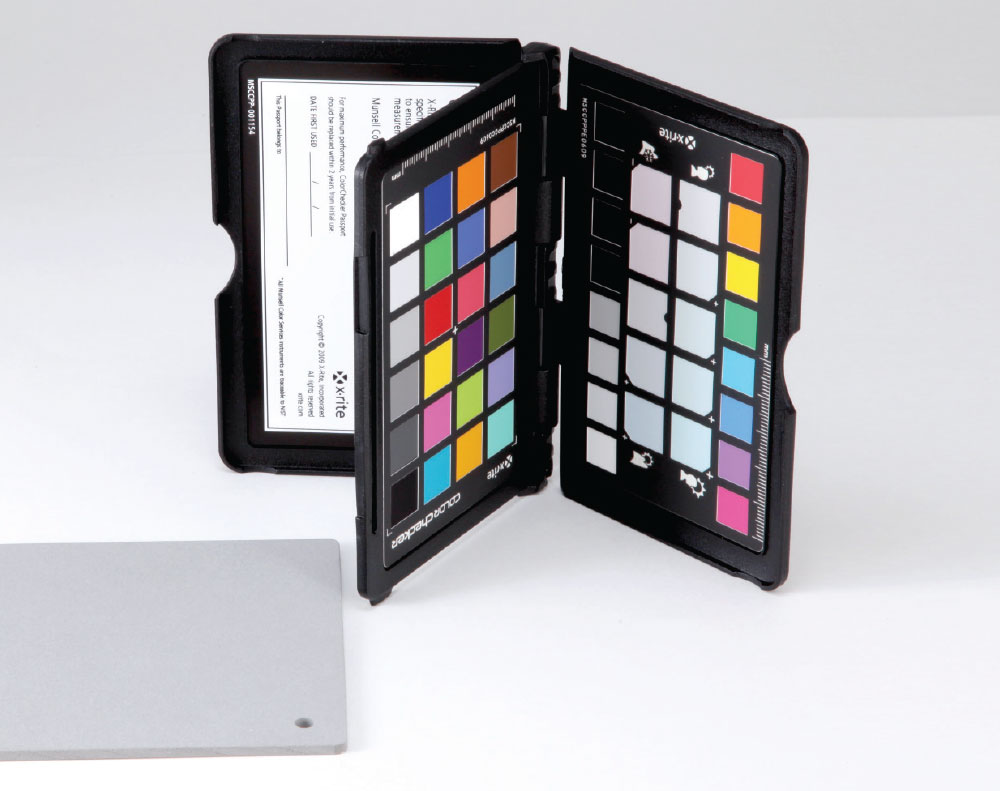
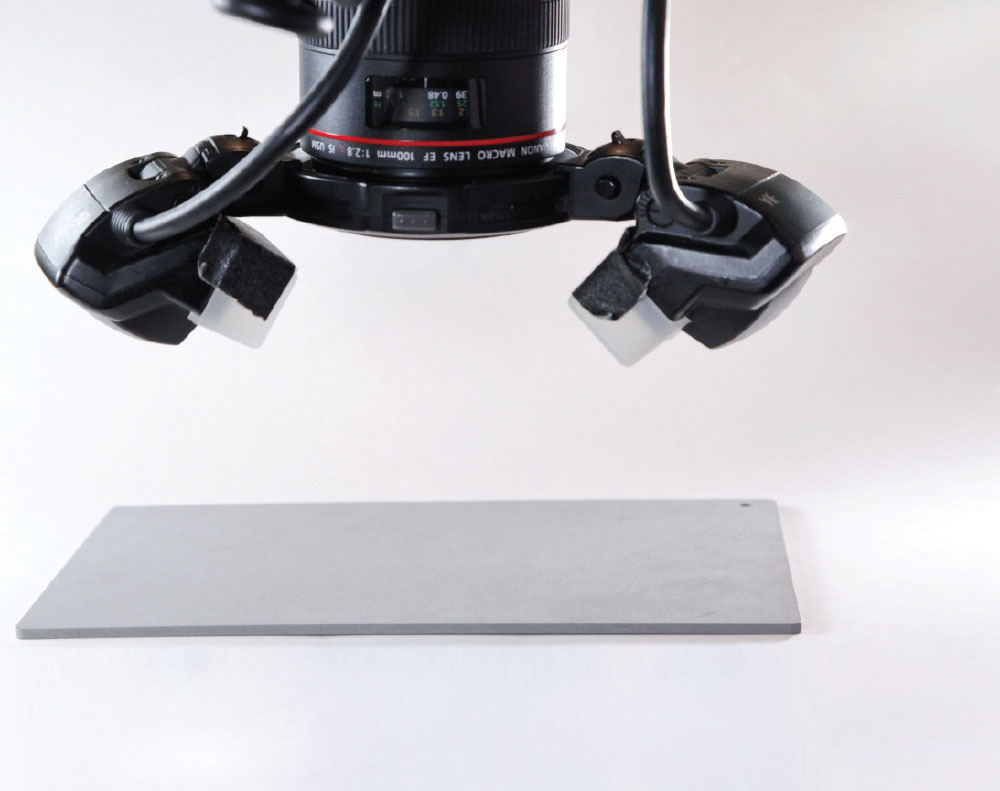
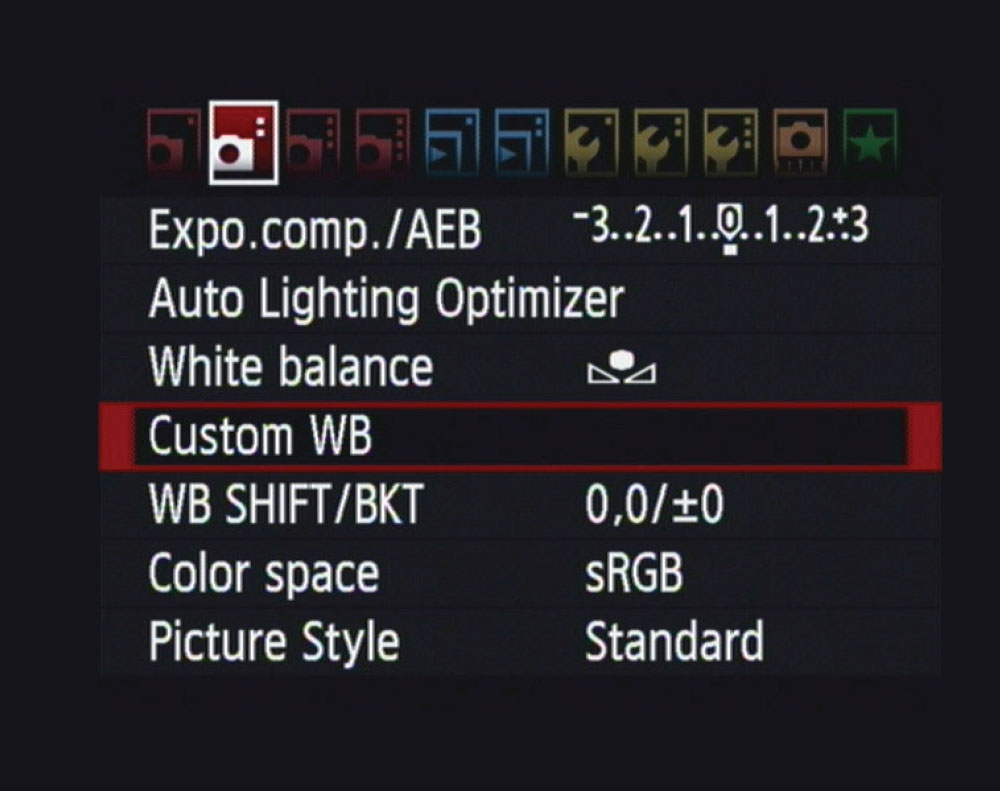
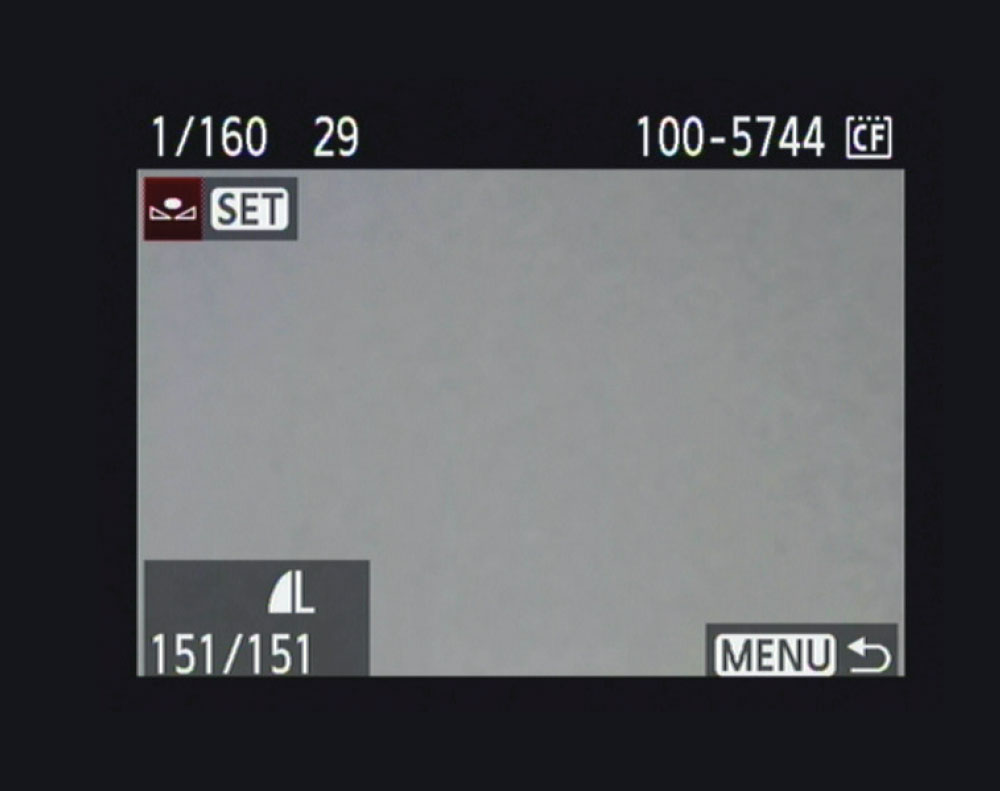
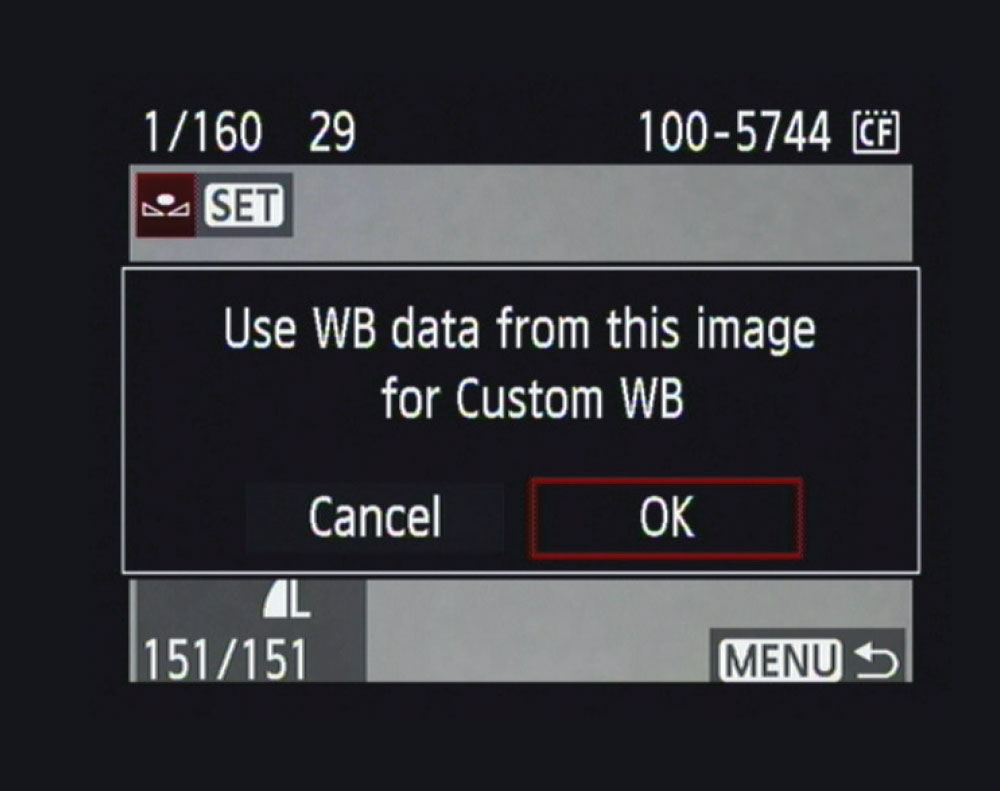
Proper white balance is the most important camera setting for accurate color, and custom white balance is the most accurate white balance for dental photography. With the camera, lens and flash set for optimum quality, a photo is taken of an 18% gray card. The photo is used as a reference for the custom white balance setting for all dental photos taken at the same camera setting (Figs. 9a–11). (See your camera instructions for specific steps on how to set a custom white balance.)
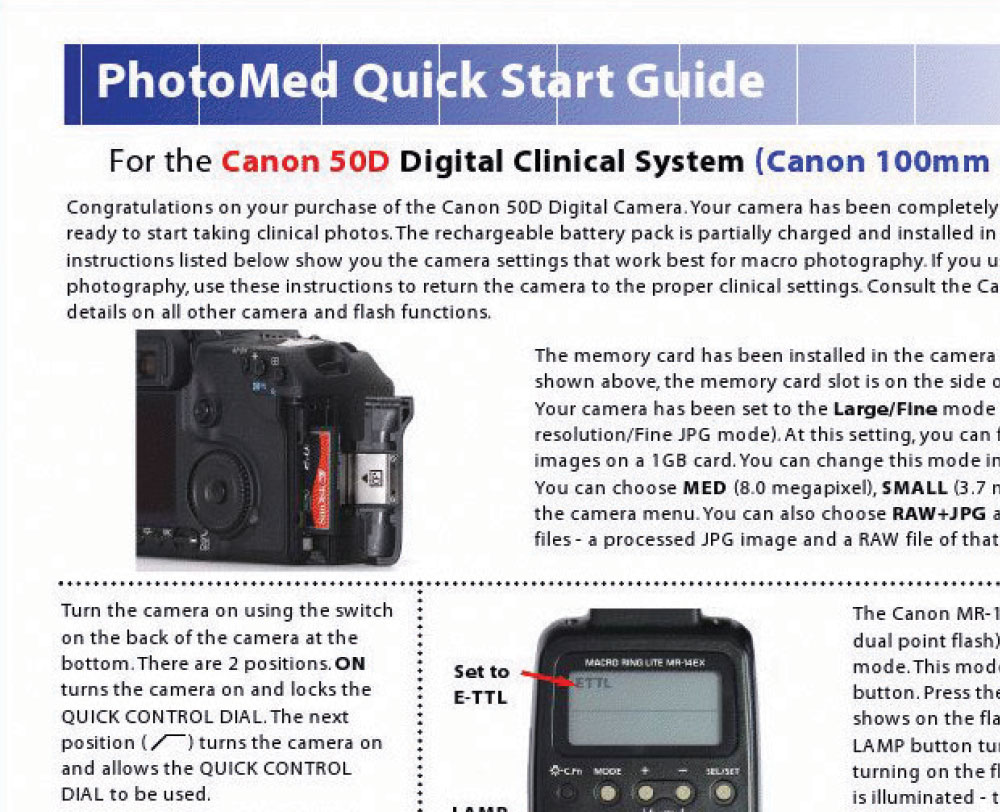
It is suggested to purchase your dental camera from a company that supplies the camera system pre-adjusted for optimum dental use and includes a quick-start guide* (Fig. 12). The quick-start guide shows you how to reset your system when camera adjustments are deliberately or unintentionally changed.
Anterior or Smile Photos
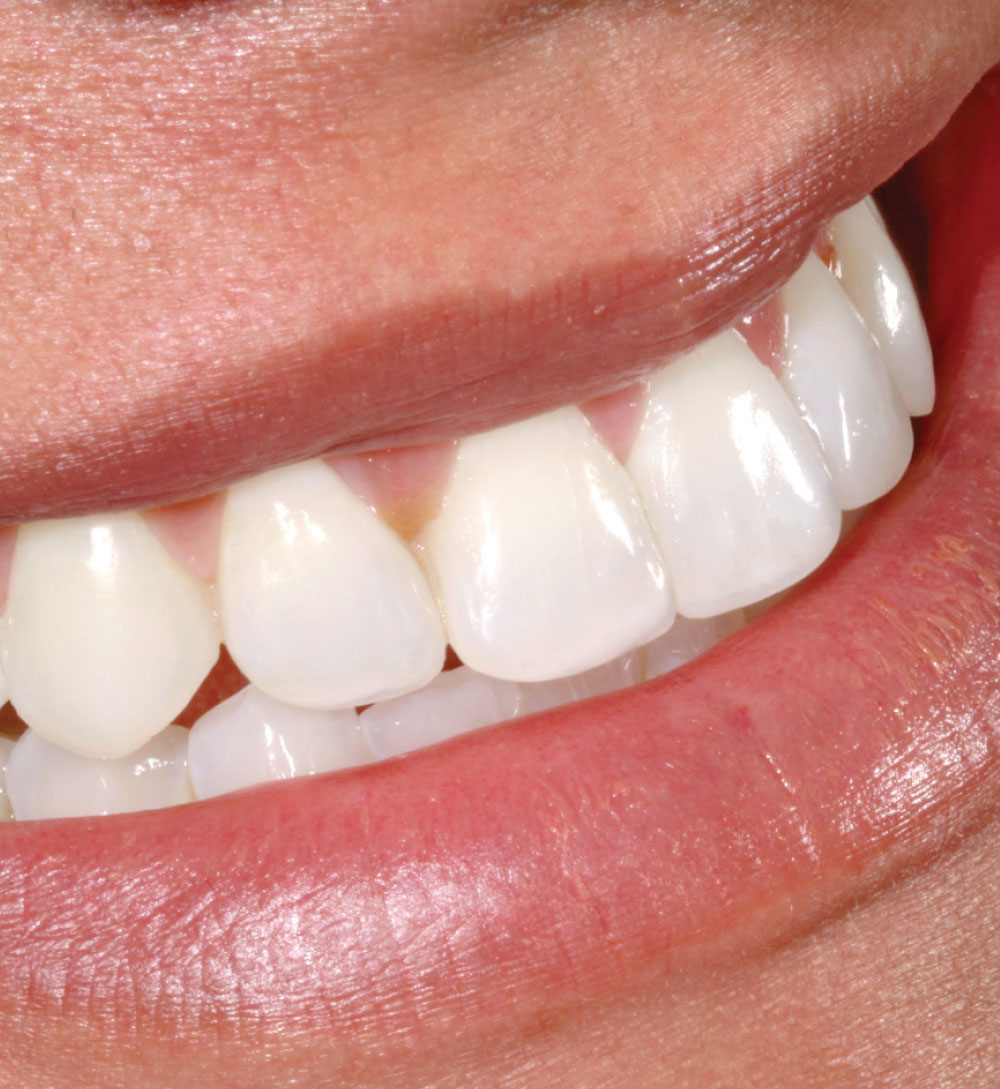
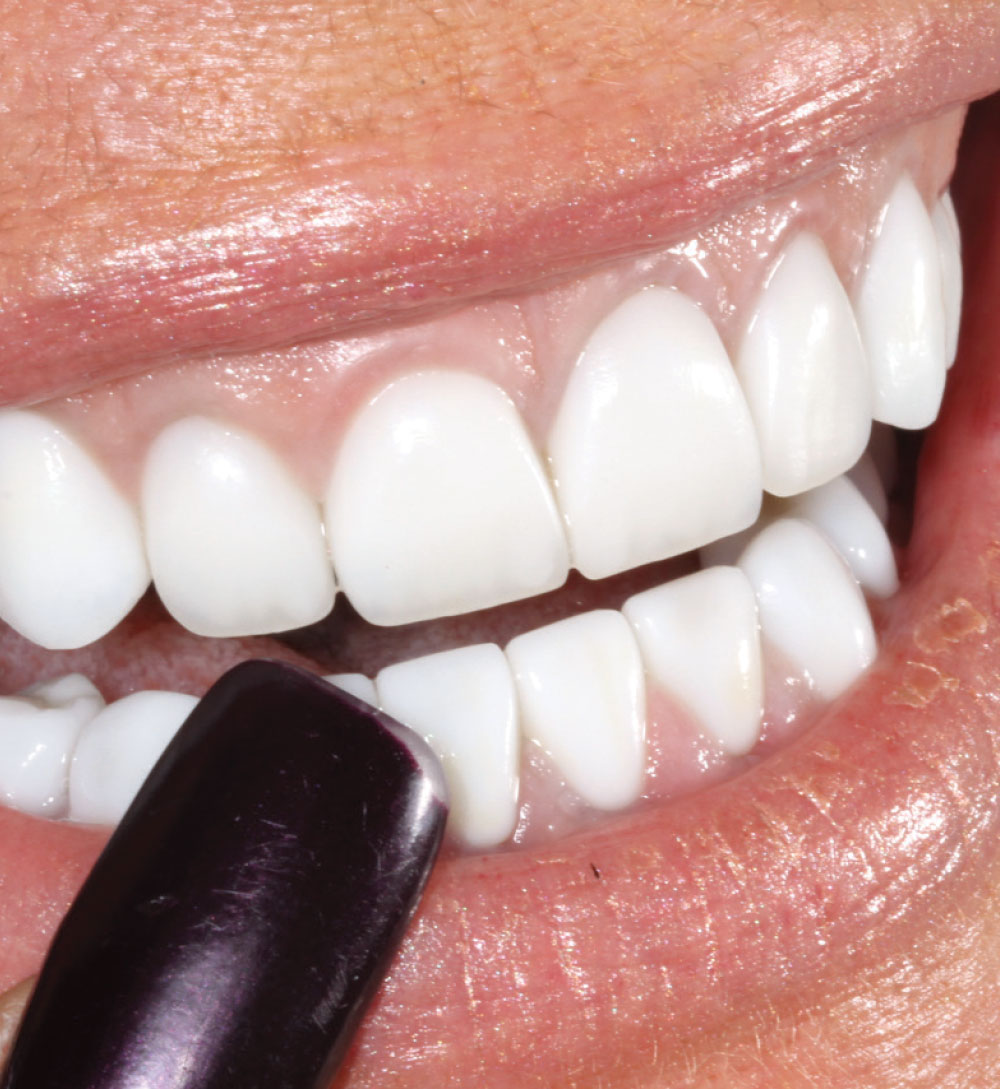
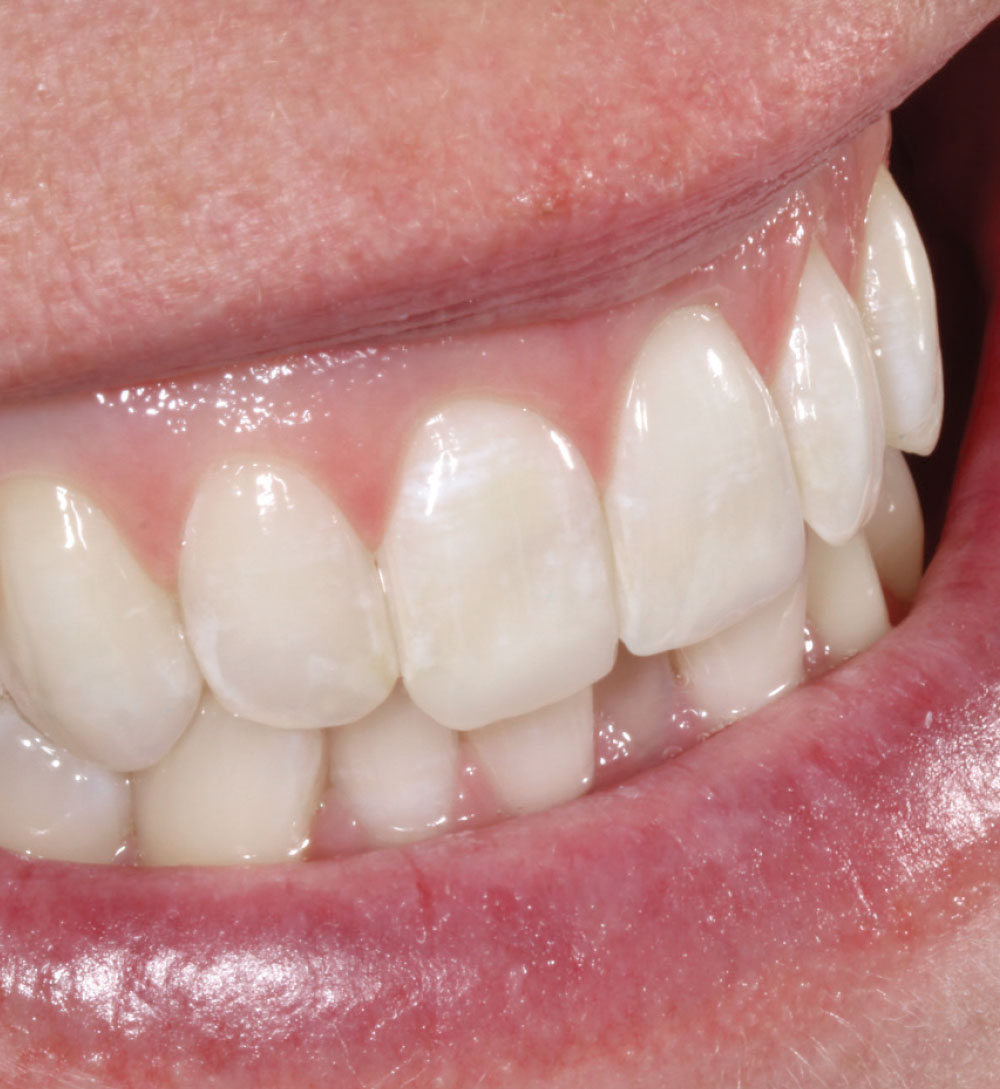
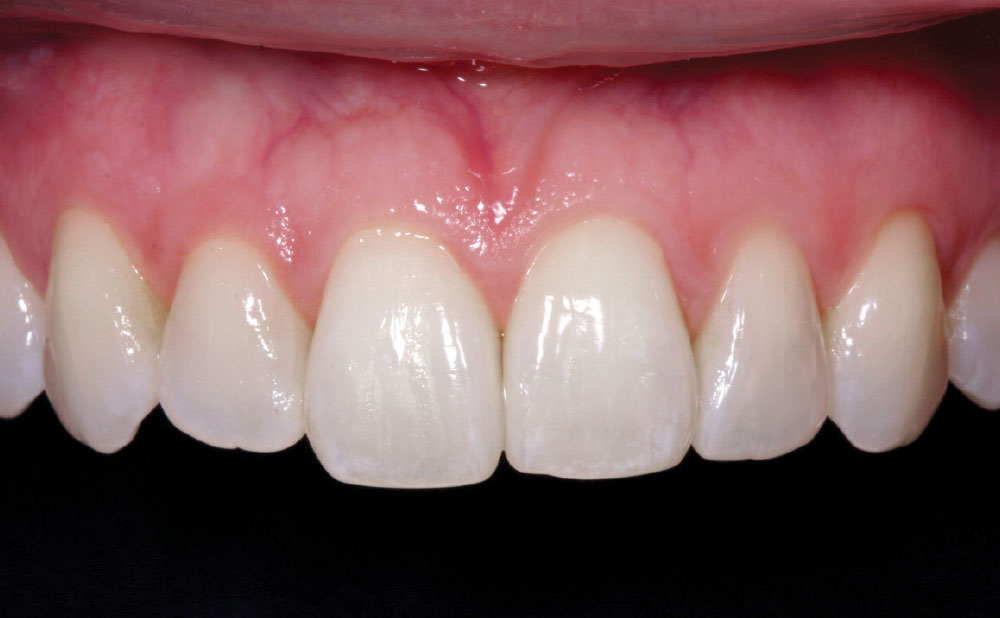
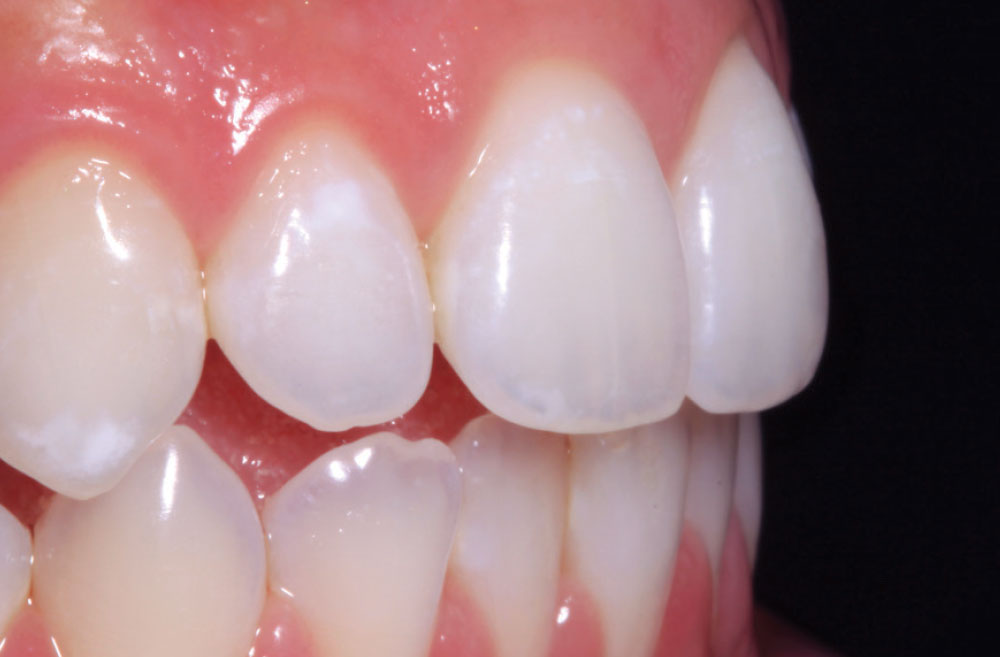
“Record” or factual anterior photographs, with or without cheek retractors, lack attractive or artistic appeal. An additional off-camera flash wirelessly synchronized with the macro flash, with the photo taken at an offangle position, creates attractive lighting and beauty to a common dental photograph (Figs. 13a–14c). Contrasters* can be used to hide distracting oral tissues and emphasize teeth against a black background (Fig. 15).
Occlusal Photos
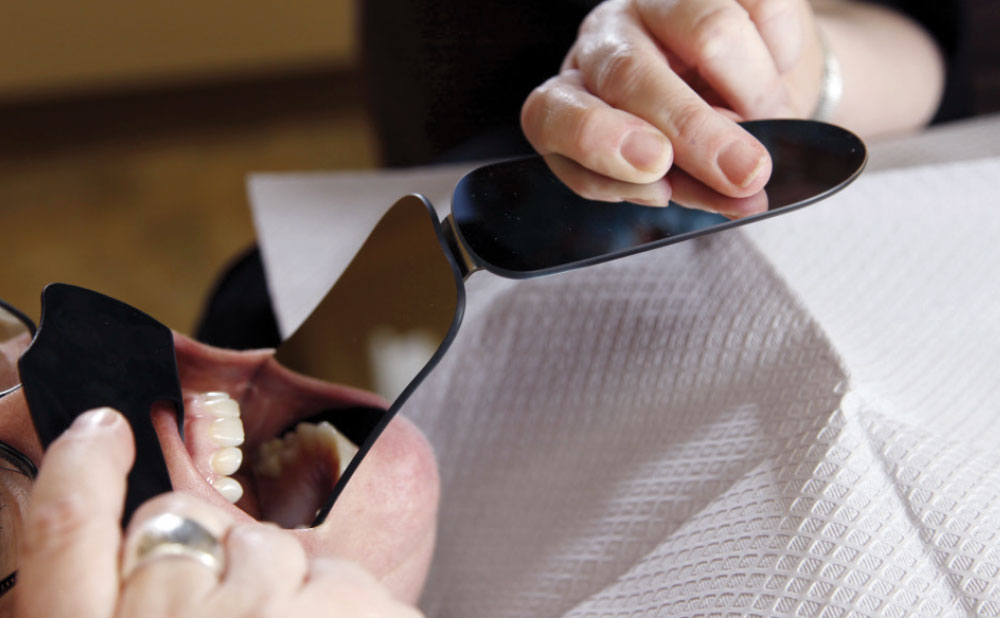
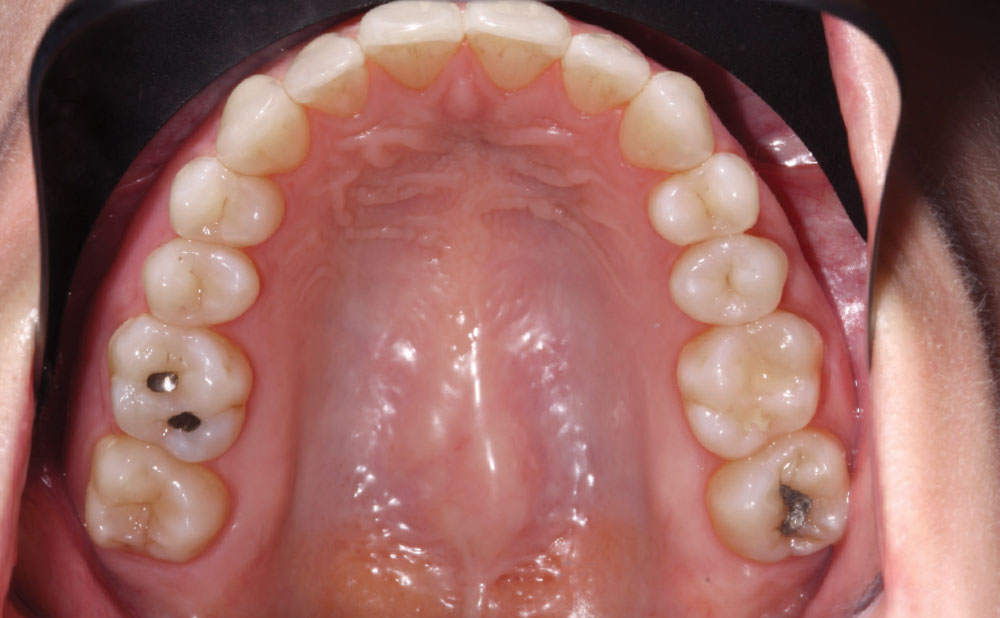
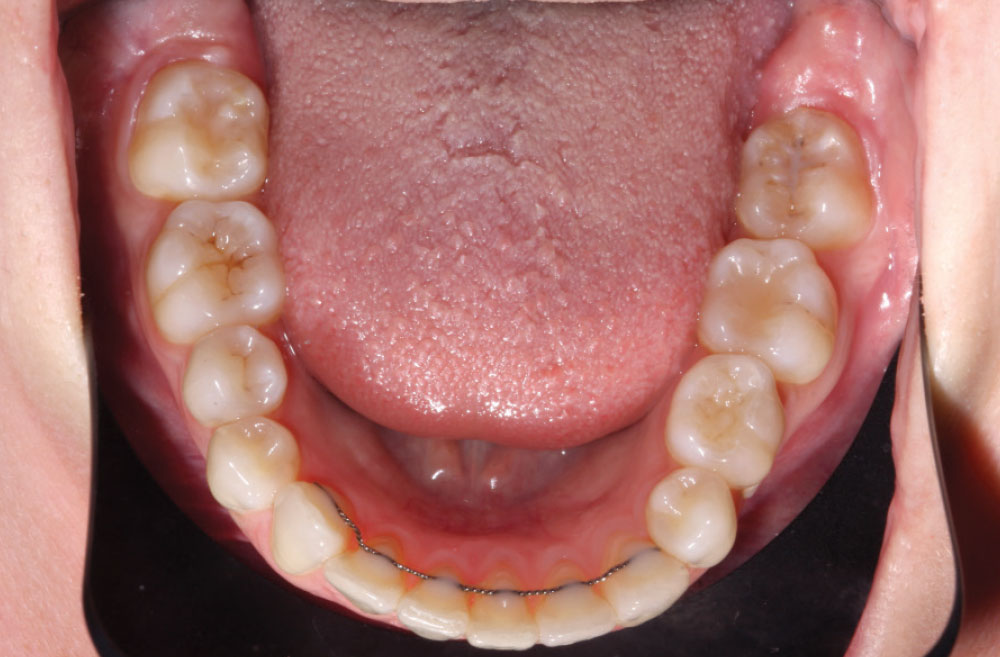
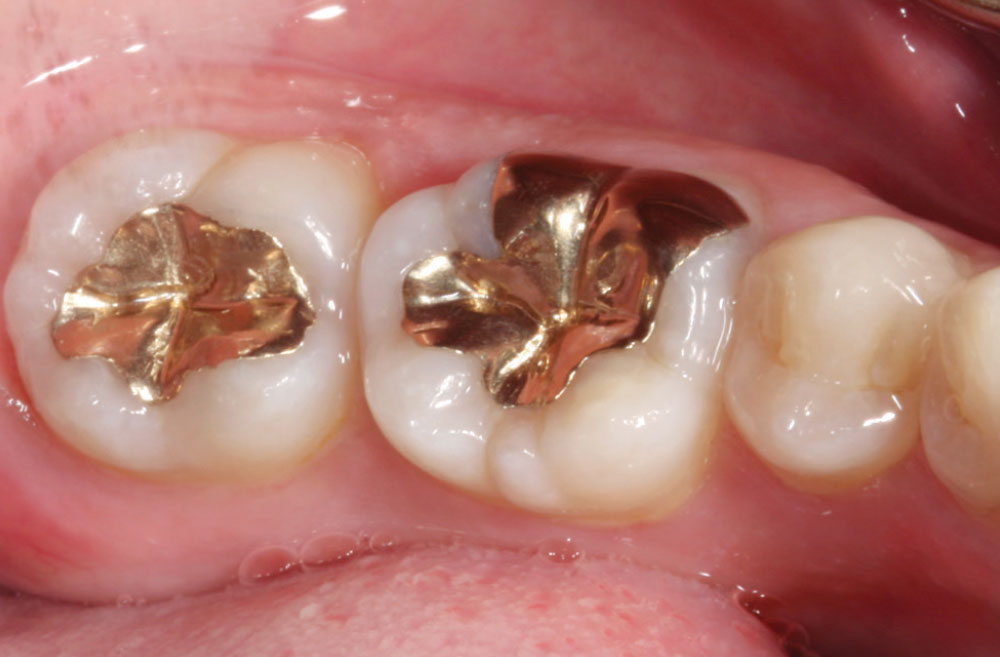
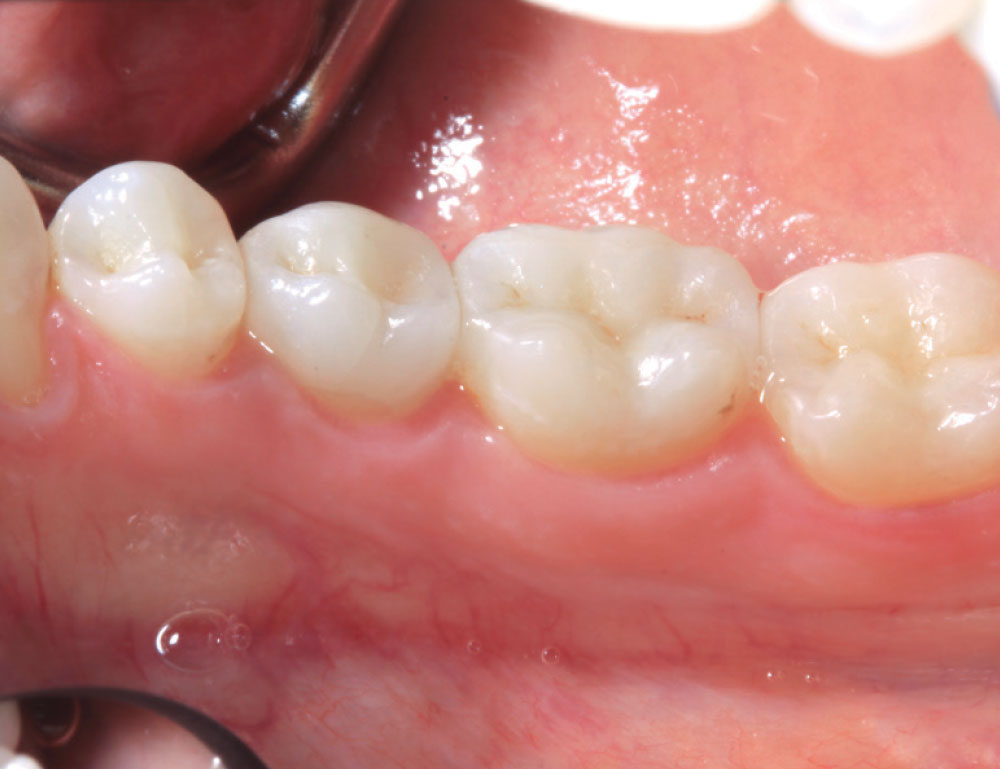
Maxillary and mandibular occlusal photos are difficult to capture without excessive lip, nose or vestibular tissue distracting from the image of the teeth. Occlusal contrasters* hide much of the distracting tissue and keep lips, nose and hair hidden with a black border (Fig. 16). Using a combo mirror* or universal mirror handle* allows firm control of the mirror and keeps fingers out of the photograph. The same technique is used to capture quadrant or individual occlusal surfaces (Figs. 17a–19).
Anterior Profile Photos
The handle of an occlusal contraster can be placed between the teeth and the cheek to give a black background for anterior profile photos. Lighting should be directed toward the facial surfaces of the teeth (Fig. 20).
Lateral Photos
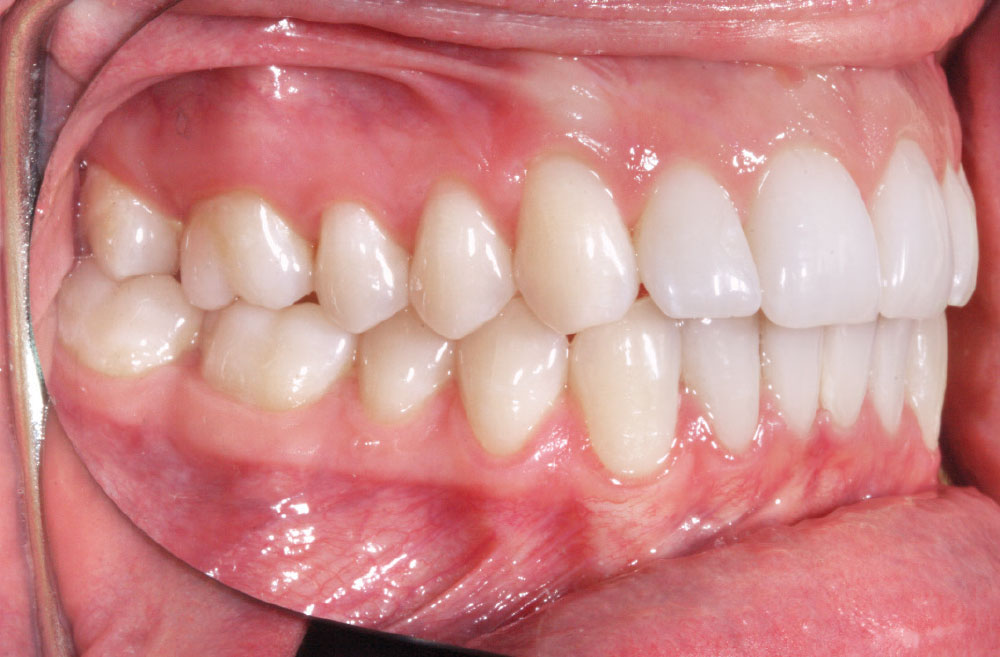
With cheek retractors in place and the teeth closed, a buccal mirror is placed against the cheek parallel to the occlusal plane. All of the teeth should be visible in the mirror. The flash is directed onto the mirror to allow the light to illuminate all of the teeth. A combo mirror or mirror handle is essential to keep fingers out of the photograph (Fig. 21). The same technique is used to photograph the facial surfaces of one or all of the posterior teeth (Fig. 22).
Lingual Photos
The lingual surfaces of mandibular teeth are difficult to photograph without the use of a mirror designed with a deep concavity to allow placement over the anterior teeth. The PhotoMed Buccal #3 Mirror* gives visual access to lingual surfaces of mandibular and maxillary posterior teeth. Place the mirror between the teeth and the tongue, and direct the flash onto the mirror to illuminate the teeth (Fig. 23).
Shade Photos
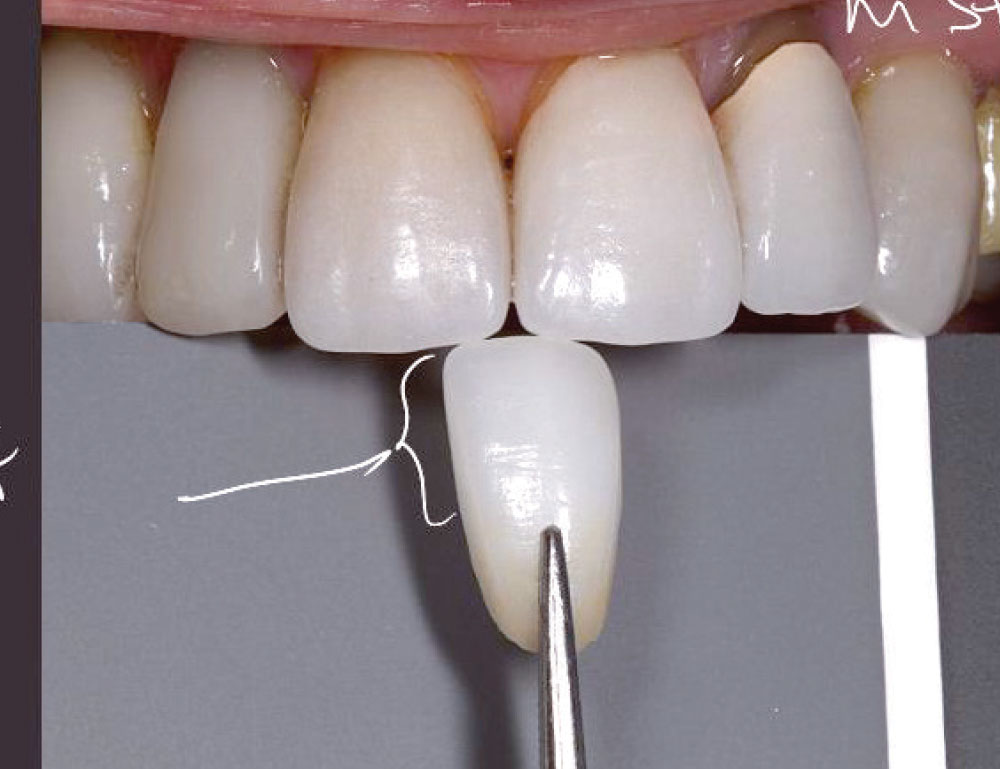
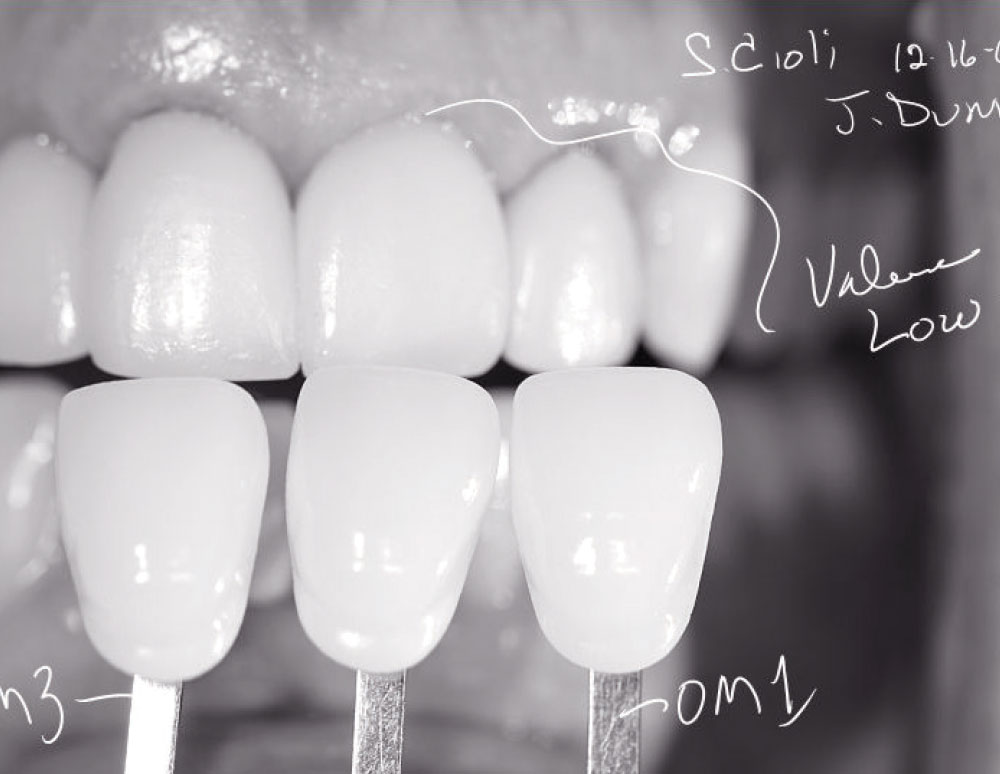
Recording tooth shades with photographs is not 100% accurate. However, several techniques are used to maximize accuracy using your dental camera. Set custom white balance and use optimum camera settings for macro photography. Place cheek retractors, but do not allow the teeth to dehydrate. Position an anterior contraster behind the teeth, place an 18% gray card or neutral color tab** behind the teeth, and hold one or more shade tabs close to and parallel to the teeth with the tab identification visible (Figs. 24a, 24b). Take a photograph and evaluate that neither white highlights nor shadows obscure the teeth or tabs.
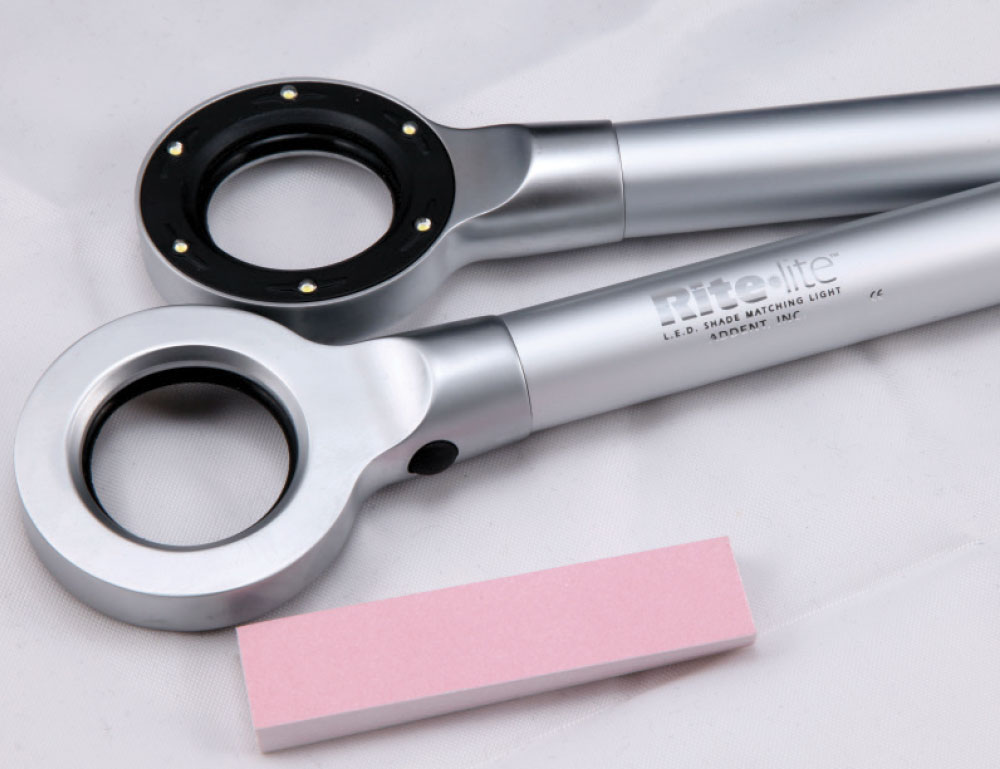
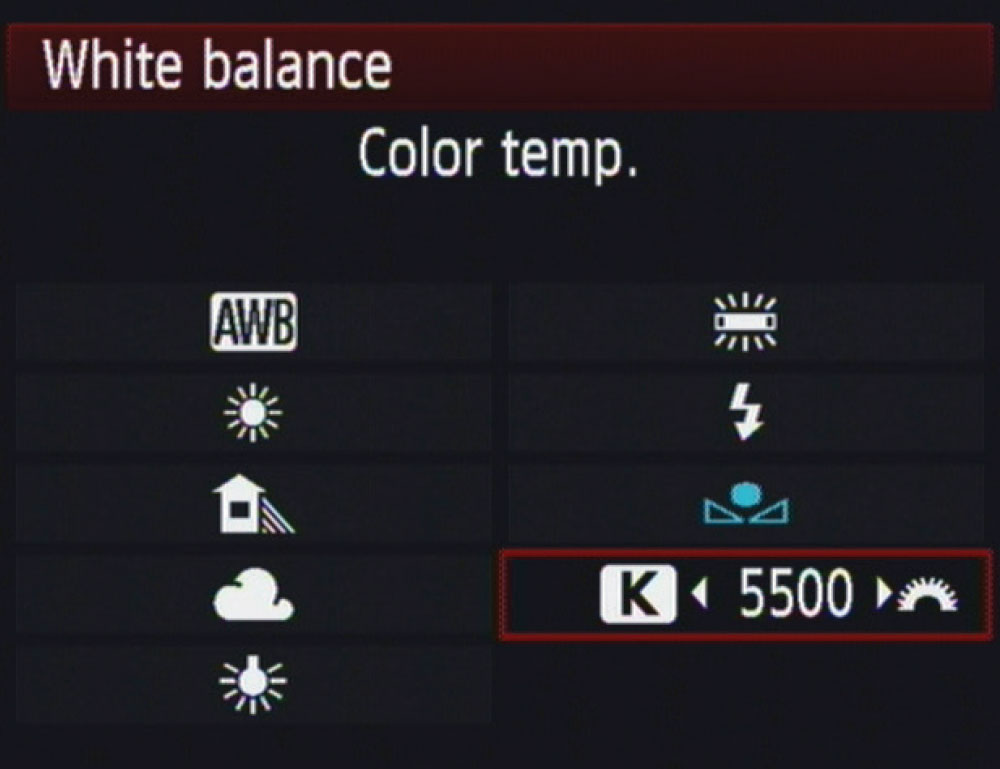
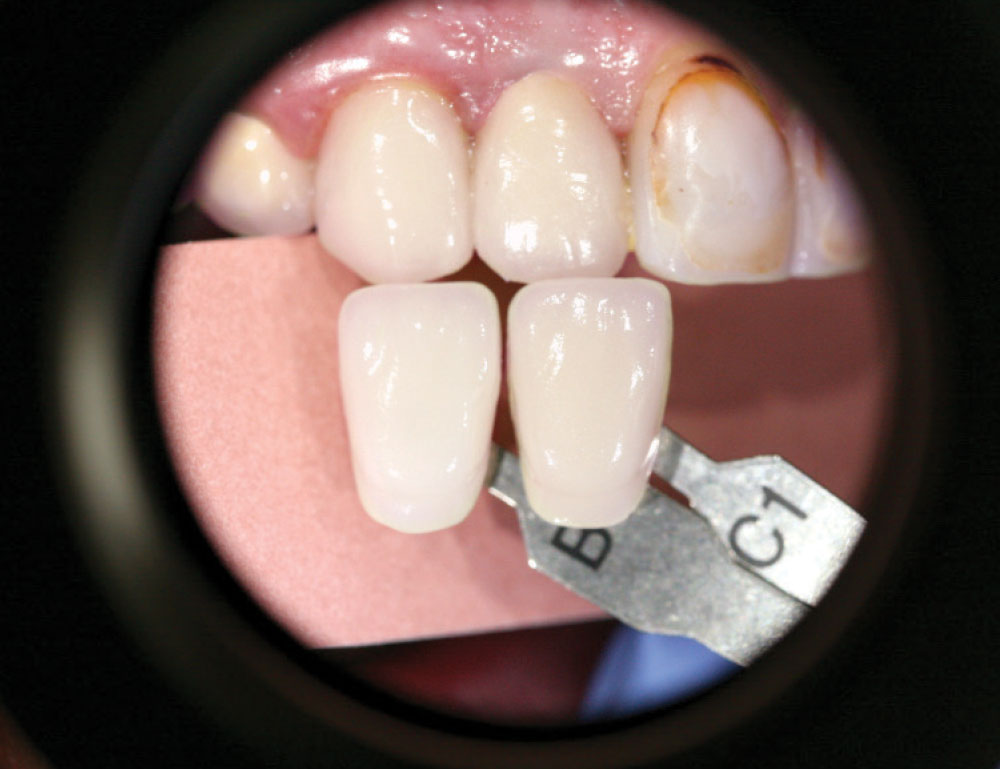
One alternative is to use a Rite-Lite™ L.E.D. Shade Matching Light** (AdDent Inc.; Danbury, Conn.) as the light source (Fig. 25). You must change the settings on your camera before proceeding. Turn off the macro flash, change the white balance to “K” and dial to 5500K (Fig. 26). The 5500K setting matches the light color of the Rite-Lite. Reset your camera mode to “P” and the ISO to 1000. Take the photograph through the Rite-Lite (Fig. 27). Your depth of focus will be short, and the photograph may not be completely in focus, but the white balance of the camera and the light source will be the same. I know of several laboratories that own Rite-Lites and use this method with good results. Remember to reset your camera back to your optimum dental photography settings.
Recording tooth shades with photographs is not 100% accurate. However, several techniques are used to maximize accuracy using your dental camera.
Annotating Photographs
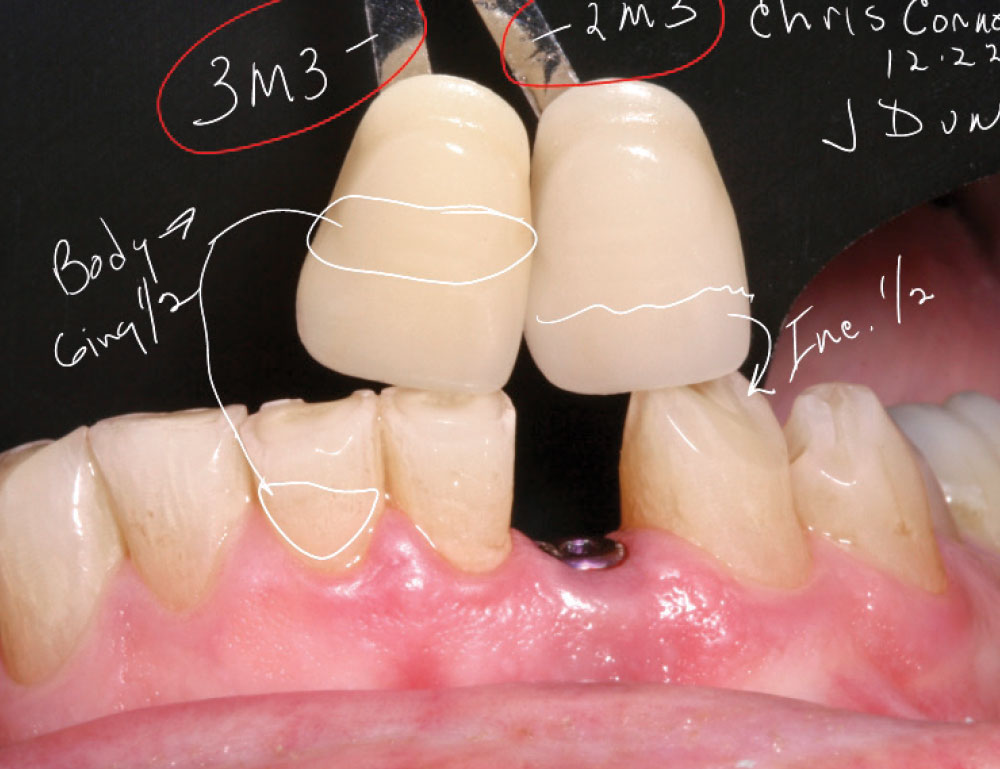
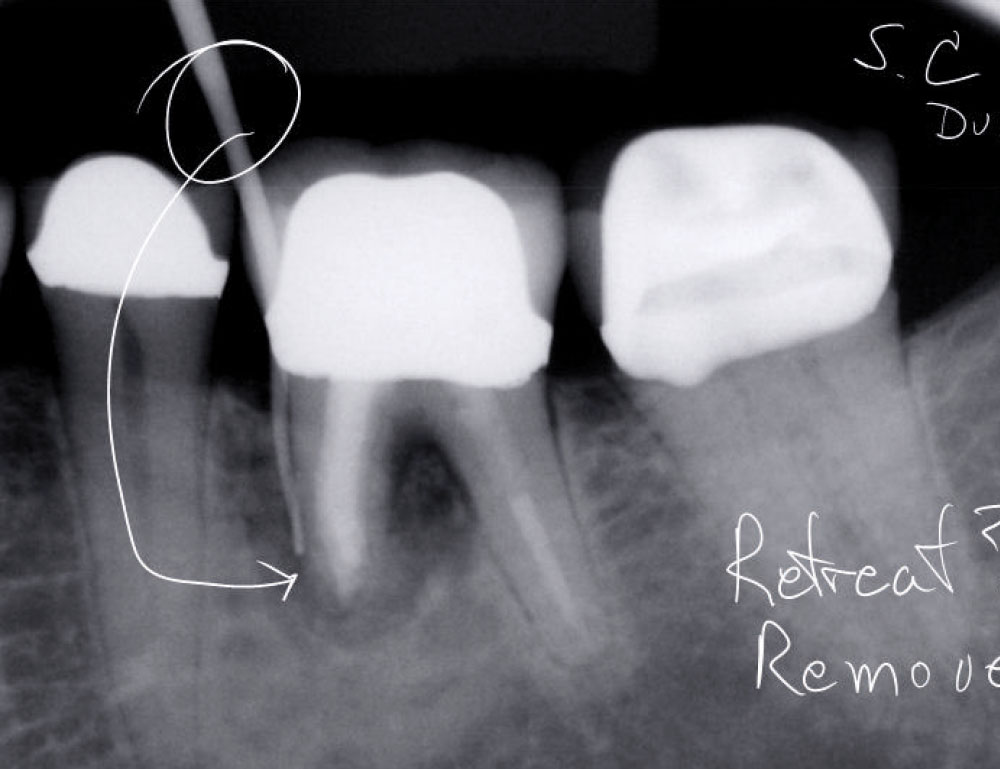
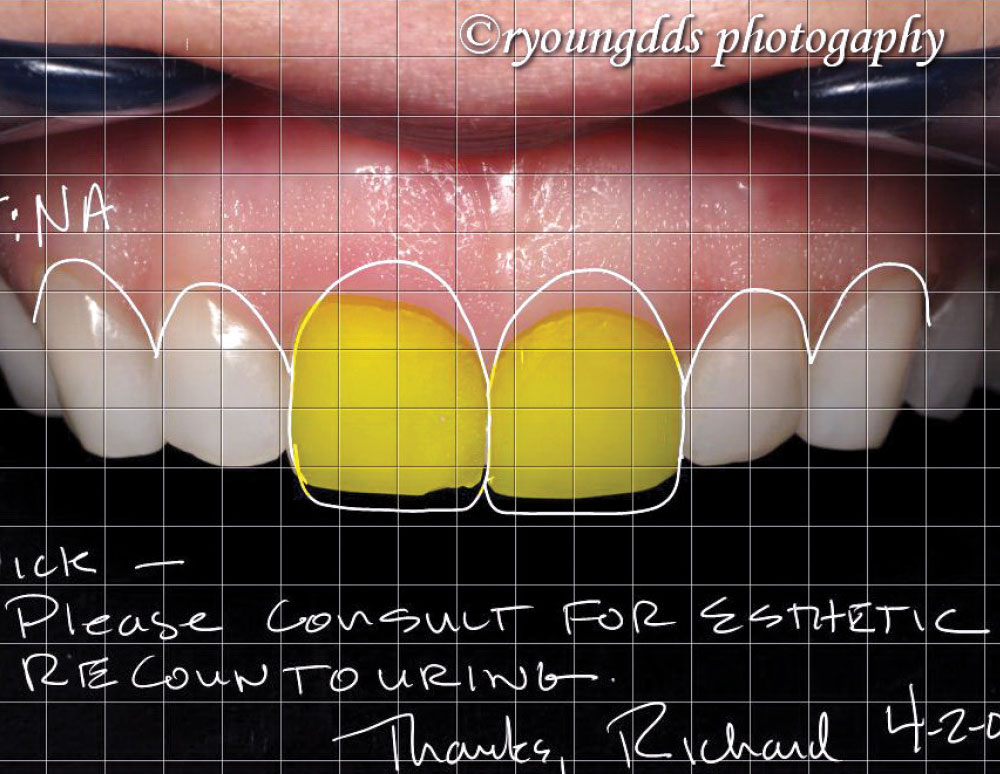
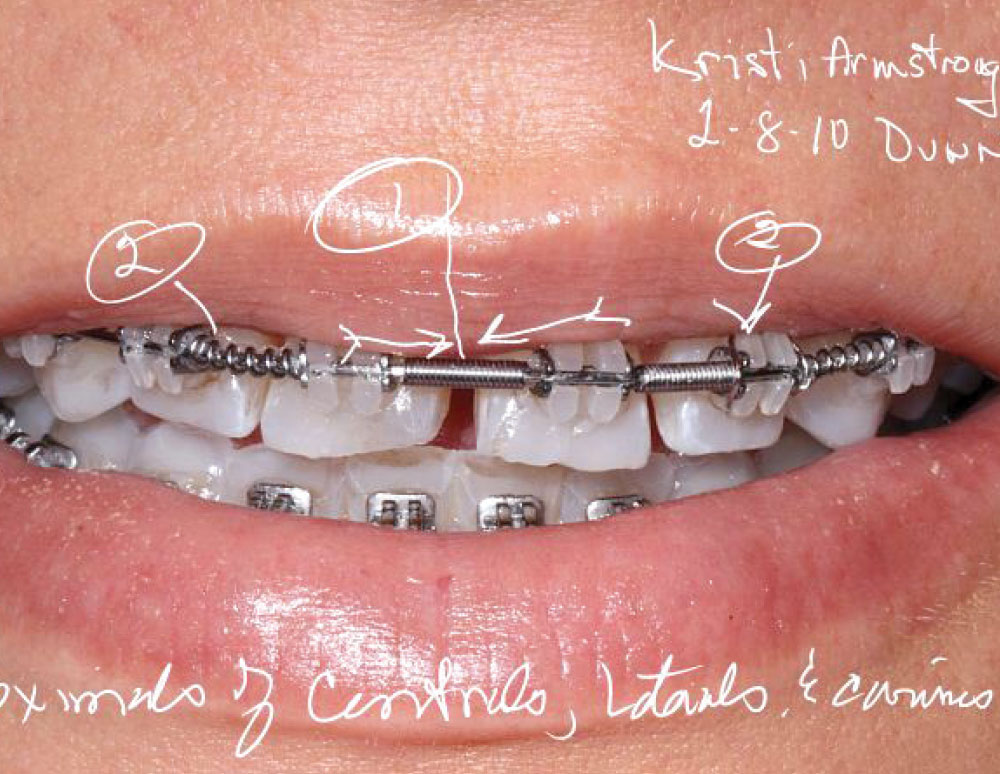
Writing on dental photos enhances their communication value. Laboratories are given a clear direction to follow, and specialists have a clear idea of what you are requesting or want for your patients. When you send annotated photographs to patients, you increase the opportunity to communicate clearly about their dental condition, their needs or the type of care you have provided. Even with our best intention to make our photographs tell our story, written words on the photographs enhance our message (Figs. 28–31).
Annotations on photographs require either a tablet PC with built-in graphic functions, or the use of a graphics tablet (wacom.com) attached to your computer. Annotation software is included in a tablet PC and Windows 7, and included with graphic tablets for other computer operating systems. After writing on the photos using the enabling software, the annotated photo is saved as a new file. This file can then be shared with the person you want to receive the message. Writing on photos is one of the most powerful communication tools we have in dentistry.
Portrait Photos
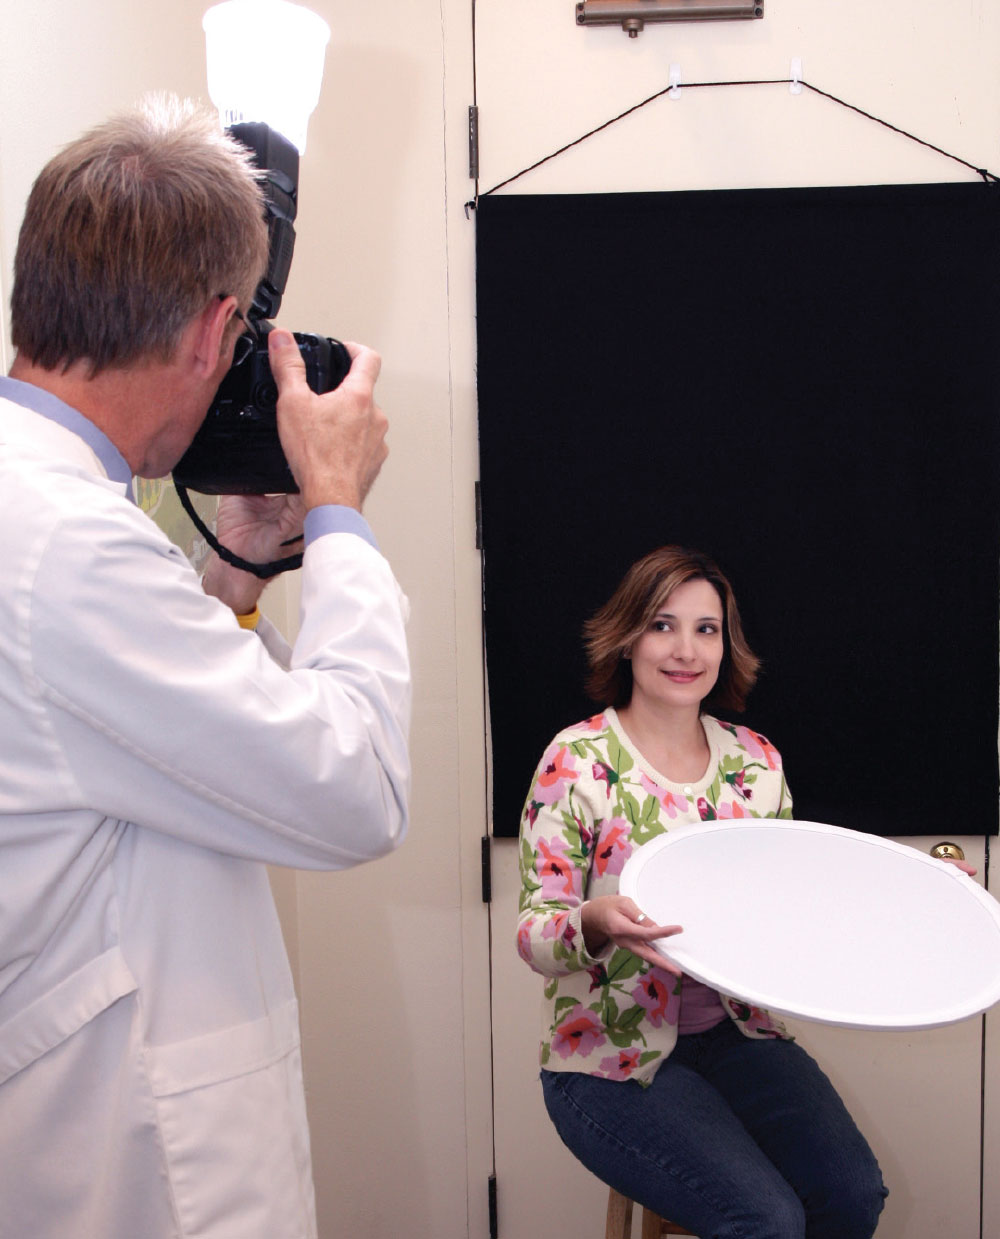
Dental and medical portraits are not attractive. If you use portraits as communication photographs, they must portray the person as attractively as possible. Too often after treatment we only show teeth to the patient, forgetting that the patient sees teeth framed with the face. Dr. Norman Huefner has described portrait techniques that rival any professional studio portraits. Huefner’s techniques, however, require adequate space for full professional lighting and backgrounds. It is suggested to use a simplified technique that can be applied in any dental office using a dental chair, a wall or a hallway location (Fig. 32).
Writing on dental photos enhances their communication value. Laboratories are given a clear direction to follow, and specialists have a clear idea of what you are requesting or want for your patients.
Posing the patient is a difficult challenge for anyone taking portraits. Be creative. Try to never take a typical “mug shot” pose. Take a “Wow!” portrait, so the patient is excited to show others what great treatment you have given them.
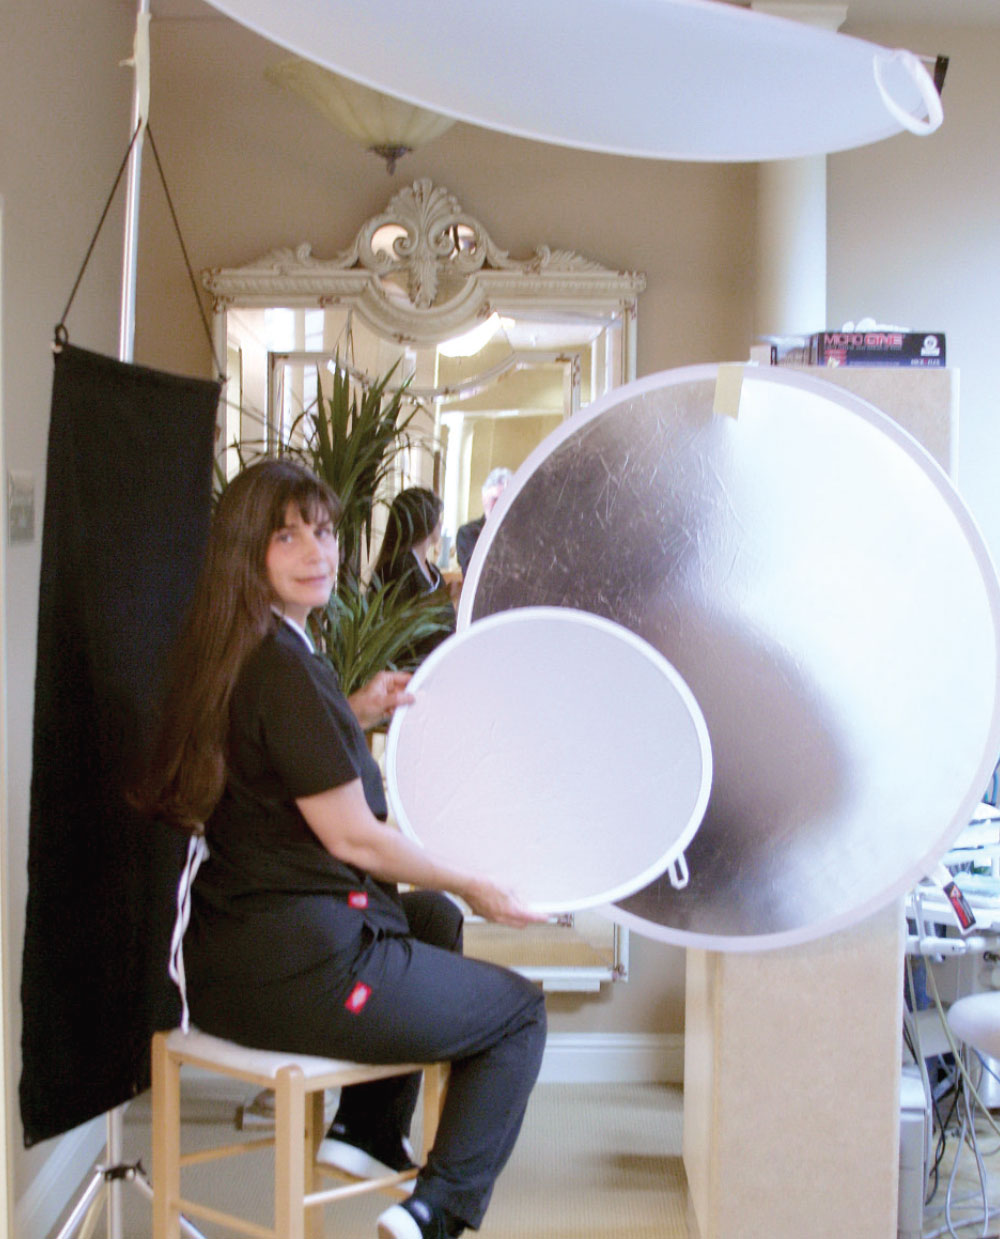
The simplified portrait technique requires a dental camera that has a mounted flash* with an attached diffuser, a non-reflecting backdrop, a 21-inch folding white reflector* and a white ceiling. If a white ceiling is not available, a larger white reflector can be used as a false ceiling (Fig. 33).
Camera settings are reset to f/5.6-f/8, the lens set to auto focus, and either a new custom white balance set or the white balance set to flash (Fig. 34). If your photographic space is small, you may need to use a lens with a zoom range between 20 to 105 mm. If possible, position the patient approximately one foot from the backdrop. The black backdrop fabric is a special theatrical cloth designed to minimize shadows.
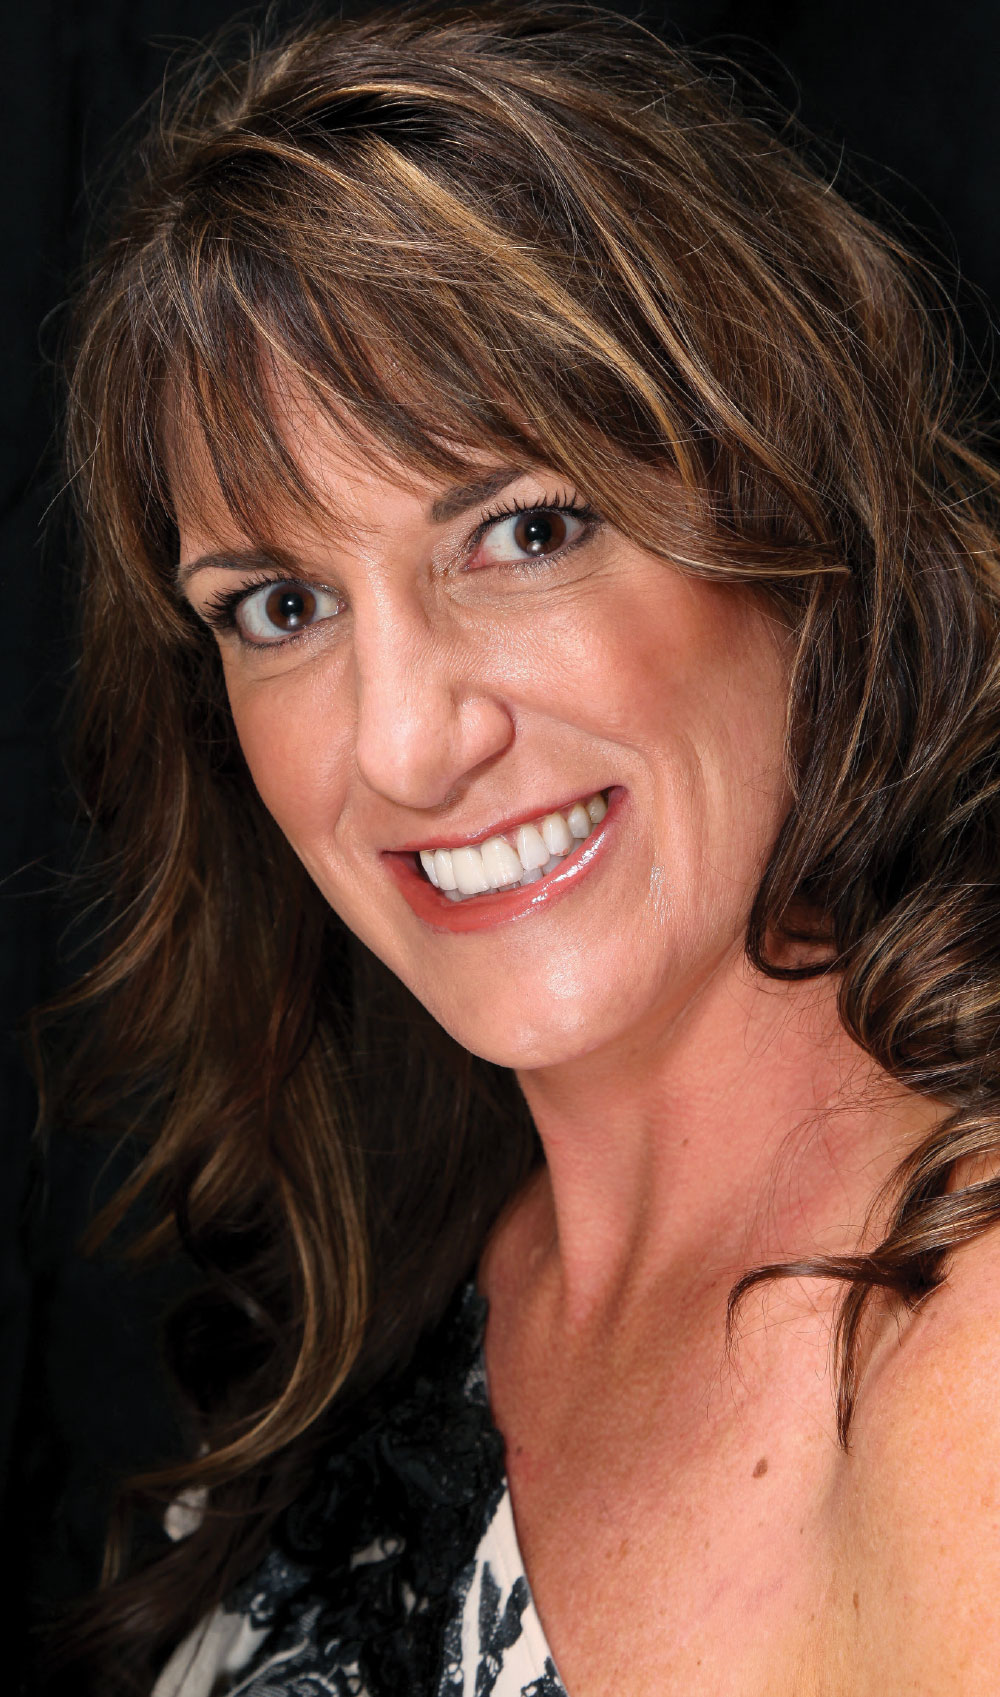
The flash with attached diffuser is aimed at the ceiling. The main light is from the side of the diffuser, while the light bounced from the ceiling acts as a hair light and a fill light off the reflector held by the patient. The reflected light fills in shadows on the patient’s face. This portrait setup gives near-similar results to a traditional three-light effect. The results are very attractive and the pictures are simple for the dentist or staff to take (Fig. 35).
Posing the patient is a difficult challenge for anyone taking portraits. Be creative. Try to never take a typical “mug shot” pose. Take a “Wow!” portrait, so the patient is excited to show others what great treatment you have given them. Sources for posing suggestions are listed at the end of this article.
Always have the patient sign a photo release. The best photo release for your location can be obtained from your dental liability carrier.
Dental Photos as Art
Dental photos can be effective when taken as “snapshots,” but become attractive communication tools when taken following established guidelines of general photography and art. Little effort is required to make your dental photos attractive to patients, laboratories, referrals and prospective patients. The payback to you is in the perception of quality and skill. Make all of your after-treatment photographs art quality. The “Wow!” response of a patient seeing a photograph of their teeth or portrait makes the extra effort worthwhile.
Dr. Dunn is in private practice in Auburn, California. He lectures and gives workshops on esthetic restorative dentistry and dental photography. Contact him at jrdunndds@gmail.com or 530-888-9764.
Dr. Young is in private practice in San Bernardino, California. He gives seminars and hands-on courses on incorporating photography into the modern dental practice. Contact him at ryoungdds@gmail.com.
References
- Dunn JR. Dental photography: a new perspective. Chairside. 2011;6(3):24-31.
- Traub CH, Heller S, Bell AB. The education of a photographer. New York: Allworth Press; 2006.
- AACD dental guide, aacd.com.
- Freeman M. The photographer’s eye: composition and design for better digital photos. Waltham (MA): Focal Press; 2007.
- McNally J. The moment it clicks: photography secrets from one of the world’s top shooters. Indianapolis (IN): New Riders; 2008.
- Arena S. Speedliter’s handbook: learning to craft light with Canon Speedlites. San Francisco: Peachpit Press; 2011.
- Peterson B. Learning to see creatively: design, color & composition in photography. New York: Amphoto Books; 2003.
- Wignall J. The Kodak most basic book of digital photography. Asheville (NC): Lark Books; 2006.
- Dunn JR, Young RA. Private correspondence and class handouts, 2006-2011.
- Williams R, Newton J. Visual communication: integrating media, art, and science. New York: Lawrence Erlbaum Associates, Inc.; 2007.
- Zucker M. Monte Zucker’s portrait photography handbook. Buffalo (NY): Amherst Media Inc.; 2008.
- Additional posing suggestions found in hairstyling magazines and in portrait photography books available at booksellers and photographic supply stores.
Details of exact techniques described in this article can best be learned by attending a dental photography workshop.
*Items are available from PhotoMed International, 14141 Covello St., Bldg. 7, Ste. C, Van Nuys, CA 91405, 818-908-5369.
**Rite-Lite is manufactured by AdDent Inc. and is available through dental supply companies.
Article text and photographs copyright James R. Dunn, DDS and Richard A. Young, DDS.

