2201 Dupont Dr., Irvine, CA 92612
© 2026 Glidewell. All rights reserved.
800-854-7256 USA
Temporary morning bite change is a known side effect of oral appliance therapy.


Dentists have an excellent and highly regarded treatment for snoring and sleep apnea called oral appliance therapy (OAT). OAT is recommended as primary therapy for patients whose main complaint is snoring, for patients with mild or moderate sleep apnea, or for those who are intolerant of continuous positive airway pressure (CPAP). The most popular dental appliance category for snoring and sleep apnea is the mandibular advancement device (MAD). MADs consist of an upper and lower nightguard joined in a way that holds the mandible down and forward during sleep.
These devices are made by a trained dentist who takes bite records and manages any potential dental-related side effects or occlusal changes during treatment. MADs are considered to be noninvasive, easy to fabricate, and widely accepted by patients. One study found that compliance was excellent compared to other therapies, with 90% of patients still using their appliance after two-and-a-half years.
MADs pull (traction) or push (compression) the mandible into a protrusive position and hold it there for the whole night. The protrusive position holds the tongue forward, creating a larger airway space in the region of the base of the tongue.
This position also creates tension in the muscles and ligaments of the upper airway, which supports the tissues to avoid partial or full collapse. Partial collapse of the airway sounds like snoring, while full collapse is silent but has a much greater clinical impact on the patient. The latter condition is called obstructive sleep apnea (OSA).
An often-mentioned side effect of mandibular advancement is morning malocclusion. Some patients report, “My bite doesn’t fit in the morning.” It has been shown in an objective study that a greater amount of protrusion can lead to more side effects. This dose response suggests that clinicians should pursue a conservative, less-is-more approach to titrating appliances.
Research has shown that, in most patients with mild to moderate OSA, advancement of 50% of the patient’s range of motion is equally as effective as a 75% titration. One study showed that these occlusal changes are transient and of little concern to the patient. In some instances, these changes can become permanent. However, they can easily be managed once the cause of dental malocclusion is understood.
Basically, the shape of the articular disc changes depending on the position of the condyle in the mandibular fossa and forces applied to it. The disc acts like a sponge; it absorbs fluid due to the reduced pressure as the condyle is held down and forward by the oral appliance.
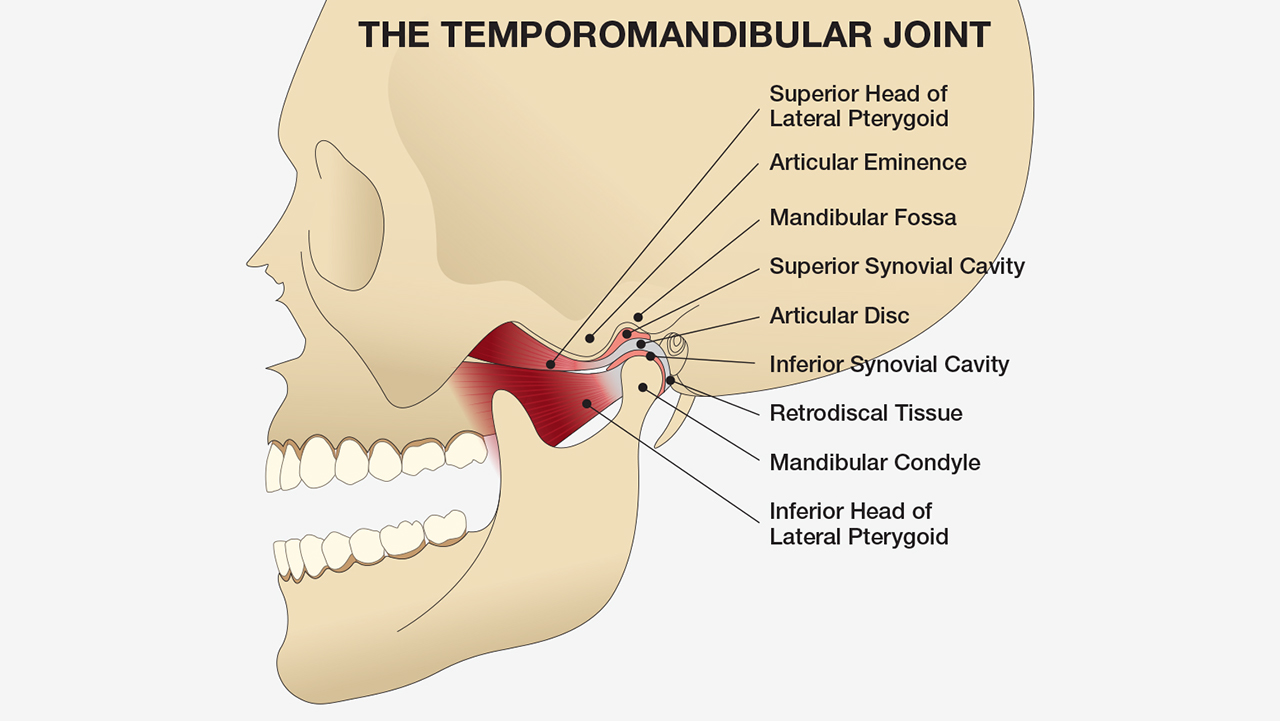
The articular disc looks like a catcher’s mitt with the condyle sitting in the pocket. That pocket changes shape as the condyle moves forward with mandibular protrusion. Therefore, several physiologic results occur if the mandible is held forward for a period of time: The pocket changes shape, the disc gets thicker, and the muscles foreshorten. The result is that, after the patient wears a MAD for several hours per night, the condyle can remain down and forward, with contact on the upper anterior teeth only.
Several strategies can be used to reverse these effects of dental malocclusion, including chewing gum, pushing up and back on the jaw, and occlusal splints like the AM Aligner (see Table 1). The most effective and predictable is a splint that guides the condyle back to its original position while the patient applies heavy closing forces. This action not only lengthens the muscles but also reshapes the disc. After use, the patient should immediately feel solid contact posteriorly with no forces on their anterior teeth.
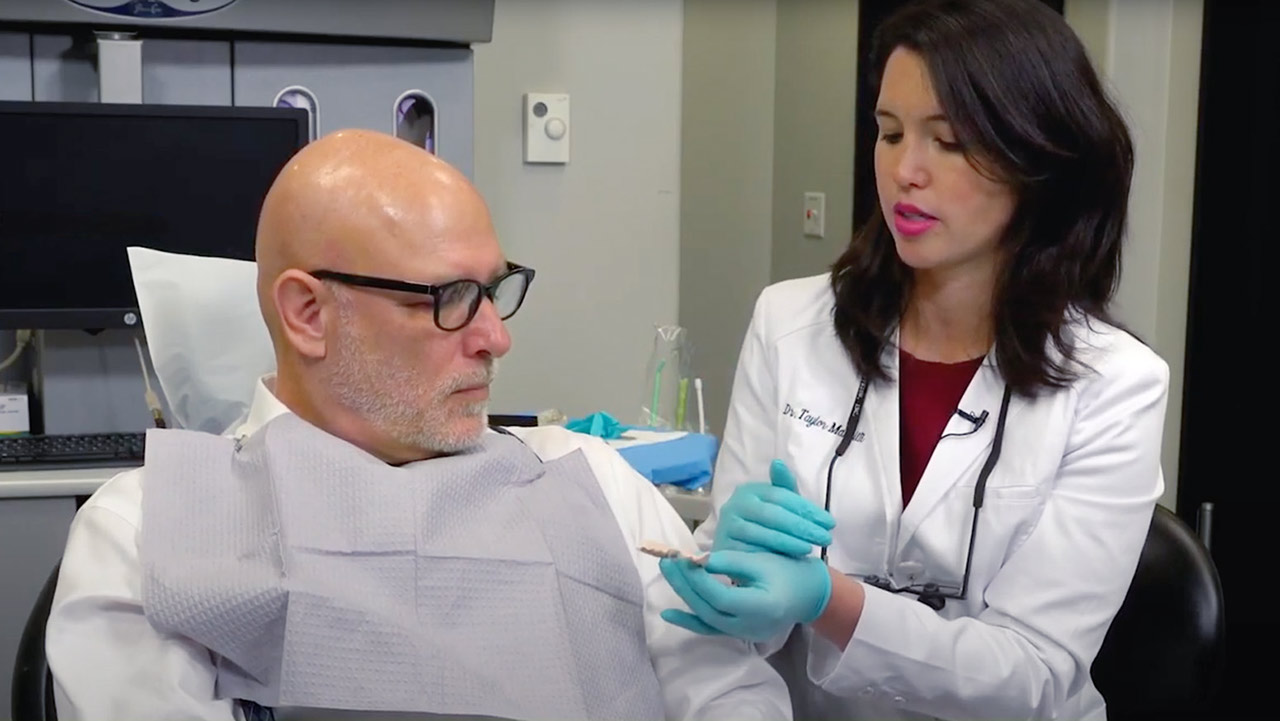
A panel assembled by the American Academy of Dental Sleep Medicine (AADSM) suggests that a morning occlusal guide like the AM Aligner should be considered the first-line treatment for this side effect. The AM Aligner creates a centric occlusion guide assuring the doctor and patient that the “bite” is back to normal in the morning and fulfills all of the requirements to normalize the occlusion. It is critical that the AM Aligner is made to the patient’s dentition before the MAD is delivered.
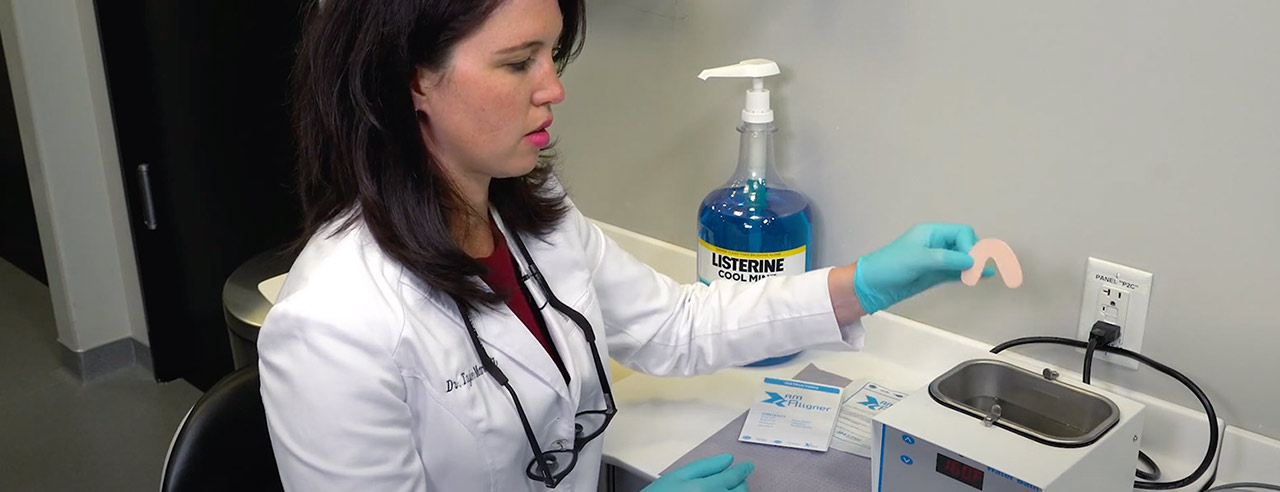
Remove the AM Aligner from the package. Place in boiling water for about one minute.
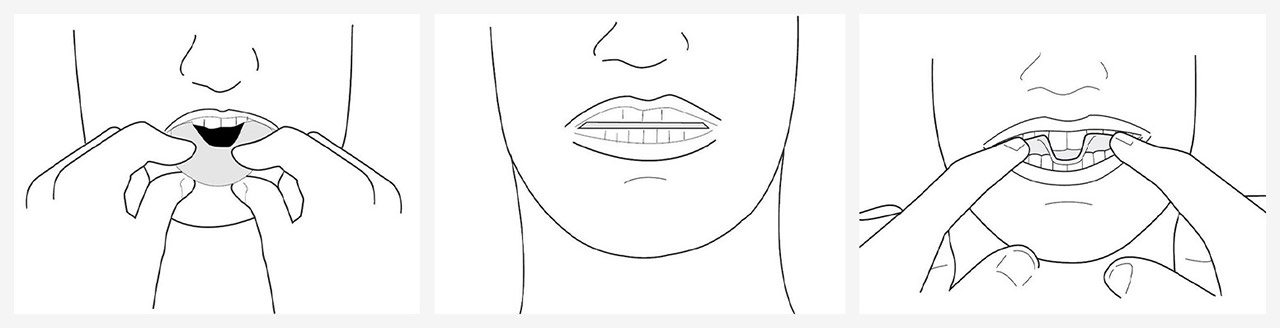
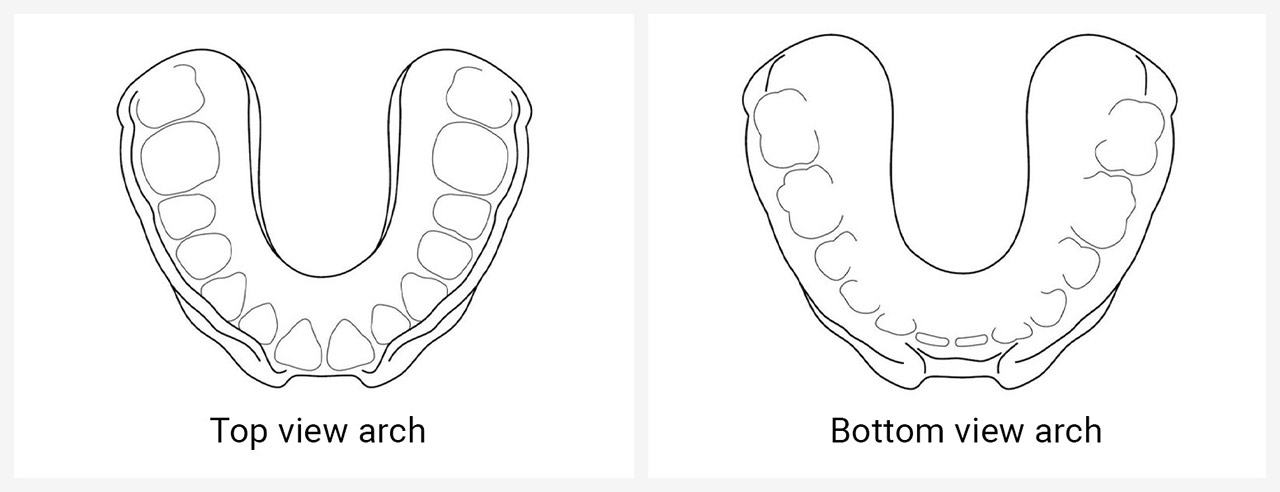
The aligner should have a good shape of the upper arch with deep indentations of the lower arch on the bottom of the tray.
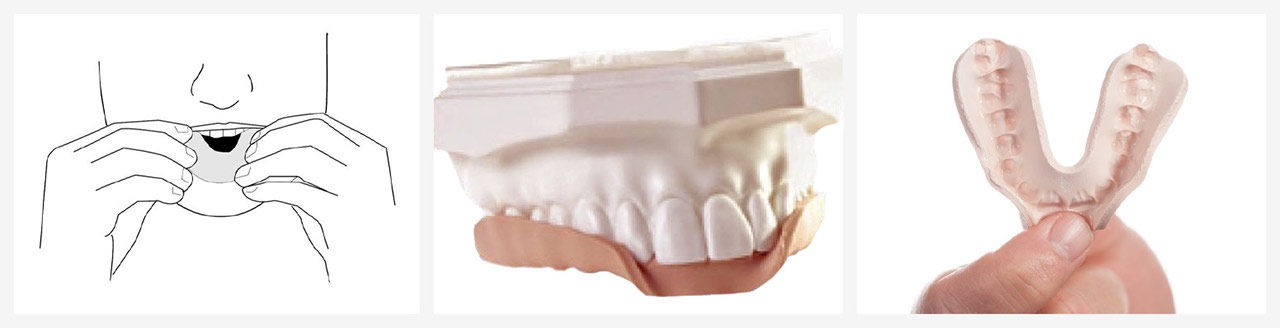
If it takes longer than 10 minutes, take a hot shower or place a warm pack on the joints to warm up the jaw joints and accomplish this process faster.
To discover the simple, three-step process to screen and treat patients for snoring and sleep apnea, visit glidewelldental.com/pmad.
AM Aligner is a product of Airway Management Inc. ThermAcryl is a registered trademark of Airway Management Inc.
Send blog-related questions and suggestions to hello@glidewell.com.


2201 Dupont Dr., Irvine, CA 92612
© 2026 Glidewell. All rights reserved.