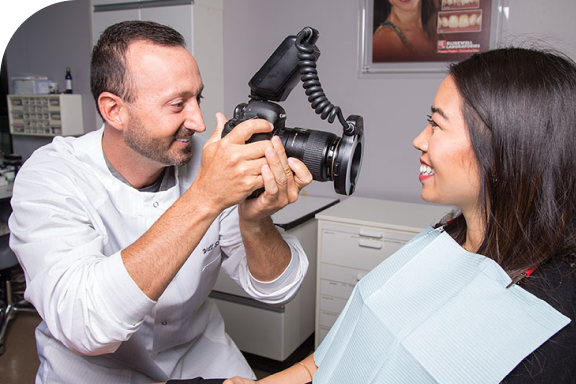
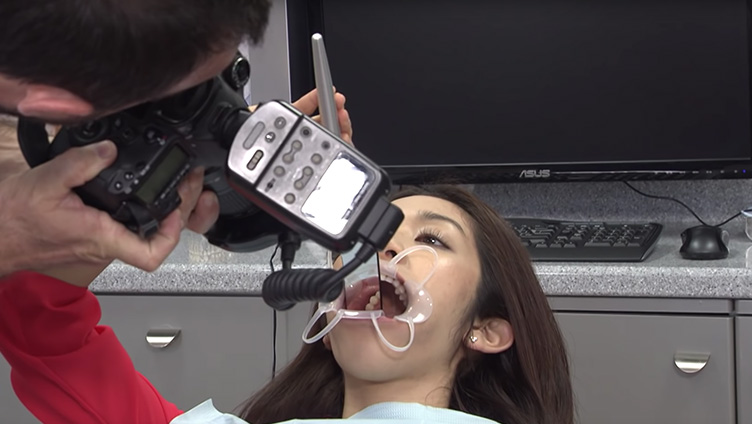
There are some very simple strategies you can use to make sure your case photos help our technicians fabricate your restoration to your precise specifications.
Upload Case Photos
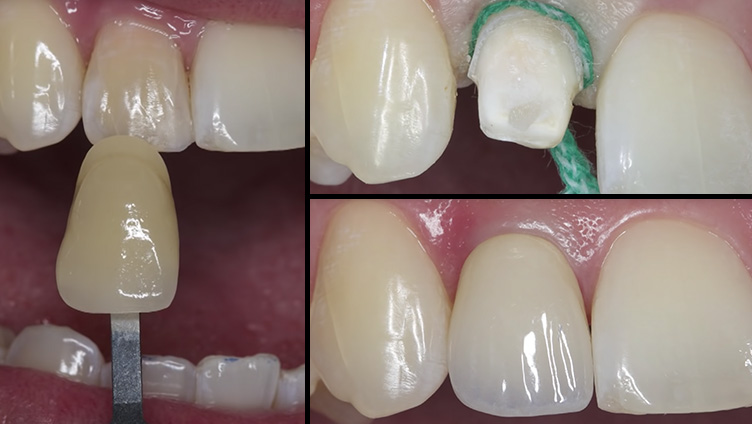
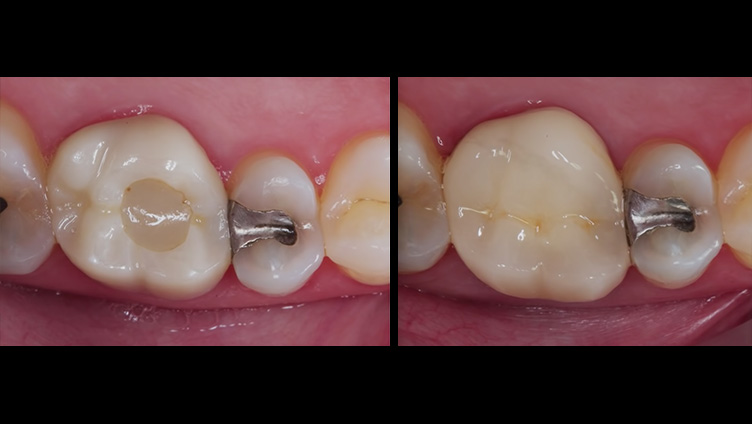
Patient case photos can make the difference between creating a great restoration and an extraordinary one. Our specialized team of dental technicians will use your case photos to help them treatment plan your case.