CEREC® Connect: A Welcomed Upgrade for CEREC Users
Note from the Editor
Digital impressions are slowly catching on with our customers at the lab. The majority of the digital impressions we receive are from Sirona CEREC® owners, who typically use this digital impression system to design and mill a crown, such as IPS e.max® CAD (Ivoclar Vivadent; Amherst, N.Y.), in their own offices. However, we are seeing more CEREC dentists who want to take advantage of high strength monolithic restorations that cannot be milled in the office, such as BruxZir® Solid Zirconia.
Many CEREC dentists find making digital impressions to be as routine as taking polyvinyl impressions, and they prefer making a digital impression that is transmitted to the lab. Sending a digital impression automatically saves dentists $7 on inbound FedEx shipping. If a dentist orders a monolithic restoration, such as BruxZir, IPS e.max or cast gold, Glidewell Laboratories can make the restoration model-free (no model work is fabricated), and we pass on that $20 savings. That means a $99 BruxZir crown becomes a $79 BruxZir crown when the case is prescribed via digital impression. For a 3-unit posterior BruxZir bridge, that’s a savings of $60. I don’t foresee many dentists investing in this technology and adopting digital impressions without laboratories offering an incentive, such as a discount on every crown prescribed.
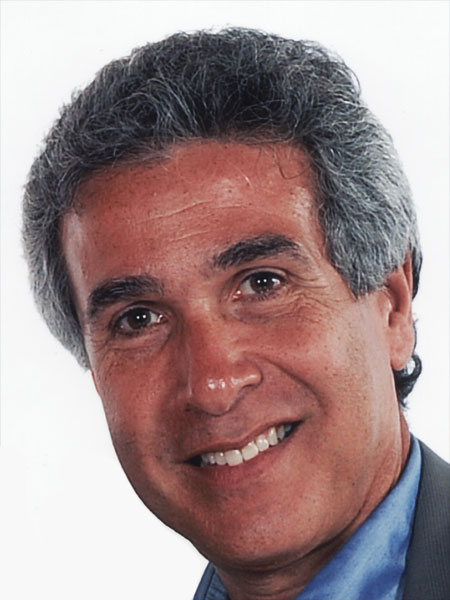
In this article, Dr. Carlos Boudet outlines the steps transmitting a digital file to the lab via CEREC Connect.
Many CEREC dentists find making digital impressions to be as routine as taking polyvinyl impressions, and they prefer making a digital impression that is transmitted to the lab.
Introduction
A common fear among dentists who purchase the latest technology in the form of a new piece of equipment is the uncertainty of how soon it will be made obsolete. This fear is greater when it is unclear if the manufacturer will offer system upgrades that allow the dentist to continue using the equipment when improved features and new options become available.
The CEREC CAD/CAM System
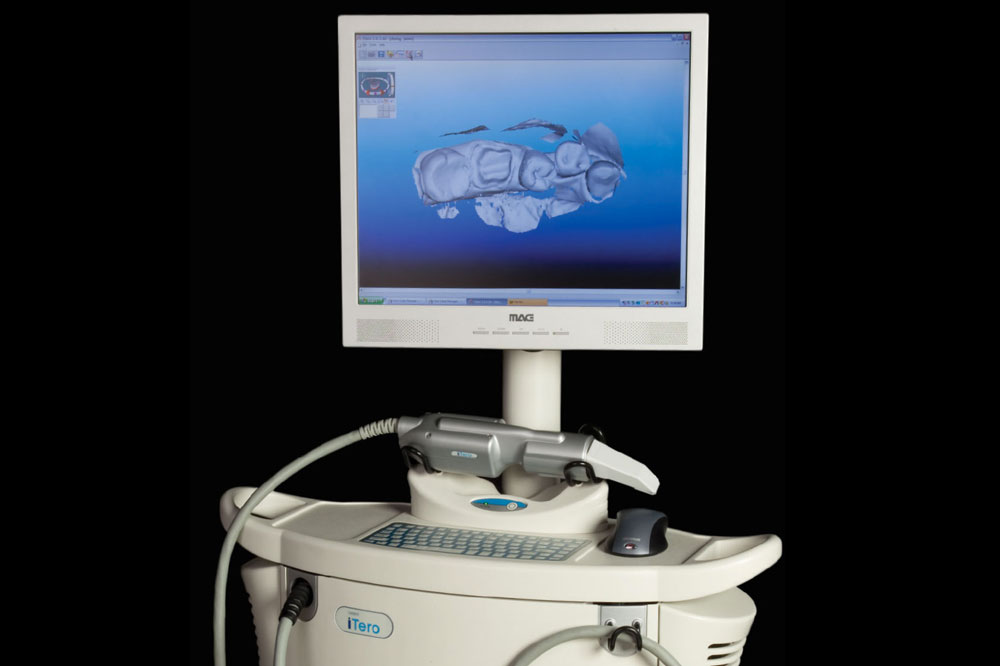
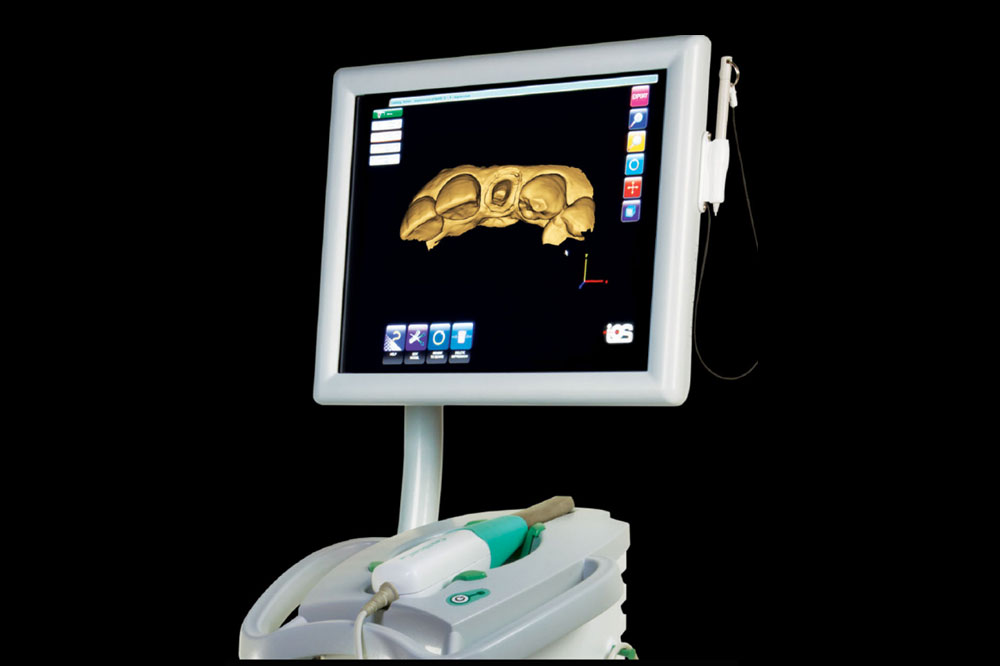
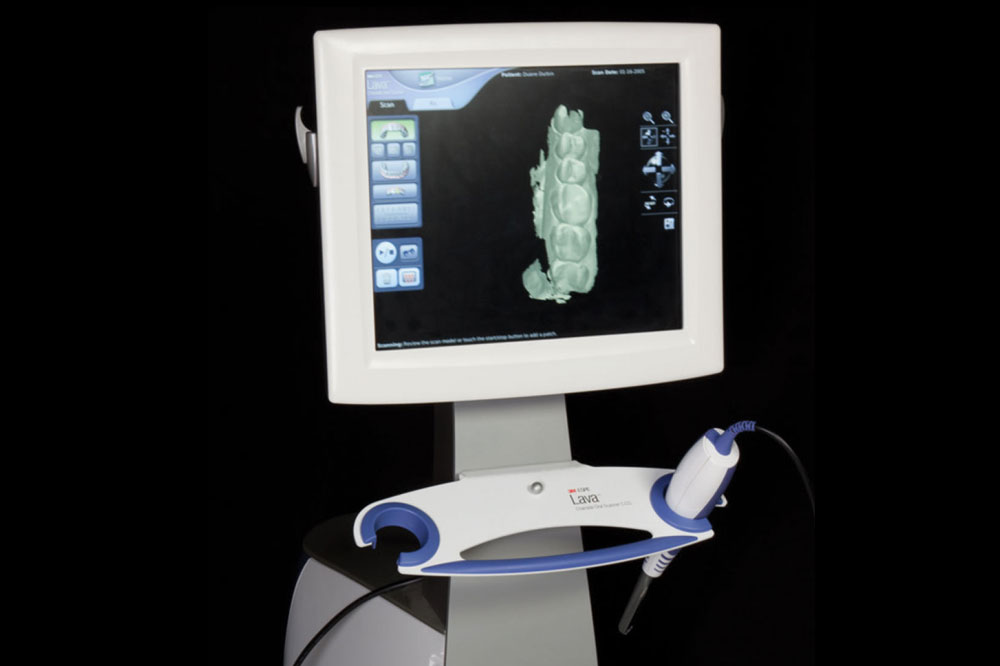
There are two chairside CAD/CAM systems available today: CEREC (Sirona Dental Systems; Charlotte, N.C.) and E4D Dentist™ (E4D Technologies; Richardson, Texas). Also available are three chairside digital impression systems: Lava™ C.O.S. from 3M ESPE, iTero® from CADENT1 and IOS FastScan® from IOS Technologies Inc. (The last was recently released to a select group of dentists in Southern California. A fourth chairside digital impression system developed in Israel, Densys, is not yet available to U.S. dentists but is expected to be released stateside in late 2011.) I own a CEREC 3D Redcam system, which now has been replaced by faster hardware and better software with Sirona’s CEREC Bluecam.
Soon after I purchased the CEREC Redcam system, I had the opportunity to test out the CADENT utero.2 I liked the system’s ability to create a very precise model that allowed me to choose virtually any material for the fabrication of crowns & bridges from a digital impression. This got me thinking: Wouldn’t it be nice if I could take digital impressions with my CEREC unit and send them to the lab for cases that, because of the choice of materials3 or other reasons, cannot be fabricated using the compact milling unit?
Before long, I found out that Sirona engineers had already been working on that. The company soon released newly developed software that gave users the ability to send digital impressions to their dental laboratory of choice, not only for CAD/CAM but also for practically all conventional restorations and materials. Sirona made this possible by first creating a new software program called CEREC Connect, and then by allowing some owners of older hardware configurations to upgrade their software and take advantage of this very useful feature.
I had the opportunity to work with my regular laboratory, which also happens to be an experienced CEREC Connect lab, on a case that involved a combination of thin veneers and porcelain crowns in the mandibular anterior region. The lab’s knowledge and guidance ensured a digital case that proceeded without trouble and according to plan.
CEREC Connect Procedure
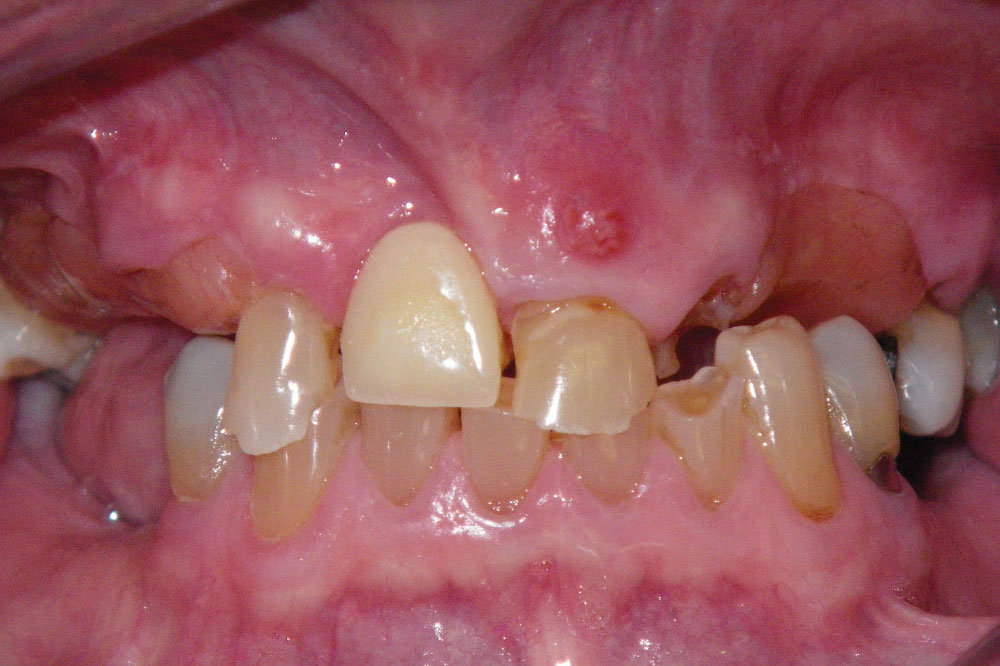
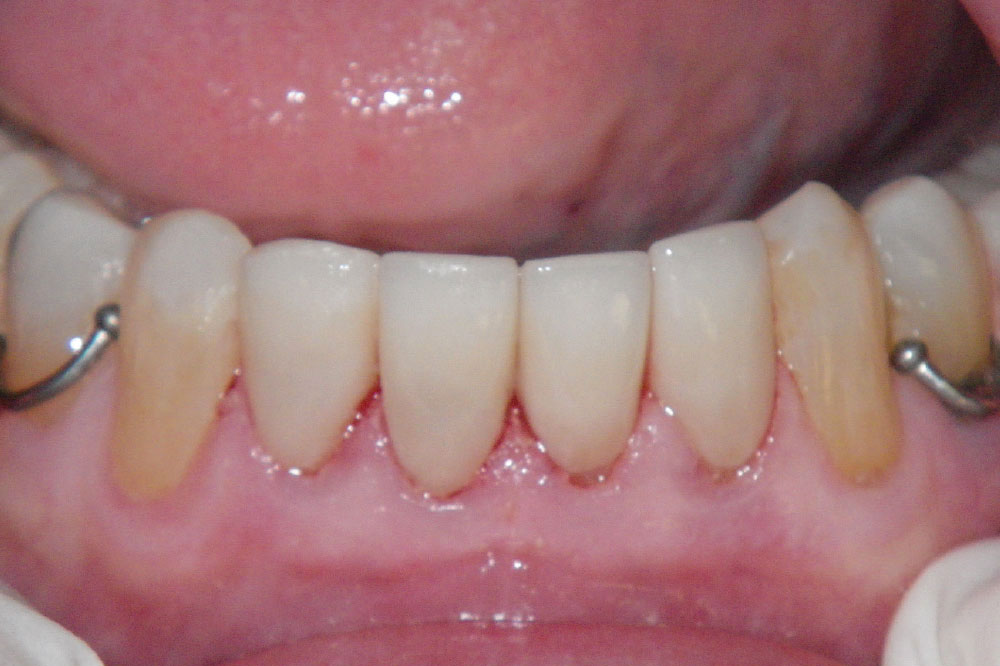
The case highlighted is a rehabilitation in which the patient transitioned from non-restorable maxillary anteriors and severe attrition damage in the mandibular anteriors (Fig. 1) to interim partial dentures and, finally, implant-supported prostheses. CEREC Connect was utilized to restore the four mandibular incisors. For the benefit of new CEREC Connect users, a brief outline follows of the procedural steps for sending a case via CEREC Connect.
1.Register online at cerec-connect.com. Start by clicking on “Dentist Registration” and choosing a User ID and password that you can remember easily. Fill out the required information. For ease of use, the acquisition unit should have a high-speed internet connection. A CEREC Connect representative will contact you within three business days to finalize the registration. NOTE: Write down your User ID and password. You will need it every time you send a case through the internet portal.
2.Download the latest CEREC Connect software. You can find the software online at cerec-connect.com. Follow the required steps to send a case using CEREC Connect. Start by clicking the program icon. You will see the same familiar interface.
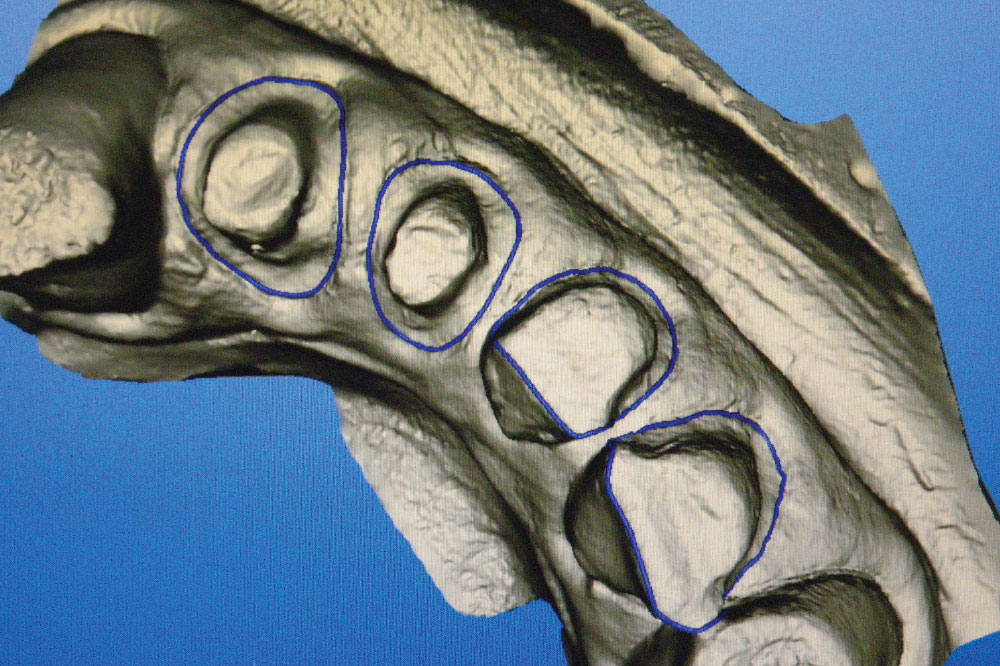
3.Start the digital impression by scanning the preparation(s) and defining the margins (Fig. 2). Move the cursor over the antagonist and scan the opposing arch. Then, using the newly developed “buccal bite,” take a scan of the buccal while the patient bites in maximum intercuspation. This eliminates the need for a bite registration.
4.Manually correlate the three impressions. You can do this by dragging the buccal bite into the antagonist model; when placed correctly, they will attach. Then drag the buccal bite over the preparation model. All three models should correlate and stitch together.
5.If there are several preparations in the impression, you do not have to trim the preparations. This step is optional. However, you should draw the prep margins because you should be able to recognize them more easily than the laboratory.
6.Once the margins are finished, the “Connect” icon will become available. Click the icon to go to the CEREC Connect portal.
7.Enter your CEREC Connect User ID and password, which will open the “Restoration Data” tab.
8.Enter the data for each individual restoration. NOTE: If all restorations are the same design, you can enter the data once for all restorations. This saves valuable time, given that there is good communication between you and your lab.
9.Follow the steps to your shopping cart, where you will find the case. Enter your User ID and password under “Confirmation.” Then click “Prescription” to send the case to the laboratory.
10.When the green bar appears, you will know the file was transmitted successfully to the lab.
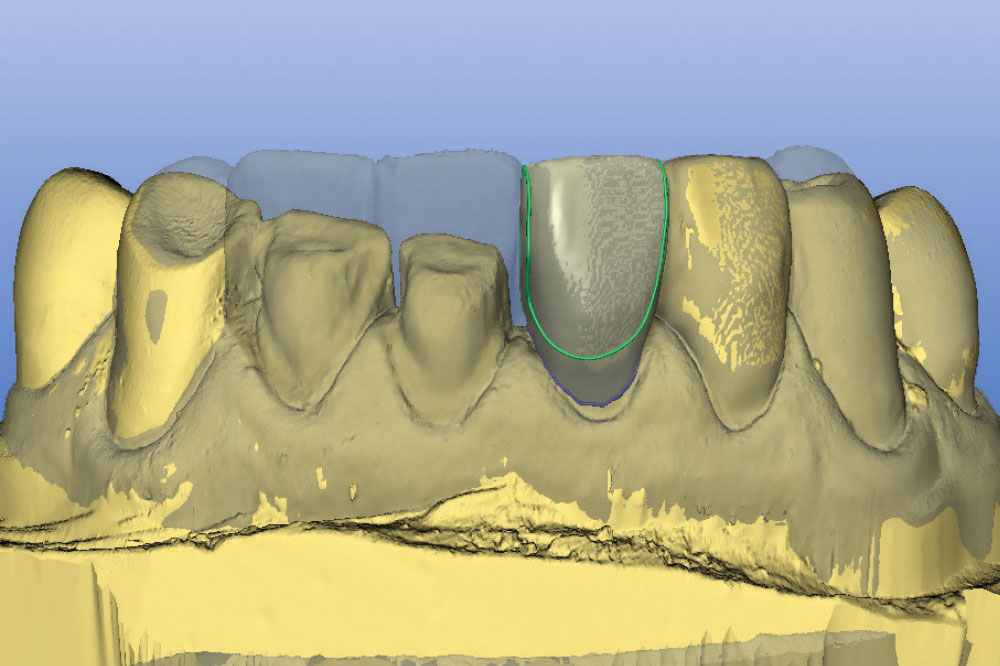
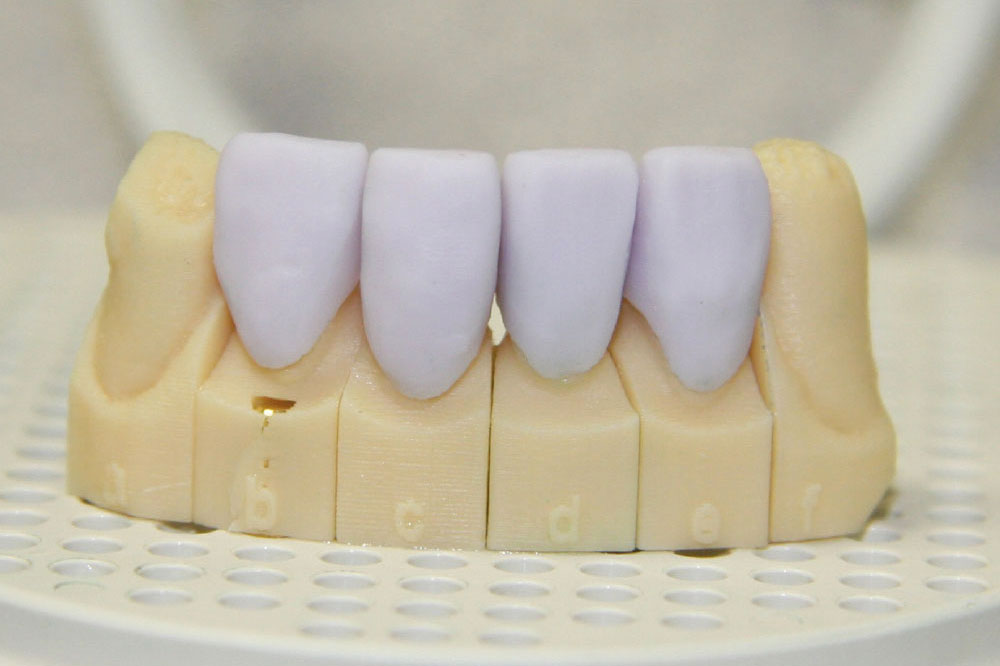
On the following business day, you will receive a confirmation email. It will state that the lab accepted your case for fabrication of your prescribed restorations. The laboratory can create your restorations from the digital data alone (Fig. 3). Or, if necessary, you can order digitally produced models from infiniDent, which you see holding the milled Bluecam IPS e.max crowns in Figure 4. The case can be in your office in a few days.
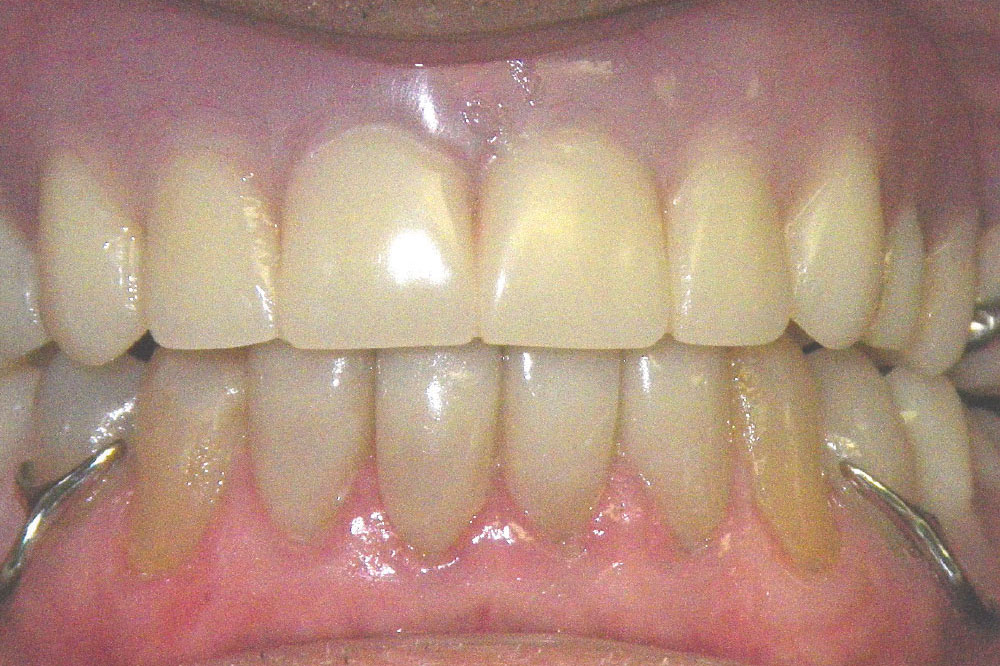
The bonded restorations in this CEREC Connect case showed excellent marginal adaptation and were a great service for the patient. You can see the finished case (Figs. 5, 6).
Conclusion
CEREC Connect has increased the versatility and usefulness of the CEREC chairside CAD/CAM system. It has also allowed dentists who significantly invested in the CEREC system to expand its capabilities and to continue offering state-of-the-art technology to their patients.
Dr. Carlos Boudet is in private practice in West Palm Beach, Florida. Contact him at boudetdds.com or 561-968-6022.
Acknowledgments
The author would like to credit Jay Black, CDT, of Winter Springs Dental Lab, for the photos and lab work used in this article.
Disclosure: The author has no financial interest in CEREC or Sirona Dental Systems. This article has not been sponsored. The following information is the sole opinion of the author and does not reflect the views of Chairside® magazine and/or Glidewell Laboratories.
References
- Lowe RA. CAD/CAM Dentistry and Chairside Digital Impression Making. ineedce.com publication. 2008.
- Zweig A. Improving impressions: go digital! Dent Today. 2009 Nov;28(11):100, 102, 104.
- Giordano R. Materials for chairside CAD/CAM produced restorations. J Am Dent Assoc. 2006 Sep;137 Suppl:14S-21S.
- CEREC Connect Version 3.82 Operators Manual. Sirona Documentation. Aug 2010.

