- Best survival rate and cementation performance for ceramic-polymer crowns*
- Easy to finish, with high gloss retention over time
- Ideal for inlays, onlays and full-coverage crowns
- Available exclusively for Glidewell milling systems
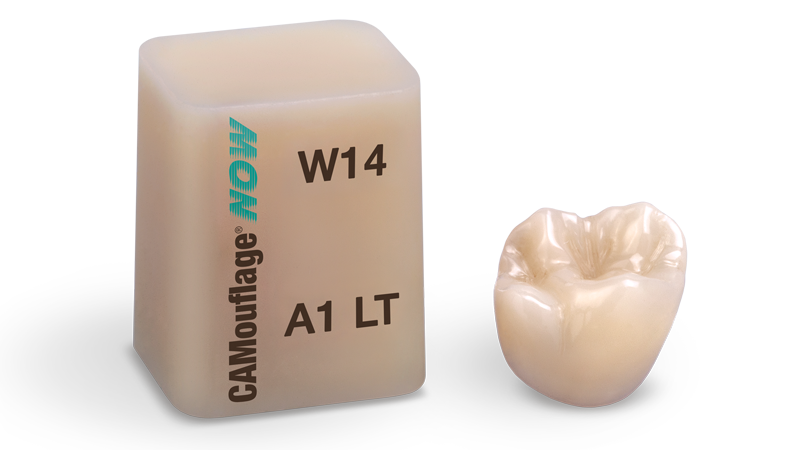

CAMouflage® NOW Milling Blocks
*Price is per 5-block pack and does not include shipping or applicable taxes.
CAMouflage® NOW Milling Blocks make it simple to deliver single-unit same-visit restorations made from versatile ceramic-filled nanohybrid resin material.
The Speed You Desire
CAMouflage NOW Milling Blocks offer a quick and versatile solution for single-unit in-office restorations. They're compatible with Glidewell milling systems and ideal for the creation of full-crown restorations as well as inlays and onlays.
CAMouflage NOW blocks are made from a ceramic-filled nanohybrid resin composite material that works well for both permanent and temporary applications. A flexural strength rating of 193 MPa provides reliable posterior performance, and an easy-to-finish surface that retains gloss well over time makes them suitable for anterior zones as well. CAMouflage NOW was recognized as a leading performer in the ceramic-polymer material category by the Gordon J. Christensen Clinicians Report® in 2018, having demonstrated just 2% cementation failure after one year.*
*Gordon J. Christensen Clinicians Report [Internet]. Provo (UT): CR Foundation®; c2018. 3 p. Available from: https://glidewell.io/wp-content/uploads/2018/11/GlidewellZirconiaStudyDU.pdf
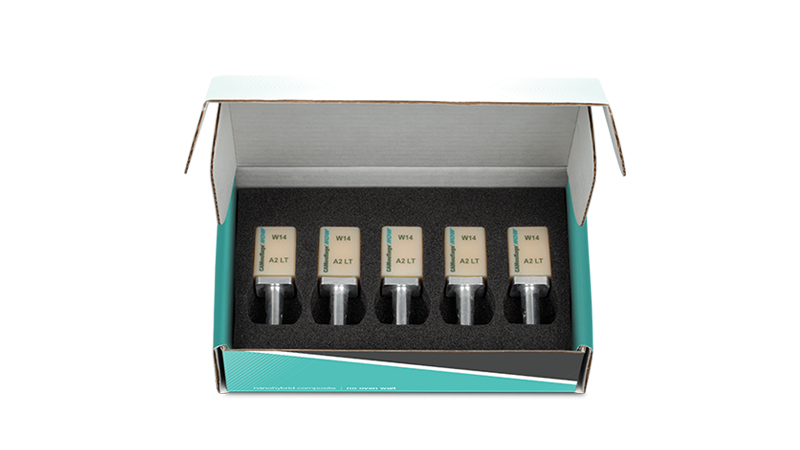
The Dental Advisor: CAMouflage NOW One-Year Clinical Performance Report
This clinical performance report demonstrates that, one year after placement, crowns made from CAMouflage NOW demonstrate a 98% rating on factors including esthetics, patient comfort, and resistance to damage.
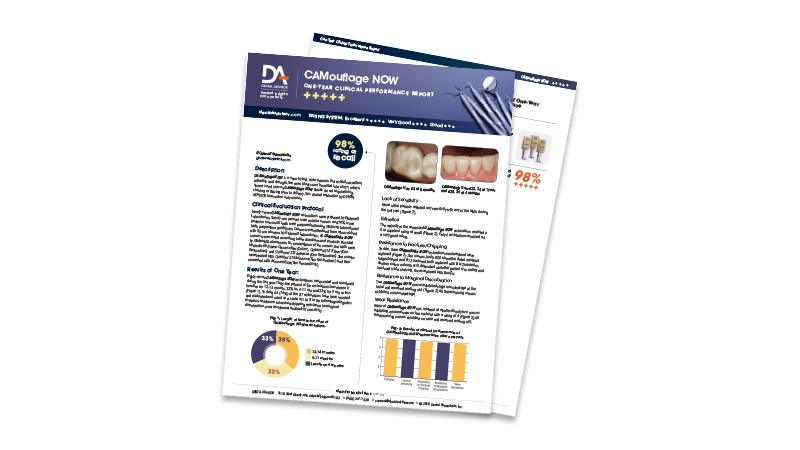
Gordon J. Christensen Clinicians Report®
This comparative study of tooth-colored monolithic crown materials showed that CAMouflage NOW had the highest survival rate among glass ceramics, with 98% survival after one year.
Clinical Studies
A Simple, Versatile Same-Visit Treatment
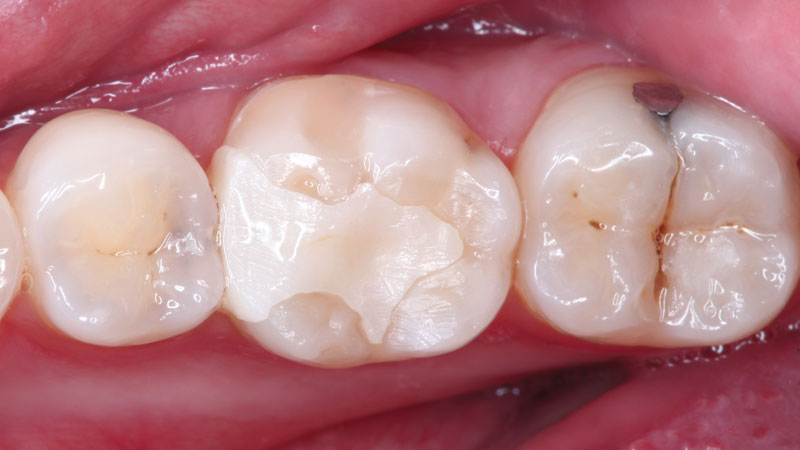
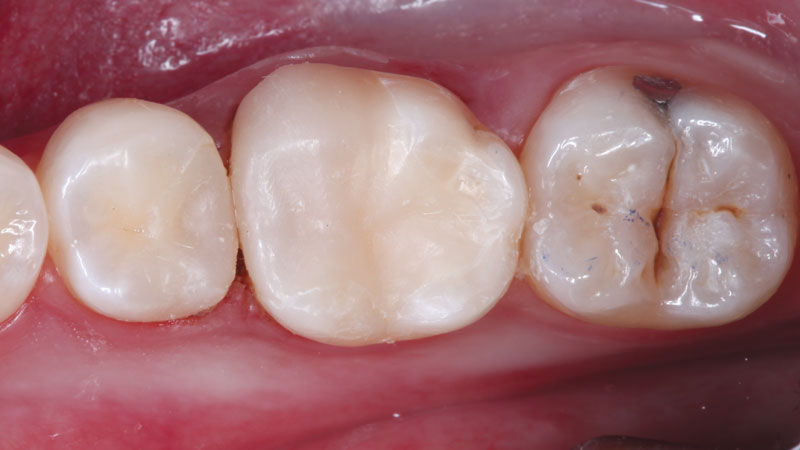
This patient’s onlay on tooth #19 and inlay on tooth #20 were milled in minutes from CAMouflage NOW.
– Clinical dentistry by Chad Duplantis, DDS
CAMouflage NOW is an excellent restorative alternative for indirect dentistry. I can provide high-quality, conservative restorations to my patients in a matter of minutes. This has, in turn, increased the productivity of my practice.
Indications
Ideal as an indirect restorative for both anterior and posterior restorations, including occlusal surfaces. Designed for fabricating temporary and permanent restorations such as inlays, onlays, veneers and full-crown restorations.
Material Composition
Approximately 80% ceramic-filled nanohybrid resin composite
Strength Characteristics
193 MPa of flexural strength
Milling Time
< 10 minutes
Available Shades
A1HT, A1LT, A2HT, A2LT, A3HT, A3LT, A3.5HT, A3.5LT, B1HT, B1LT, C2LT, D2LT, BLLT
Packaging Options
5-block pack, available with or without bonding kit
Pricing
|
CAMouflage NOW Milling Blocks(5-block pack)
|
$125.001 |
Price is per 5-block pack and does not include shipping or applicable taxes.
Clinical Tips
- Adhesive bonding with recommended protocol for best results:
- GLUMA® Desensitizer
- OptiBond™ XTR Primer
- OptiBond XTR Adhesive
- Maxcem Elite™ Cement
The following minimum dimensions should be met:
- Crowns: Wall thickness should be at least 1.5 mm (1.0 mm at margins).
- Inlays/Onlays: Prepare cavity walls tapered 5–6° to the long axis. Wall thickness should be ≥ 1.5 mm; isthmus thickness should be ≥ 1.5 mm.
- Veneers: Standard reduction of labial surface is 0.6 mm (0.4 mm at the gingival portion). Incisal thickness should be ≥ 1.5 mm.
Please follow the manufacturer’s operating instructions specific to the CAM device for selecting a milling program.
- Select the milling program for composite resin block materials.
- Once milled, check the restoration for discolorations linked to the milling process, any cracks, or chips. If the restoration is defective, discontinue manufacturing restoration.
NOTE: CAMouflage NOW is provided to the user in a highly cured state. This material should not be fired under any circumstances.
NOTE: Avoid inhaling dust. Use a dust vacuum and wear protective mask and glasses.
1. Use a fine diamond bur (for best results, use Meisinger Diamond Tapered Round End 852C) to finish the sprue area.
2. Clean using pressurized water with a three-way syringe (optionally, sonicate in water for two minutes); use gentle air pressure to dry.
3. Trial-fit the restoration to the preparation and check proximal and occlusal contacts.
4. Adjust contacts and occlusion with a fine diamond bud bur (for best results, use Busch® Fine Diamond Football Bur); if necessary, define anatomy and remove distortions.
5. To achieve high gloss, use a fine and extra-fine rubber polisher (for best results, use Gazelle™ COMP-POINT 2). a. Apply with a low-speed hand piece and polish with feather-light pressure. b. Do not use polishing paste. c. If desired, stain/characterize restorations with methacrylate-based, light-cure stains; please follow the stain manufacturer’s instructions for use. d. Optionally, apply an acrylic light-curable coating agent (for best results, use OPTIGLAZE™); please follow the manufacturer’s instructions for use.
NOTE: Do not mix applicator tips. Always use a fresh applicator tip and discard it after each application. Ensure restoration has been thoroughly cleaned prior to pre-treatment.
1. Sandblast with MicroEtcher™ using 50μm alumina at 30-40 psi for 10 seconds.
2. Clean using pressurized water with a three-way syringe (optionally, sonicate in water for two minutes). Thoroughly air-dry.
3. Shake OptiBond XTR Adhesive; using a new applicator, apply a coat to the internal surface.
4. Air-thin with gentle air, then strong air pressure, for a total of 10 seconds. Discard used applicator.
5. Light-cure for 10 seconds with minimum light intensities for the following curing units: a. Halogen lamp: ≥ 850 mW/cm2; b. LED: ≥ 1100 mW/cm2
NOTE: Do not mix applicator tips. Always use a fresh applicator tip and discard it after each application. Protect mucous membranes by using a rubber dam. Ensure GLUMA does not contact soft tissue during application.
1. Remove loose preparation debris by spraying with water (pumice slurry optional).
2. Clean the stump or cavity thoroughly, rinse with water, and lightly air-dry.
3. For inlays/onlays and veneers only, etch with 37% phosphoric acid* (for crowns, skip step 3 and proceed to step 4). a. Inlays/onlays: Selectively etch enamel for 15 seconds OR etch enamel and dentin for 15 seconds with medium scrub pressure. Rinse with water for 10 seconds, lightly air-dry or blot, and leave tooth moist. b. Veneers: Etch tooth preparation for 15 seconds with medium scrub pressure. Rinse with water for 10 seconds, lightly air-dry or blot, and leave tooth moist. * Protect mucous membranes with a rubber dam.
4. Follow the following steps for GLUMA application (required for inlay, onlay and crown cases and only if dentin is exposed for veneer cases). a. Use a new applicator to apply the smallest possible amount of GLUMA required for treatment to the dentinal surface; leave for 60 seconds. Dry the surface carefully by applying a stream of compressed air until the fluid film has disappeared and the surface is no longer shiny. Discard used applicator. b. Repeat step (a) once more. c. Rinse thoroughly with water. See GLUMA instructions for additional details.
5. Using a new applicator, apply a coat of OptiBond XTR Primer with medium scrub pressure to enamel/dentin for 20 seconds.
6. Air-thin with medium pressure for five seconds.
7. Use a new applicator and apply a oat of OptiBond XTR Adhesive with medium scrub pressure to enamel/dentin for 15 seconds.
8. Air-thin with gentle air, then strong air pressure, for at least five seconds.
9. Light-cure for 10 seconds with minimum light intensities for the following curing units: a. Halogen lamp: ≥ 850 mW/cm2; b. LED: ≥ 1100 mW/cm2


