An Insider’s Look at Veneer Preparation at Glidewell Laboratories
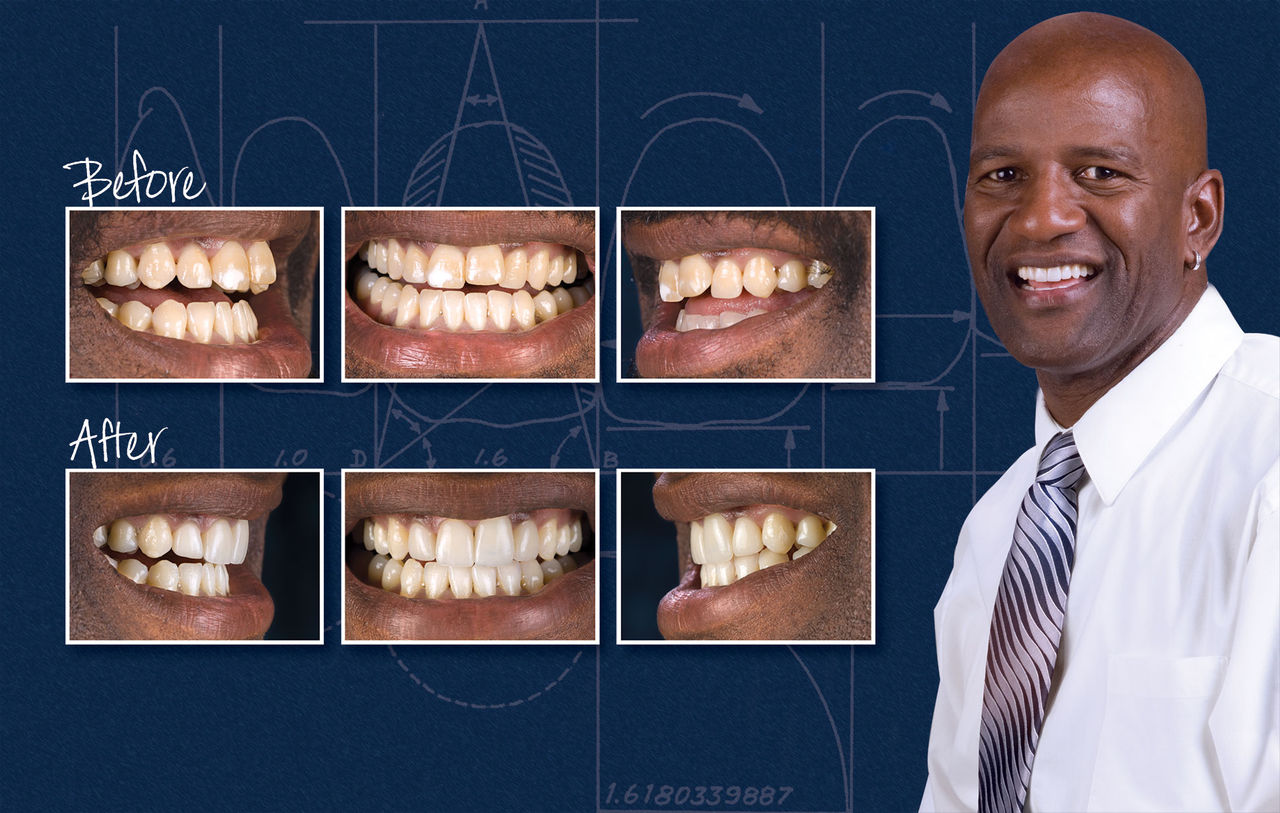
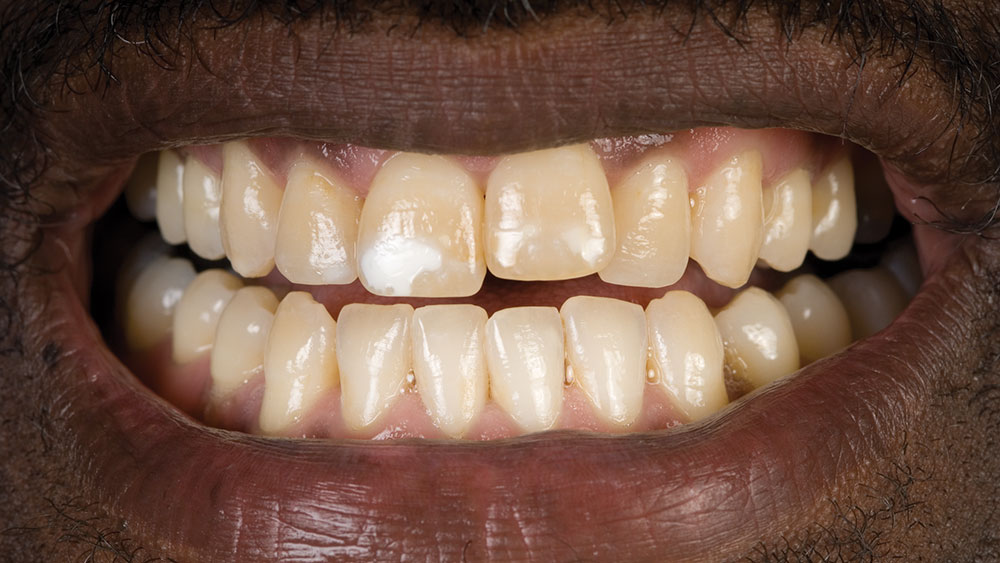
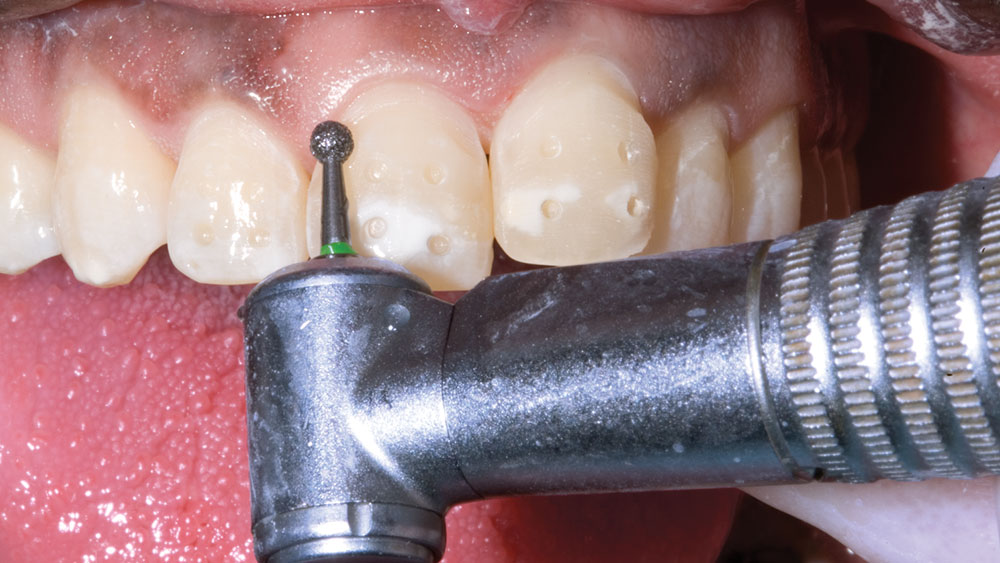
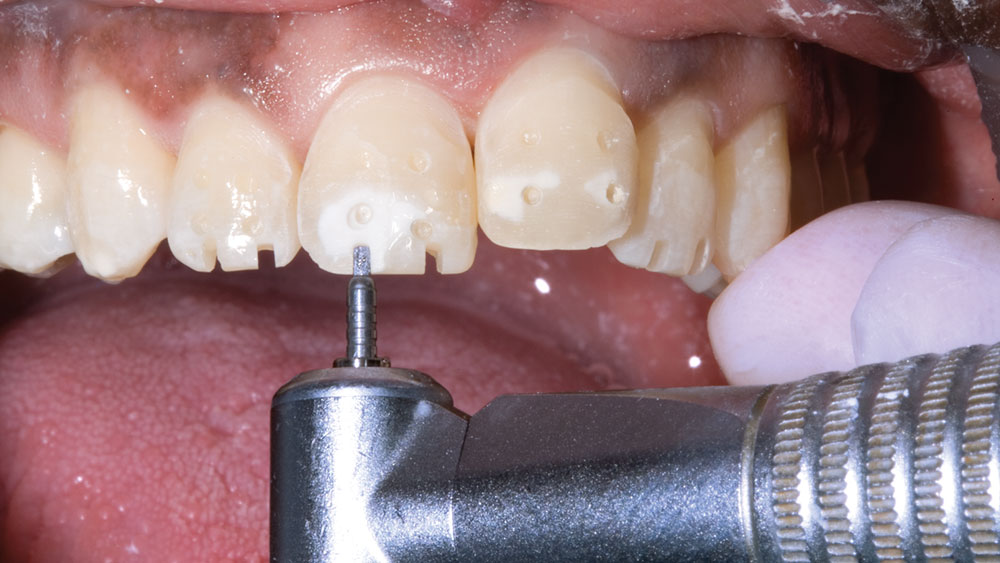
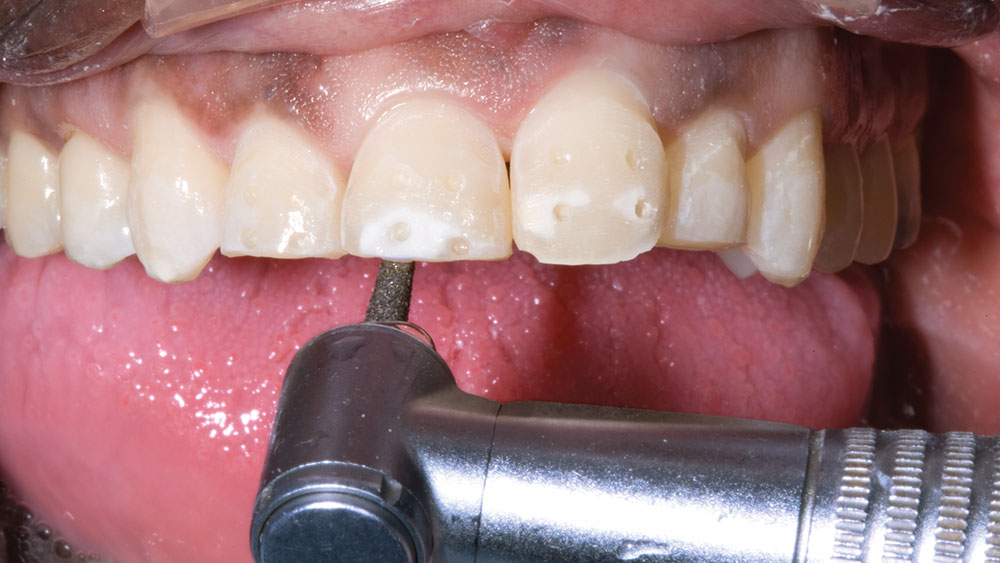
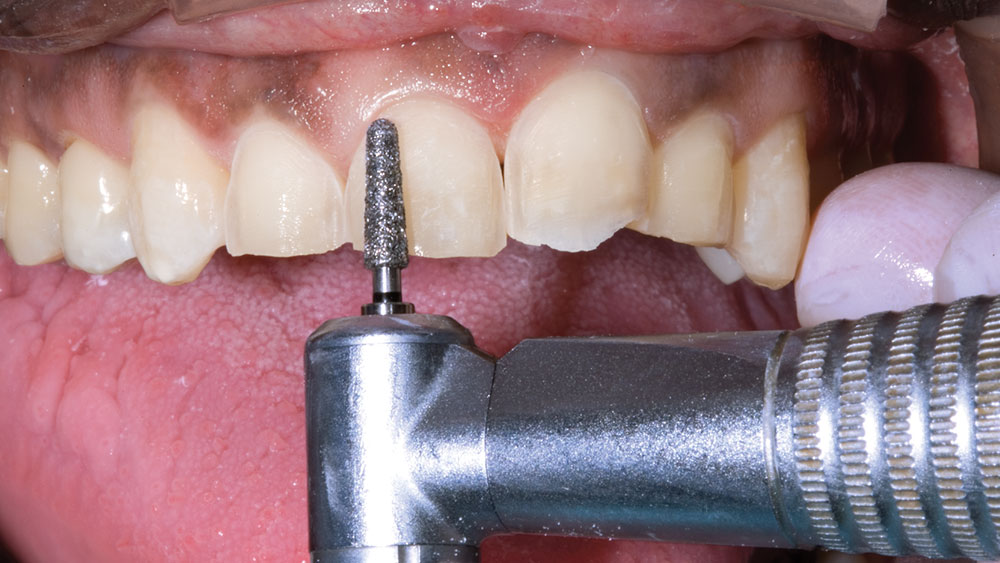
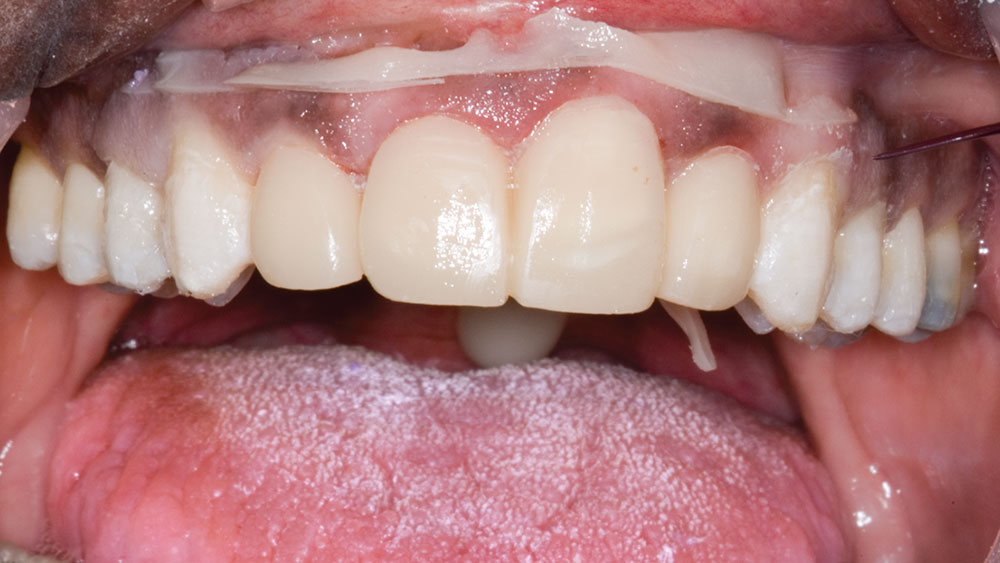
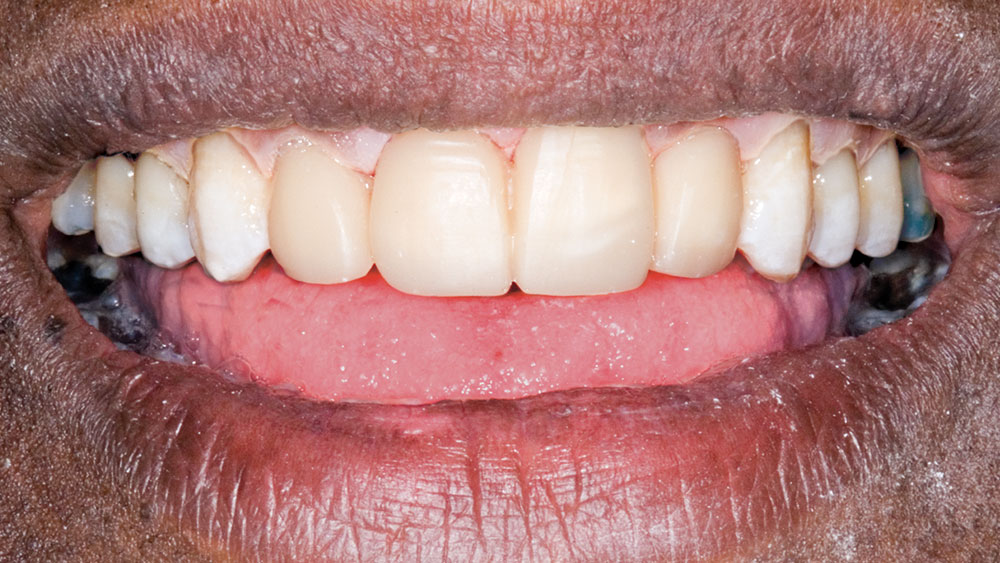
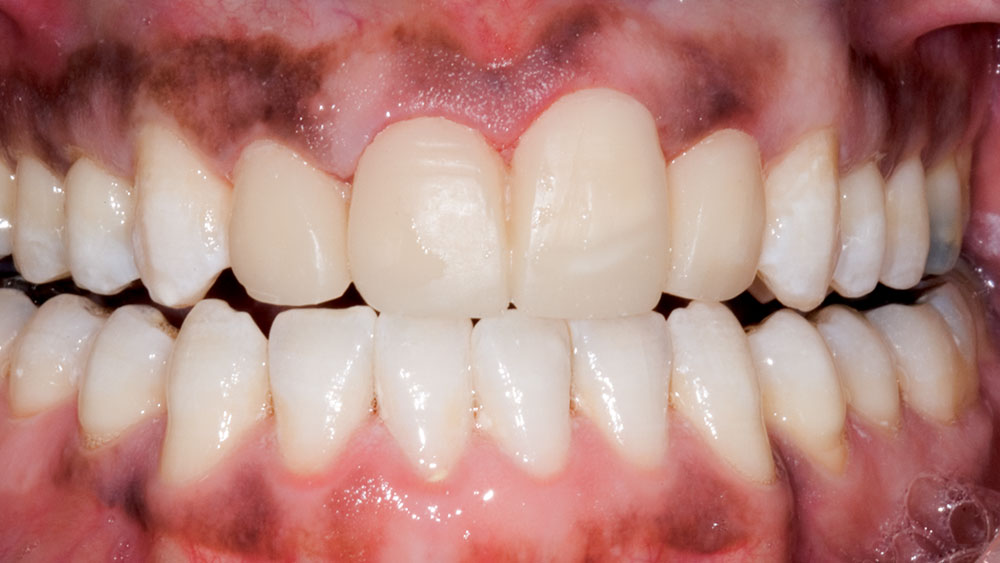
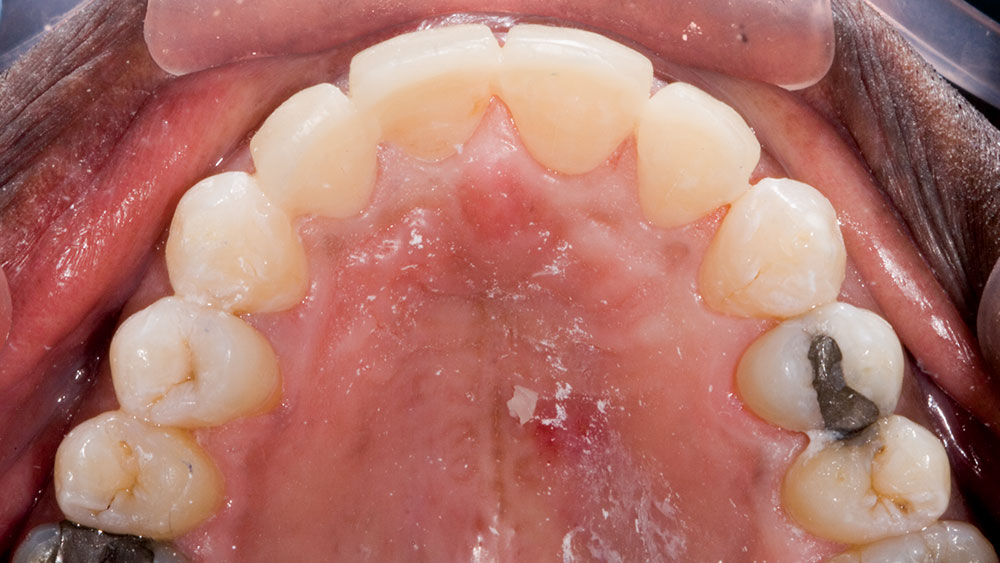
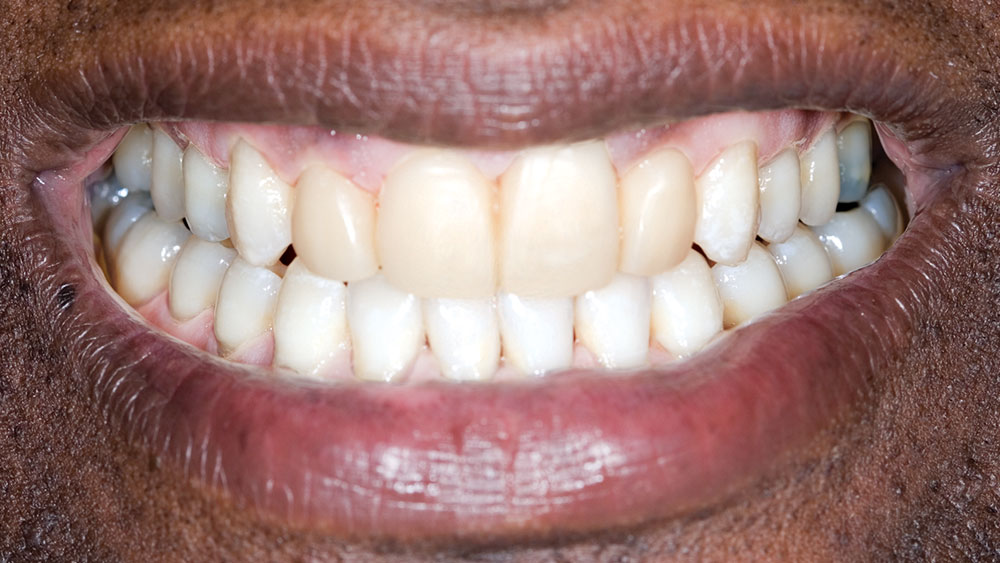
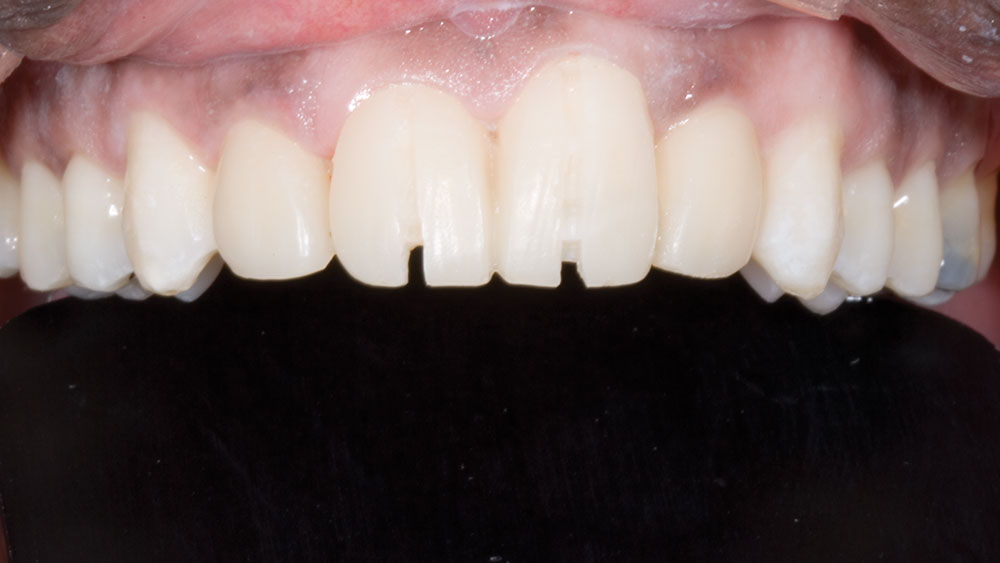
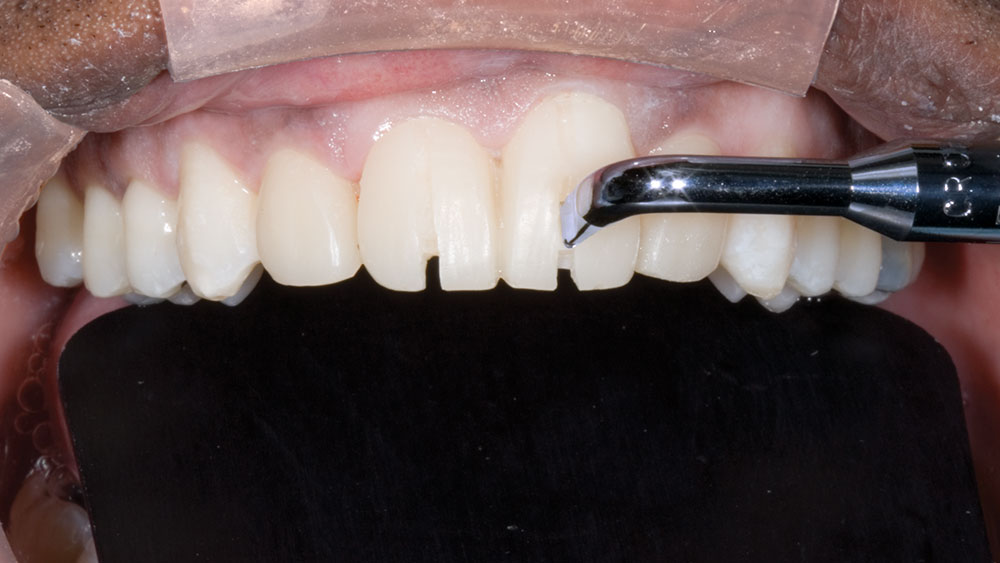
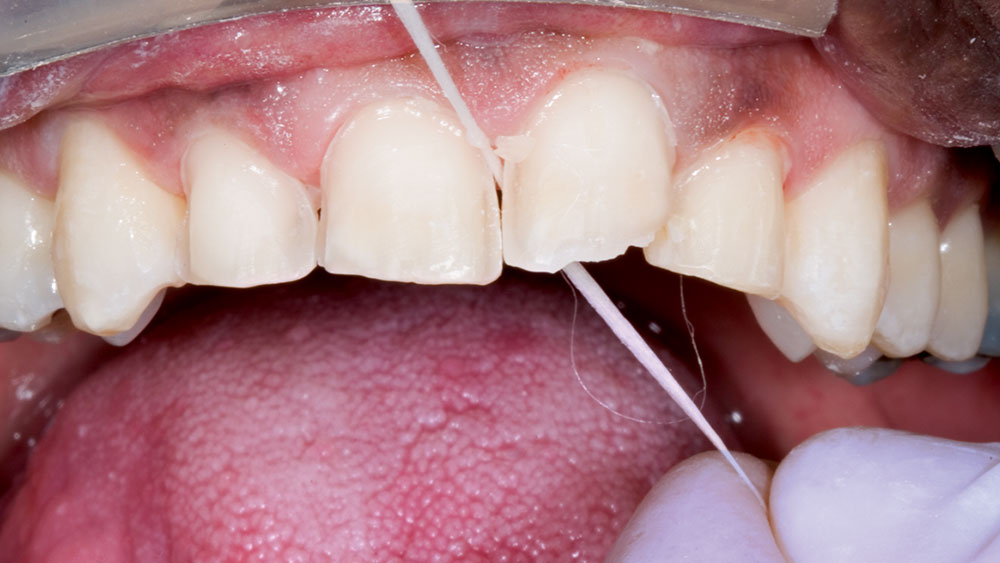
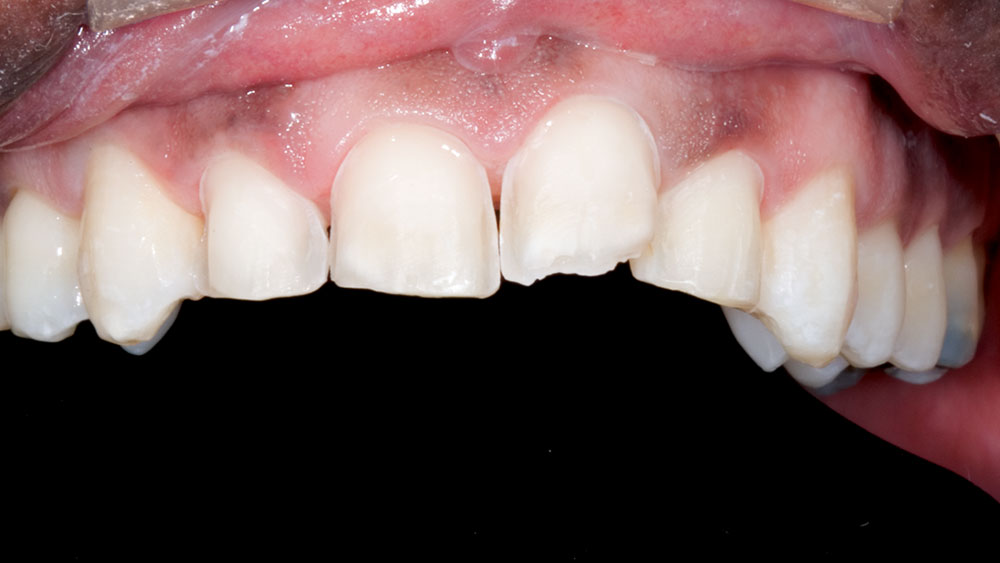
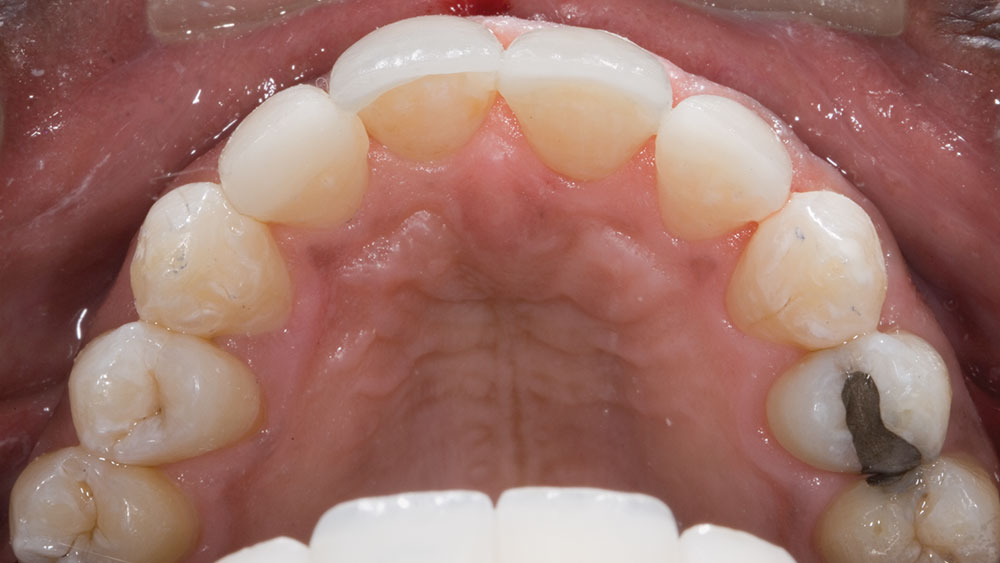
Almost every dental journal regularly runs clinical articles featuring porcelain veneers, and most of them seem to focus on showing before-and-after photographs. My experience in the laboratory is that many times the veneer cases we see don’t look as good as they could because there was not enough reduction done in the right areas. In this photo essay, I want to demonstrate how I use precontouring and depth cuts to assure that I give my dental technician enough reduction to work his magic. I also wanted to show the details of my temporary technique, as it greatly simplifies the process of making thin temporaries like these. I still believe that veneers are the most esthetic restoration in dentistry, and by following these precontouring and depth cut steps, I hope you find that you and your patients are more satisfied with your esthetic dentistry.
A Smile Preview: Diagnostic Wax-Ups
I have always considered diagnostic wax-ups a critical part of the porcelain veneer process. A big reason I always use diagnostic wax-ups is to give the patient an accurate idea of what their finished case could look like. In fact, I have always been suspicious of digital imaging programs because of the way they show patients what their smile could look like. Many of these systems have a smile library in which a smile is somewhat arbitrarily taken from the library and “pasted” over the patient’s existing smile. Unfortunately, this method of imaging doesn’t take the patient’s tooth position or hard or soft tissue architecture into account, and can show the patient an “after” scenario that is literally impossible to achieve.
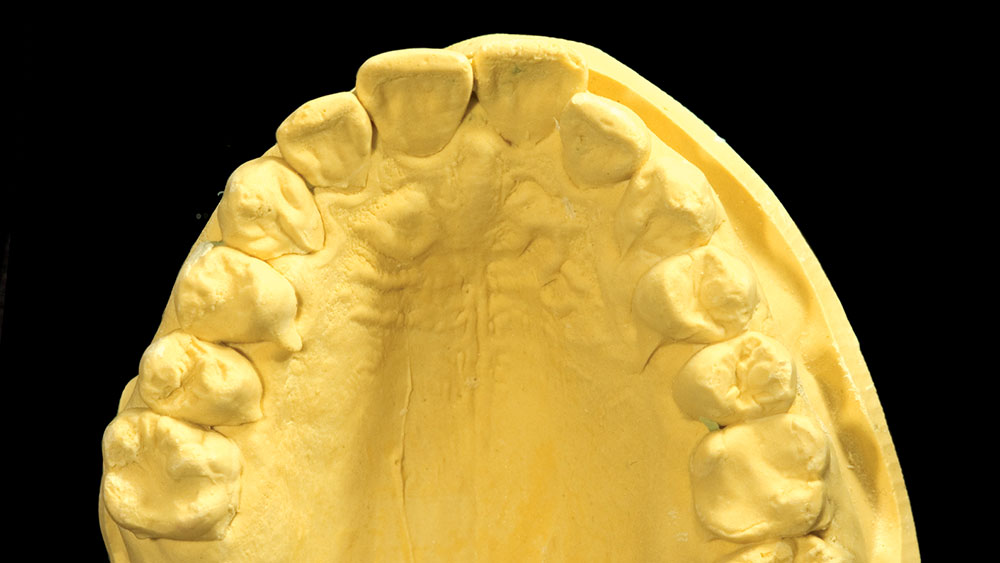
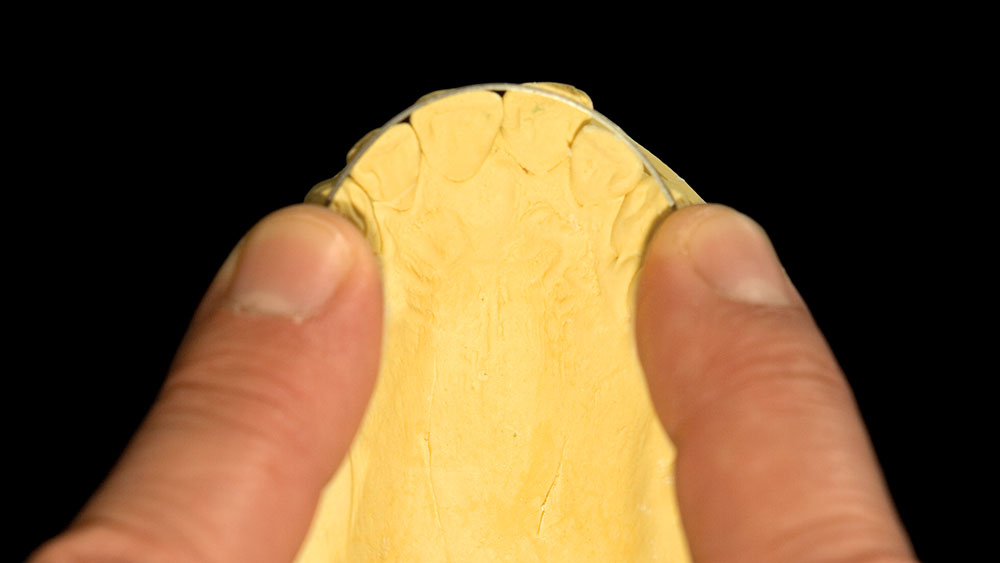
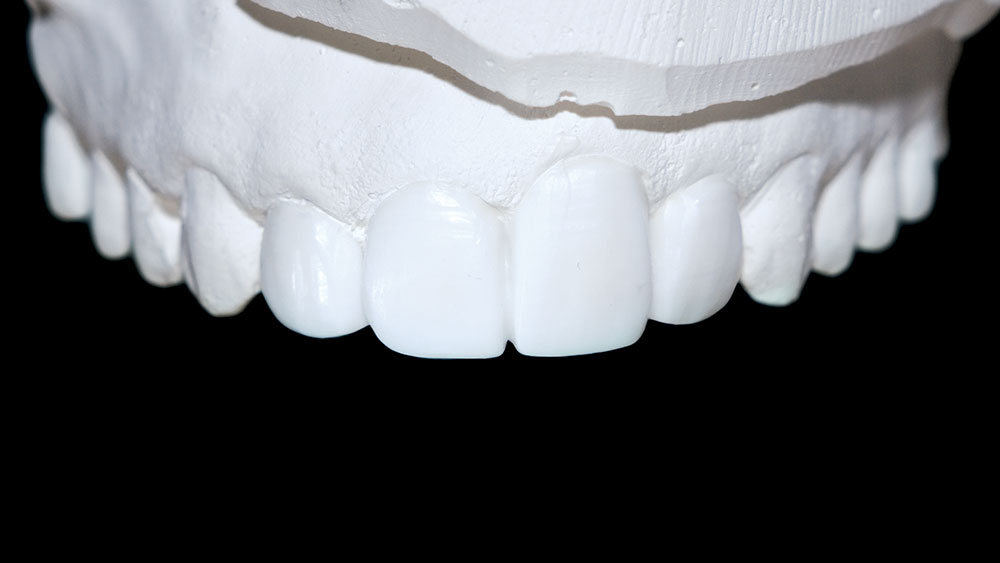
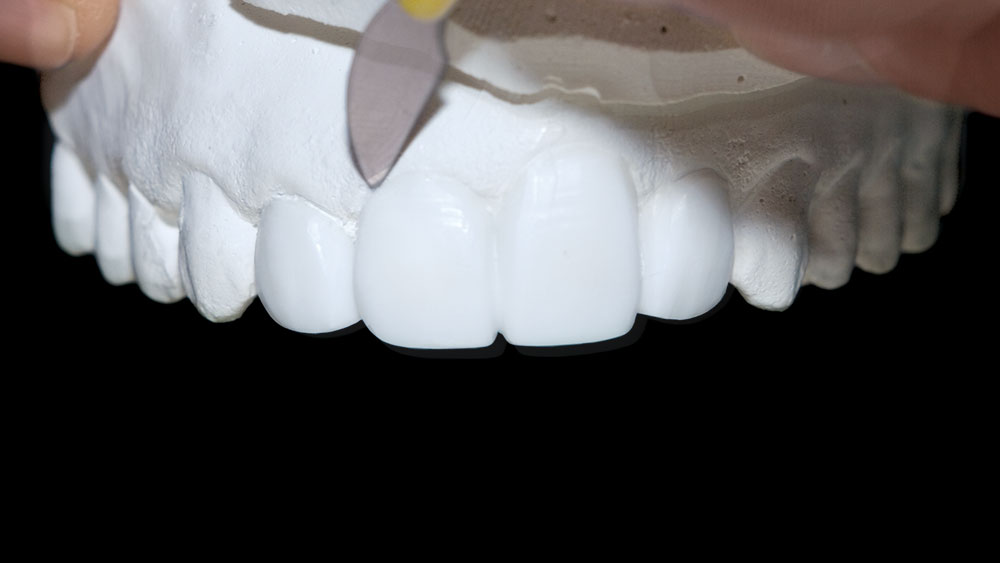
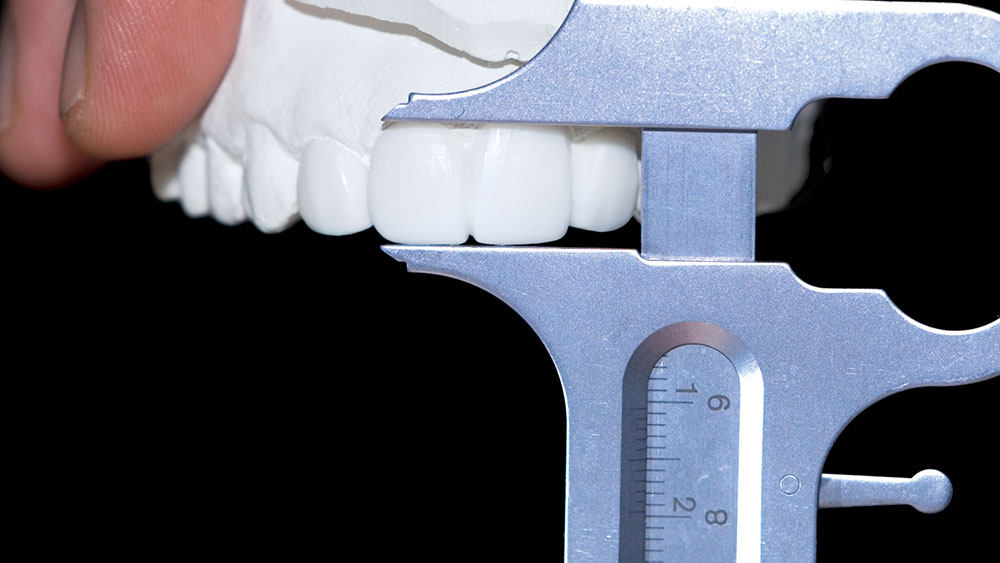
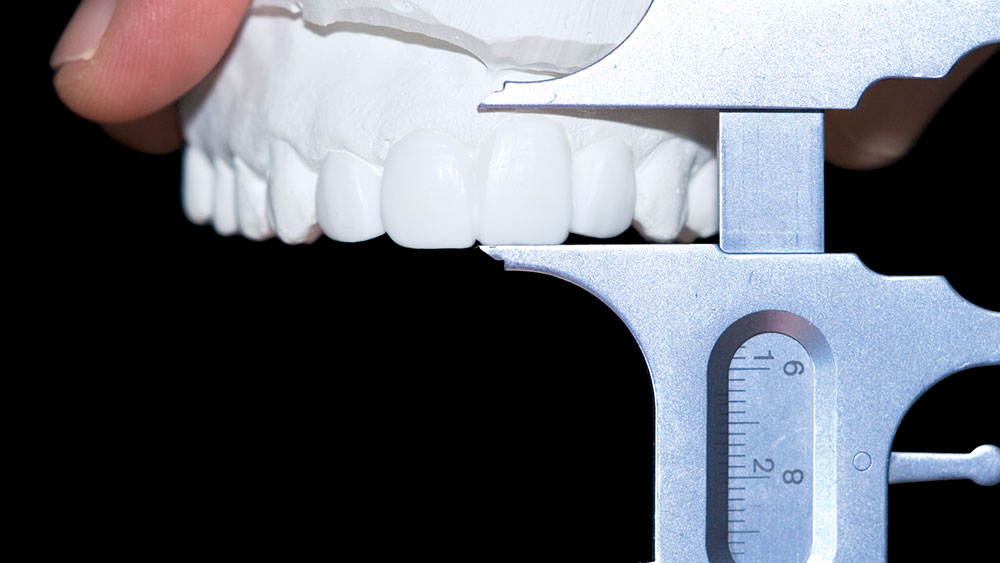
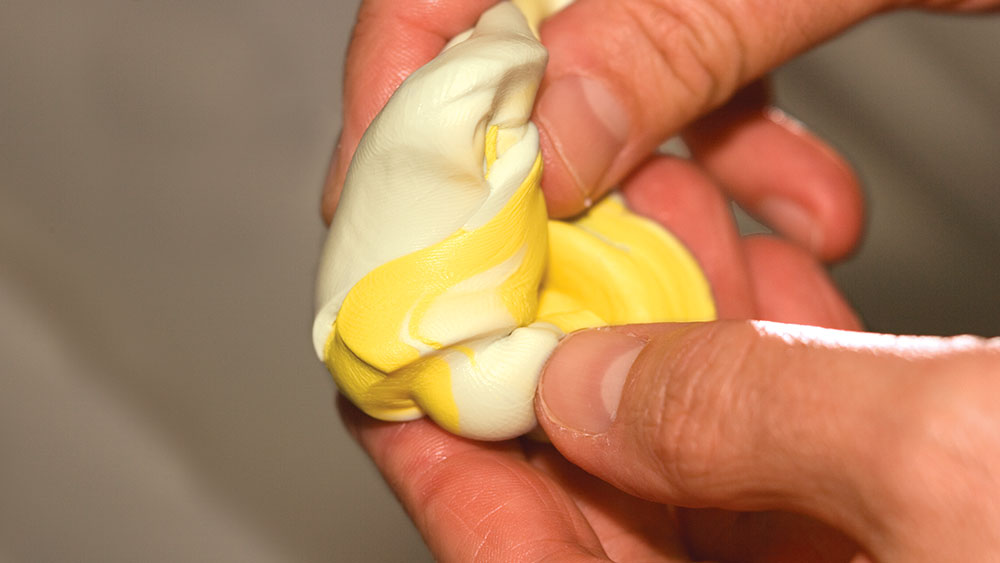
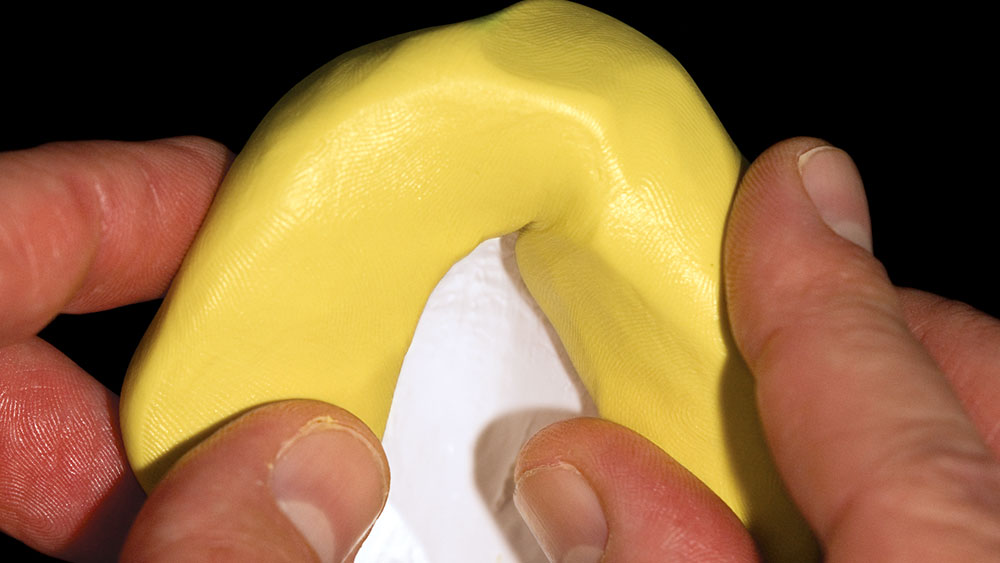
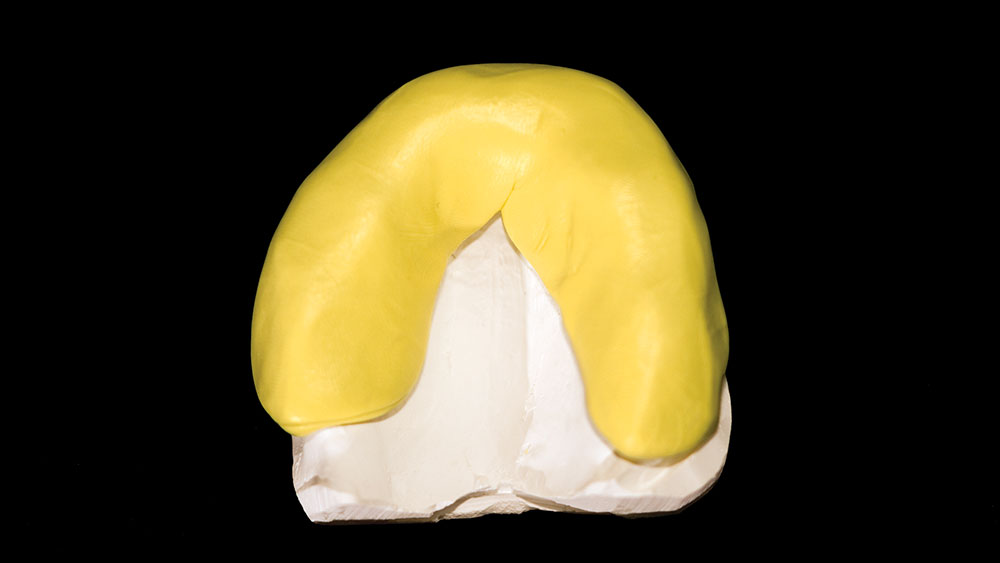
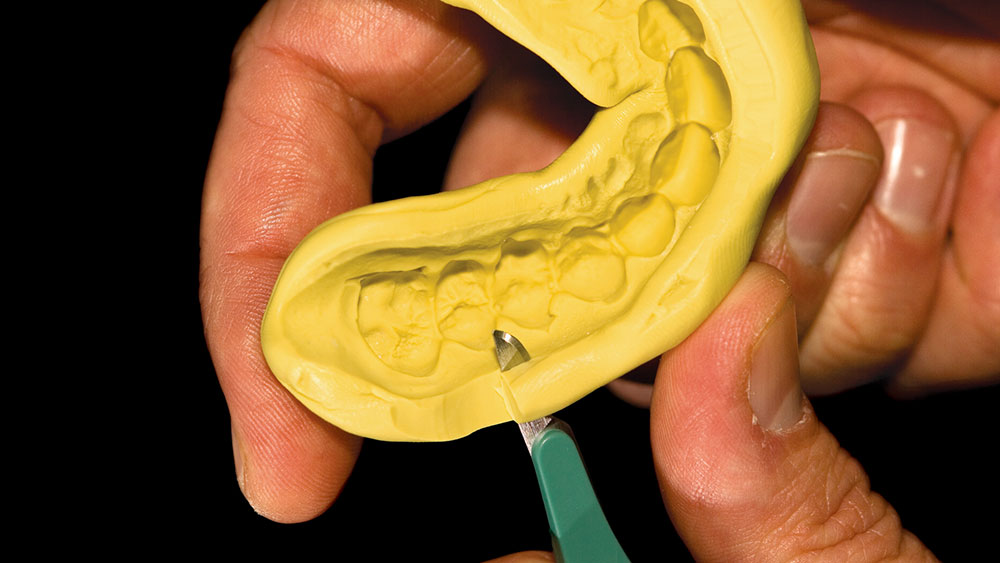
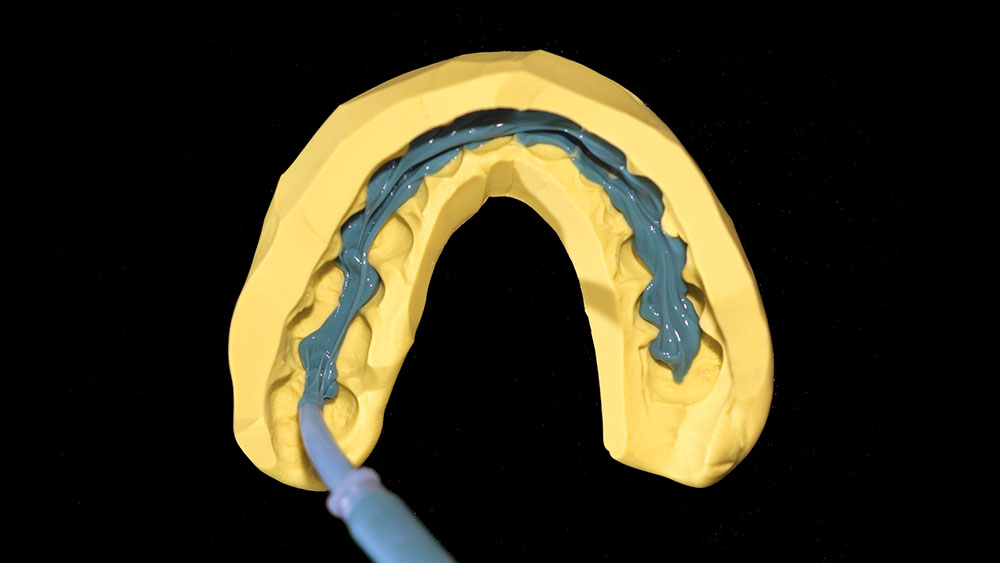
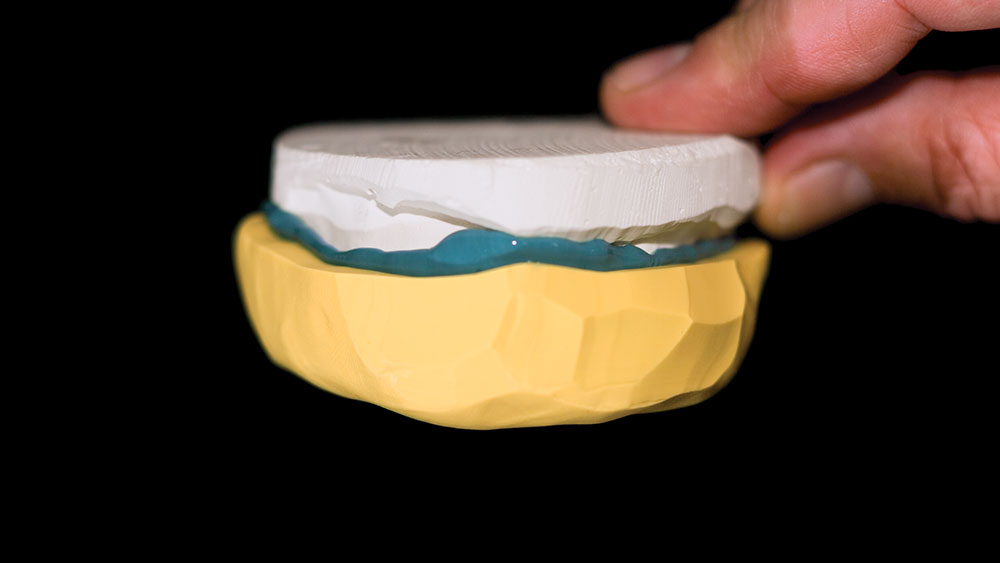
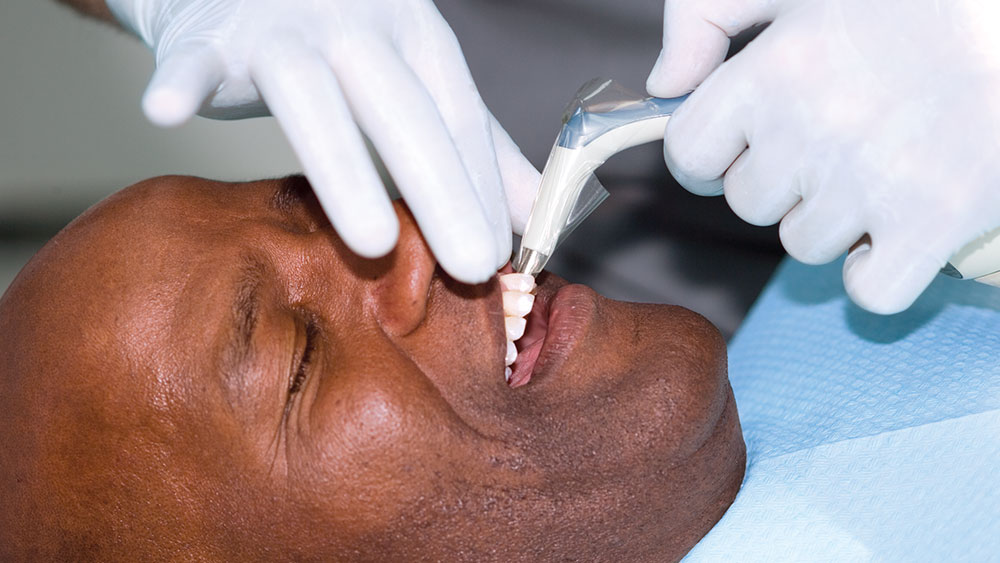
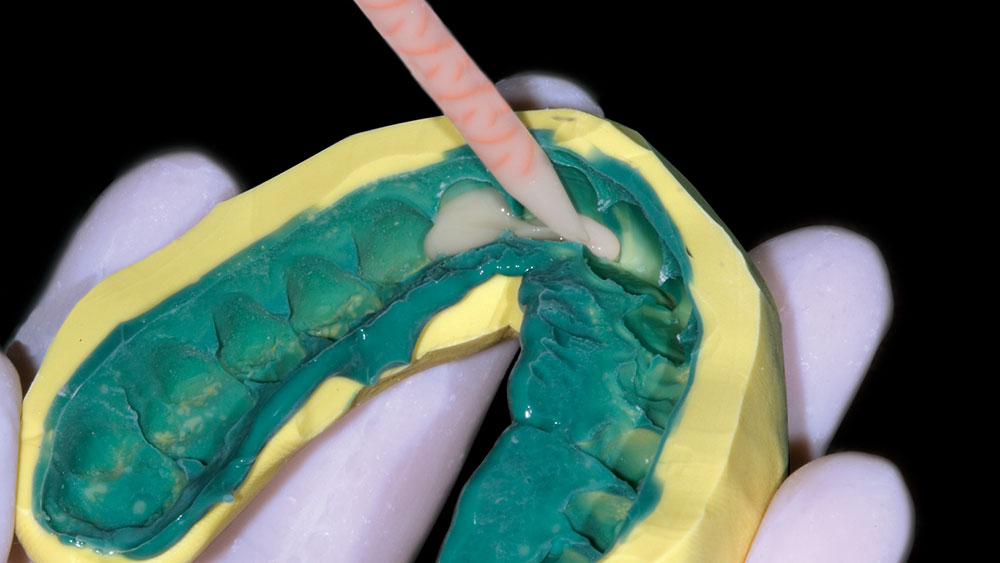
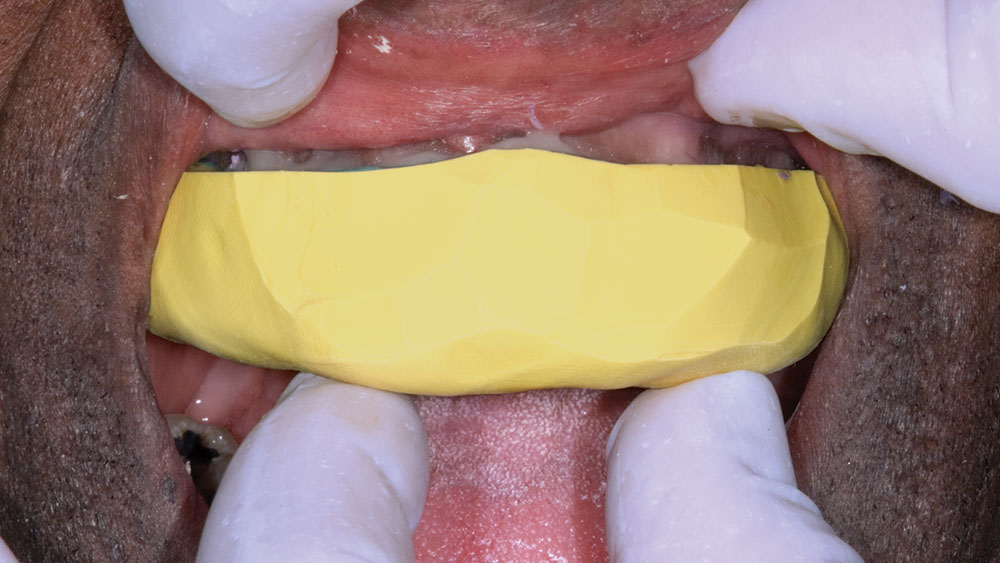
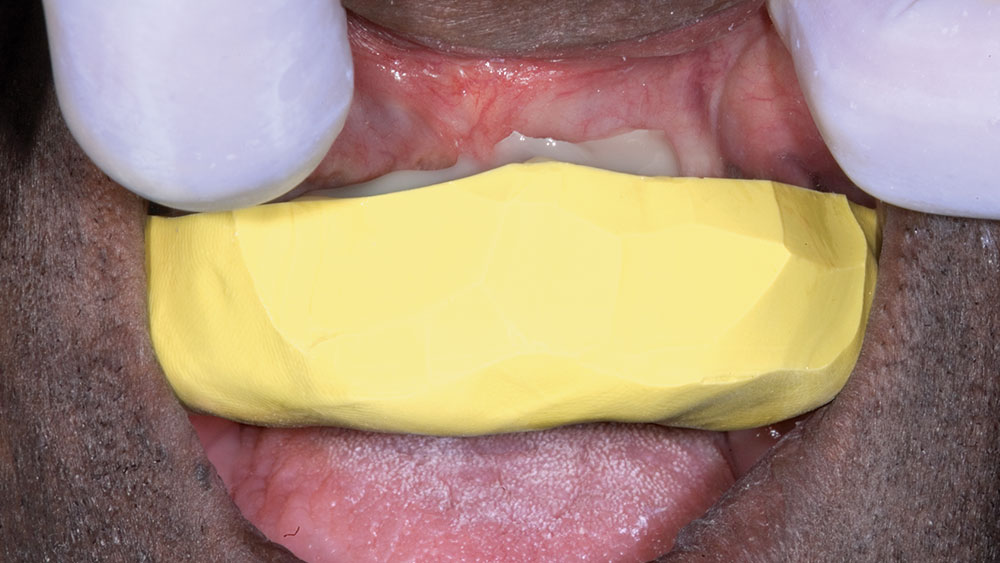
With the diagnostic wax-up the lab or dentist removes the desired amount of tooth structure from the pre-op model and the veneers are waxed onto the patient’s actual prepped teeth. This method accurately shows the patient, dentist and lab technician what is realistically available for this patient. In fact, one of my favorite things to do is to take a polyvinylsiloxane impression of a diagnostic wax-up, fill it with a bleach shade bis-acryl temporary material such as Temphase from Kerr, and place it over the patient’s unprepped teeth and let it set to give the patient an intraoral preview of what their new smile will look like. Obviously, it’s not a perfect fit because no teeth have been prepped, but it is a nice way to transfer the information from the diagnostic wax-up to the patient’s mouth.
The diagnostic wax-up also helps many patients make up their minds about treatment just by looking at the wax-up and comparing it to their existing smile. It is for this reason that I insist that all diagnostic wax-ups be fabricated from white stone models with white wax added for the veneers.
Yellow models and yellow wax just don’t elicit the same emotional response from patients when they view them, even though darker models and wax may make it easier for the dentist and technician to see certain details such as surface texture, etc. The bottom line is, if you are planning on showing the diagnostic wax-up to the patient or are going to let them take it home to show to their spouse, make sure your lab uses white models and white wax.
The diagnostic wax-up can also act as a financial screening tool. We charge $20 per tooth for this service, but we have the patient pay for it. So for a typical 8-veneer case the diagnostic wax-up would cost $160, and that amount is credited toward the overall case fee if the patient decides to have the treatment done. Years ago I would pay for the wax-up myself, only to find out that the patient wasn’t all that serious about having the treatment done.
After I became the owner of five or six wax-ups, the decision was made to have the patients pay for them. Any patient who balks at the $160 fee for the wax-up to see what their new smile could look like is probably not that serious about having the treatment done. This keeps you from wasting $160 on a wax-up you don’t need.

