In this issue:
Clinical Consideration: An Alternative Technique to Eliminate Retained Cement Around Implant Restorations
Author

Cemented implant prostheses have become popular in implant dentistry because of their relative simplicity, ability to achieve a passive fit, exceptional esthetics and similarity to traditional prosthetics. However, with these advantages comes a potential disadvantage: the subgingival retention of postoperative cement. Retained cement will act as a nidus for bacterial accumulation and proliferation, potentially causing peri-implant mucositis or peri-implantitis.
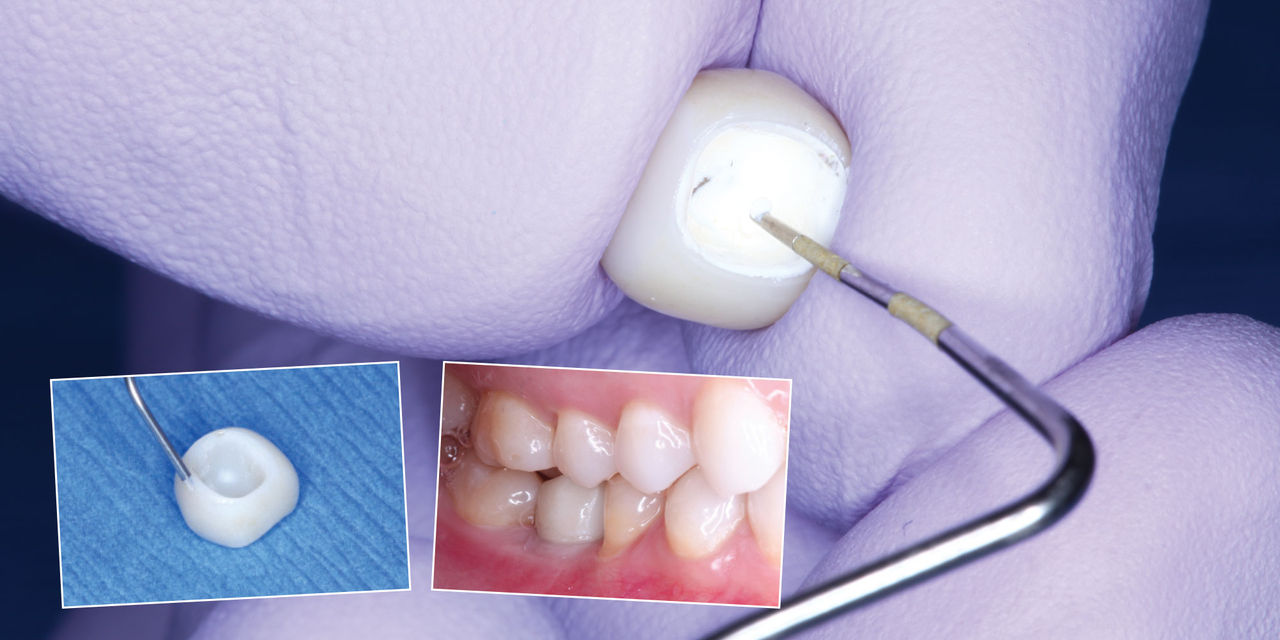
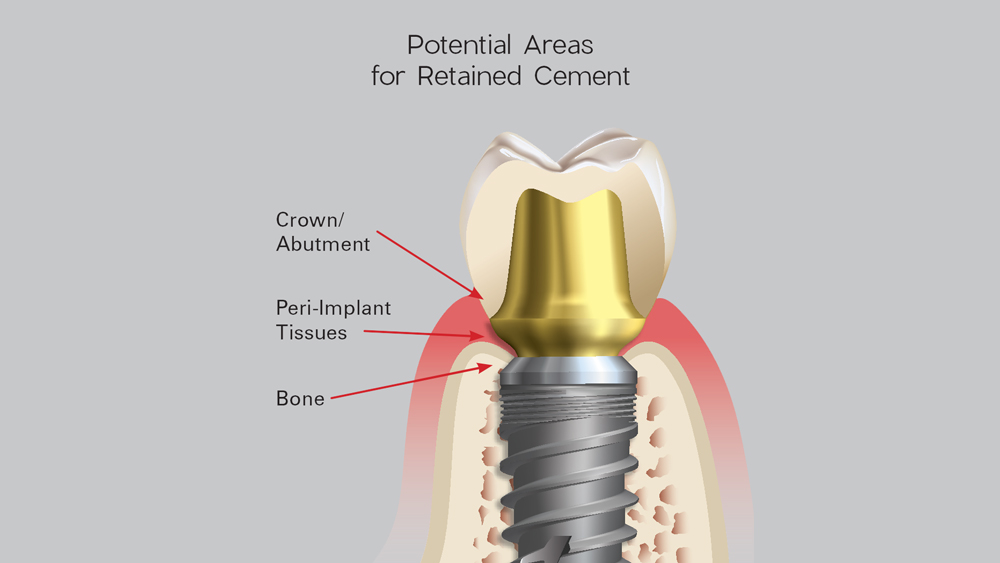
Cement remnants may attach to the crown, abutment or bone. If the cement is extruded into the sulcular area and reaches the bone, significant chronic issues can arise, leading to bone loss and possible implant failure. Retained cement may go undiagnosed, especially if the crown margins are subgingival. Radiographic evaluation is considered unreliable, as cement may be visible only if it is radiopaque and located mesially or distally. Note that an Inclusive® Custom Implant Abutment mitigates the risk of cement retention by placing the margin at or just slightly below the gingival level, which eases cleanup and prevents cement from becoming wedged into the sulcular area. This is in contrast to a typical stock abutment, which often places the margin deeply subgingival.
The following are steps for an alternative cementation technique to reduce or eliminate the possibility of retained cement.
An effective cementation technique is paramount in reducing or eliminating the possibility of cement remnants, which may attach to the crown, abutment, peri-implant tissues or bone.
The tissue-level junction established by an Inclusive custom abutment allows for easier cement removal than a typical stock abutment.
STEP-BY-STEP CEMENTATION TECHNIQUE
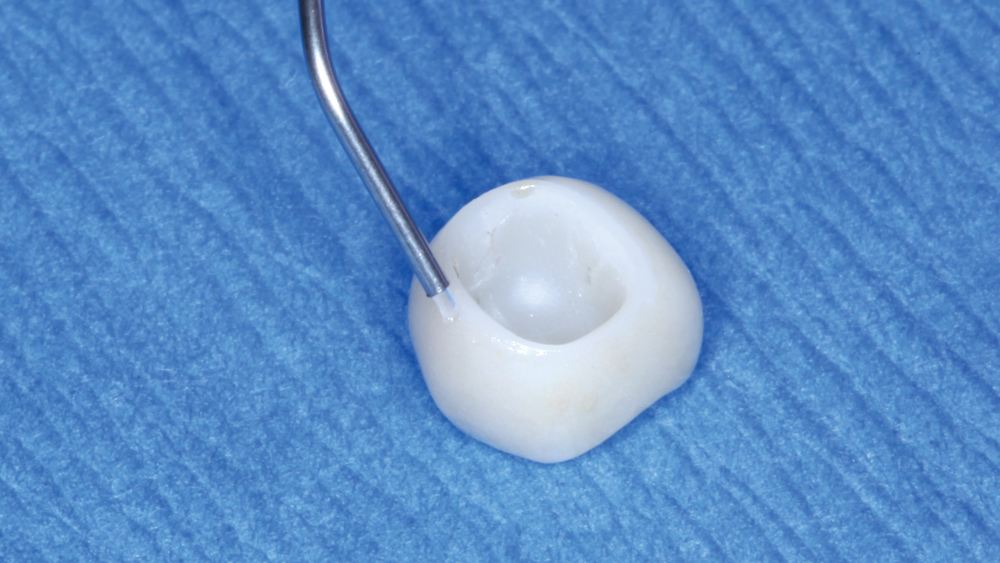
Step 1: Apply lubricant, such as water-soluble petroleum jelly, with a 1 cc syringe to the outer margin of the crown.
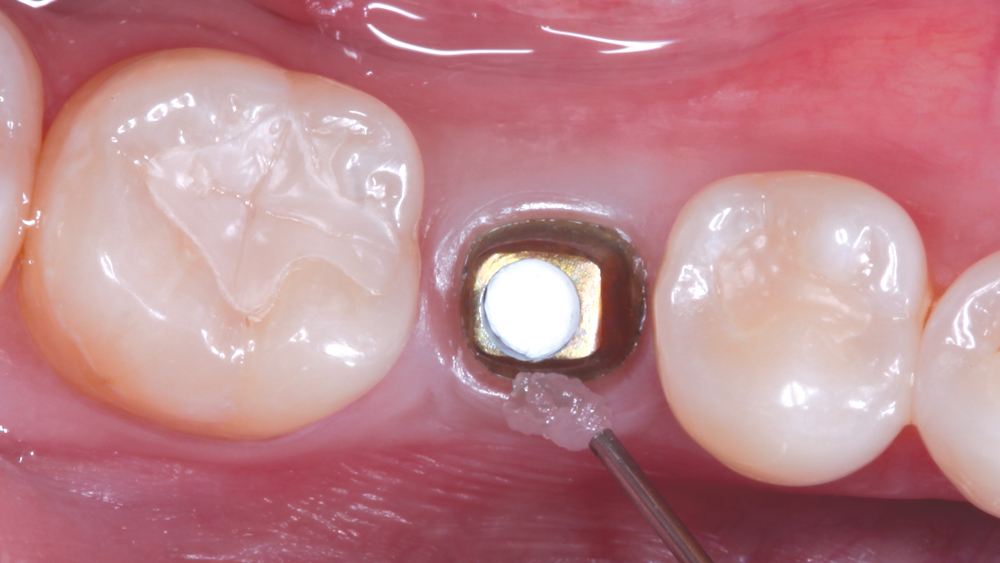
Step 2: After seating the custom abutment, tightening the prosthetic screw and sealing the access hole, place a thin layer of water-soluble petroleum jelly within the sulcus, inferior to the margin of the abutment.
Step 3: Apply a thin layer (approximately 40 μm) of cement to the intaglio surface of the crown.
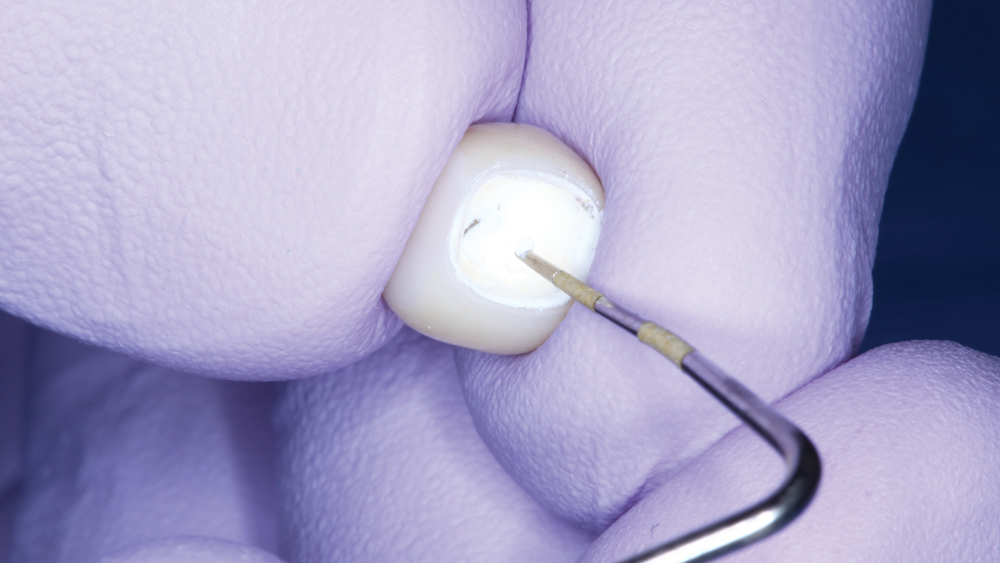
Step 4: Seat the crown. Note that excess cement will be extruded to the outer surface of the crown and in the sulcular area.
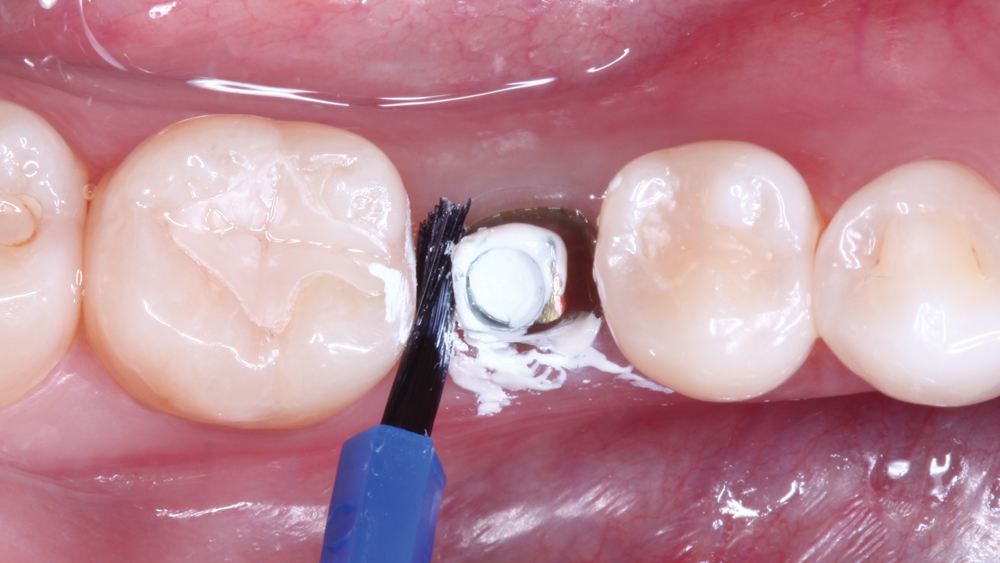
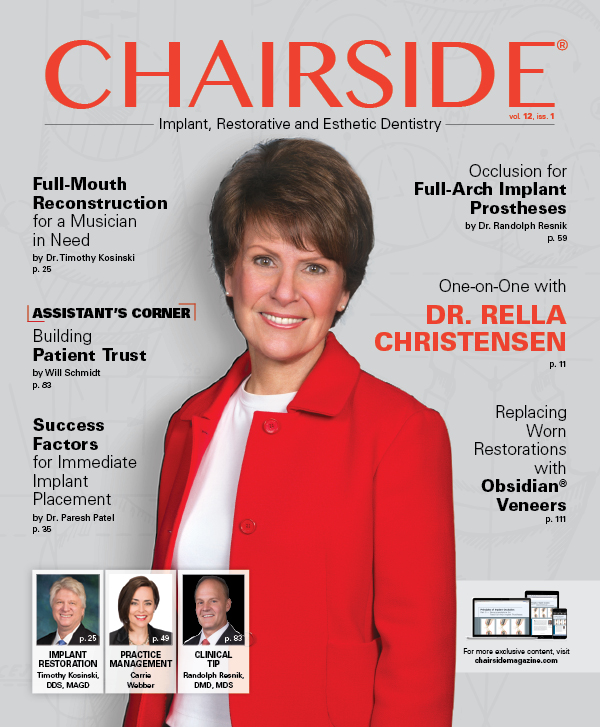
Step 5: Remove the crown and wipe off excess cement from the crown’s outer surface. Remove excess cement from the sulcular area with a Benda Brush (Centrix Dental; Shelton, Conn.).
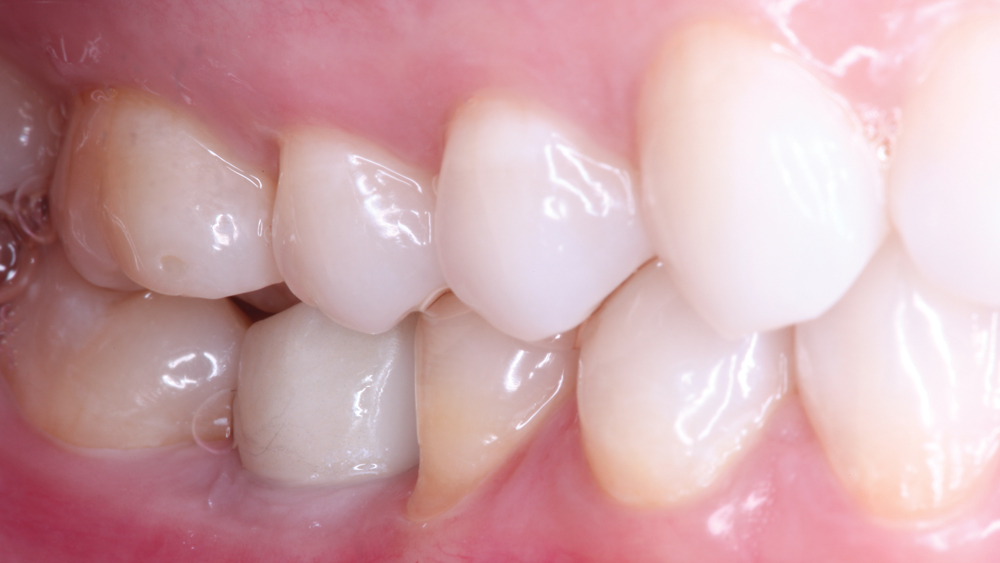
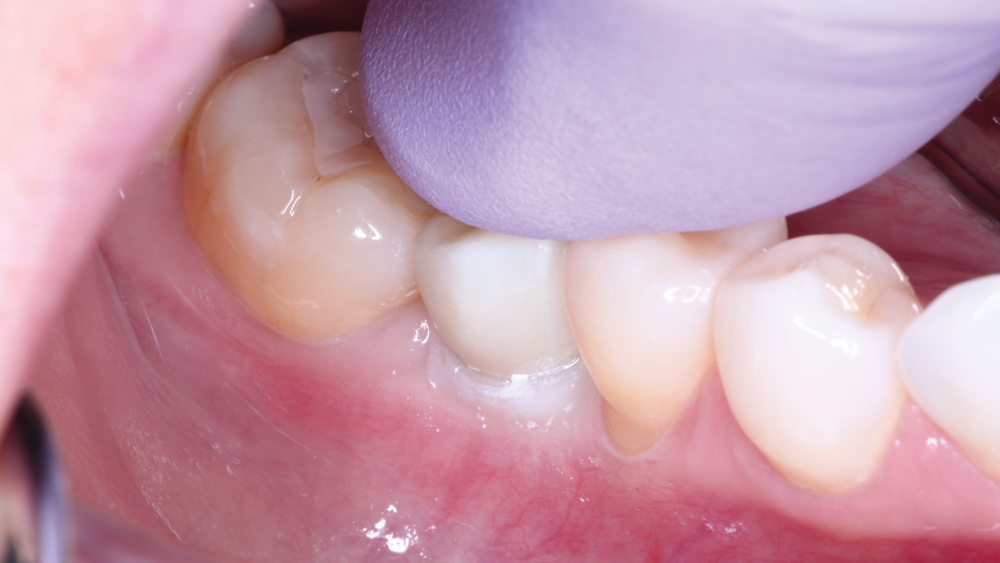
Step 6: Reseat the crown.
An effective cementation technique is paramount in reducing or eliminating the possibility of cement remnants.
SUMMARY
A cemented implant prosthesis is often the preferred treatment option for restoring the edentulous space, and the method illustrated here minimizes postoperative cement retention. When the implant crown is first seated, any excess cement is pushed out and coated with a lubricant, easing its removal from the crown and sulcular area. The crown is then placed back in the mouth, completing a straightforward cementation technique. Additionally, the use of a custom abutment reduces the risk of cement retention and simplifies cleanup. For clinicians restoring the edentulous space, following these steps helps maximize the success of the cemented prosthesis.
The use of a custom abutment reduces the risk of cement retention and simplifies cleanup.
References
- Clinical dentistry courtesy of Siamak Abai, DDS, MMedSc