How to Fine-Tune Form and Function During Complete Denture Fabrication
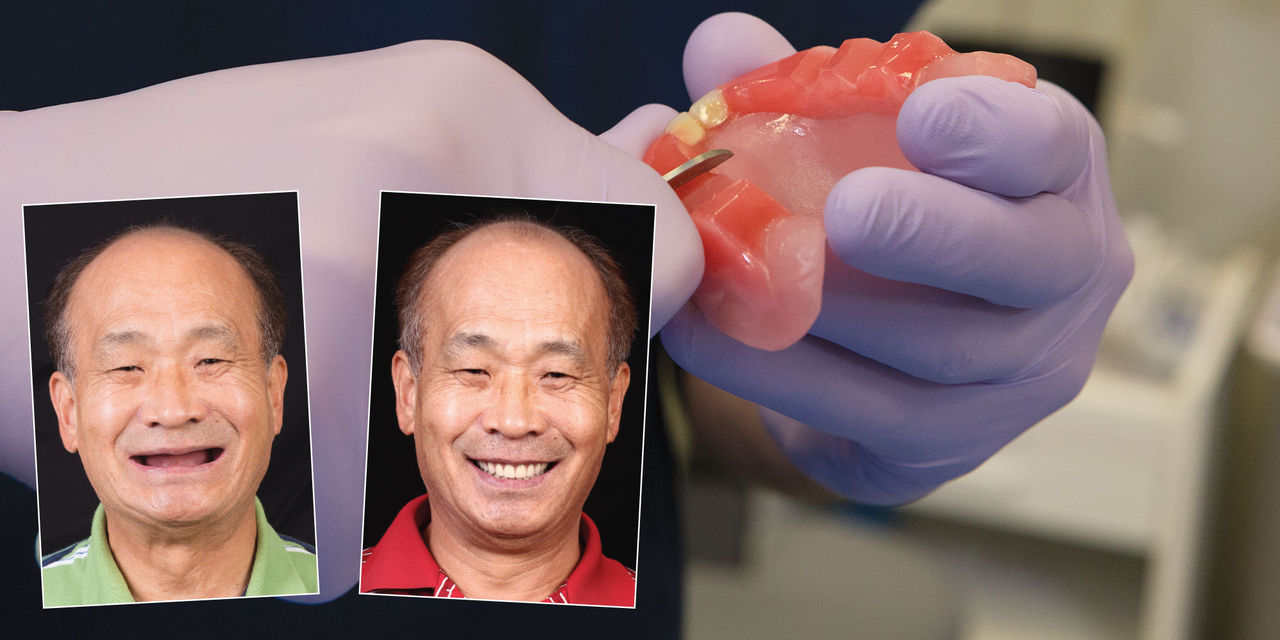
Complete dentures provide a viable solution for edentulous patients, even though today’s practitioners have access to many implant-supported treatment options. To serve the population who cannot receive implant-supported prostheses due to financial or anatomical restraints, it is helpful for clinicians to maintain their ability to deliver complete dentures. A predictable outcome can be achieved when the clinician has a full understanding of the desired result, accurately captures the stabilizing areas, and successfully communicates the anatomical information — such as tooth characteristics, vertical dimension and interocclusal space — to the dental laboratory.
In the case that follows I will outline my straightforward clinical protocol for replacing an ill-fitting existing denture in a fully edentulous patient. The patient in this case is Daniel, a CAD/CAM mill technician who has worked in the Fixed department at Glidewell Laboratories for 10 years. Daniel operates the milling machines that are used in the production of many of the restorative materials delivered to dentists around the world, including BruxZir® Solid Zirconia and Obsidian® lithium silicate ceramic (Glidewell Laboratories; Newport Beach, Calif.).
Complete dentures provide a viable solution for edentulous patients.
APPOINTMENT 1: PRELIMINARY IMPRESSIONS
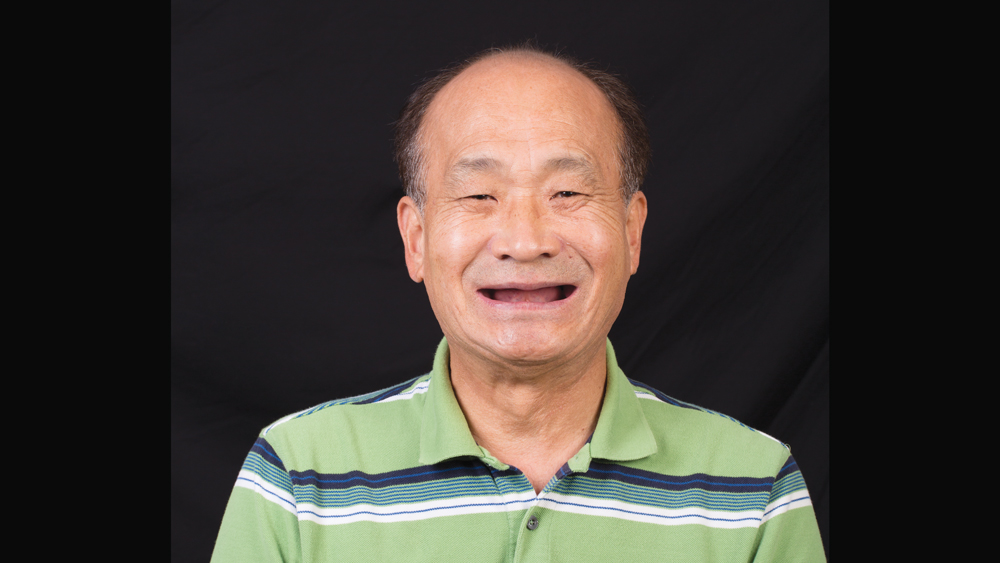
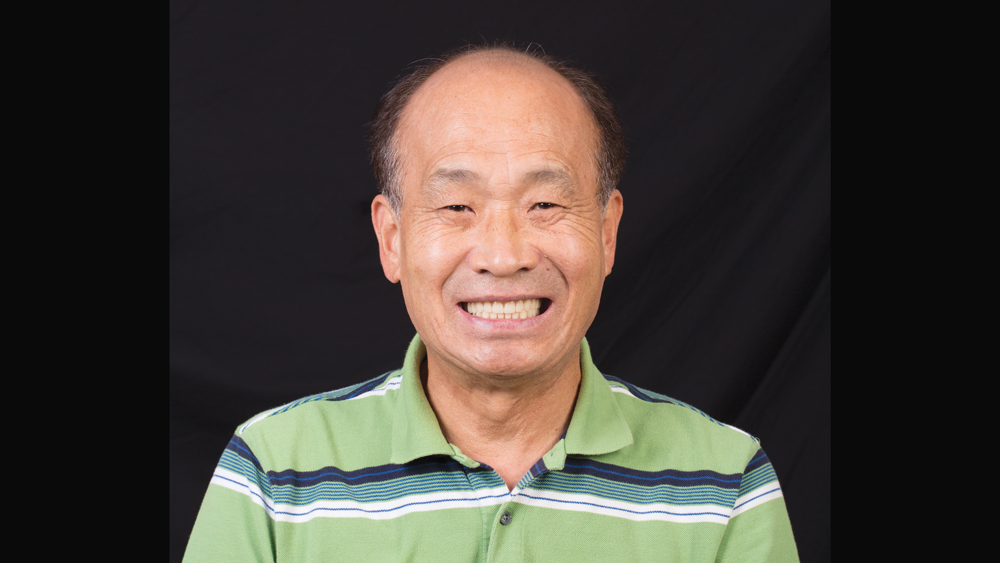
Figures 1a, 1b: Daniel’s existing dentures were ill-fitting and unesthetic, exhibiting reduced vertical dimension of occlusion and poor retention. My goal in constructing a new set of complete dentures was to reestablish the vertical dimension, limit the trauma received by the residual ridge, enhance long-term stability, and improve speech, masticatory function and esthetics. The new dentures will also serve as a blueprint for his eventual treatment with implants.
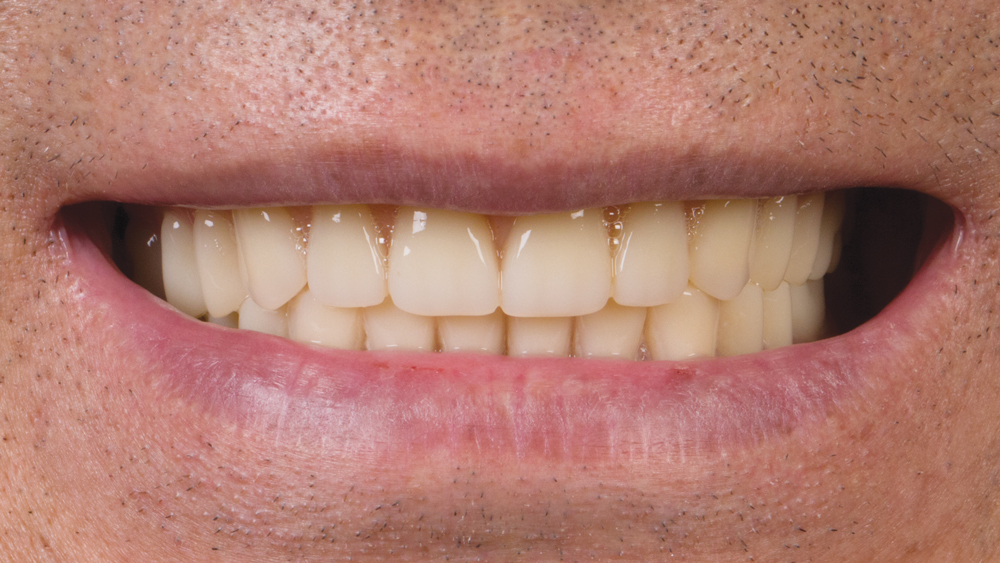
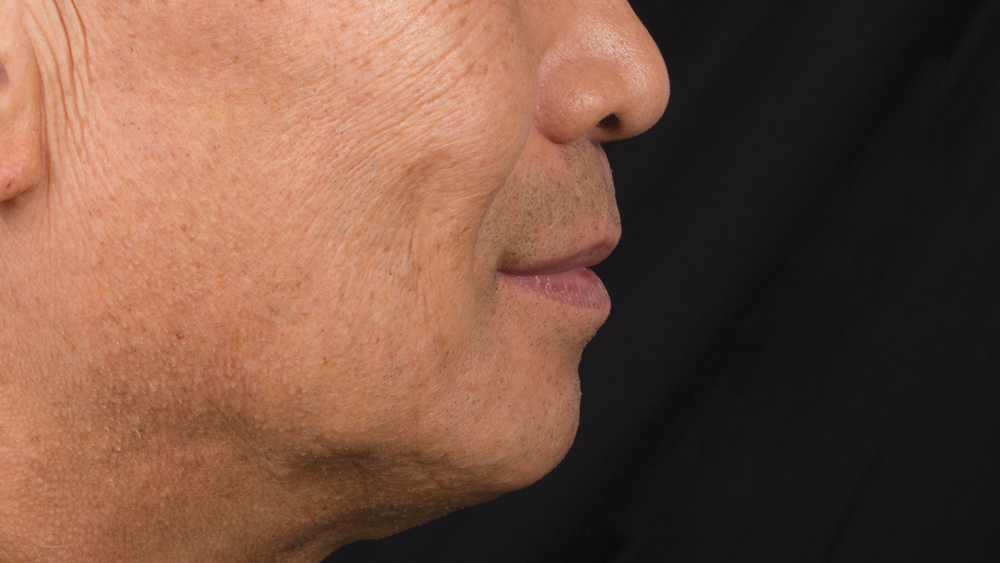
Figures 2a, 2b: Closer, external views of Daniel’s existing dentures in place.
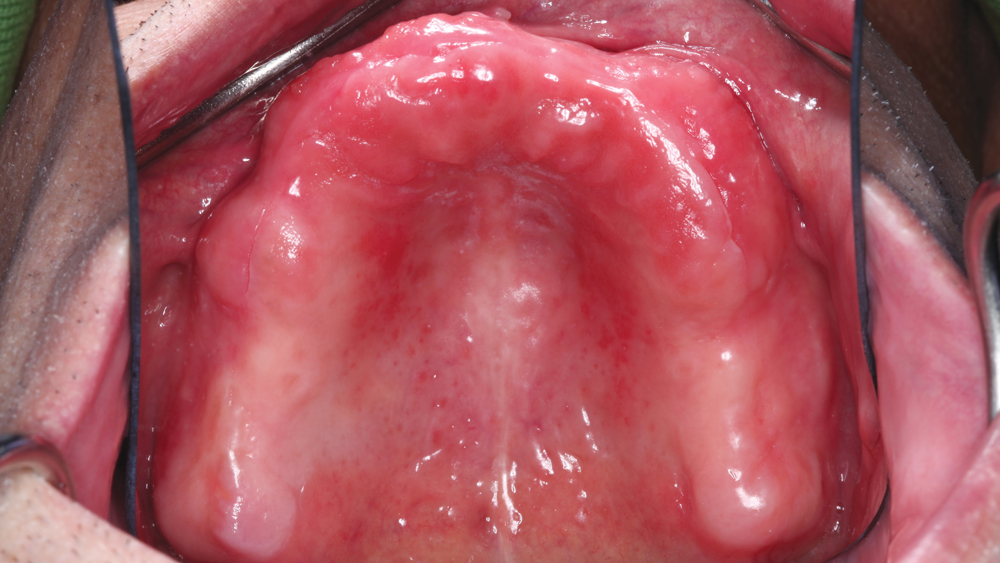
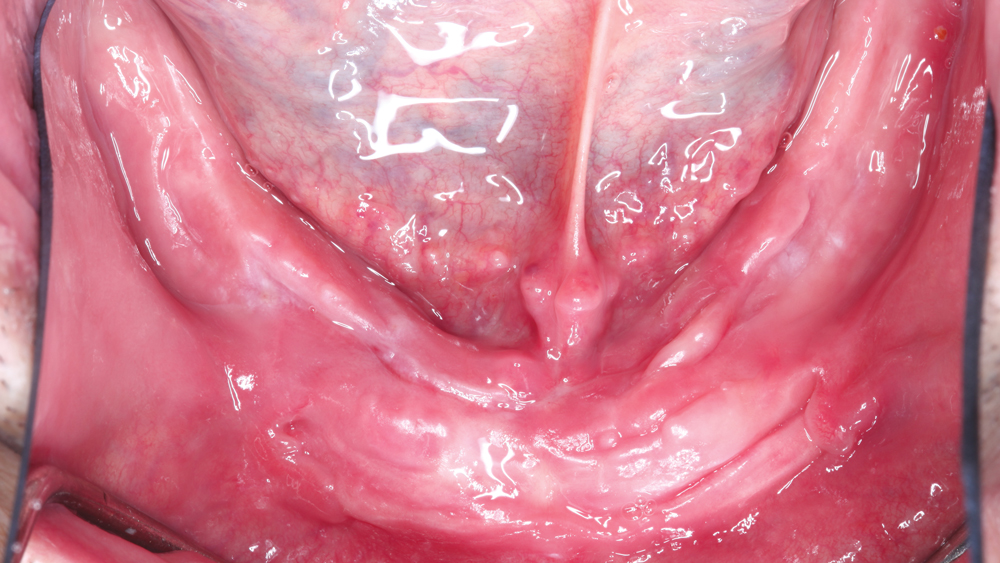
Figures 3a, 3b: For this case, the patient presented with abundant bone and soft-tissue support to facilitate the retention of conventional complete dentures.
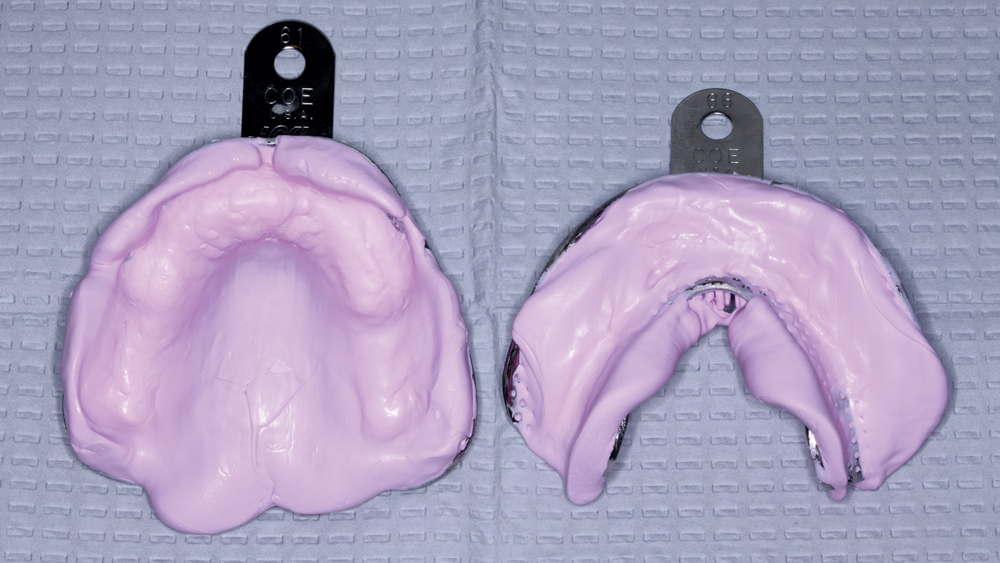
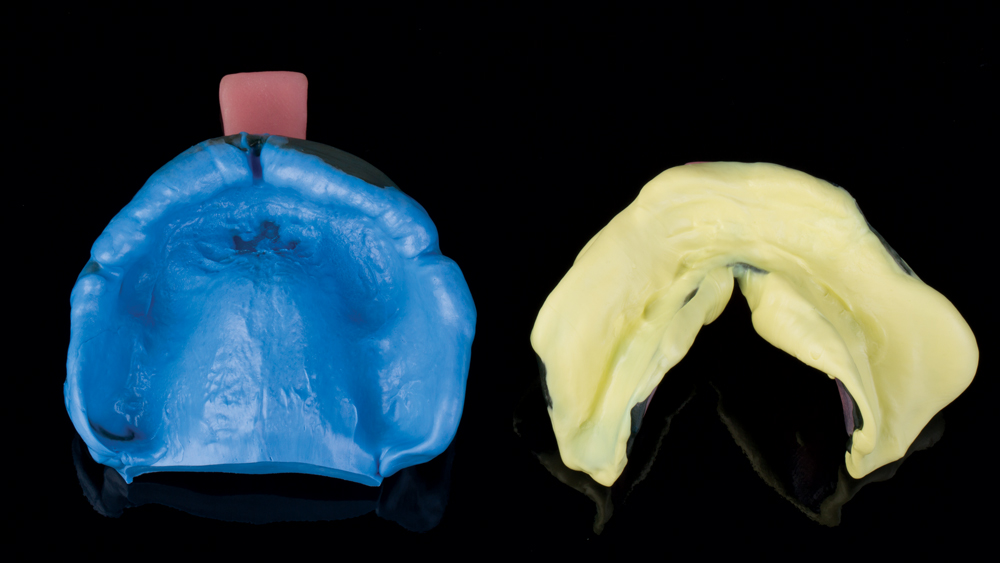
Figure 4: Taking into consideration the height and width of the anatomical landmarks, appropriately sized stock metal edentulous trays are selected to capture the preliminary impressions with a polyether impression material. The proper-size trays allow the material to extend into the vestibules in the preliminary impression, enabling accurate custom impression trays to be fabricated. The preliminary impressions are then sent to the lab for the fabrication of preliminary casts and custom trays, which better capture the denture-bearing surfaces and tissues.
Custom trays ... better capture the denture-bearing surfaces and tissues.
APPOINTMENT 2: BORDER MOLDING AND FINAL IMPRESSIONS
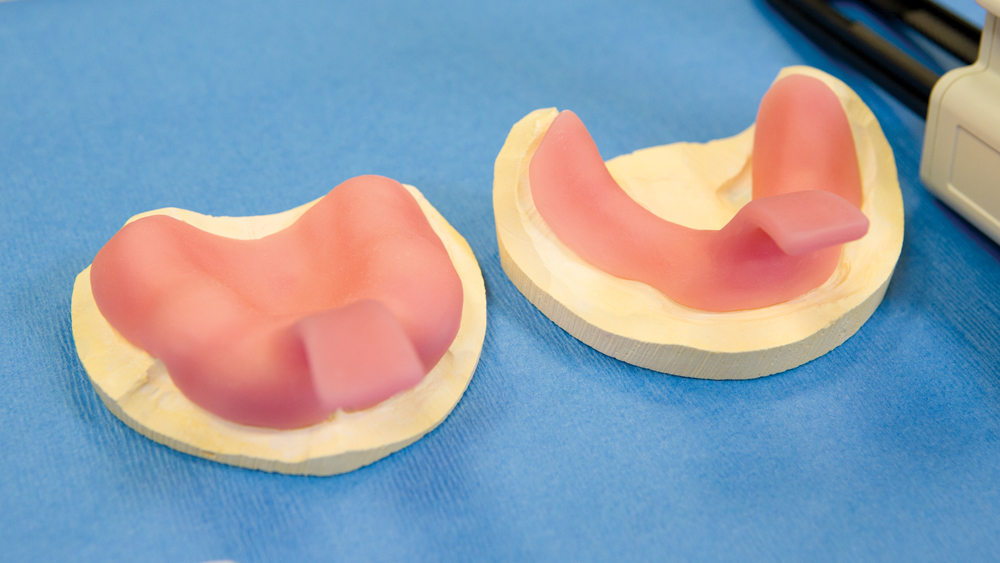
Figure 5: Custom trays are fabricated in the laboratory and returned to the operatory. The custom trays extend approximately 3 mm short of the depth of labial and buccal vestibules. In cases where the walls of the tray are too short, the extension of the impression is compromised, eventually affecting retention and stability. If the walls of the tray are long, it results in soft-tissue displacement at the borders of the impression and compromises the seal of the final appliance.
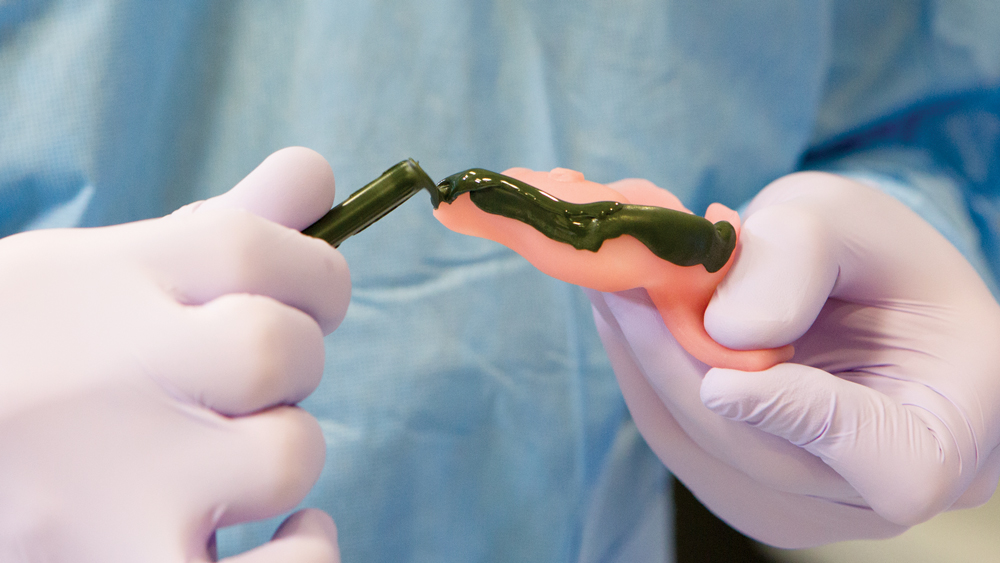
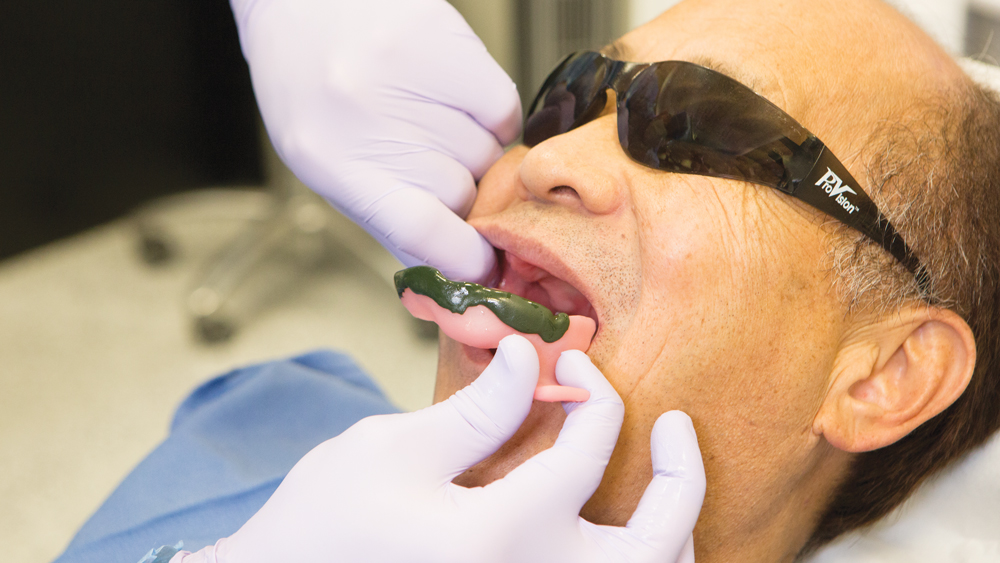
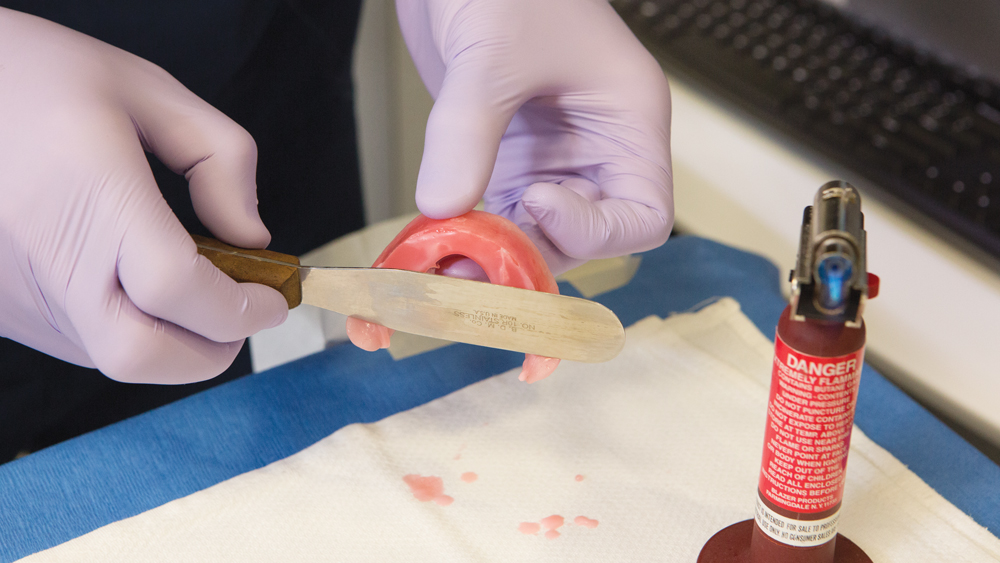
Figures 6a, 6b: The remaining extension is established in the border-molding process. This is completed in incremental steps: First, an impression compound stick is heated with a torch and placed onto the custom tray. Then, the tray is tempered in a hot water bath with the temperature slightly below the melting temperature of the border-molding compound. The tray is then seated in the mouth, and the patient is asked to go through border-molding motions. These steps are repeated until the border of the custom impression tray is extended, which can be noted by a dull appearance of the border molding material. When more compound is needed, additional compound is heated with a torch and seamlessly adapted to the previously established areas. Care is taken to accurately place the border into the respective vestibules and around the associated frenum, as well as to establish proper posterior palatal seal for the maxillary arch and capture the retromolar pads of the mandibular arch.
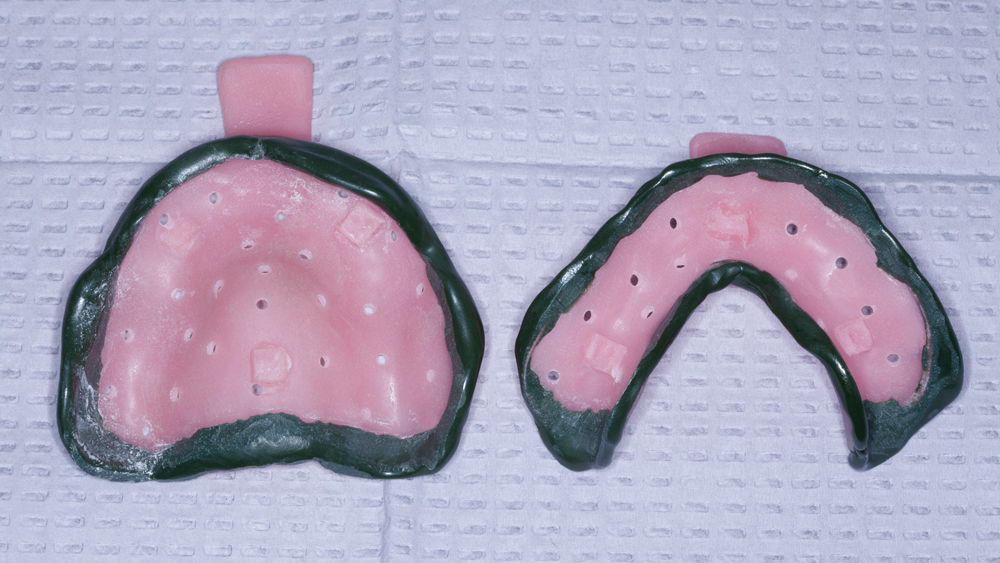
Figure 7: The finished custom trays with borders molded. Holes are drilled into the tray using a round bur and handpiece to allow excess impression material to be expelled through the trays and prevent a mucocompressive impression. At this stage, the impression trays may exhibit good retention on the respective ridges.
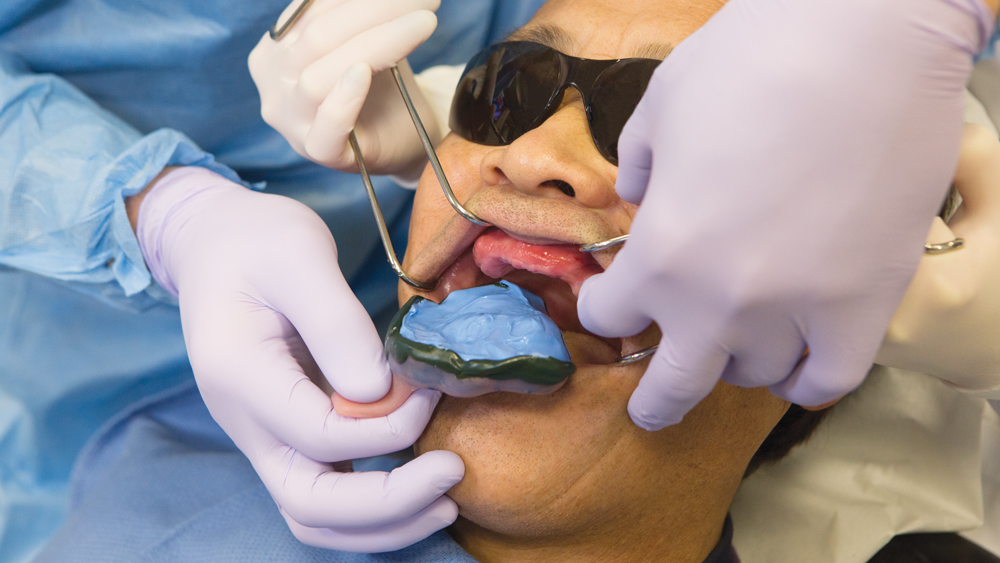
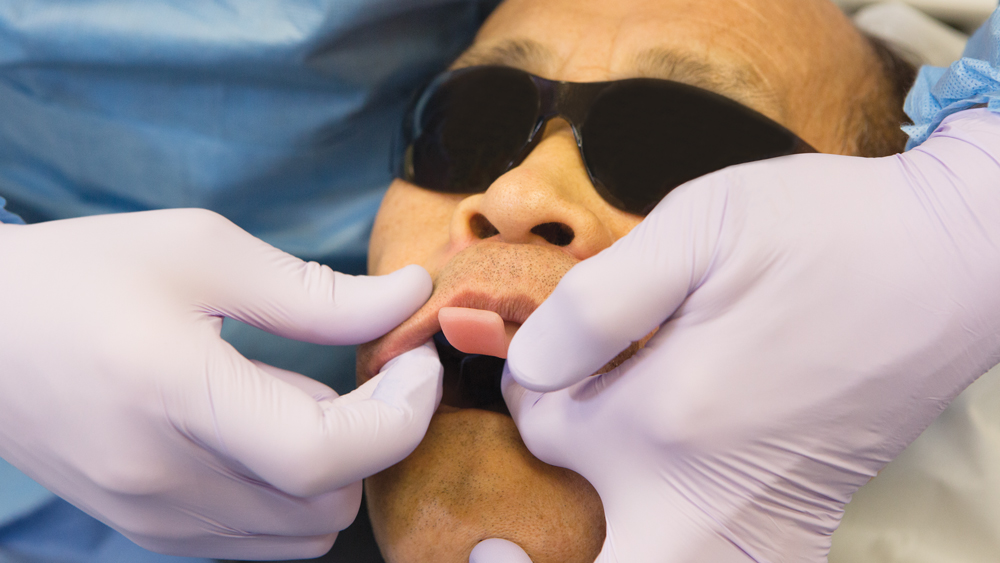
Figures 8a–8c: Impression material is expressed into the trays and then smoothed with a mixing spatula. With Daniel fully retracted, the maxillary tray is aligned to the labial frenum and gently seated. Light pressure is maintained throughout the impression. Additionally, the lips are gently pulled downward to maintain the peripheral shape of the area being captured. After the maxillary tray impression material has set, any impression material that extends beyond the palatal border is trimmed to further demarcate the posterior palatal border prior to sending the impression to the laboratory. The process is then repeated for the mandibular arch.
APPOINTMENT 3: ESTABLISHING VERTICAL DIMENSION, TOOTH POSITION, TOOTH LOCATION AND JAW RELATION
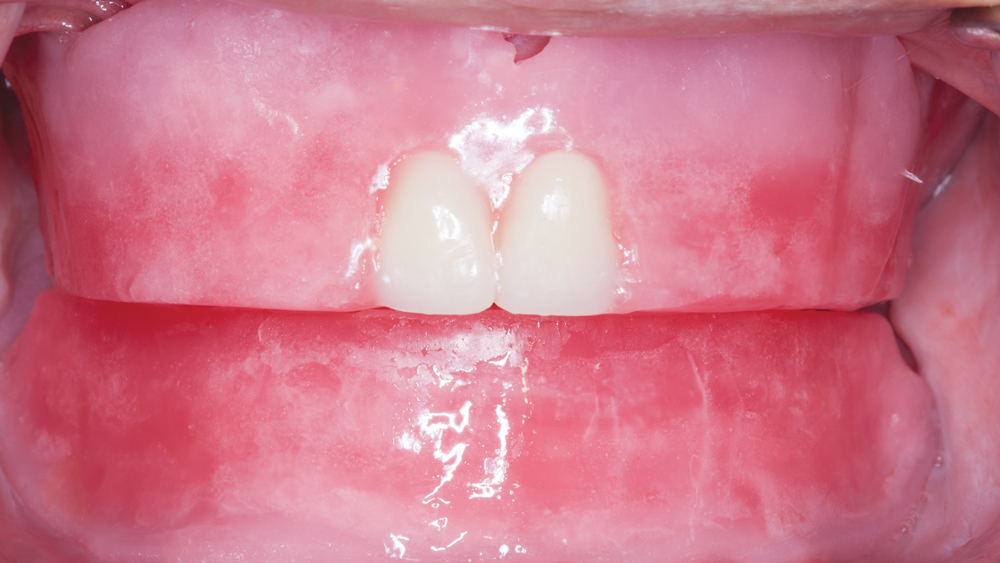
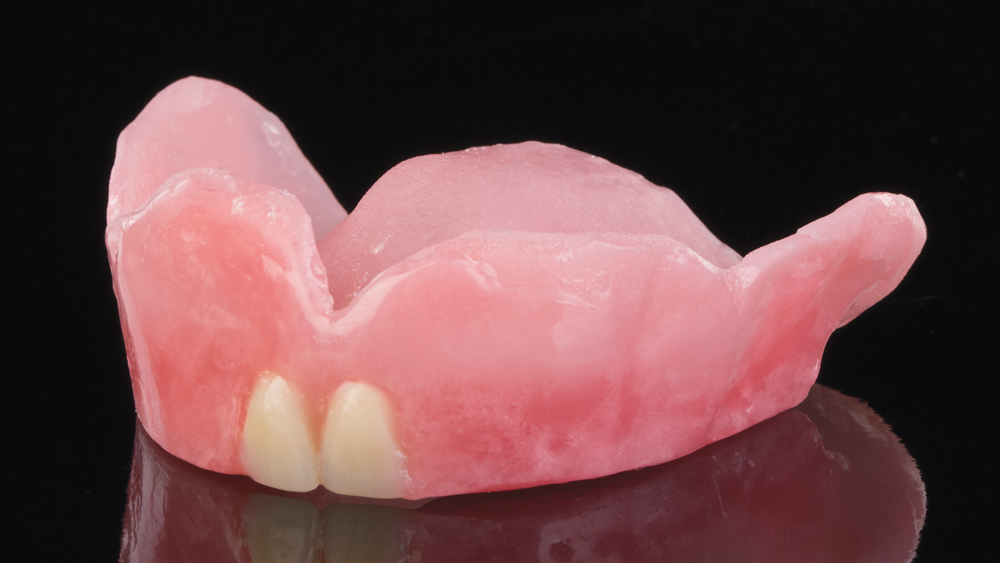
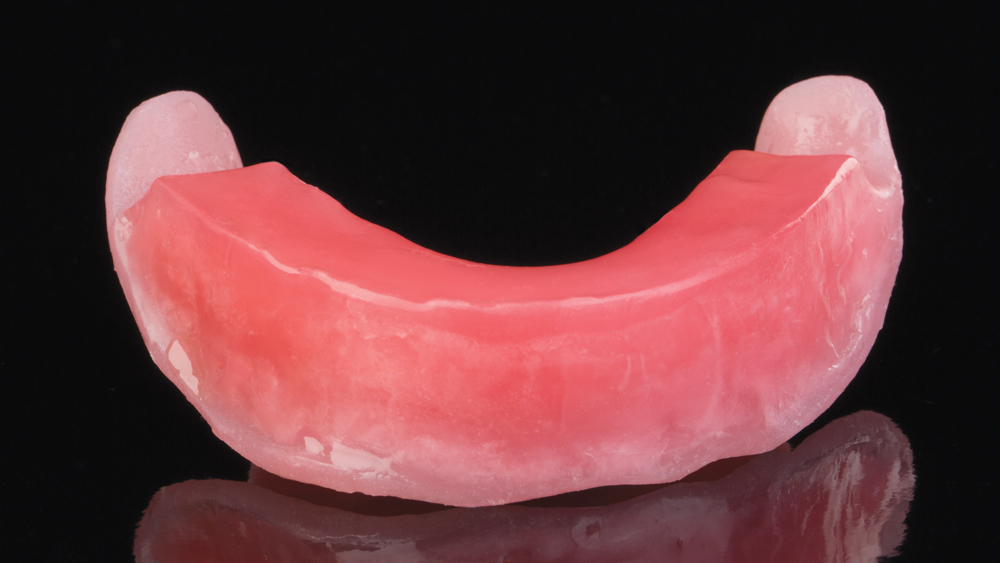
Figures 9a–9c: At this stage the intaglio surfaces of the dentures have been established by capturing the proper anatomical landmarks with the final impressions. The laboratory then fabricates base plates and bite blocks based on the final working casts and delivers them to the operatory. Constructed from a Type III wax built on a baseplate, the bite rims serve as a record to communicate to the laboratory the esthetic and functional aspects of the complete dentures. The maxillary bite block features two centrals that can be aligned to the midline and used to communicate the placement of the denture teeth once the proper mold is selected.
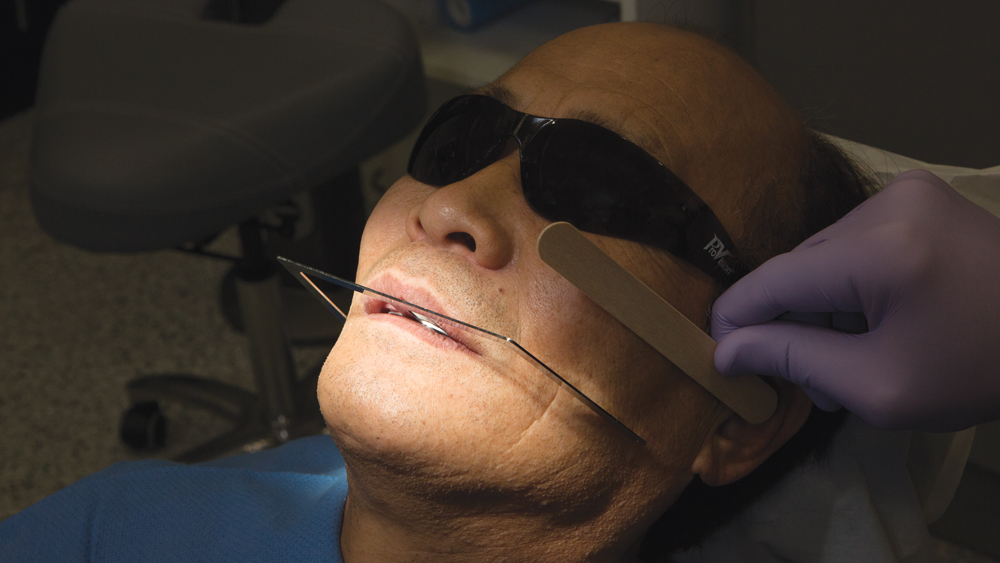
Figure 10: With the bite blocks seated, the occlusal plane is established utilizing a Fox plane. Placing the Fox plane on the bite blocks, I evaluate the relationship between the occlusal plane of the bite blocks and the ala-tragus line (also known as Camper’s line). Denoting the ala-tragus line with a tongue depressor, slight adjustments are made to bring the occlusal plane of the bite blocks into parallel relation with the ala-tragus line. When viewed from the anterior, the plane appliance should be parallel to the interpupillary line. If the interpupillary line does not match the plane of the horizon, often the plane of the horizon is selected for the occlusal plane.
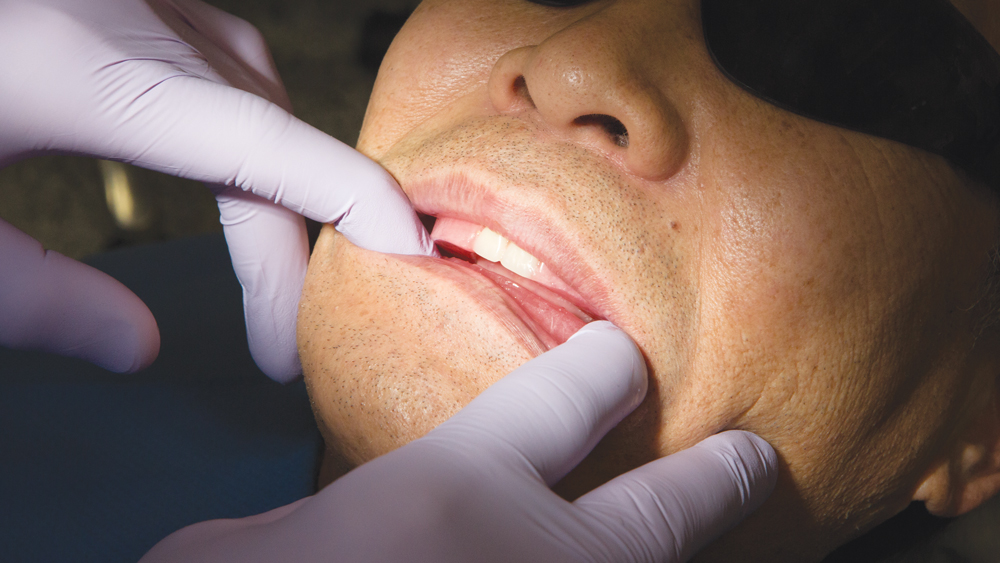
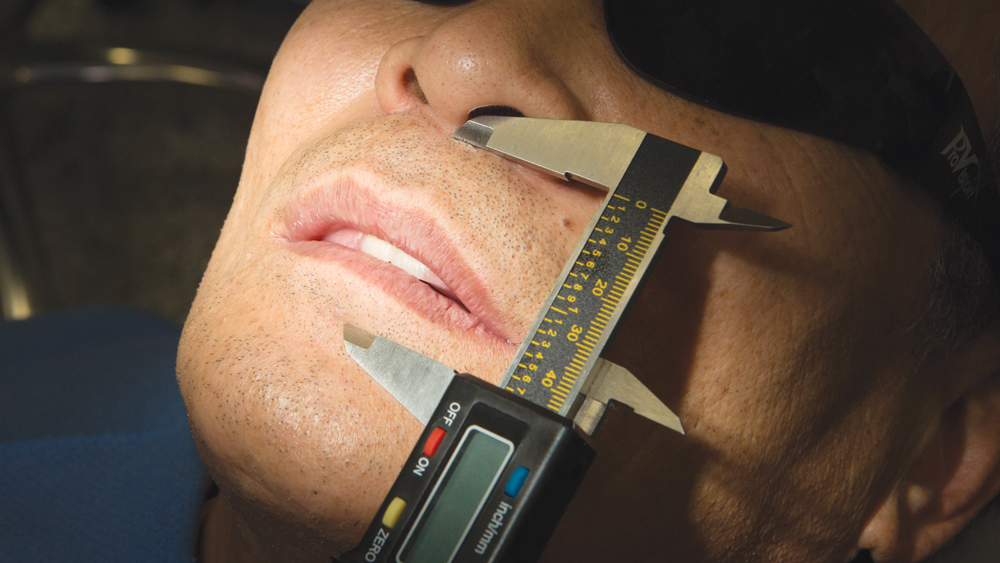
Figures 11a–11c: The occlusal plane has been corrected and established while keeping the vertical dimension in mind. Several techniques can be used to establish and verify a comfortable and esthetic vertical dimension. The patient’s existing complete denture can guide the clinician by giving a measurable starting point. Utilizing the resting vertical dimension, often measured by asking the patient to make the “M” sound and then relaxing the lips without touching, can provide a repeatable measurement. Measurements can be taken several times to guide the clinician toward a proper vertical dimension. The measurement is verified and recorded with a digital caliper. Note that when the lips are at a rested state, the maxillary bite block is slightly projecting beyond the upper lip. Maxillary incisor tooth position and exposure at rest can be taken into consideration at this stage.
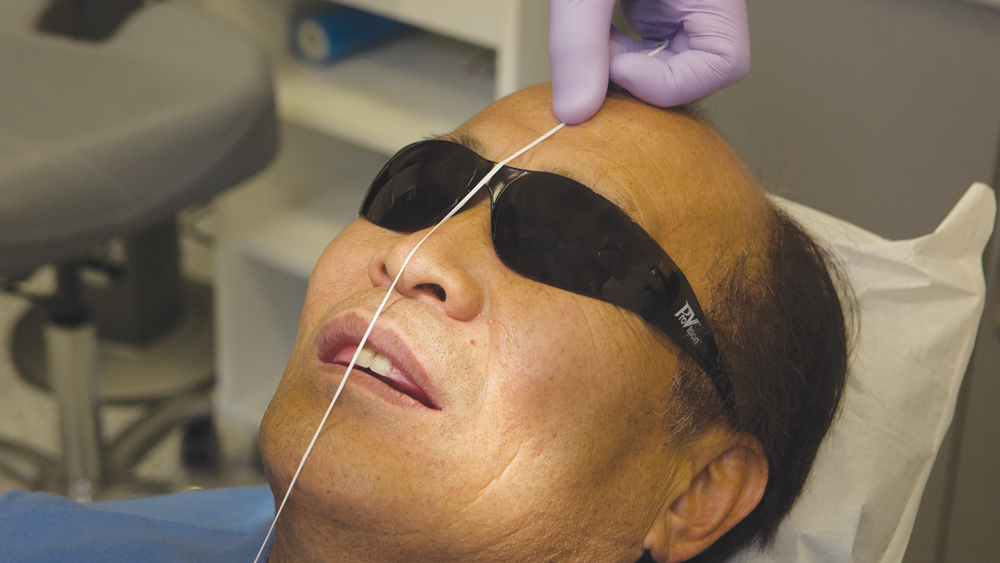
Figure 12: A piece of floss is then lined over the midline of the patient’s face. The corresponding midline is denoted on the wax bite blocks and the base plates, and eventually denoted on the casts. At this stage, the high smile line is also marked.
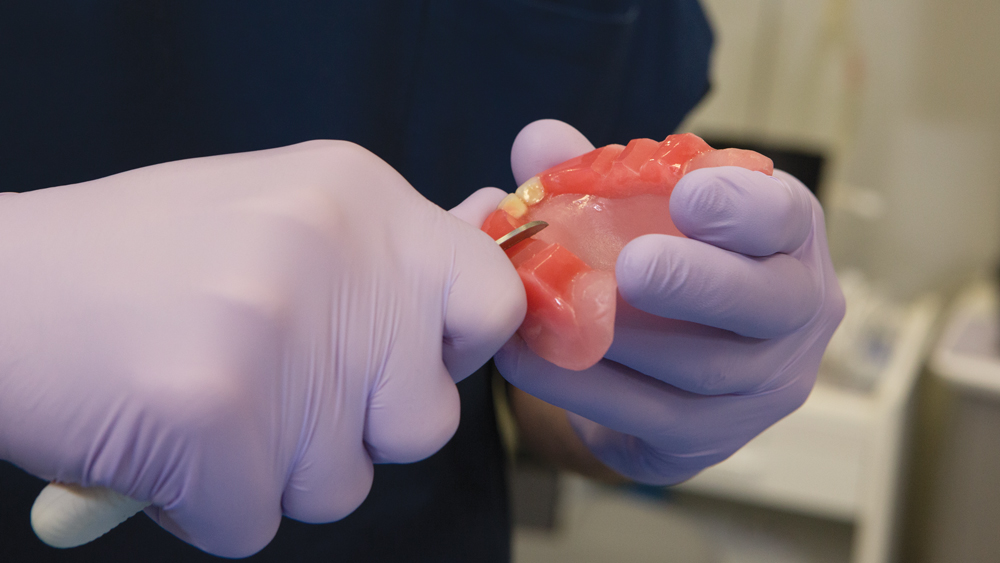
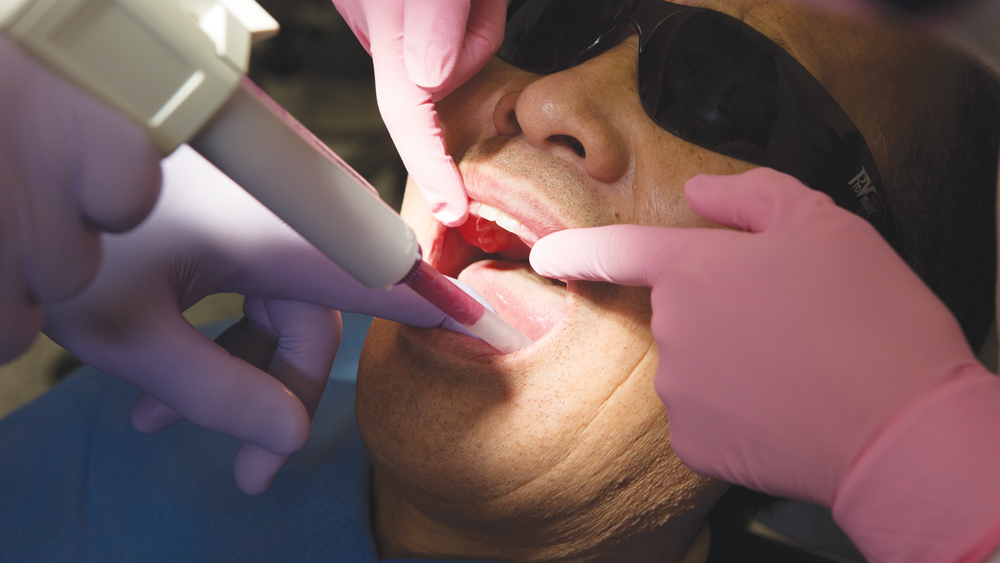
Figures 13a, 13b: After the occlusal plane, vertical dimension of occlusion, midline and high smile line have been established, and a maxillary facebow registration has been made, the next step is to capture the interocclusal relationship. With the bite blocks in place, Daniel is asked to open and close slightly until the condylar heads are positioned correctly within their respective articulating fossa. This allows the condylar heads to be in rotational motion only as the patient opens wide, as opposed to both rotational and translational motion. Once Daniel can repeatedly and comfortably achieve this position, he is brought into centric relation utilizing the E-C technique, and then bite registration material is injected and allowed to set. Based on all the recorded information, the bite blocks are articulated and then sent to the laboratory for the fabrication of the first setup try-in appliance. Also at this appointment, I select the shape of the denture teeth based on the arch morphology, face form and skin tone.
The bite rims serve as a record to communicate to the laboratory the esthetic and functional aspects of the complete dentures.
APPOINTMENT 4: ANTERIOR TEETH WAX SETUP TRY-IN
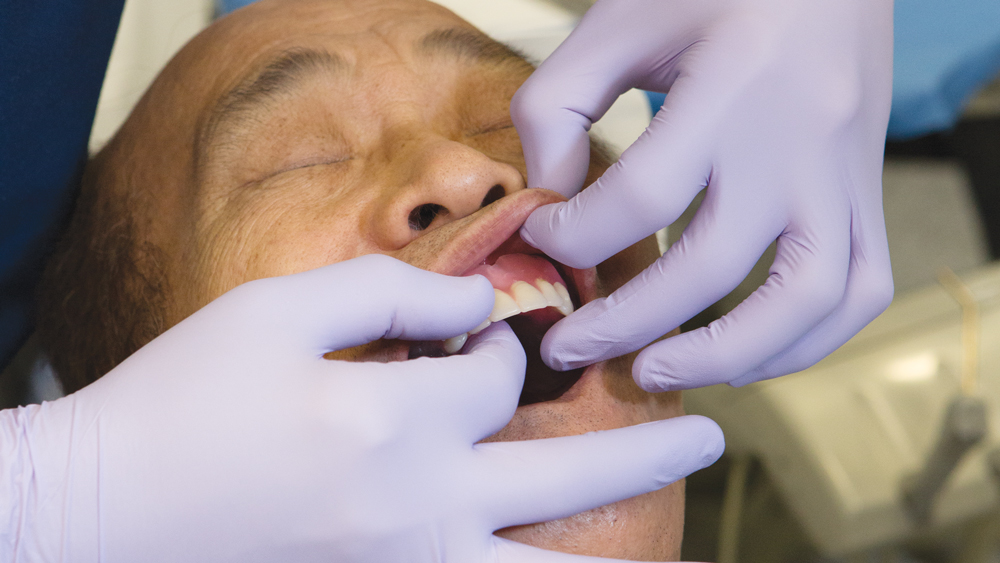
Figure 14: The preliminary setup try-in features the six anterior teeth on both the maxillary and mandibular arches. The try-ins are seated, and I evaluate the vertical and horizontal positioning, occlusal relationship, masticatory and speech function, and esthetics. Any changes are communicated to the lab. If a reset is not necessary and the tooth positioning for the anterior try-in is acceptable, the lab will then set the remainder of the teeth and fabricate a complete setup try-in.
Conventional complete dentures continue to serve as a viable option to rehabilitate patients and restore everyday oral functions and esthetics.
APPOINTMENT 5: COMPLETE SETUP TRY-IN
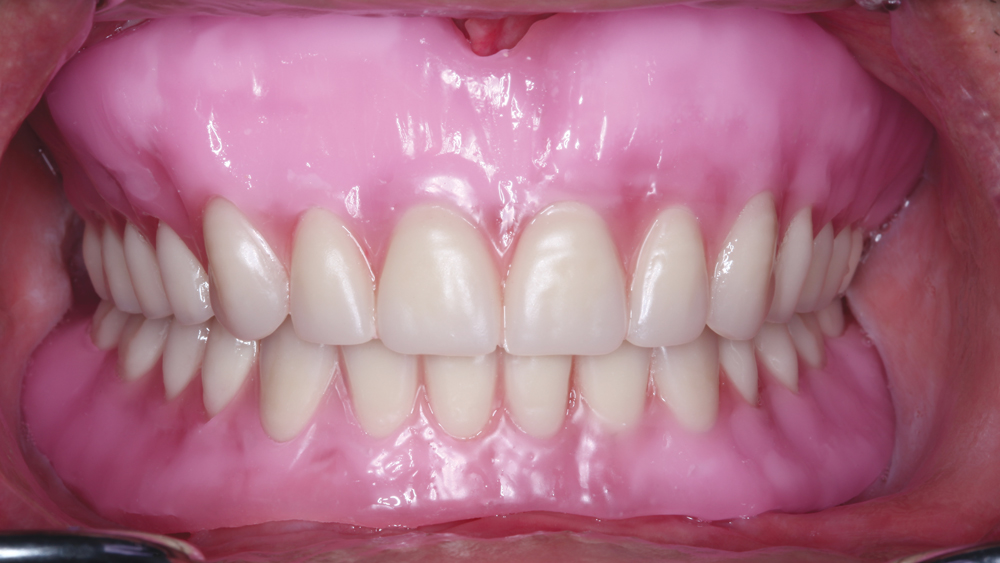
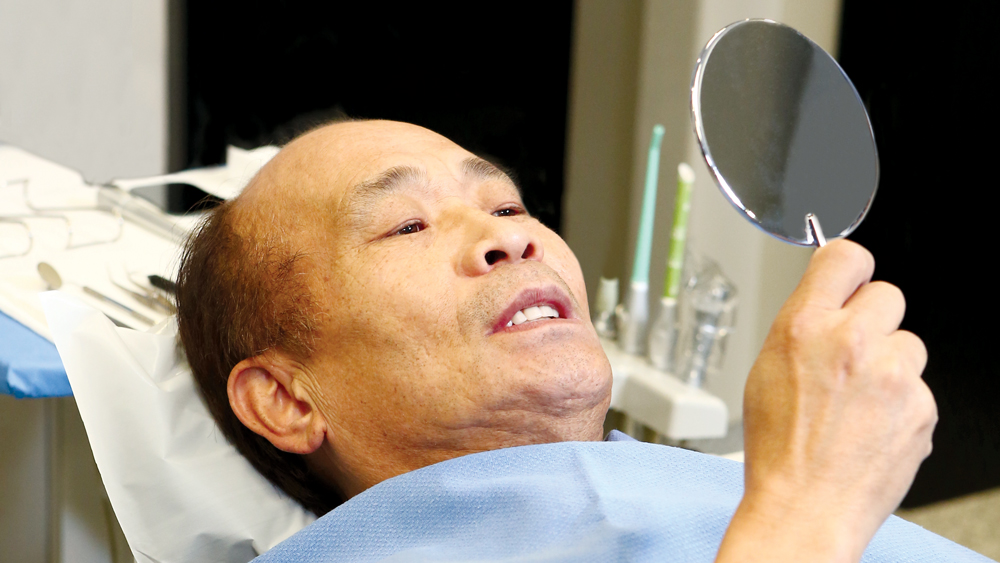
Figures 15a, 15b: The laboratory then delivers the secondary setup try-in that features all anterior and posterior denture teeth. At this appointment, all of the parameters communicated to the laboratory are reevaluated. Further, I confirm and adjust the positioning of the teeth as needed. It is paramount that the patient is satisfied with the prostheses overall at this stage. Once all aspects of the setup try-in have been adjusted or confirmed and the patient is comfortable with the device, it can then be returned to the laboratory for festooning and processing of the final complete dentures.
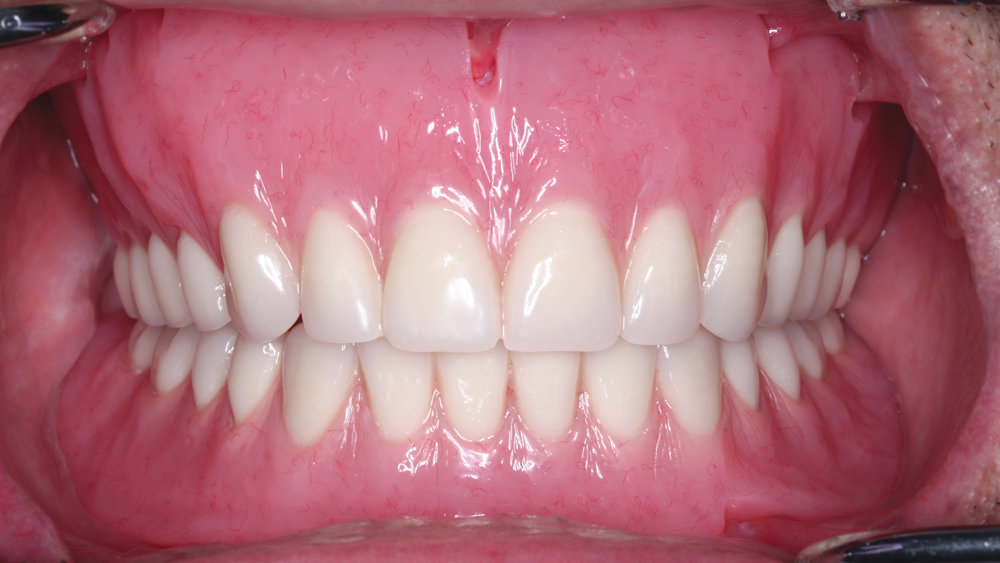
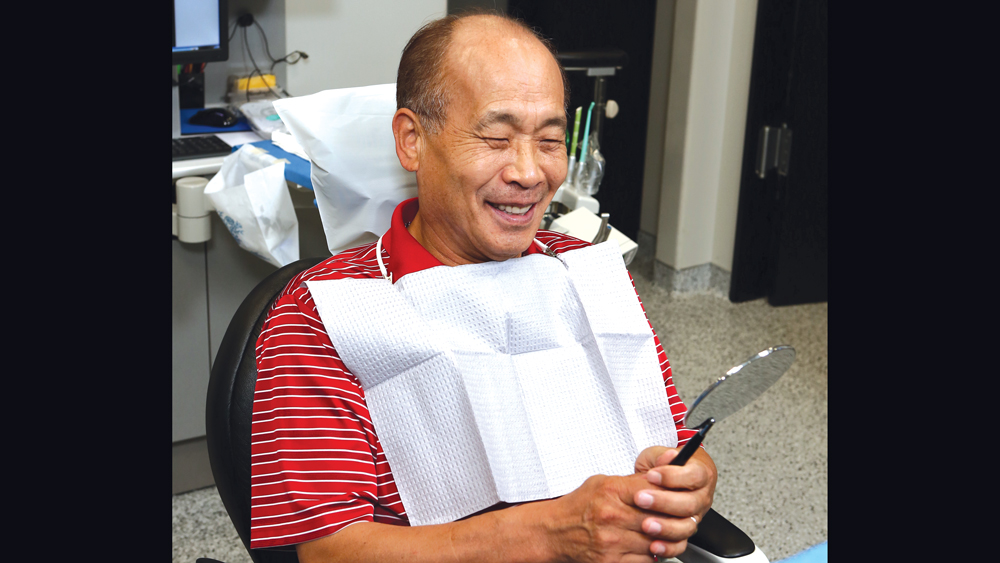
Figures 16a, 16b: The complete final dentures arrive from the laboratory. Daniel is brought back in, and the appliances are seated and evaluated. Because great care was taken during the setup appointments, adjustments during the final appointment are minimal. The intaglio surface of the dentures can be checked with pressure-indicating paste and adjusted if necessary. Occlusion is also checked and adjusted at the delivery appointment. Post-delivery follow-up appointments are scheduled to evaluate ongoing patient comfort and the continued fit, function and esthetics of the complete dentures.
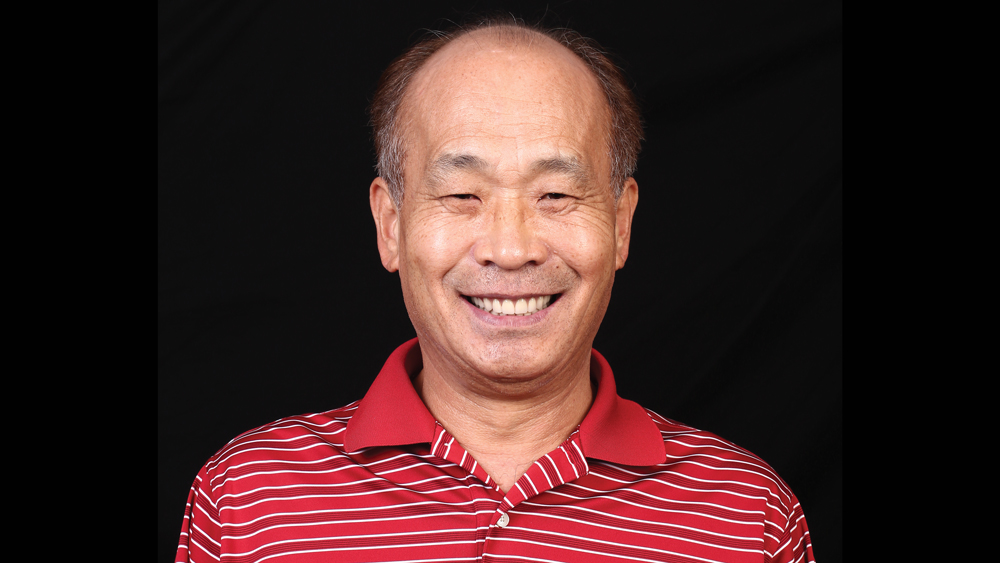
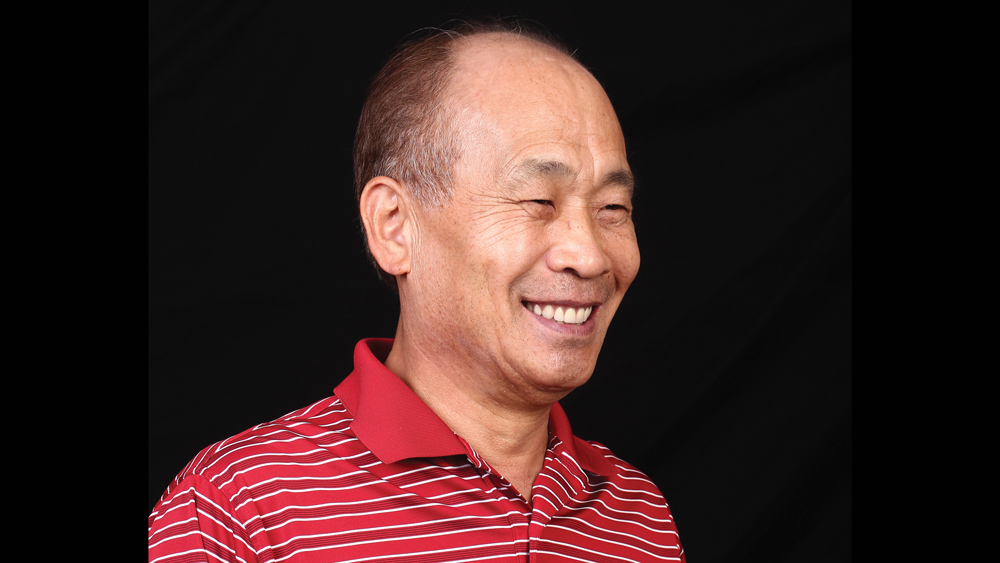
Figures 17a, 17b: The complete final denture as seen from the extraoral view. The nature of the conventional process requires numerous appointments with multiple try-ins being part and parcel to the protocol; however, the results can be outstanding and patient-pleasing.
CONCLUSION
Conventional complete dentures continue to serve as a viable option to rehabilitate patients and restore everyday oral functions and esthetics. What we often fail to recognize, however, is the value of complete dentures for diagnostic purposes when planning cases for patients receiving implant-supported prosthetic solutions. A well-made set of complete dentures for the edentulous patient can act as a prototype for the implant-supported prosthesis prior to implant placement, providing information such as tooth position, tooth shape, vertical dimension, interocclusal space, esthetics and phonetics. The ability to deliver conventional complete dentures should still be regarded as a necessary skill set for practitioners as it serves edentulous patients across the economic spectrum.

