Clinical Technique for Core Buildups
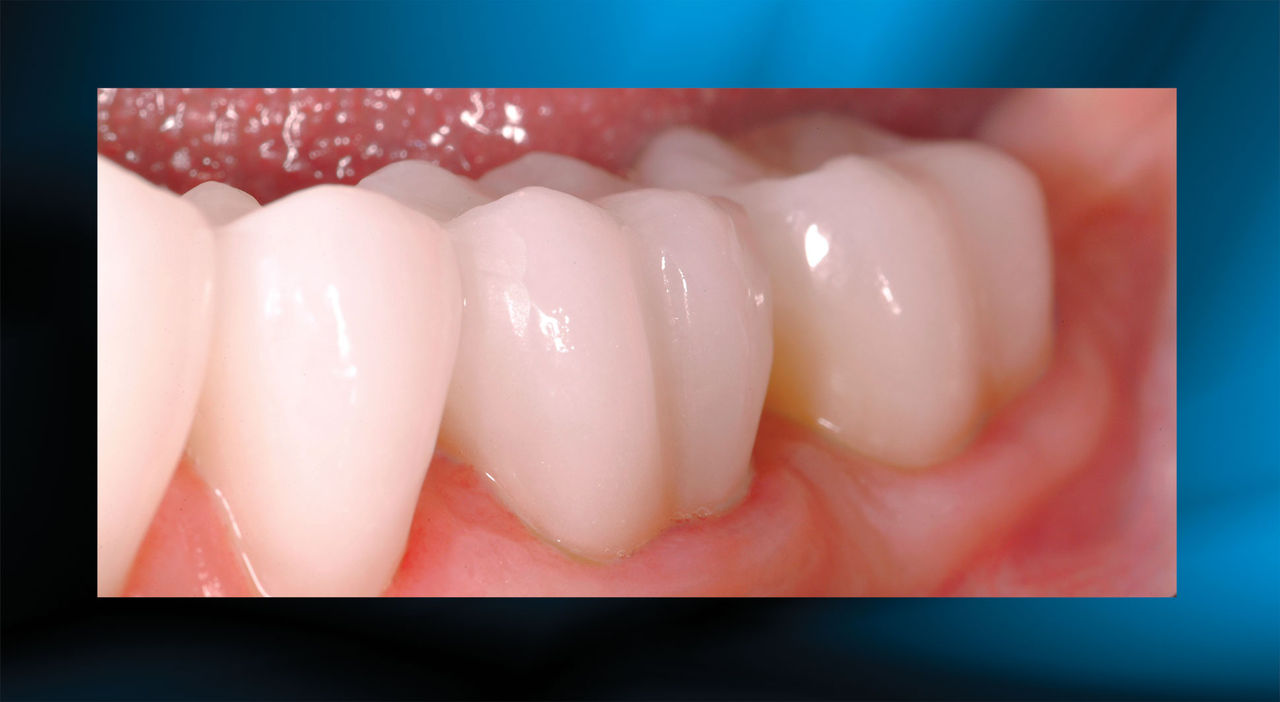
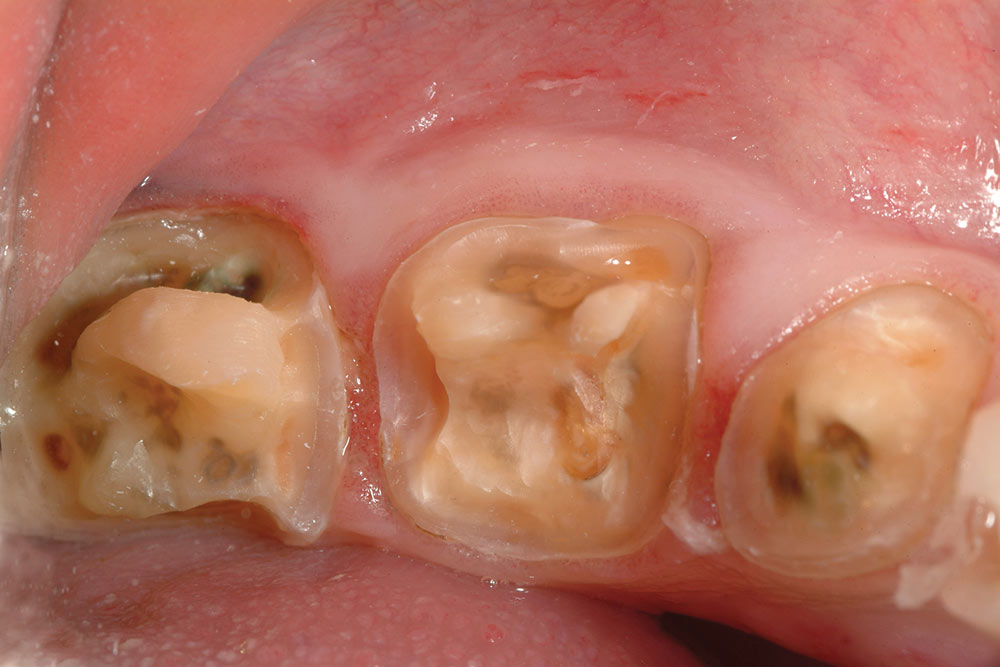
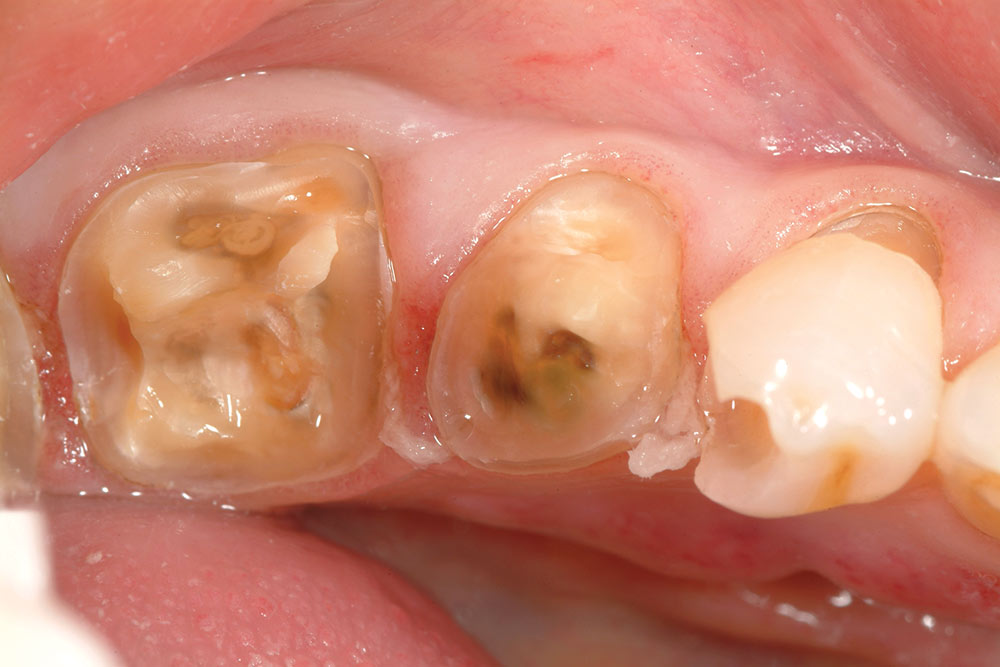
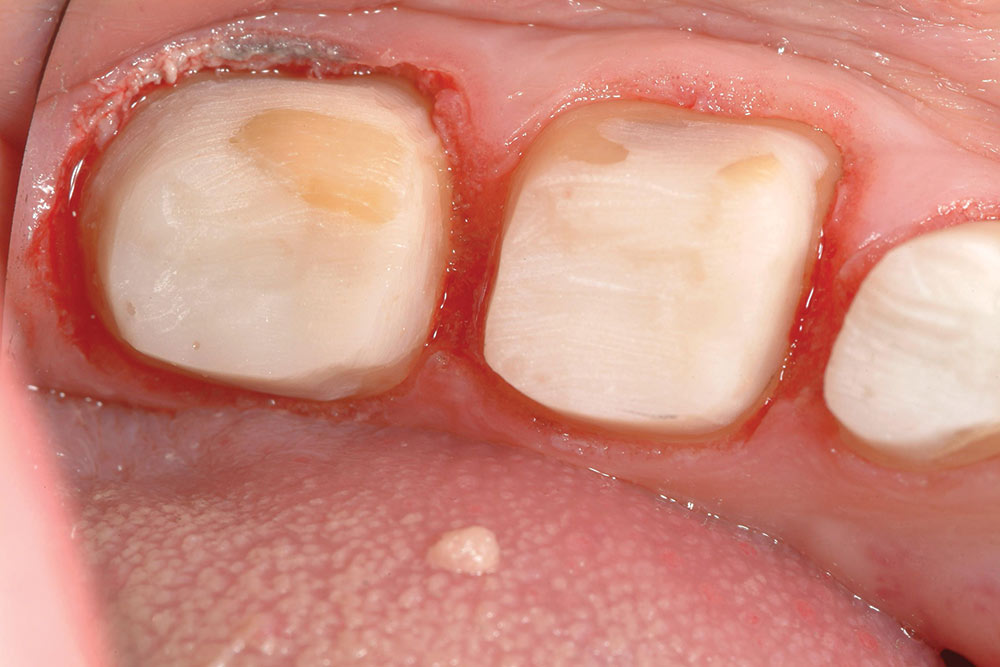
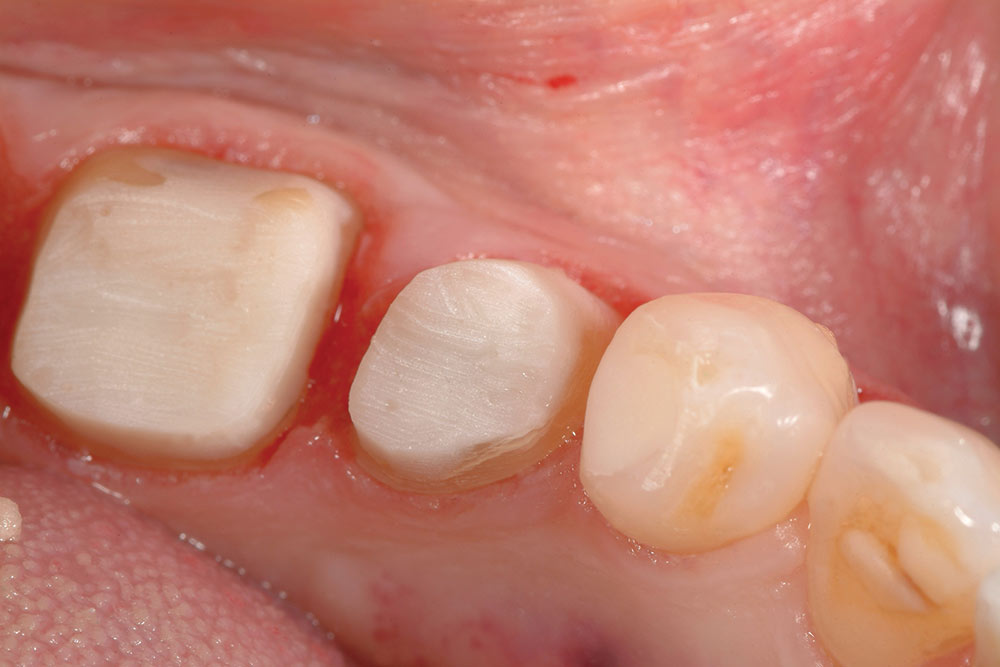
Since the late 1980s, when resin composite could definitively be bonded to dentin, I have done core buildups on virtually every unit of crown and bridge I’ve produced. My production averages at more than 1,000 units per year. Due to improvements in material, the technique I use today is slightly different from what I first used and is detailed in this article.
Core Buildup Technique for Vital Teeth
Isolate, Control Hemorrhage, Clean the Substrate and Kill Microbes (Holy Triad)
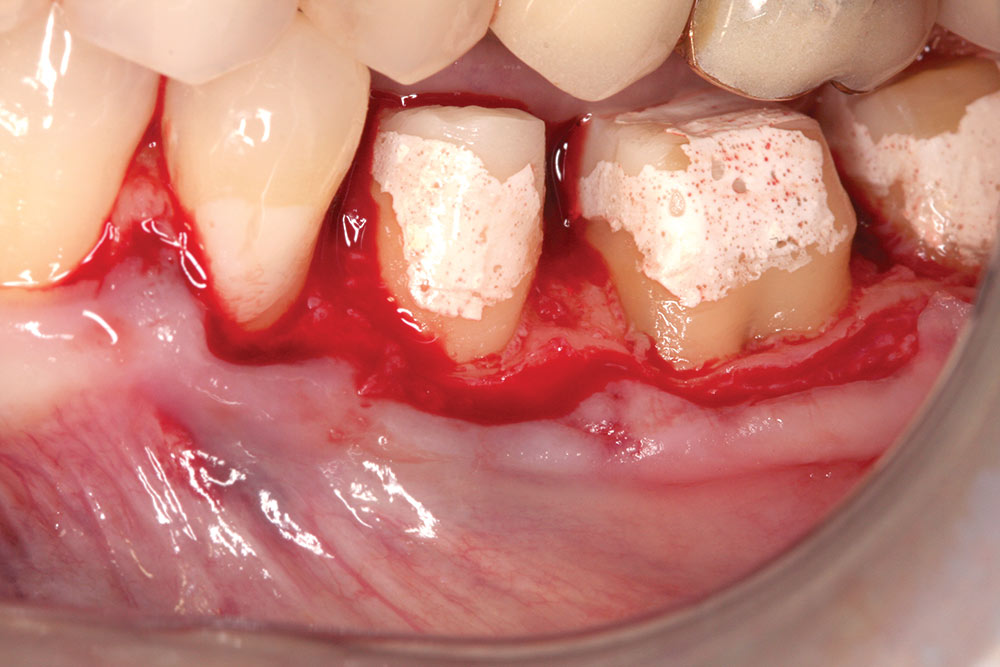
Total isolation is mandatory, no organic fluids (blood, saliva, serum). All bleeding must be controlled. To control, use a #7 SilTrax® Epi (Pascal International; Bellevue, Wash.) soaked in Hemodent® (Premier Dental Products; Plymouth Meeting, Pa.) and rinse thoroughly immediately after placement in sulcus, or use Hemodent in a 3-cc syringe (Best Buy Discount Dental Supply; Clearwater, Fla.) with an Inspiral® Brush Tip (Ultradent; South Jordan, Utah). Use the brush tip to scrub and apply pressure to the bleeder and express Hemodent slowly, with a high-speed vacuum in place to catch the Hemodent. Rinse thoroughly. Do not use an aluminum chloride impregnated cord because it, and many other astringent agents, can inhibit the set of resin composites. If Hemodent is used, rinse it away thoroughly to avoid the problem of resin composite set inhibition from the aluminum chloride. If possible, avoid tissue laceration when removing the old restoration in order to evade the use of astringent chemicals that may potentially compromise resin bonding.
Clean the caries-free substrate before etching. Research shows a 20% increase in bond strength when the following technique is used: Residual decay detecting solution must be removed by grinding on all tooth surfaces to be bonded. Do so using water and slow speed steel burs (#½, #2, #4 or #6 [Henry Schein Dental; Melville, N.Y.]) or diamonds. Even the surfaces of the teeth that do not stain should be ground on to remove the propylene glycol containing decay detecting solution residue, which may obstruct proper dentin bonding. Grinding debris and handpiece oil should be scrubbed away with 4% CHG Dial® Surgical Scrub (Dial Corporation; Scottsdale, Ariz.) using an Inspiral Brush Tip on a 3-cc syringe. In addition to cleaning the tooth and killing bacteria, 4% CHG binds to amino acids in the dentin and continues to kill bacteria for several hours. To allow a good etch, the superficial smear layer is removed using Tubulicid Red (Global Dental; North Bellmore, N.Y.) in a 3-cc syringe with a Blue Mini® Dento-Infusor® Tip (Ultradent). Vigorously scrub for 15 seconds. The superficial smear layer contains bacteria and often stains from decay detecting solutions. Acid etching will not always remove the stained smear layer. In addition to smear layer removal, the benzalkonium chloride in Tubulicid Red is a potent antimicrobial. Lastly, scrub the tooth surfaces to be bonded thoroughly for 15 seconds with NaOCl (Clorox®; Oakland, Calif.) using a 3-cc syringe with an Inspiral Brush Tip. Rinse after every two teeth are scrubbed, and have the assistant keep the vacuum very close to avoid taste bud contact with the Clorox. Rinse and dry the tooth.
Etch
Apply 32% phosphoric acid etchant (H3PO4) (UNI-ETCH® w/BAC [Bisco; Schaumburg, Ill.]) to the prepared tooth for 15 seconds. Rinse thoroughly. Do not dry. This etch has no silica in it and is easier to rinse than silica containing gels. Silica has an affinity for the collagen in demineralized dentin. Never etch dentin for more than 15 seconds. Never dry the dentin to see if the enamel is etched, because this will collapse the collagen fibrils and decrease the ability to infiltrate them with primers. A gelatin film forms on the surface of etched dentin when it is dried; this film prevents proper primer penetration.
Infiltrate the Demineralized Dentin and Form the Hybrid Zone
ALL-BOND® 3™ Primers Parts A & B
Dispense an equal number of drops (1:1) of ALL-BOND® 3™ Primers Parts A & B (Bisco) into a chemically clean, disposable dappen dish (Dapaway® [DENTSPLY Rinn; Elgin, Ill.]). Do not touch the inside of the dappen dish with gloves. Be sure to shake the bottles before dispensing and immediately recap the bottles after dispensing. Using a Microbrush® (Microbrush International; Grafton, Wis.), mix well for five seconds. Next, apply one to two coats of ALL-BOND 3 onto the tooth preparation. Air-dry thoroughly to ensure total alcohol evaporation using light air pressure for at least five seconds on each substrate. A separate three-way syringe that only has clean and dry air, no water or oil (i.e., Totally Clean & Dry Air System [Best Buy Discount Dental Supply]), should be used to do this. Avoid vacuuming saliva into the field. If moisture is left on the dentin or spritzed on by a leaky three-way syringe after primer application, tears result in the hybrid layer, bond strength is decreased, and gaps are caused, which results in microbial invasion from microleakage and/or nanoleakage (leakage within the hybrid layer). Post-operative sensitivity, especially to biting pressure, is the typical result. Bond failures are also likely to occur. If blood, sulcular fluid, serum or saliva contaminates the surface, abort the process, re-isolate, re-etch and then re-apply the primers. The surface should appear shiny; otherwise apply additional coats of ALL-BOND 3 and gently, but thoroughly, air-dry until there is no visible movement of the material. If a retraction cord was used, it should be totally dry. Light-cure for 10 seconds at 500mW/cm2.
Total Seal
pply a thin coat of ALL-BOND 3 Resin using the brush-tip applicator provided by Bisco. Air-thin if necessary to avoid pooling (air lightly or vacuum, only if necessary, as over-thinning ruins bond strength). Light-cure for 10 seconds at 500mW/cm2. Any water, blood, serum or saliva contamination prior to resin composite application will require acid etching again.
Repeat. Applying bonding resin two times increases bond strength, provided pooling did not occur on either application.
Composite Buildup
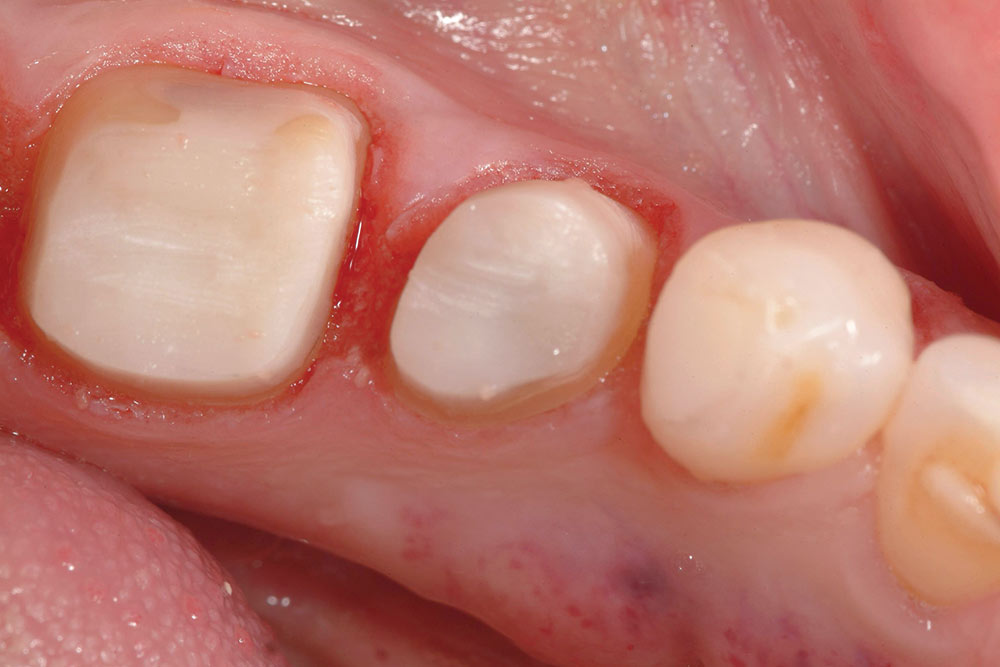
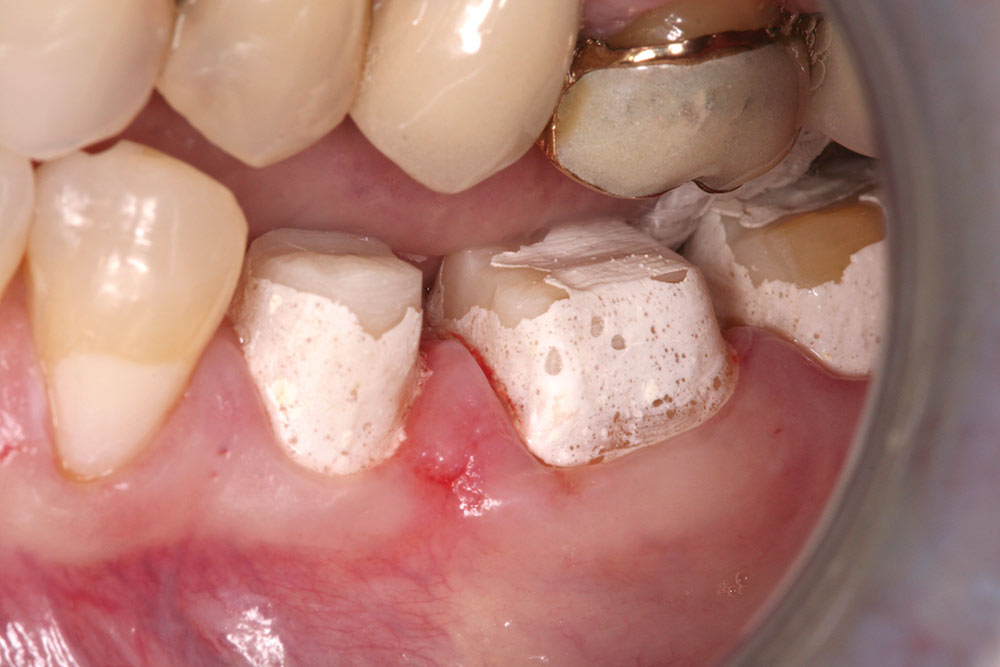
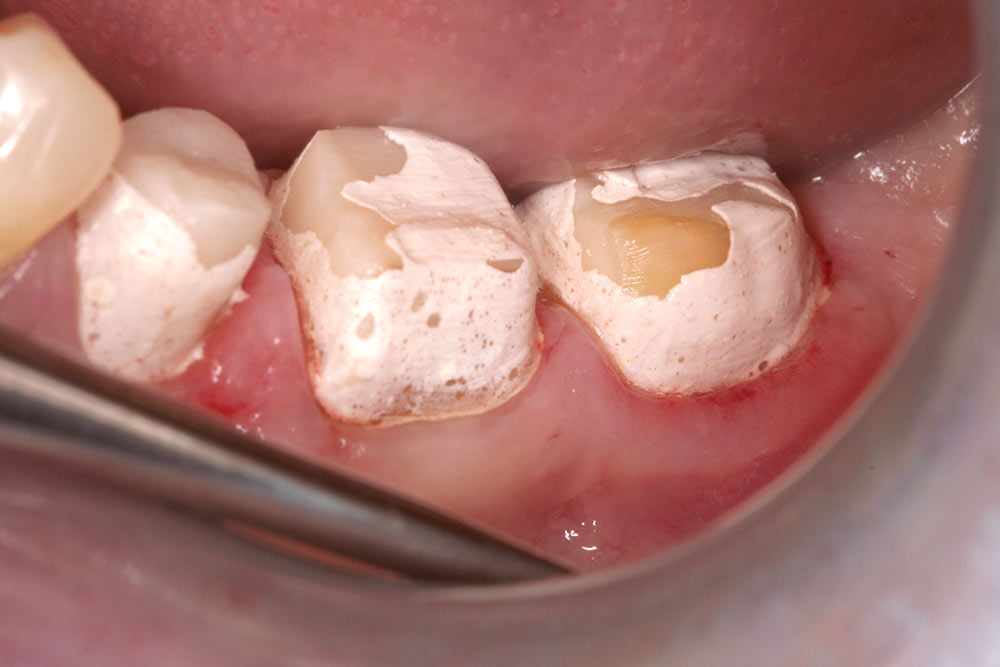
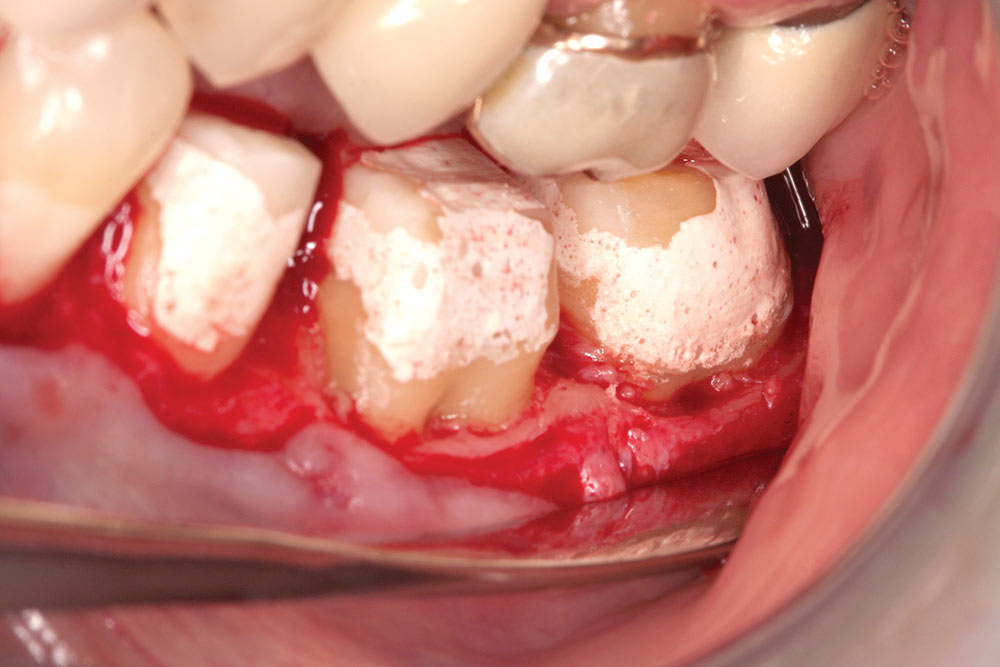
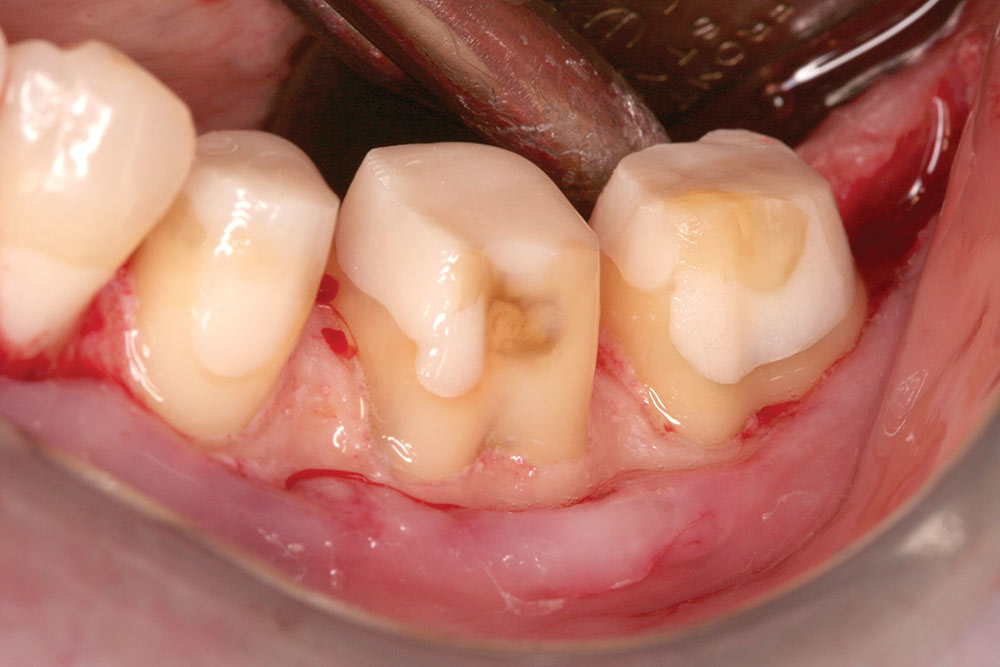
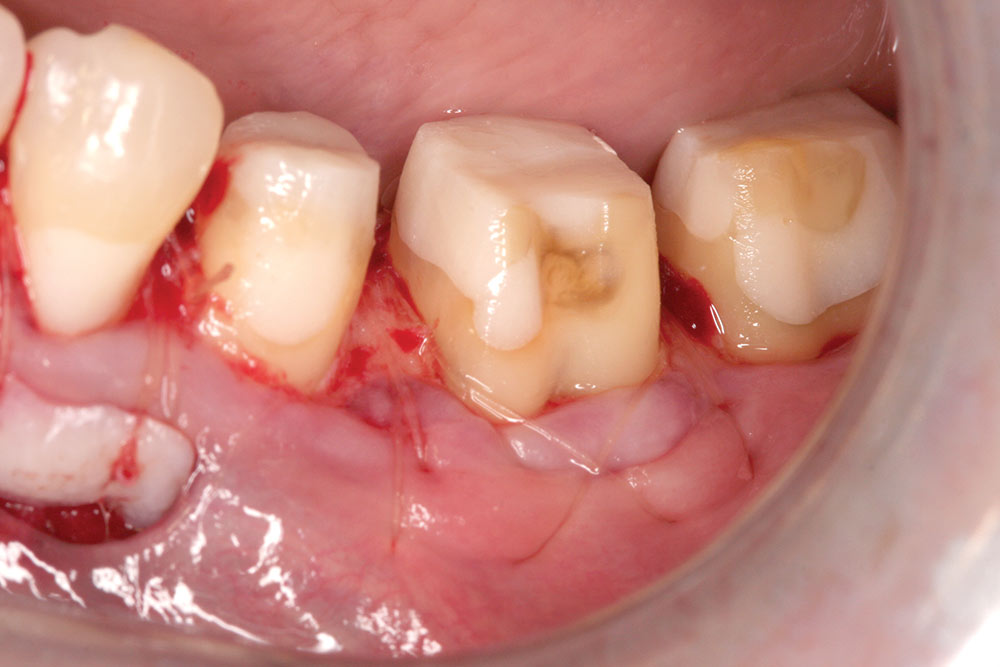
Mix for 40 seconds and apply refrigerated Core Paste XP® (Enamel shade) (DenMat Holdings, LLC; Santa Maria, Calif.). Inject Core Paste XP to fill the deepest part of the cavity first using a needle tube with an S/Class® Syringe (Centrix; Shelton, Conn.). Large amounts of Core Paste XP may be injected, if kept refrigerated, to increase working time. Let set uncontaminated for five minutes. Presto — a virgin tooth to prepare!
NOTE 1: For full-coverage restorations: Remove all buccal and lingual enamel prior to core buildups to avoid implosion fractures that result from polymerization shrinkage of the resin composite core material. For core buildups on inlays: Inject just enough to block out undercuts and cover the deeper areas of the prep.
For core buildups on onlays: Reduce the cusps before core buildup. Following these steps decreases, but unfortunately does not eliminate, implosion fracture.
NOTE 2: If Core Paste XP is kept refrigerated until use, it stacks like soft ice cream. Slower setting due to its cold state, there will be less stress on the dentin bond caused by polymerization shrinkage; more of the shrinkage forces will be dissipated in the body of the material as it slowly sets. Fast set Core Paste XP should be avoided due to the loss of this phenomenon.
NOTE 3: Core buildups are mandatory for 99% of teeth to be restored with indirect restorations, especially all-ceramic restorations.
NOTE 4: Use Clorox full strength — not diluted.
NOTE 5: The 15-second application time for the three disinfectants is increased or decreased based on the tooth to be bonded. Young teeth, fractured teeth, symptomatic teeth and any tooth with pulp or potential pulp involvement, should have extended application times (up to 60 seconds). Application time for “no problem” teeth may be decreased to a minimum of five seconds.
Synopsis – Dentin Bonding with ALL-BOND 3
- Isolate
- Hemorrhage control
Holy Triad (Clean tooth, kill microbes)
- 4% CHG – Rinse
- Tubulicid Red – Rinse
- NaOCI – Rinse and dry
- Etch – rinse – leave moist
ALL-BOND 3 Primers Parts A & B
- Hydrophilic
- Hydrophobic
- Dry thoroughly
- Light-cure 10 seconds at 500mW/cm2
- ALL-BOND 3 Resin
- Light-cure 10 seconds at 500mW/cm2
- Re-apply ALL-BOND 3 Resin
- Light-cure 10 seconds at 500mW/cm2
- Core Paste XP (Enamel shade) for core buildups (chemical cure only, not dual-cure
NOTE: The primary clinical purpose of core buildups is to preserve the integrity of the pulps, and to ensure the clinical success of the crown and bridge case. The secondary purpose is to provide an adequate volume of artificial tooth structure to create a proper preparation. Insurance companies that deny core buildups on the basis of volume of tooth structure missing are, in my opinion, cheating their policyholders.
Benefits of Core Buildups
Pulp Protection
By immediately sealing the dentinal tubules with resin composite, the pulp effects associated with microleakage are significantly mitigated under both provisional and definitive restorations. The reported national average endodontic necessity after crown and bridge treatment is 10%. This means that one in every 10 restored teeth has a need for root canal therapy. My endodontic necessity is one in 1,000 crowns, and I credit a great deal of the minimal necessity to core buildups. The use of partial coverage restorations has also played a role in decreasing this need. Many patients are aware of pulp complications associated with crown and bridge treatment and greatly appreciate the lack of need for root canals.
By immediately sealing the dentinal tubules with resin composite, the pulp effects associated with microleakage are significantly mitigated under both provisional and definitive restorations.
Sensitivity
Sealing tubules with core buildups blocks the flow of fluid, which minimizes the pain that often follows crown and bridge done without core buildups. This is a significant practice builder.
Porcelain Fracture
A homogeneous thickness of metal in a metal occlusal PFM restoration results in less stresses in the porcelain as it cools on the metal substructure. Because there is always a difference in the thermal coefficient of expansion between the porcelain and the metal, this can have tremendous advantages. If one side of the restoration is a lump of metal and the other side is very thin, the metal on the thick side will cool slower than the metal on the thin side. This results in increased stress in the porcelain between the thick and thin sections of the crown. Porcelain with such stresses is more prone to fracture than is porcelain without such stress.
This same principle applies to other substructures, such as zirconia or pressed porcelains. It also applies to refractory porcelain (feldspathic porcelain fabricated on refractory dies). If the porcelain is homogeneous in thickness on the refractory die, it will cool evenly and distribute stresses better than if one side of the restoration is very thick and the other side is very thin. Patients become aggravated when their crowns break and are less likely to be a positive force for referrals.
Ideal Preparation Design
When there is adequate volume of tooth structure/core buildup, one can prepare a perfect preparation. There are many benefits that stem from such. Impression making is easier because there are no thin points or deep voids that could result in a missed impression. Pouring such an impression is also easier because of the lack of the aforementioned. Retrieval of the cast will result in less fracture potential of the dies. Waxing an ideally shaped die is more predictable for the laboratory technician. Fitting a restoration to such a die is also more predictable. With refractory porcelain, the lack of sharp points results in fewer stresses in the porcelain that may cause difficulty in fitting the restoration to the die, as well as increases the potential for fracture.
Defines Biologic Width
When a periodontist is crown lengthening a tooth, it is imperative that the apical extension of destruction from decay or fracture be identified. This ensures enough bone can be removed to provide room for the biologic width. Core buildups do this precisely, making it easy for the periodontist to measure from the crest of the bone to the junction of sound tooth structure/core buildup and provide the mandated 3.0 mm for the biologic width.
Partial Coverage Restorations
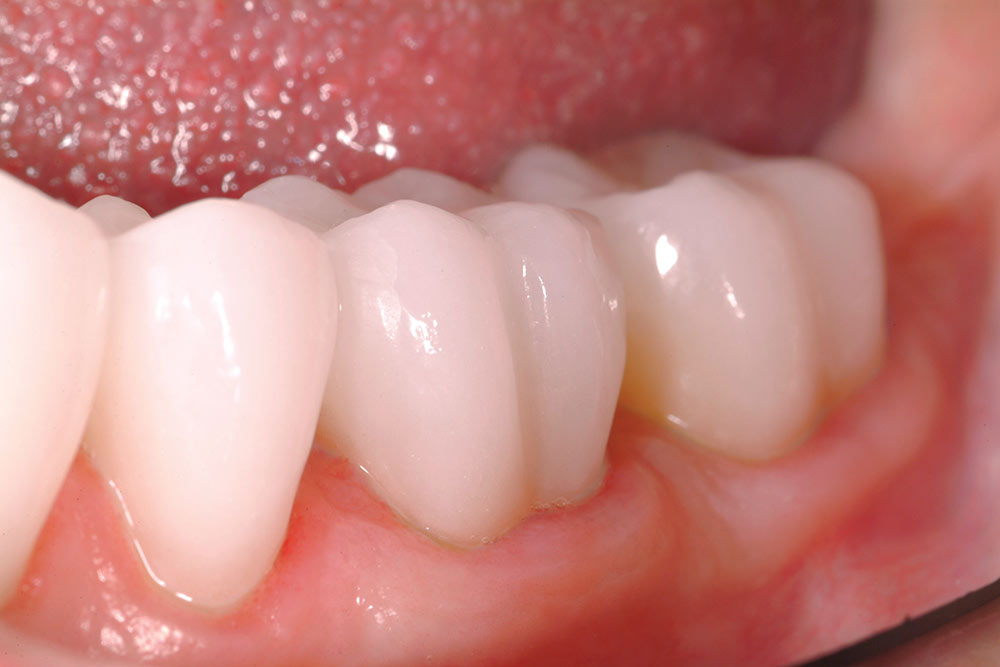
Partial coverage restorations preserve the patient’s biology, and with core buildups they can be done as a matter of routine. Full crown preparations frequently mutilate a massive volume of tooth structure, create pathology for the pulp, and cause periodontal issues.
Partial coverage restorations preserve the patient’s biology, and with core buildups they can be done as a matter of routine. Full crown preparations frequently mutilate a massive volume of tooth structure, create pathology for the pulp, and cause periodontal issues.
Cost of Precious Metals
When a large volume of lost tooth structure is replaced with precious metal, the cost can be significant. If that volume were replaced with core material, the cost of precious metal used would be far less.
Cement Failure
When conventional cements are used, it is mandatory to have ideal preparation form for adequate retention. If a reciprocating wall is missing, there is an odds-on chance that cement failure will occur. The same is true for provisional cements; patients lose confidence in the dentist when their temporaries keep coming off. Rarely will provisionals be lost when core buildups are done.
Tooth Fracture
Core buildups strengthen the residual tooth structure, thus avoiding abutment tooth fracture. Tooth fracture is the third leading cause of tooth loss.
Line of Draw
Bridges mandate a perfect line of draw. Placing core buildups often compensates for tilted teeth and unusual line of draw issues. Undercuts cannot exist if success is anticipated with bridges, and blocking them out in the laboratory is often a severe compromise — one that need not occur when core buildups are done. This is also an advantage for provisional restorations, in that it is much easier to make provisionals that fit when no undercuts exist. This applies to both single and multiple units.
Impressions
Undercuts or thin sharp points of tooth structure complicate impression making and cast retrieval. Core buildups eliminate these complications, making laboratory procedures, especially waxing and finishing procedures, much more predictable.
Accurate Castings
When the thickness of the restoration is uniform, the result is better castings and pressings. Core buildups create the potential for harmonious thickness.
Anesthesia
Core buildups block tubules and often allow cementation without anesthesia because of this fact.
Increase Office Income
Core buildups provide an increase in income based on the number of units the dentist produces. If a dentist charges $300 to $500 per buildup and the office production is 100 units per month with core buildups done in the majority of cases, the production would be $300,000 to $500,000. The reason for doing core buildups should never be driven from a financial perspective, although it is important to make a profit. Therefore, doing so while providing such a necessary service as core buildups makes sense for most dentists.
To contact Dr. William Strupp, call 800-235-2515, visit strupp.com or email bill@strupp.com.

