Top 10 Things to Never Be Without — Part 2
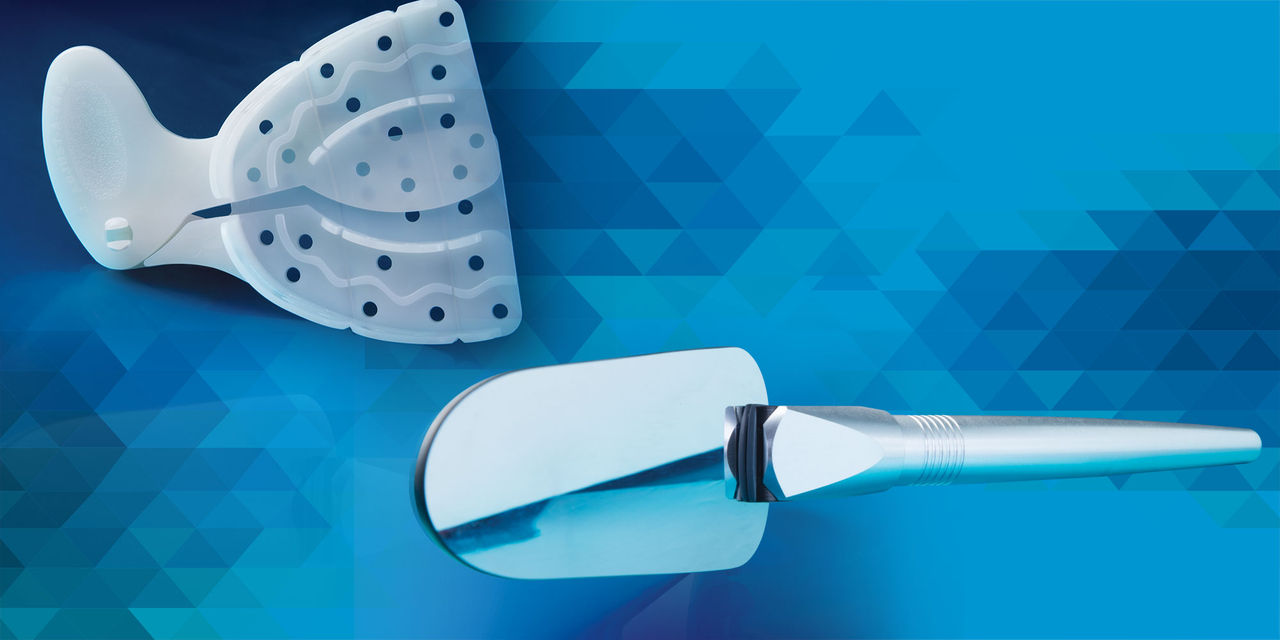
For any case in restorative dentistry, a successful outcome is largely contingent on the quality and quantity of intraoral information that a clinician can communicate to the laboratory. As an RDAEF2 working in the R&D and marketing operatory of one such laboratory, where any qualified patient who comes in for a cleaning is screened for his or her potential as a research candidate, the ability to obtain and transfer a patient’s comprehensive biological situation quickly and accurately is of paramount importance. In this second installment of my top 10 things, I wanted to share two excellent tools I use to deliver the greatest amount of structural data with the least amount of chairside stress.
PhotoMed Universal Mirror Handle Kit
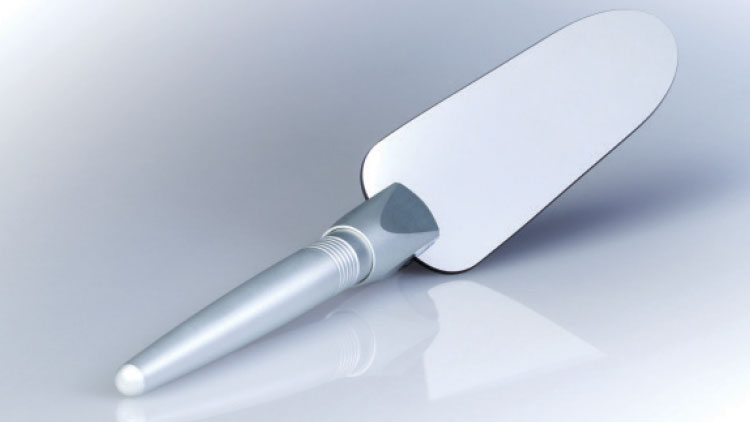
When presenting a potential research case to Dr. Michael DiTolla, I take full advantage of the benefits afforded by the Universal Mirror Handle Kit from PhotoMed (Van Nuys, Calif.). Plated with a coat of highly reflective, durable titanium, PhotoMed’s line of intraoral mirrors capture the full force of a camera’s flash without ghosting the image, delivering a single detailed shot that, provided the camera is correctly calibrated, ensures a robust repository of data about the patient’s condition. Each mirror is specifically shaped to reach a particular region in the mouth, relieving concerns about hard corners irritating the patient or insufficient surface area to capture the intended site; additionally, with a handle that attaches easily and at any angulation to one of the three location-specific mirrors packaged with the kit, a willing patient can hold the mirror in place while the assistant’s hands remain free to keep the camera steady and true to capture the perfect oral snapshot. There’s no quicker way to improve one’s dental photography skills than implementing these PhotoMed miracles.
Adjust-a-Tray®
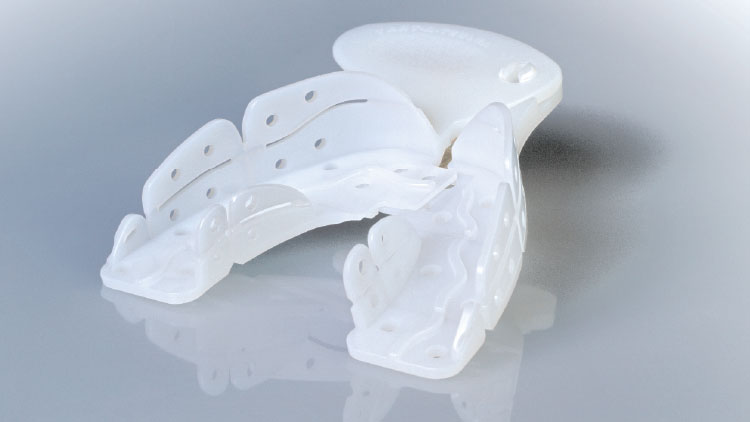
Much of what makes impression trays a stumbling block in a dental office workflow is the constant guesswork involved in figuring out which tray fits to what patient anatomy. Does the patient’s arch fit a medium or a large tray design? With high or low buccal walls? Narrow width? Wide width? A decent estimation can be made with the eyeball, to be sure; but landing on the right tray often involves auditioning multiple try-ins, with the unsuccessful apparatuses relegated to time-consuming sterilization. The Adjust-a-Tray® (adjustatray.com) alleviates this process of trial and error by introducing breakaway buccal and facial walls, perforations at the rear of the tray to control mesial-distal depth, and a system of indexed tabs that allow arch width to be tailored to each patient’s unique anatomy. With four widths, three lengths and two heights available in a single tray, the Adjust-a-Tray finally delivers the advantages of a one-size-fits-all solution to the conventional dental impression.

