Incorporating Portrait Photography Into a Busy Dental Practice
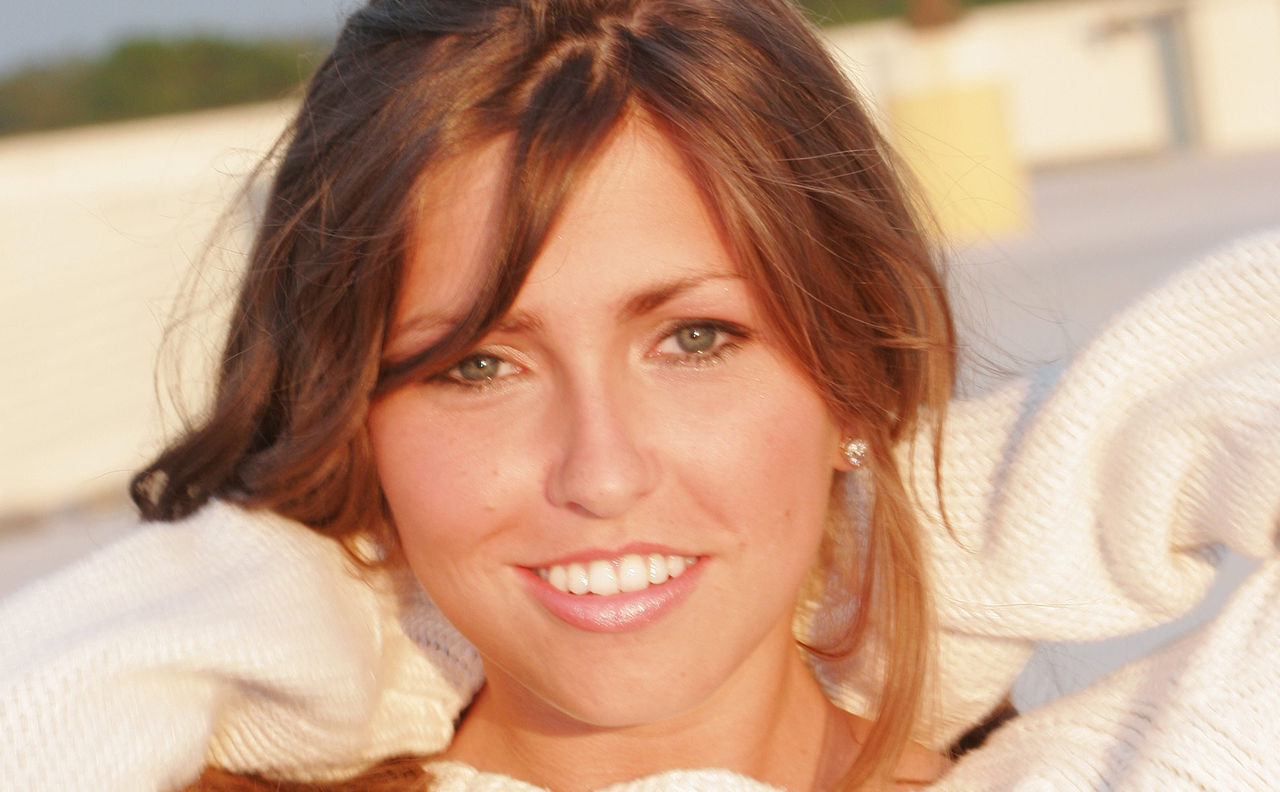
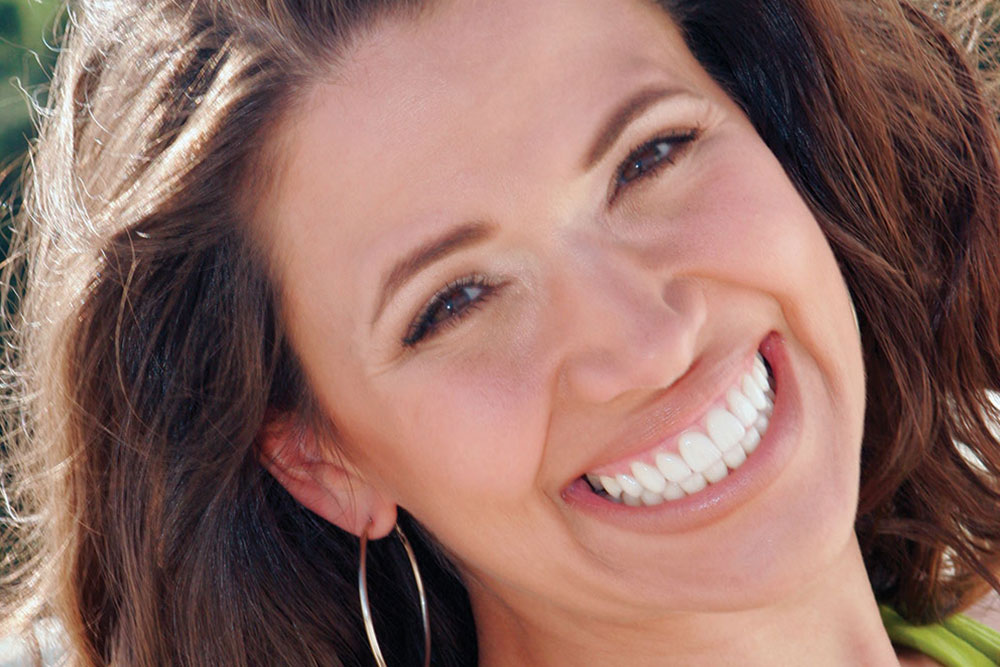
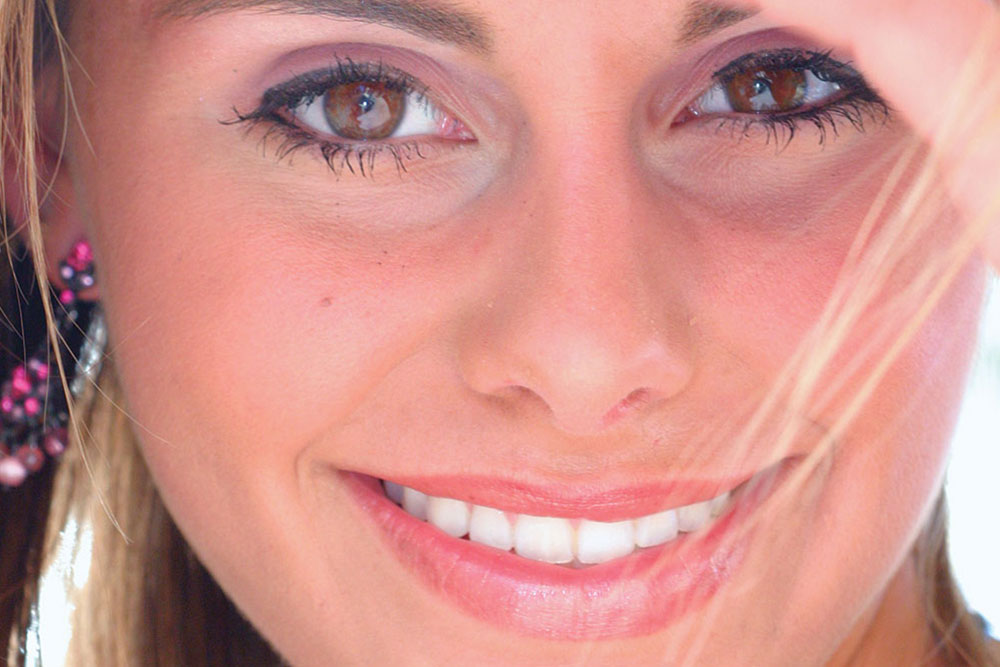
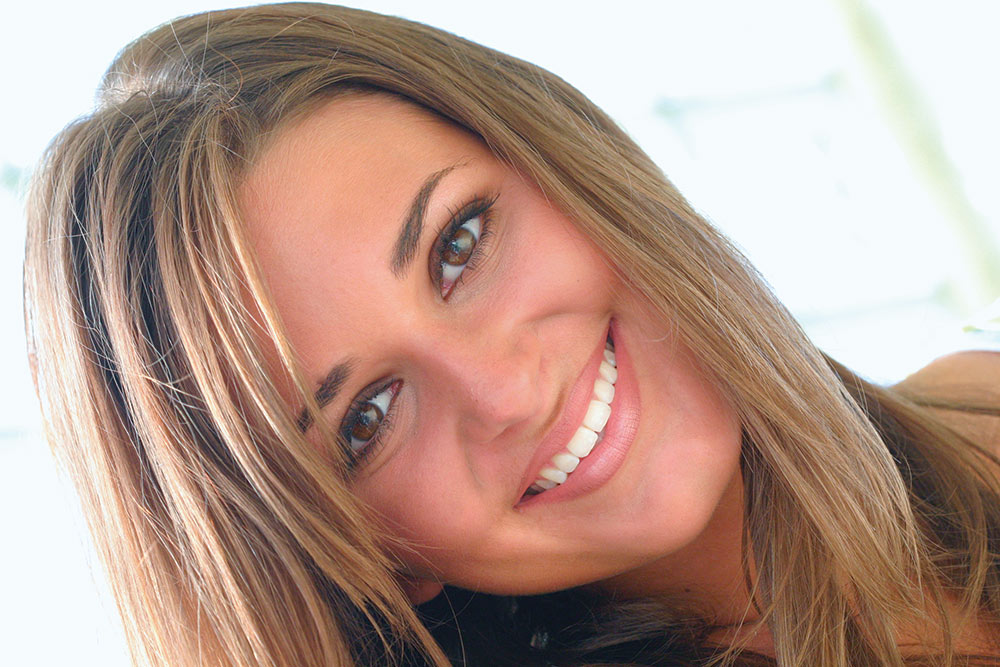
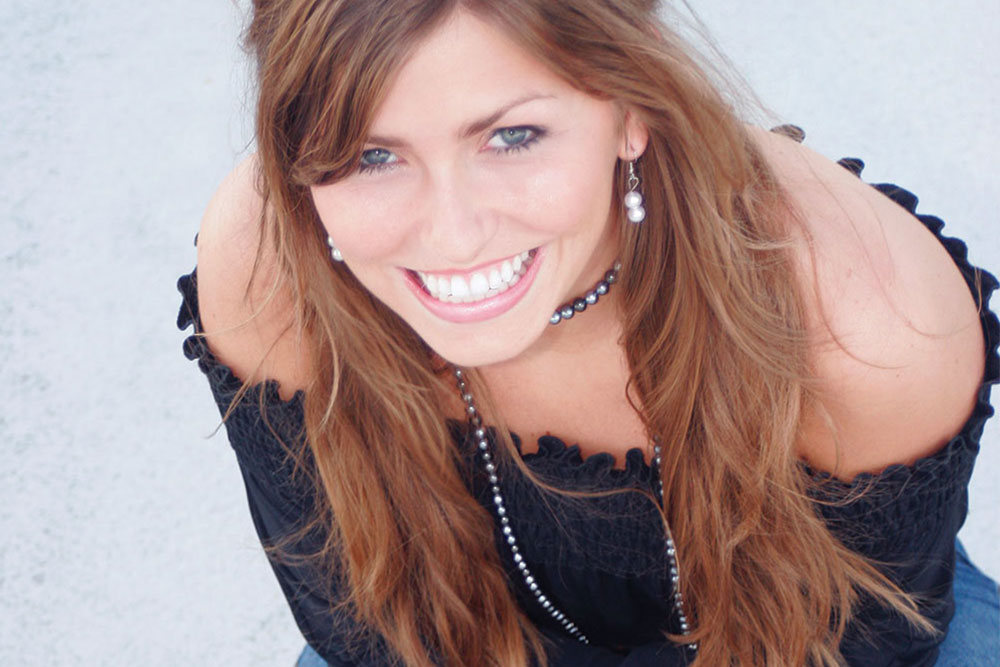
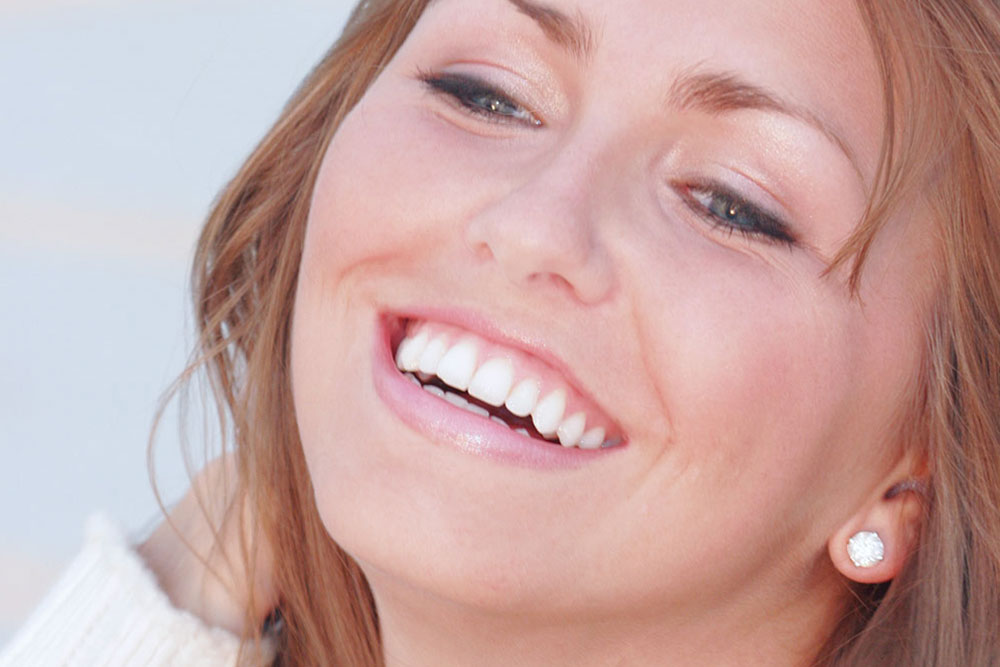
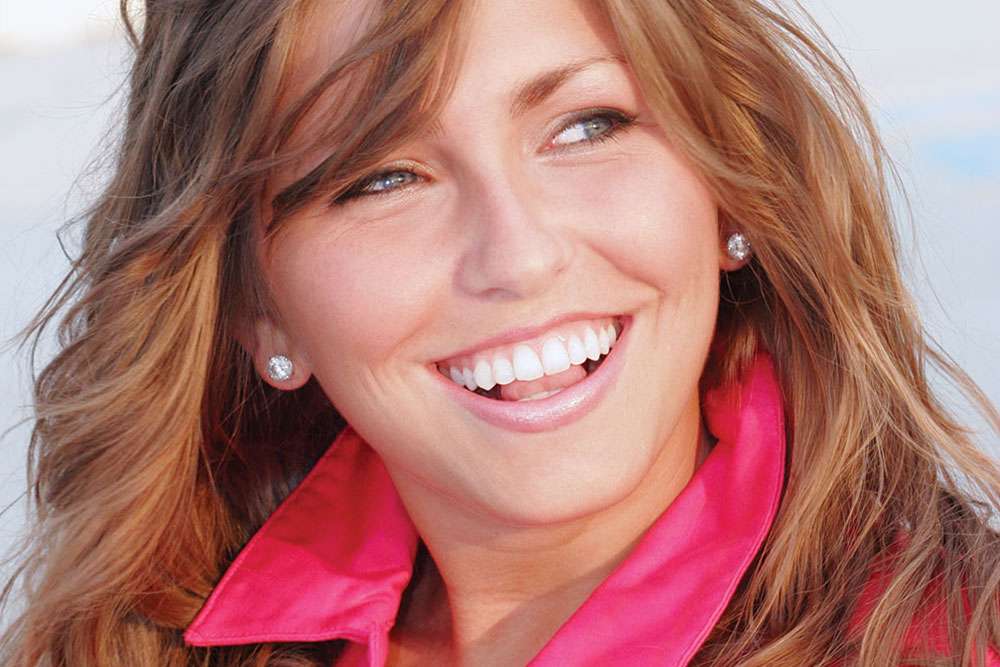
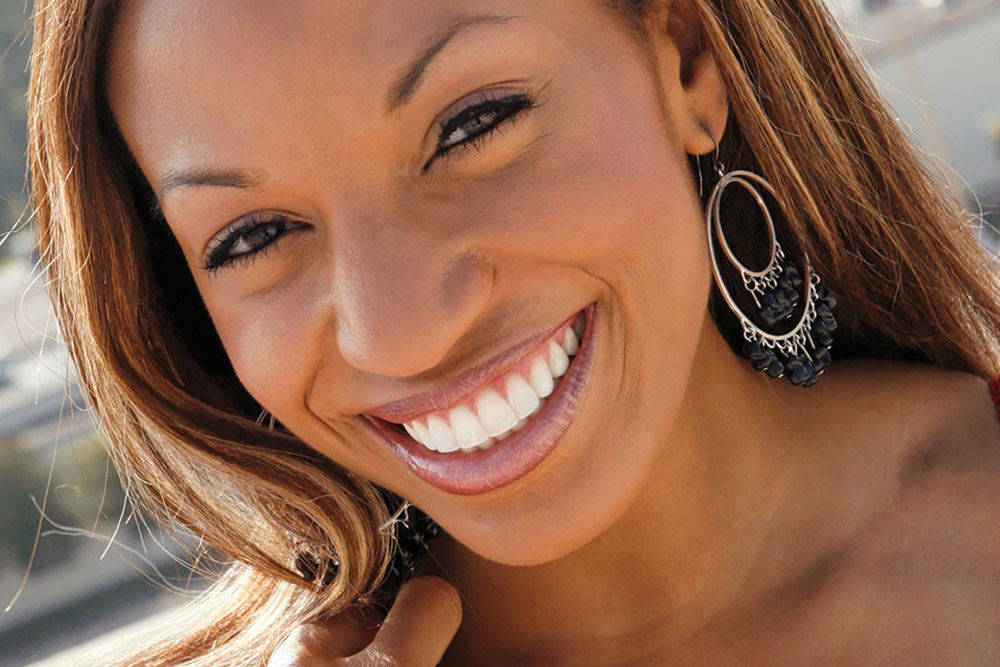
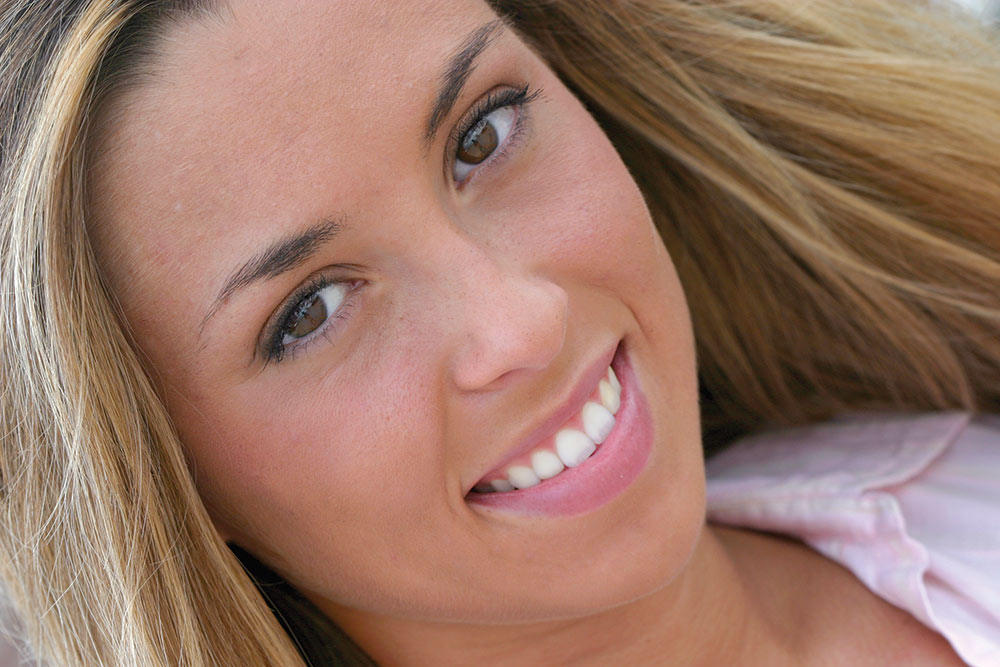
Portrait photography, especially of your own patients, is a great way to demonstrate how cosmetic dentistry can help one attain a beautiful smile. Whether through your own photography or pictures you have purchased, patients are more accepting of cosmetic dental procedures when they see the amazing results others have achieved. Even better, when you incorporate portrait photography into your dental practice, you can use these portraits for external marketing in both print and television markets. These snapshots also make a wonderful place to display testimonials from your patients.
Digital Cameras
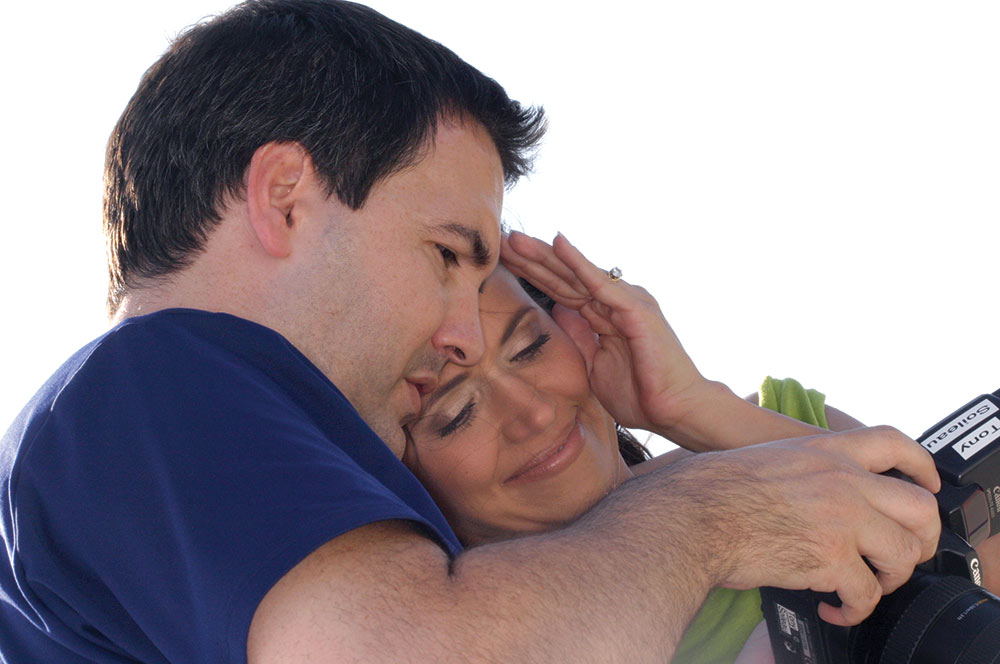
Digital cameras have all but eliminated the need for hiring a professional photographer to document your best cosmetic restorations. The latest SLR digital cameras (the ones that look and feel like a 35 mm camera) have made the art of taking professional portraits very easy. Even a dentist or staff member who has never taken a photograph can take amazing portraits with just the touch of a button. This is because a computer that does most of the work drives the camera for you.
Digital cameras follow the same trends as the rest of the computer market. Each year the cost continues to fall, while the quality and image size of the picture grows. A professional level SLR digital camera with a macro lens and ring flash can now be purchased for less than $3,000. At the time of writing this article, my favorite digital camera is the Canon EOS 40D Digital SLR camera with the Canon 100 mm macro lens and MR-14EX E-TTL Macro Ring Lite Flash.
Allocate Time
As with any new technique or service introduced into a dental practice, a certain amount of time must be allocated for adaptation. Determine the amount of time to set aside by deciding the overall value of the procedure and the desired outcome.
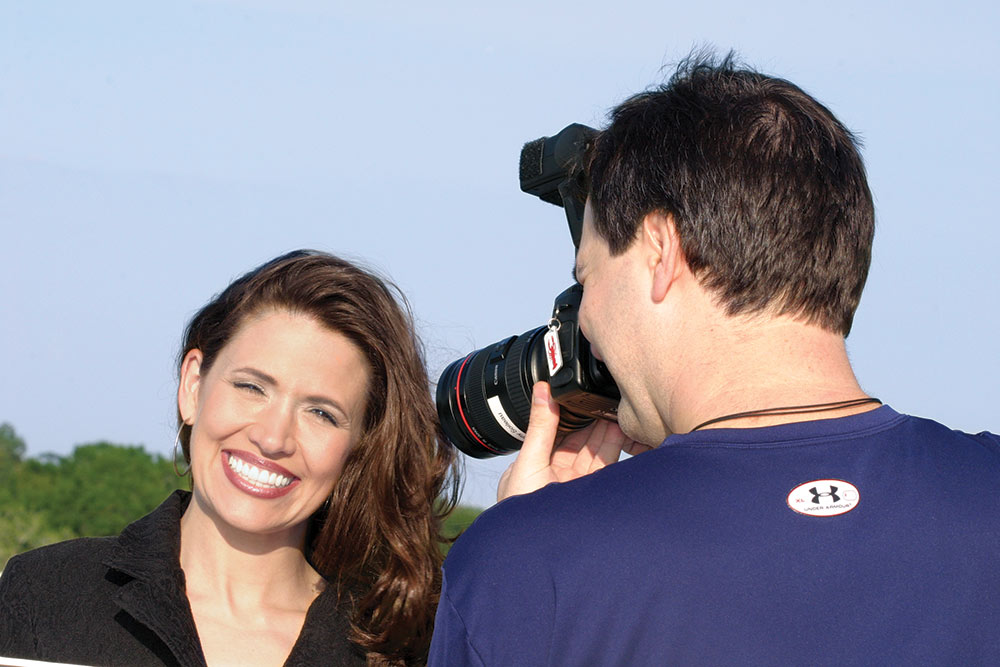
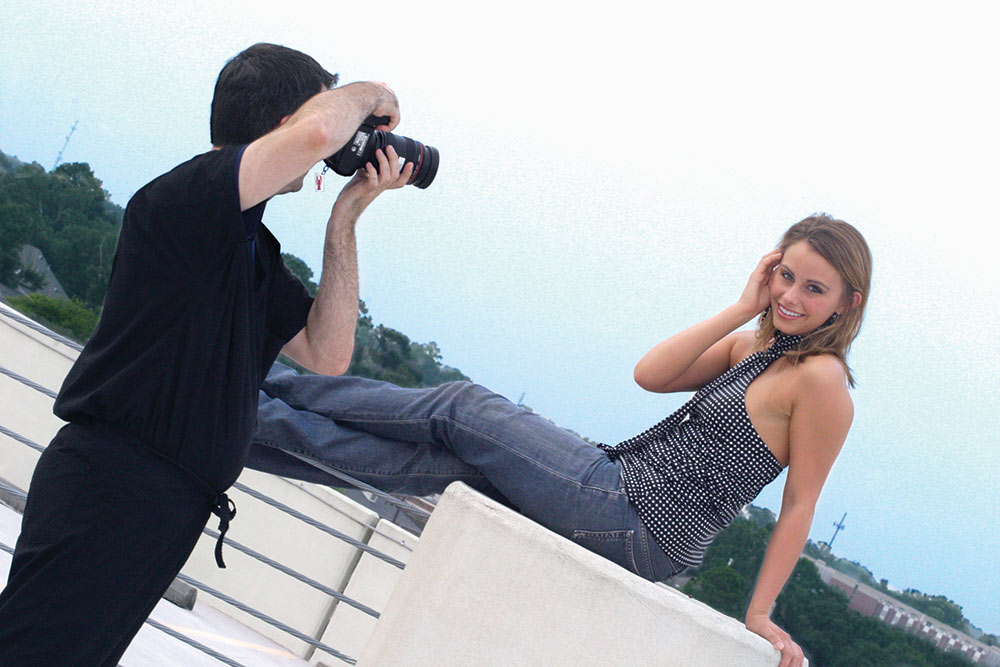
For a busy dental practice, incorporating new procedures can be very frustrating to the dental team, as well as patients. The purpose of this article is to introduce some simple techniques for incorporating portrait photography into a practice that maintains a busy schedule and tight budget. In this article, I will share with you how to take amazing portraits with a digital camera setup for dentistry. I will also discuss locations in which to take the photos, including a very unattractive parking lot! What’s more, every image in this article can be achieved without special lenses or studio lighting. The only equipment I will use to take these photographs is the Canon EOS 40D Digital SLR camera, the Canon 100 mm macro lens, and the parking lot behind my office. Flash, external lighting, filters and reflectors will not be used. That’s not to say that a studio setup shouldn’t be used — I have all of this equipment, as well as several cameras and different lenses (and I love using them) — but I want this article to demonstrate that you do not need to purchase expensive equipment or have years of experience to take beautiful, captivating portraits.
In my practice, we typically schedule one-hour photo shoots. During this short time frame, we will take portraits, edit the images, print several photos, and ask the model to write a testimonial. I spend 10–30 minutes taking the portraits, and my team spends the remaining time with the model to select the best images.
In this article, I will share with you how to take amazing portraits with a digital camera setup for dentistry. I will also discuss locations in which to take the photos, including a very unattractive parking lot! What’s more, every image in this article can be achieved without special lenses or studio lighting.
Know Your Camera
The digital camera I am using is the Canon EOS 40D Digital SLR camera. It is a 10-megapixel camera. It saves each image at an average of 3.5 megabytes compressed; uncompressed the image averages 24–30 megabytes. This is large enough to print 13×19 images and more than sufficient to print 8×10 photos. The camera can also be set to capture images to a smaller file size for clinical use. I usually set my camera to medium size for all clinical shots and large size for images used in marketing or dental publications.
While I do have an assortment of lenses to choose from, I want to demonstrate how a basic dental setup is all you need to take amazing portraits. Although it is nice to have a variety of lenses and studio equipment at your disposal, they are not necessary if you learn how to use the camera to its fullest ability. This means you must think about your camera setup in ways it was not designed for. The Canon 100 mm lens is a good example. This lens was designed to take images at a very close distance, such as flowers, insects and teeth. However, it is also an amazing portrait lens. The lens is a macro lens, meaning it is designed to focus on very close objects. When using this lens for portrait photography, the background is blurry and the model is in perfect focus. Because of the way the lens is designed, you need to maintain five to six feet of space between you and your subject so the model fits inside the viewfinder. This distance often necessitates the need to take photos outside or in a hallway.
Camera Settings
I set my camera to AV (aperture priority) mode. By using AV mode, I only have to set the f-stop according to how blurred out I want the background. The camera picks the best shutter speed so the picture is perfectly exposed (not too bright or too dark). I start by setting the ISO setting for my camera to 400. The ISO setting controls how sensitive the camera’s computer chip is to light. If it is late in the day and the sun is going down or if I am in the shadow of a building, the camera chooses a slow shutter speed to let in additional light. A shutter speed under 1/90 causes a blurry image. If the shutter speed is set below 1/90, I increase the ISO setting. By increasing the ISO setting, I am making the camera “more sensitive” to light so it can choose a faster shutter speed. As I am not using a flash, I evaluate my shots for two criteria: depth of field and brightness of the image. Depth of field refers to: how blurry is the background? This is set by the f-stop, which refers to: how open is the front of lens? The higher the f-stop number, the “more closed” the lens aperture or opening. An f-stop setting of 32 means the aperture of the lens is barely open and little light can get in. The higher the f-stop number, the more depth of field the image has. So a setting of 32 means the image has little light but everything is in focus. An f-stop setting of 2.8 means the lens aperture is wide open; light pours in, making the image very bright. A small f-stop number also means the background is very blurry and out of focus. Remember that I am in an unattractive parking lot, so I do not want any of the background to be in focus. And, even if I was shooting next to a beautiful background, I want the focus to be on my model and her smile. So I choose to blur the background in most situations. This is why I prefer to use a macro lens for my portraits. It lets me shoot in any setting. Cars in a parking lot become colored blobs and brick walls become a reddish textured background.
The brightness of an image depends on three settings: my f-stop, shutter speed and ISO setting. If I set my f-stop to 11, the aperture (the size of the opening of the lens) is partially closed. This keeps the image from being too bright, but the depth of field is greater. The best thing about digital cameras is they have a monitor to let you view the images as they are stored on the card. This provides immediate feedback on how the images look. I can evaluate them as I go, which eliminates the wait of the photos being developed and then later realizing I missed critical shots.
Portrait Photography Technique
I begin every session by taking chest shots of the model. This means I have from the top of her head to her chest in the viewfinder. Standing about six feet away from her, I start with the f-stop set to 6.7 and the camera picks the shutter speed. I then look at the monitor to see how the image looks. The image varies depending on a variety of factors, including if it is sunny, the amount of clouds in the sky, if she is standing in a shadow, etc. My first few shots are just to get the settings right for that particular day. I usually do not have to worry about the image being too bright or too dark because the camera picks the ideal shutter speed. I just make sure the image is not blurry because of a slow shutter speed and that only the model is in focus, not the background. I spend about 10 seconds taking two to four pictures to get the settings right.
Once the settings are right, I take 15–25 images with the model in different poses at varying camera angles. I may have her move around to different spots, shaded areas, etc., and make changes to my settings as needed. Remember that I get to view my images as I take them so I know how I am doing.
Next, I take a series of close-up shots. I stand closer to the model, so I am just two feet away. The goal is to get just her face in the viewfinder. I incrementally raise my f-stop number to about 11. At this distance, an f-stop of 6.7 would focus on just the tip of her nose or chin or whatever was closest to the lens; her smile would be slightly out of focus. As soon as the camera settings are in place, I again ask the model to go through different poses, and I take about 15–25 shots. Once we complete the close-up shots, we are finished with our session. We now have 30–50 portraits to select from, which took just 10–15 minutes of the scheduled one-hour appointment.
Printing
After the 10–15 minute photo session, my model and I go back inside to edit and print my images. I start by transferring the images from the compact flash card to my server. It is much faster to edit and print them from my server than the compact flash card. I like to edit the photos using ThumbsPlus® (Cerious Software; Charlotte, N.C.). It is an $80 program that can be purchased online at thumbsplus.com. For such inexpensive software, it is very easy to use and has some amazing functions for printing and editing. I also use Adobe® Photoshop® (Adobe Systems; San Jose, Calif.) to create all my print ads. But for the purposes of basic editing and printing, I find ThumbsPlus the easiest to use.
I start editing by resizing the portrait according to the size of paper I will print to. All the portraits displayed in my office are printed to A3 (13×19) size. Rarely do I ever have to adjust color or brightness tones of the image. Because I use a professional level SLR, the color is very accurate from the beginning. I then digitally stamp the image with my logo and signature. This is really easy to do with ThumbsPlus and lets anyone viewing the portrait know this is our work.
For printers, I prefer the Canon PIXMA Pro9000. The Canon PIXMA Pro9000 costs less than $500. It is incredibly fast, even at the higher dpi settings. It is also very quiet. This makes it a great ink jet printer for your practice if located near the front desk, where staff members talk on the phone and interact with patients all day.
The quality of a print is determined by the paper choice as much as the printer settings. I want my prints equal to 35 mm prints so I use the best paper, even though it may cost a little more. Keep in mind I use high quality paper only for portraits displayed on the wall.
There are two basic types of paper to choose from when printing photographs: a matte (satin) finish paper or a glossy finish paper. Both have advantages and disadvantages over the other. A glossy finish gives you the most detail; however, glare from bright office lights may obscure the portrait from certain viewing angles. A matte finish may not reproduce the subtlest details, such as individual eyelashes, but it can be viewed from any angle. I prefer to use a matte finish for photos displayed in my office. My favorite matte finish is IPC Olmec Satin finish 260-gram paper. For glossy paper, Pictorico Pro Glossy Film has to be seen to be believed. It is so shiny the paper looks wet, and the detail it reproduces is amazing.
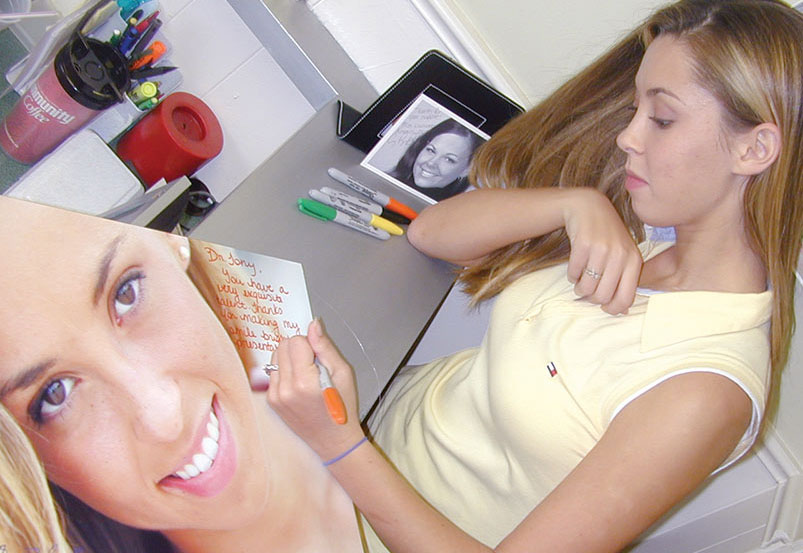
Once I choose which paper to use, I set my printer setting or “printer profiles.” I match the printer setting to the paper size I’ve selected — in this case, size A3. I then select my paper preference, and this tells the printer to make each drop of ink as large as possible to give my print the most color saturation. The prints come out of the printer completely dry and can be autographed immediately by my model. We give them a Sharpie marker and ask them to write as much of a testimonial as they like.
So, in less than one hour we have taken 50 portraits, edited the images, and printed one 13×19 image for me, and several for the model. In addition, the model has written a testimonial for display on my wall.
Displaying
After the model has signed the printed image, I mount it to a one-fourth inch foam board for display. I use inexpensive glue sticks and foam board from Office Depot. The print is glued to the foam board and allowed to dry for 30 minutes. The print is then cut out with a straight edge (a metal ruler) and a #15 scalpel. Lastly, I hang it on my wall where it is visible to everyone visiting the office.
The entire print mounted and ready to display has cost no more than $4.50 and took just one hour and 30 minutes to create. The final result is an incredible marketing piece that is completely of our own design and displays the quality of our services. We also have a testimonial to share with other patients. And because the model is someone from the local community, it is so much more powerful for new patients than would be a stock image I bought online.
The entire print mounted and ready to display has cost no more than $4.50 and took just one hour and 30 minutes to create.
Many of Dr. Tony Soileau’s techniques and articles can be found on his website, tonysoileau.com. He may also be contacted by phone at 337-234-3551.

