Photo Essay: Minimal-Prep Case
I have really come around to no-prep veneers. As our technicians and the ceramics have improved, I have been getting much better results on a much wider variety of cases. There are still those cases, however, where some minimal enamelplasty can make a big difference in final esthetics. I usually have a conversation with the patient to determine if they are set on no-prep veneers or open to minimal-prep veneers. It’s a little ironic because no-prep patients don’t want their teeth touched, but it would be impossible to ever remove the veneers without prepping tooth structure. I am comfortable with both and I welcome patient input when planning these cases.
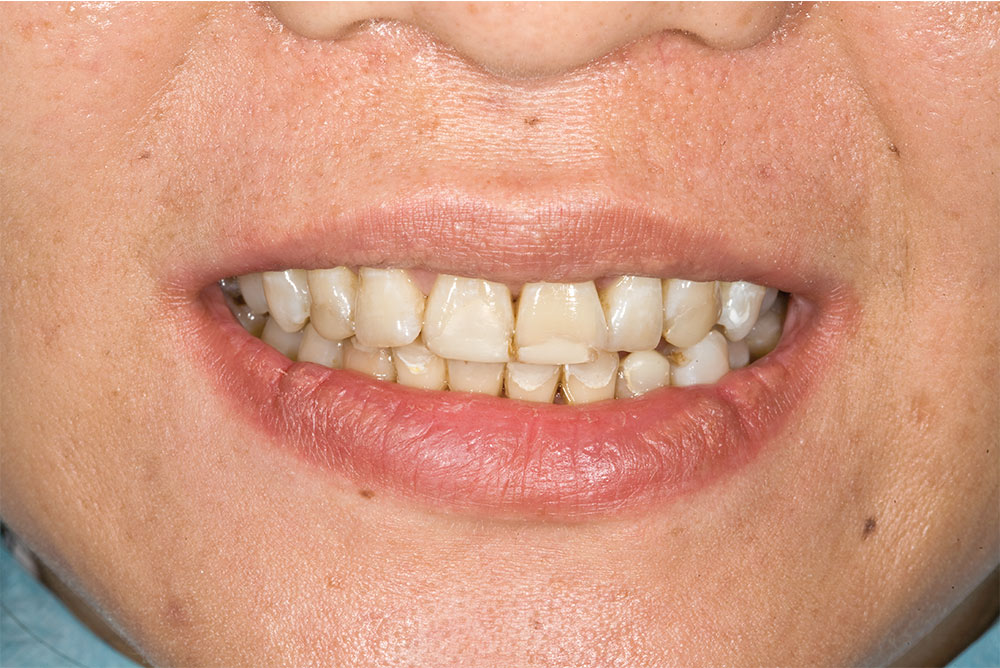
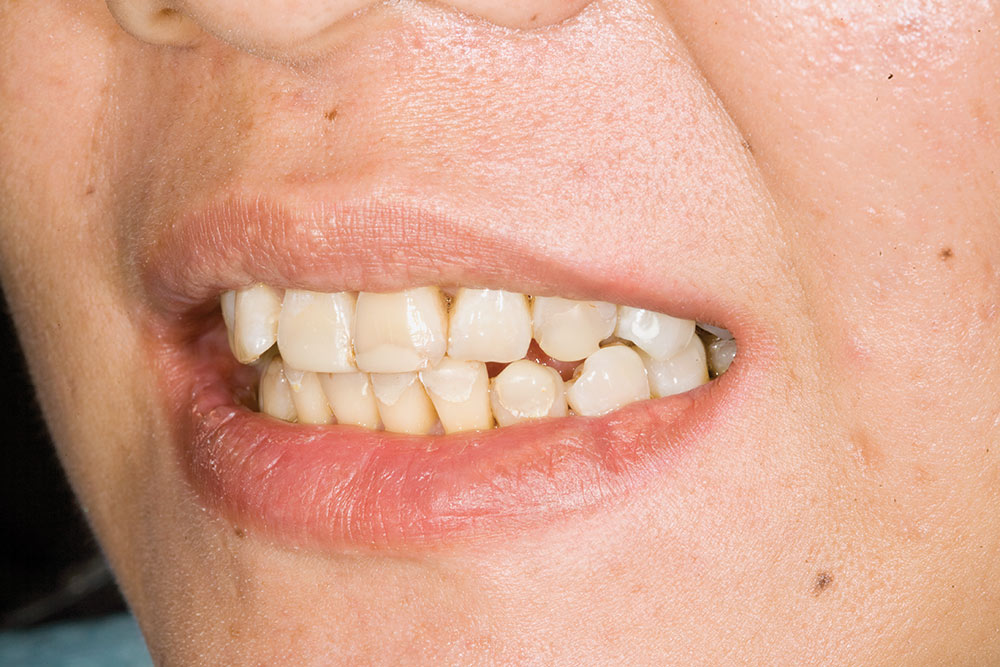
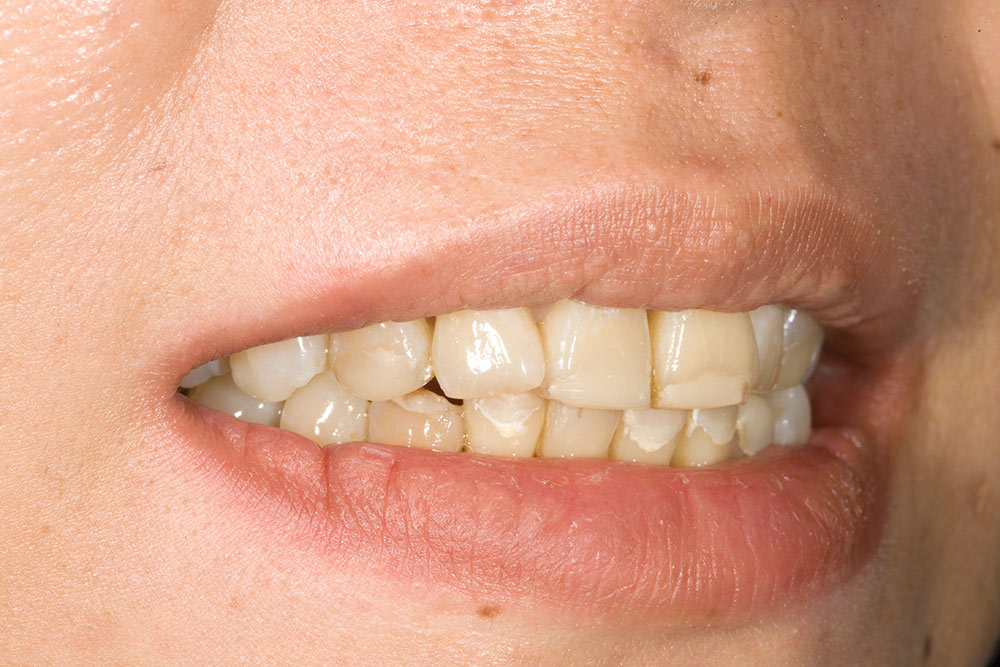
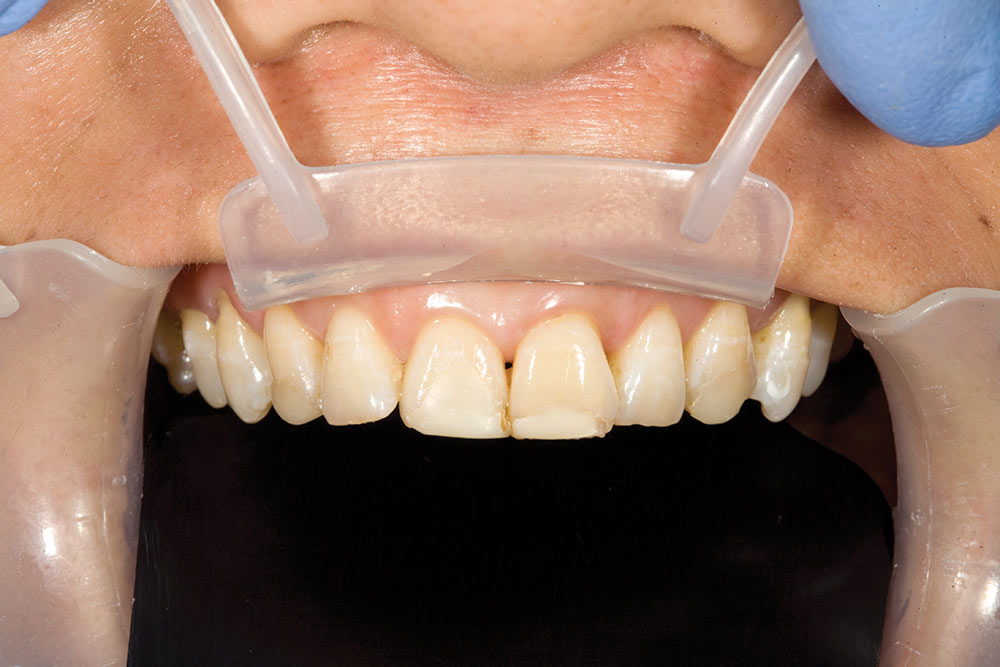
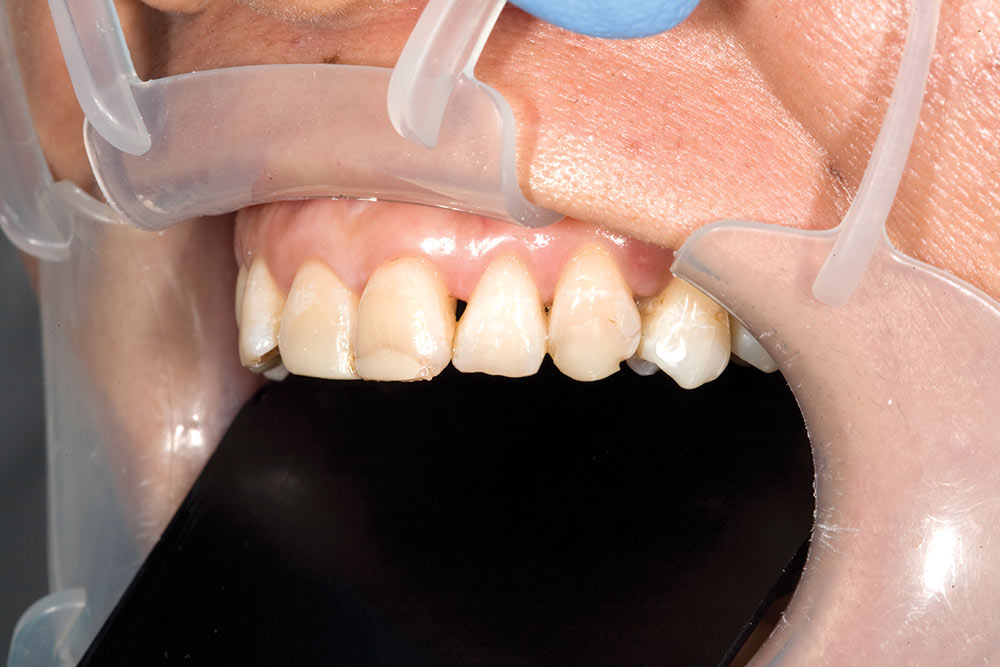
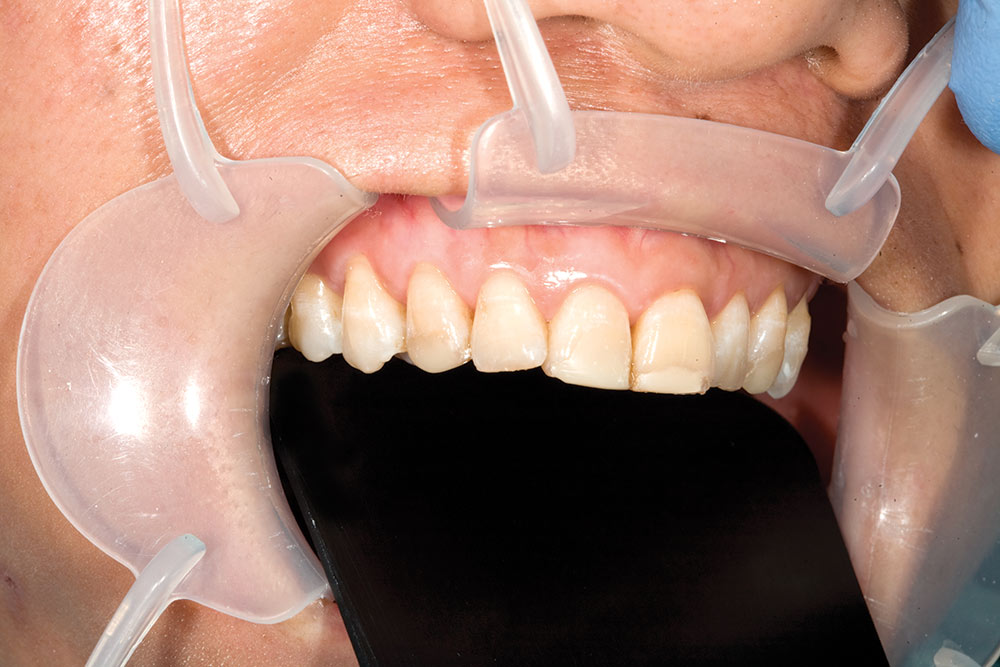
Figures 1–3: This 32-year-old female patient wanted to improve her smile but did not have much luck with vital bleaching. A previous dentist had placed some direct composite veneers on the upper and lower anterior teeth, but most had broken off or worn away. These photos are used to judge macroesthetic issues, such as smile line, and whether there are gingival issues that need to be addressed.
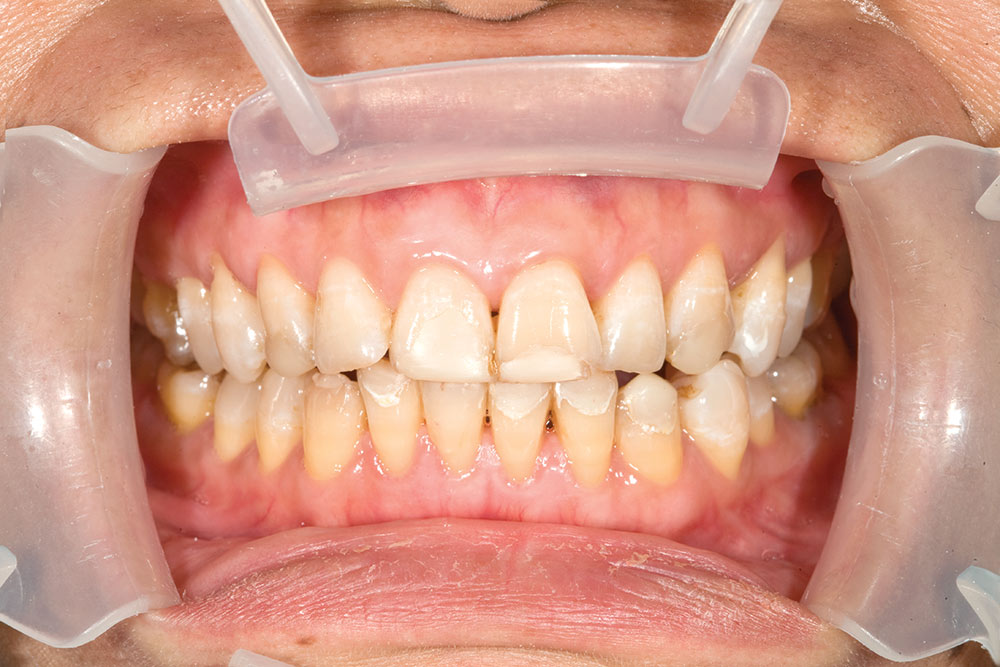
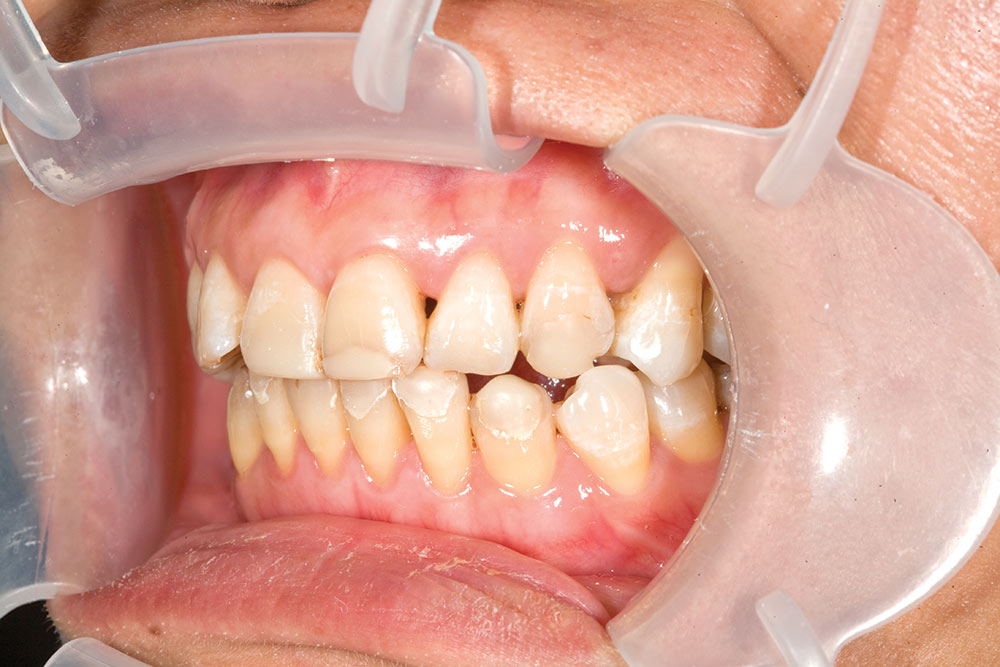
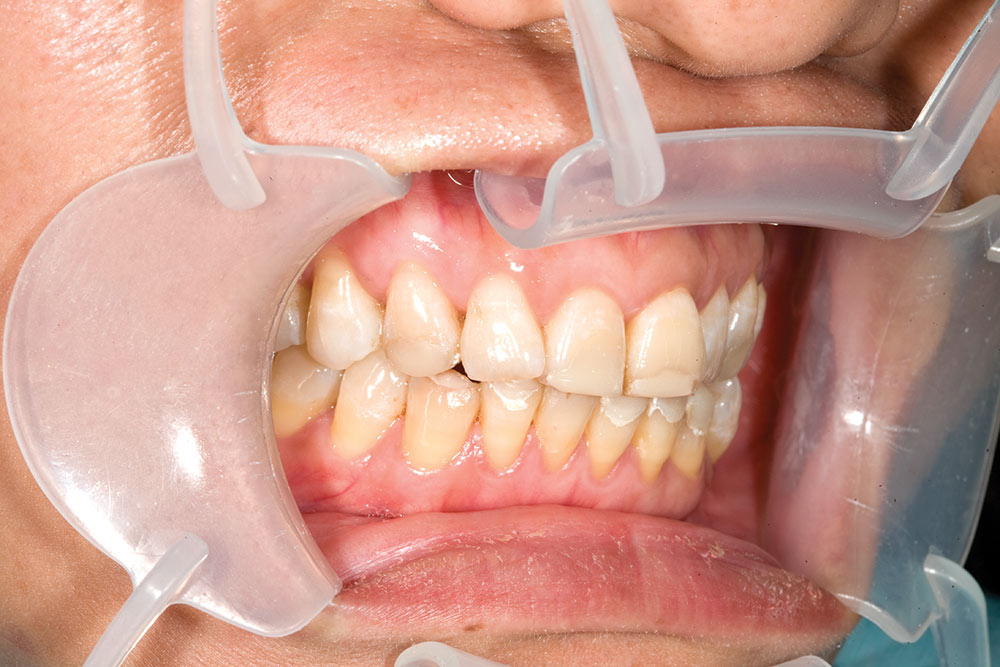
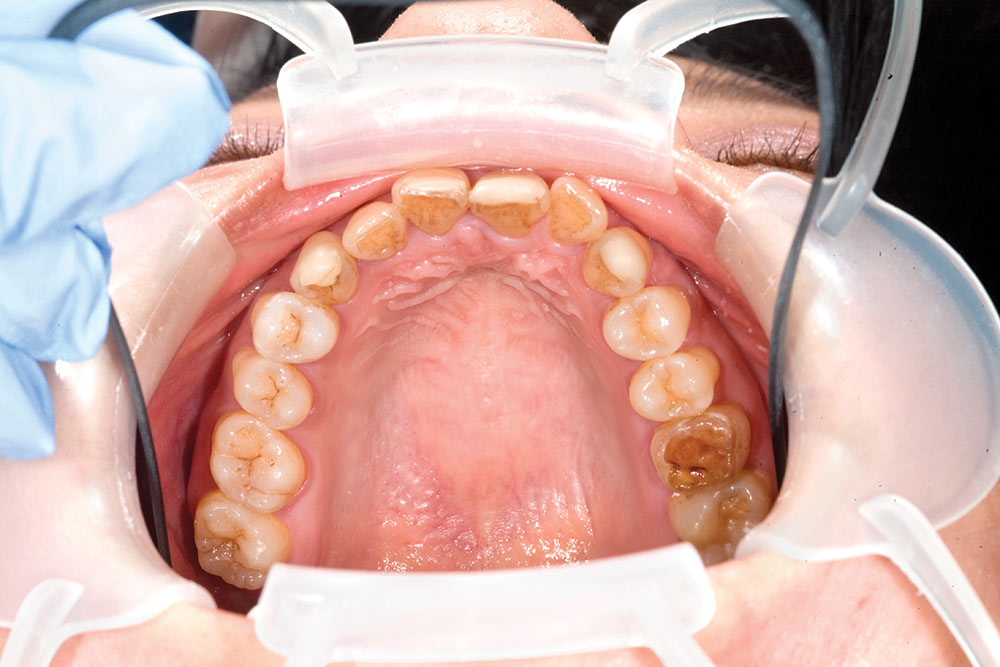
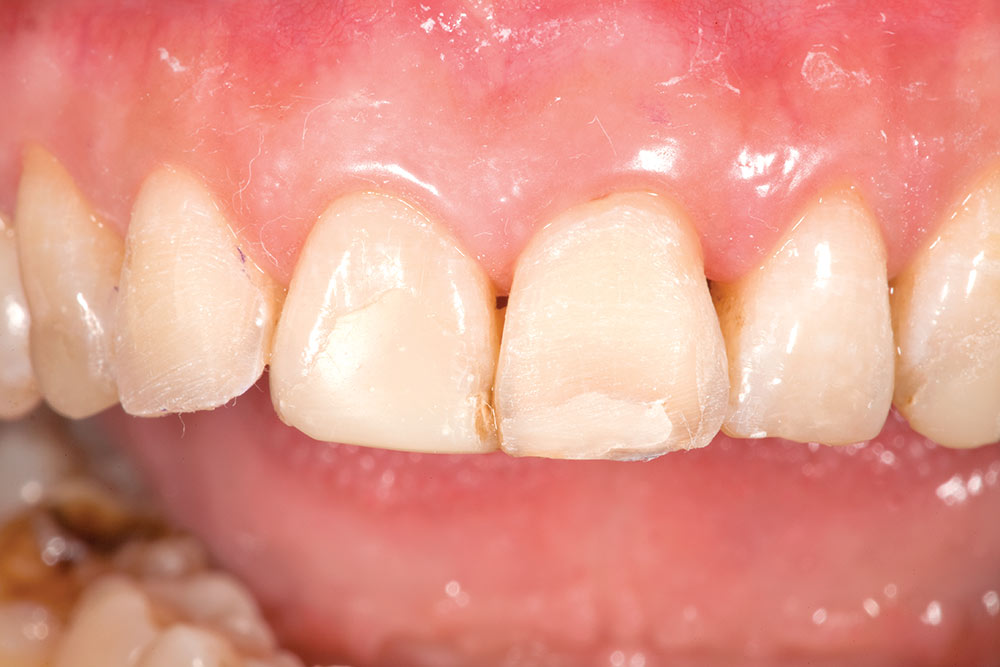
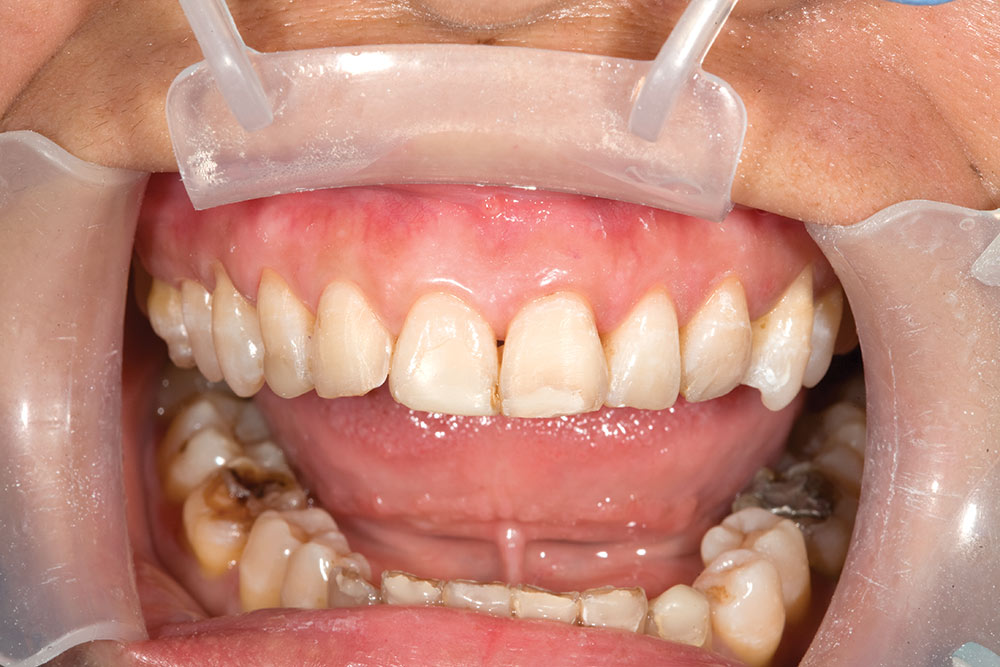
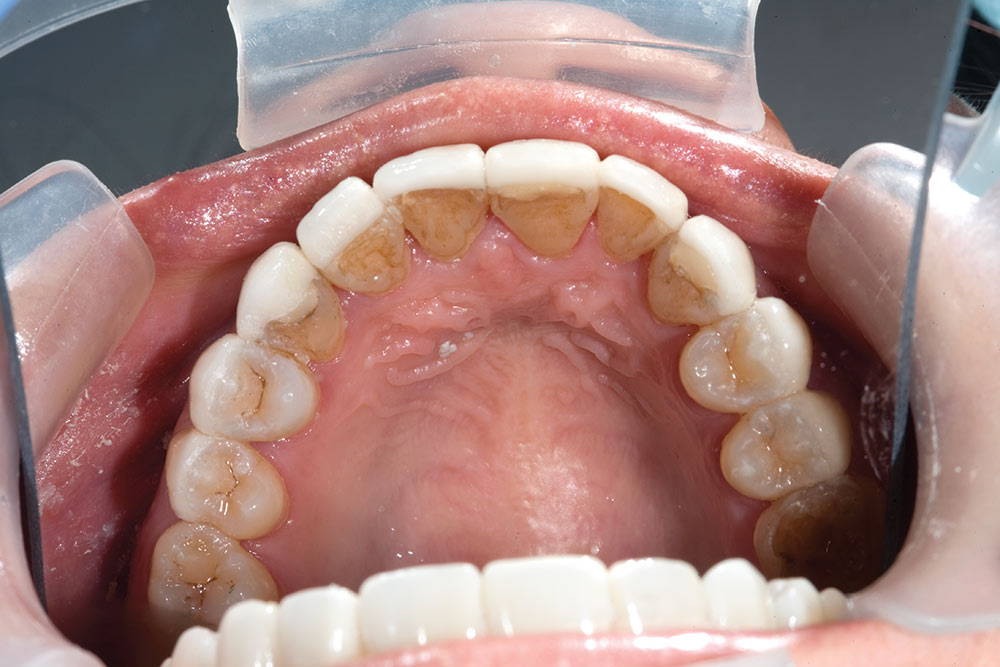
Figures 4–6: The retracted views of her smile show there are small islands of composite still attached to the teeth in random areas. There is some composite on the lower teeth as well, but the patient can only afford to treat the upper arch at this time. These photos are used to evaluate esthetic issues related to the interdigitation of the upper and lower anterior teeth such as overbite, overjet and crossbites.
Figures 7–9: The addition of a black background makes it easier to see specific esthetic issues. Tooth rotations, gingival embrasures, shade issues and incisal translucency are much easier to see when the lower teeth are not visible and the contraster is in place.
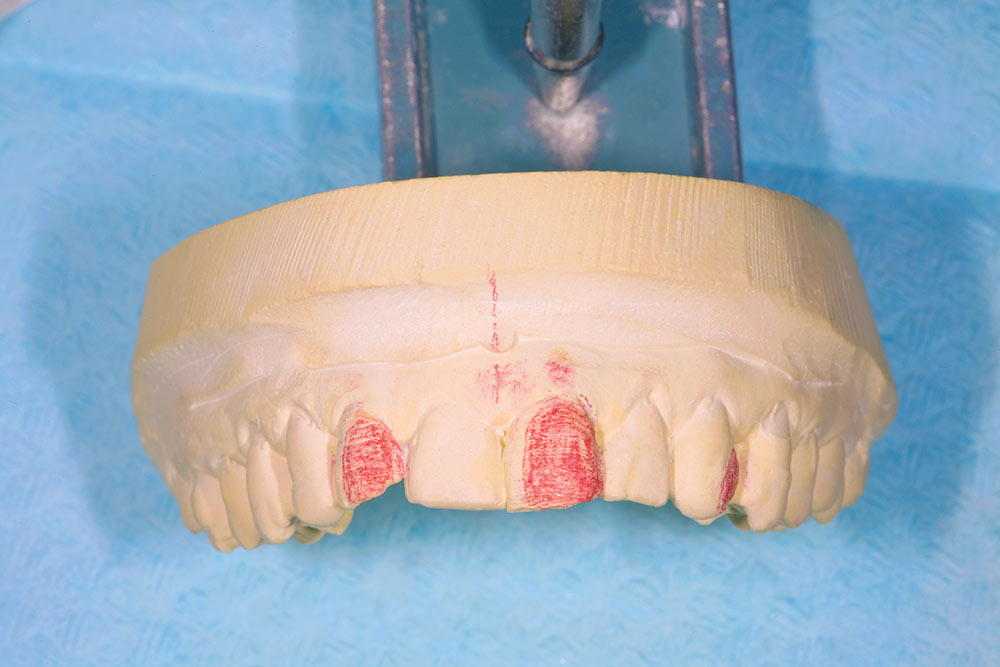
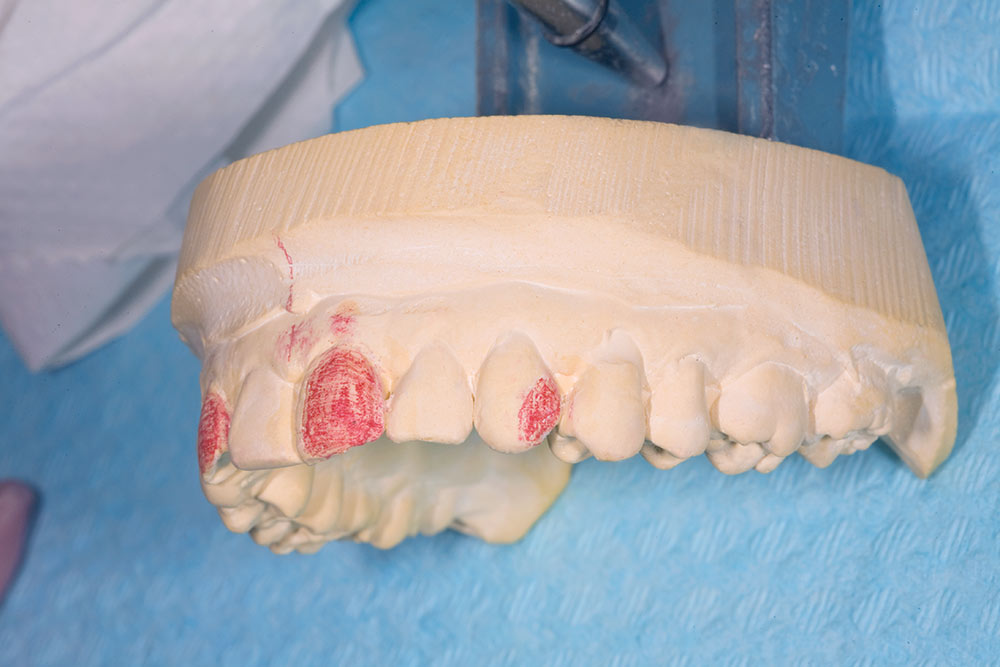
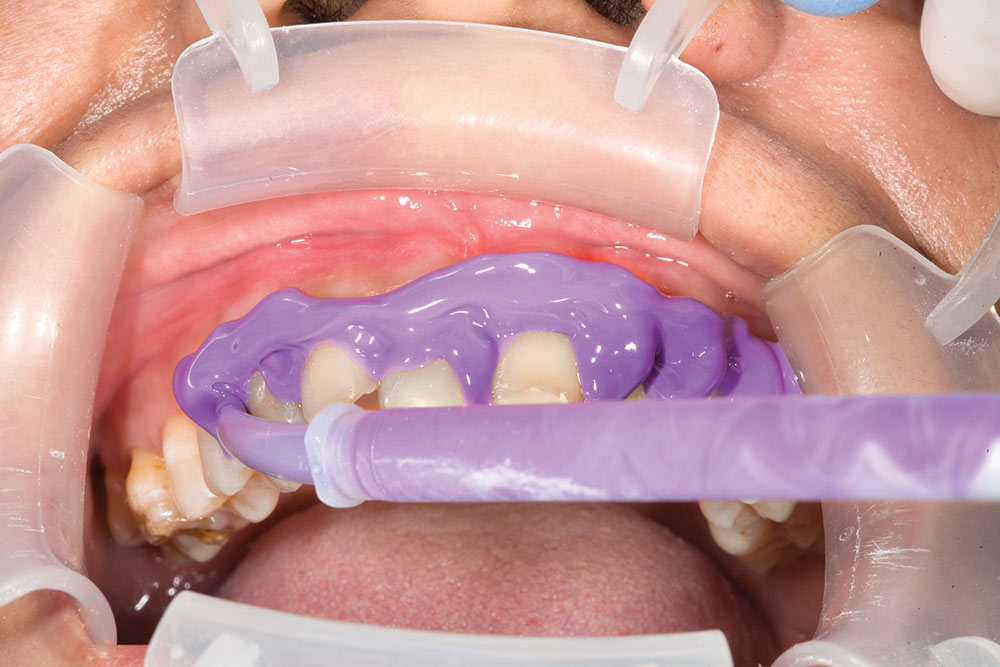
Figures 13, 14: I had the laboratory make a putty wash reduction guide for me to ensure I would reduce the teeth only as much as needed. The lab has taken the study model and reduced it in the areas we agreed upon, duplicated the model, and then waxed it up to ensure they reduced enough. The putty wash matrix can then be fabricated with prep windows in it.
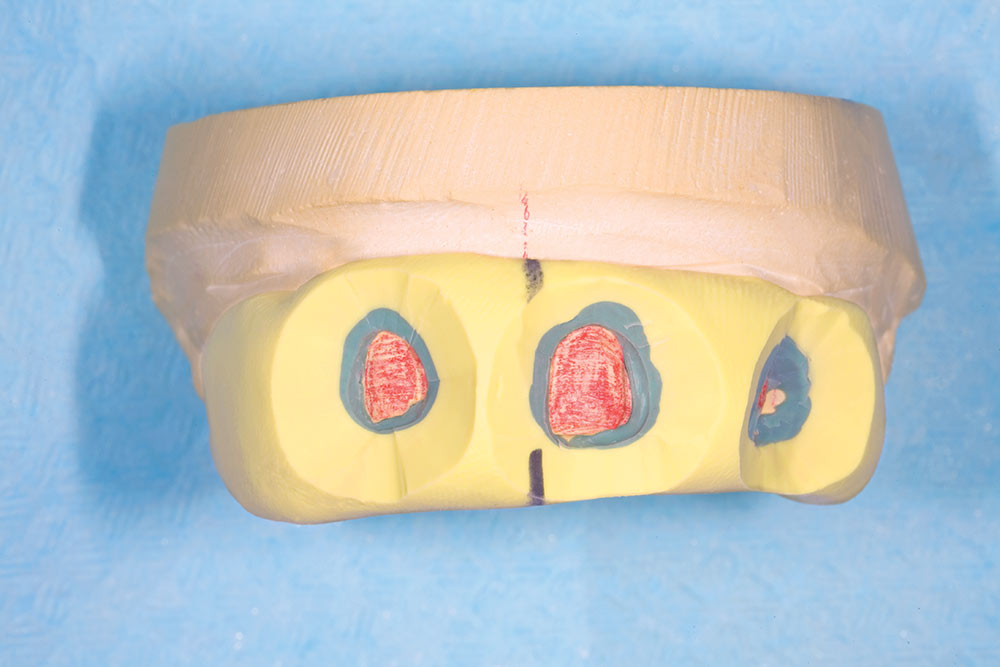
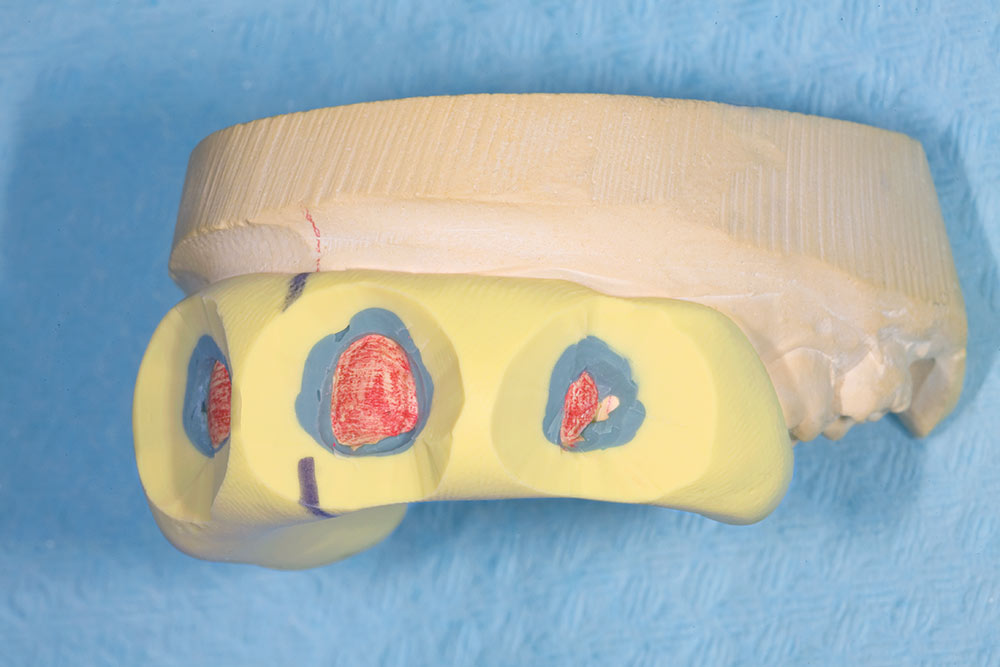
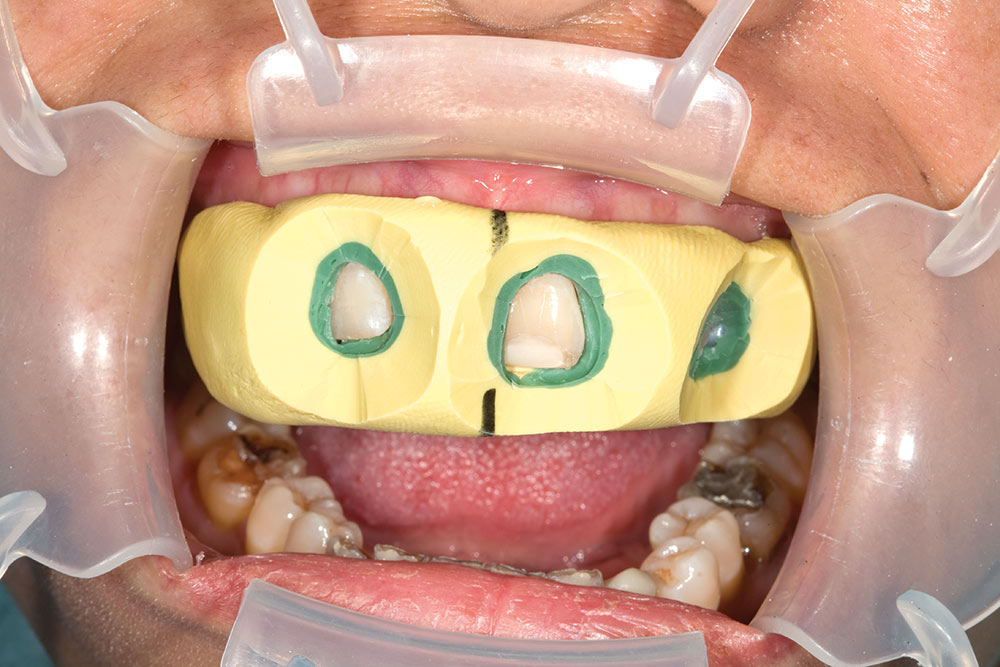
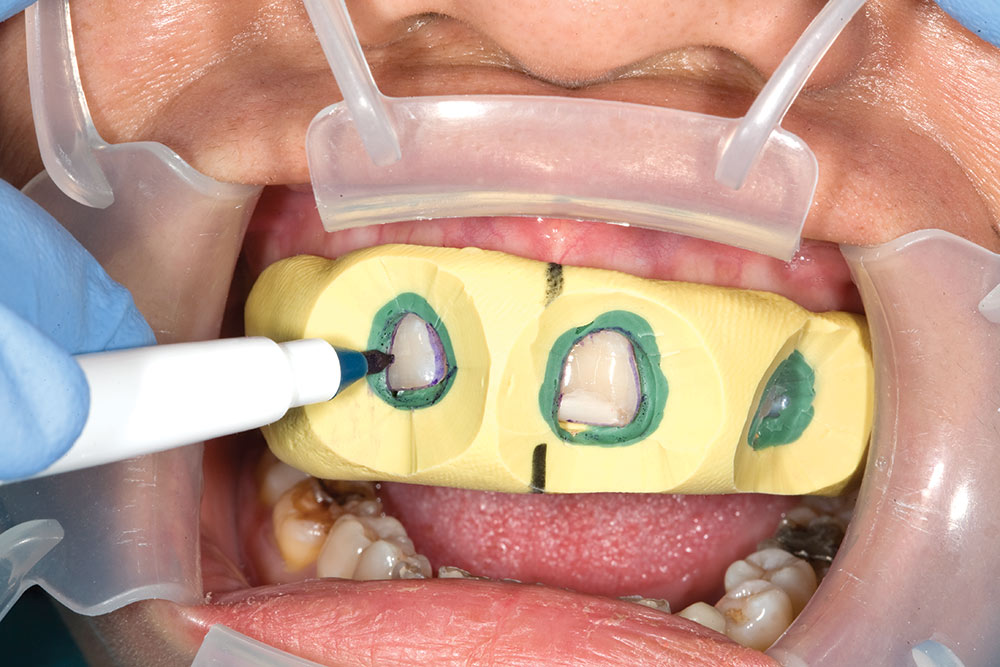
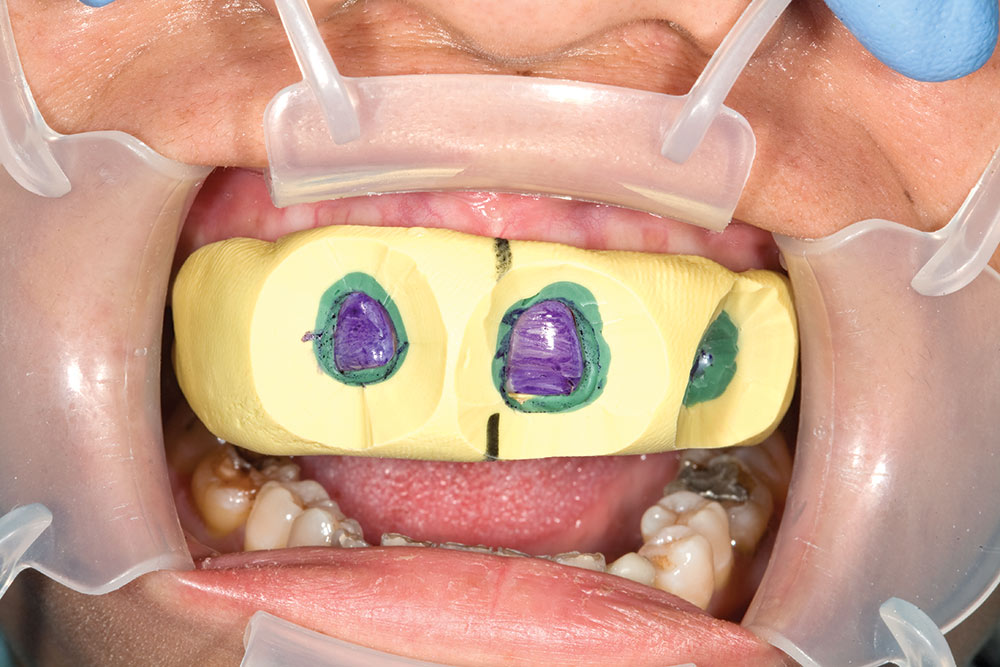
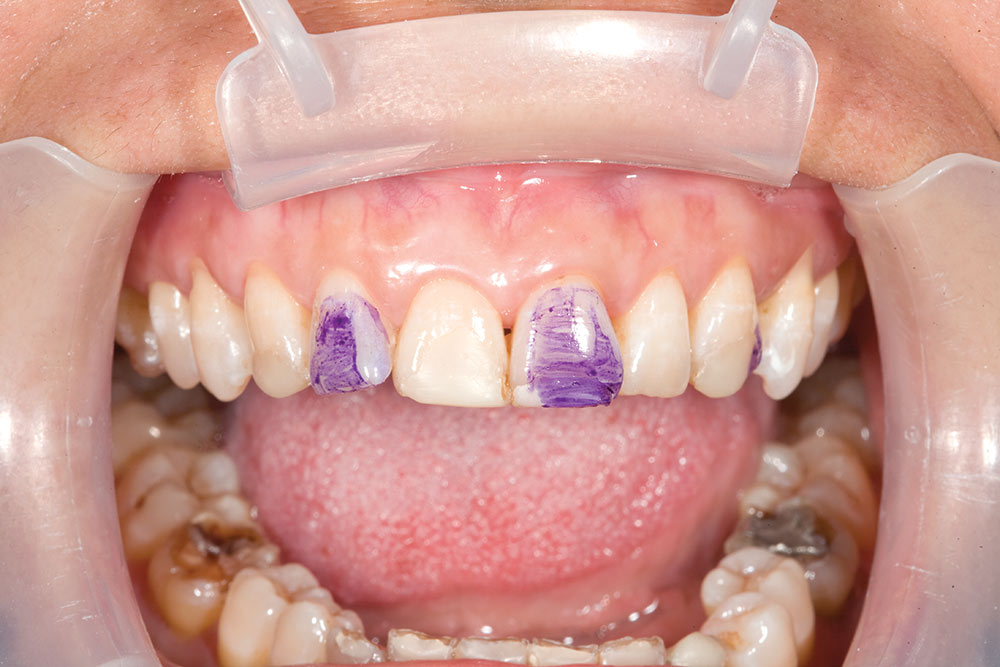
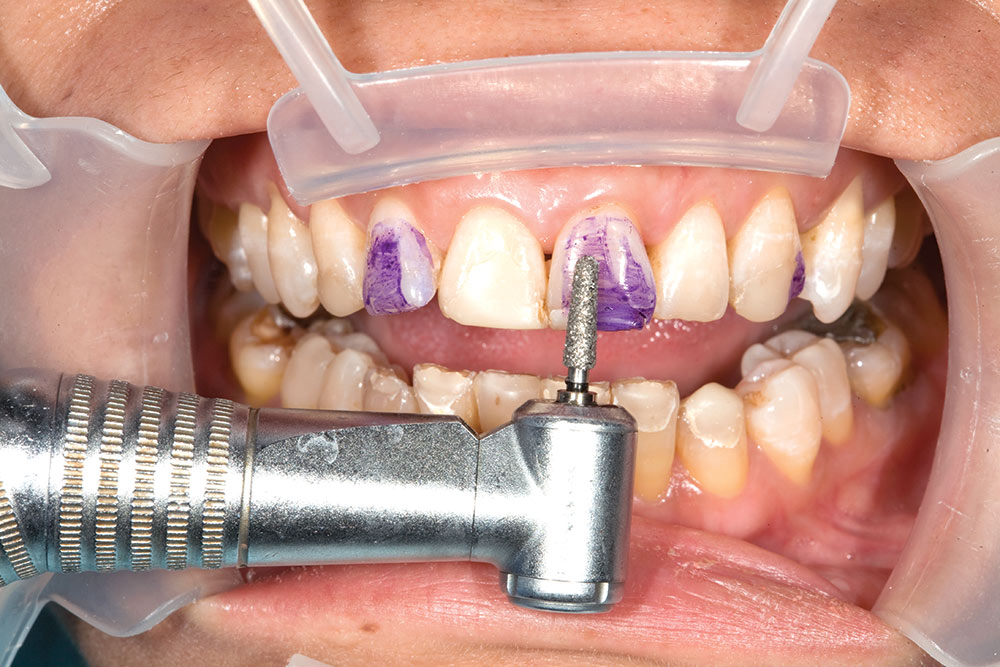
Figures 15–18: The putty wash matrix is placed on the unprepared model to check for fit. The putty has been cut back by the lab to be flush with the tooth structure after it is prepped, based on the preparation they did on the study model. In other words, the matrix is used to determine not only the boundaries of where the teeth should be prepped but how deep as well. In this sense, it acts as a reduction coping because it is an aid for how much tooth to reduce. Keep in mind that because the preliminary preps were done on a stone model, the technician has no idea where the enamel will end. If your goal is to remain in enamel, this is a call you have to make chairside, even if the prep guide indicates you need to prepare more tooth structure. A surgical skin marker (available from most dental dealers) is used to mark the perimeter of the preparation area while the matrix is in the mouth, and the matrix is then removed.
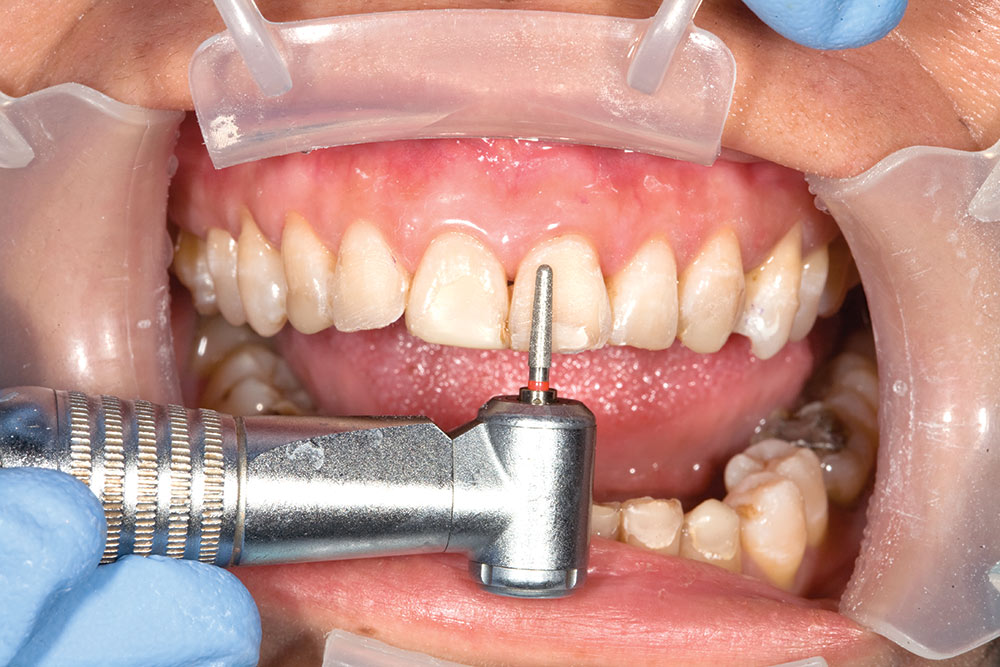
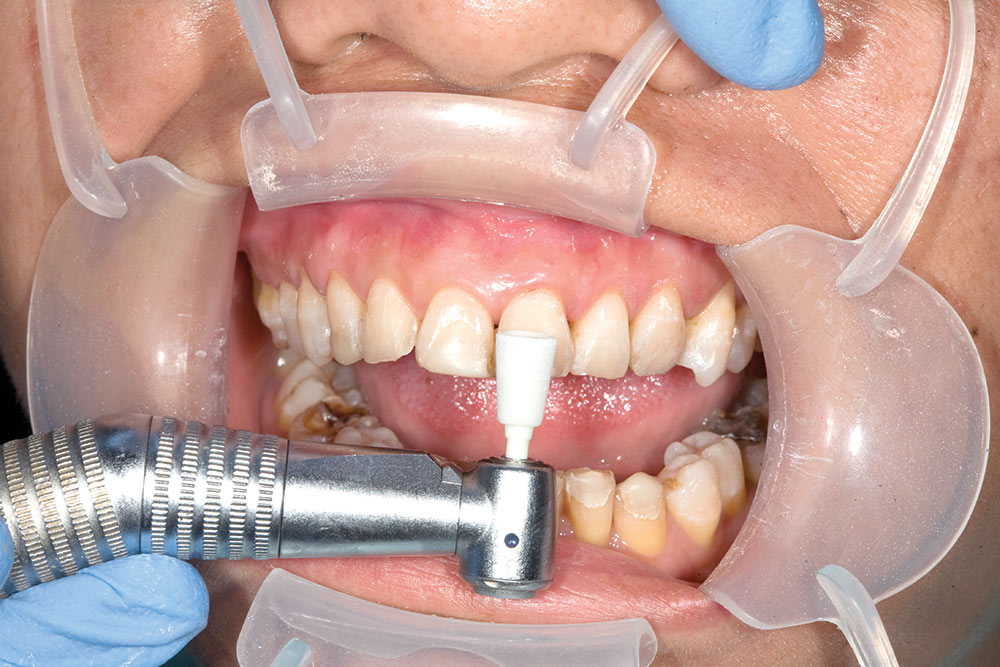
Figures 22, 23: The fine grit diamond does a fairly good job of smoothing the enamel to the point where it won’t pick up stains from food and coffee, but the teeth still look somewhat dull and you can tell something was done to them. As a final step, I use a OneGloss® cup from Shofu (San Marcos, Calif.) in my KaVo electric handpiece at 30,000 rpm with a light touch to put a shine on the prepared areas. Because we are bonding the veneers into place, there is no reason to leave things rough to achieve mechanical retention at the seat appointment.
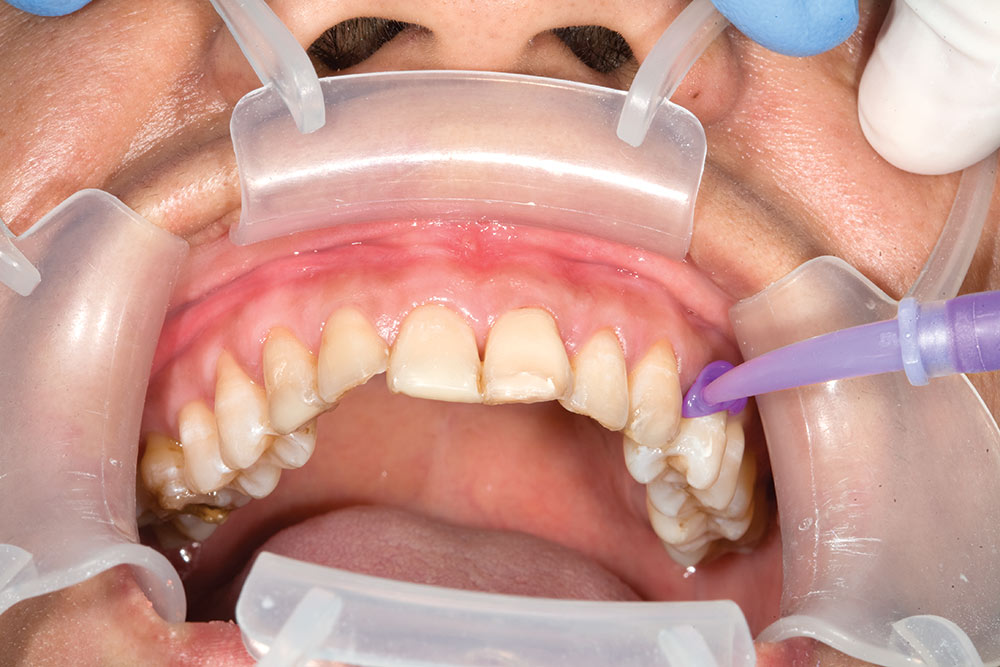
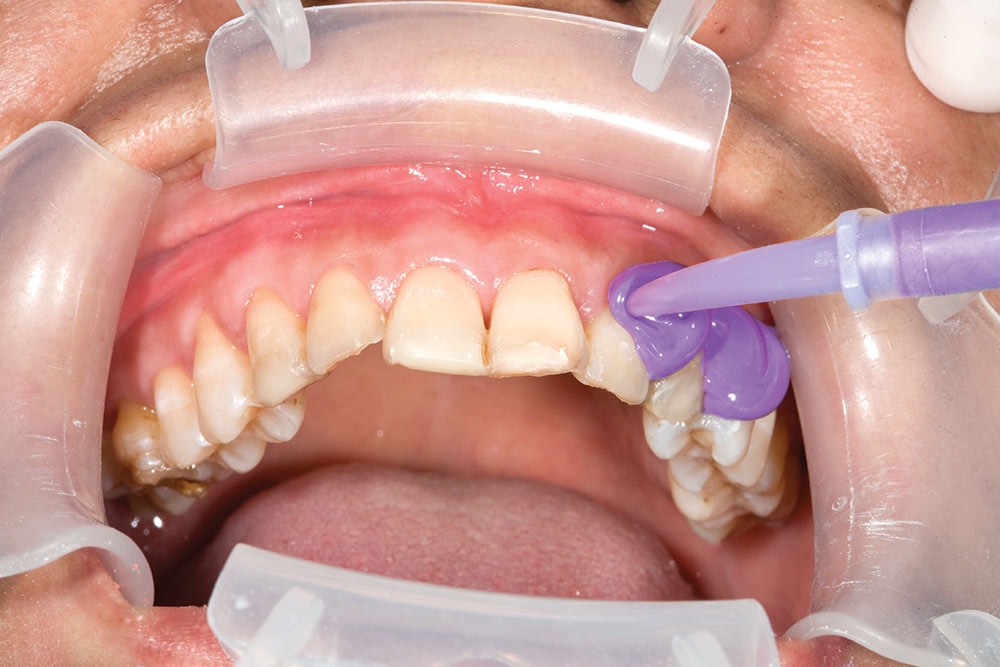
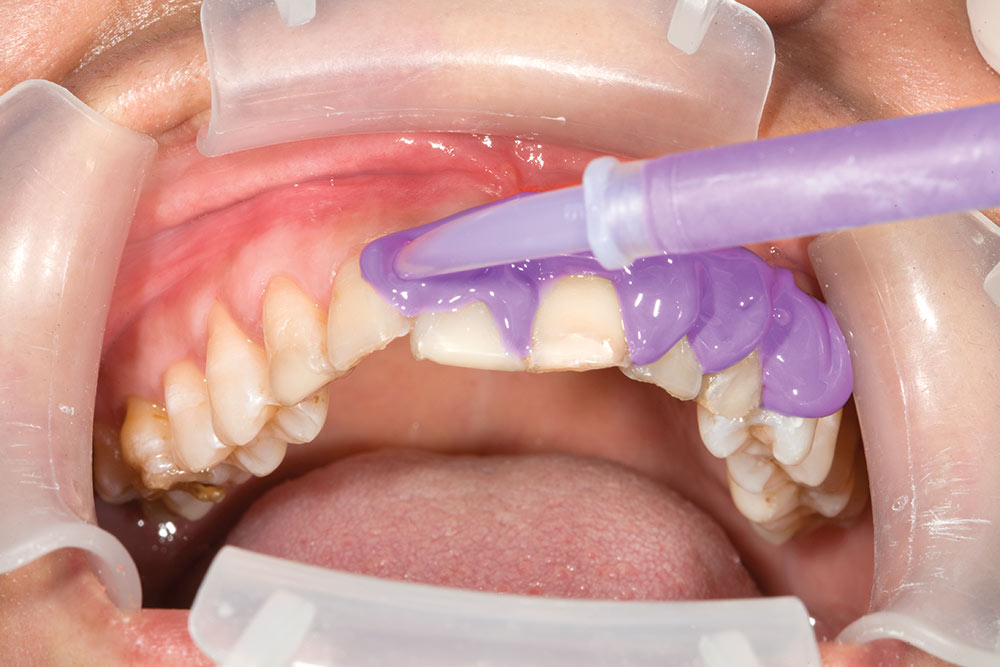
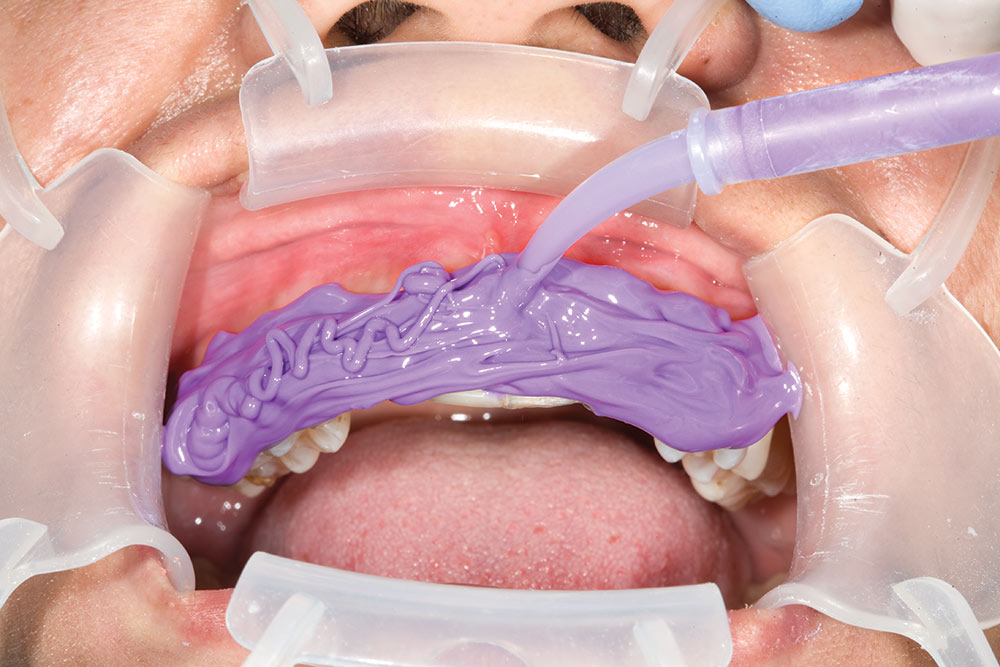
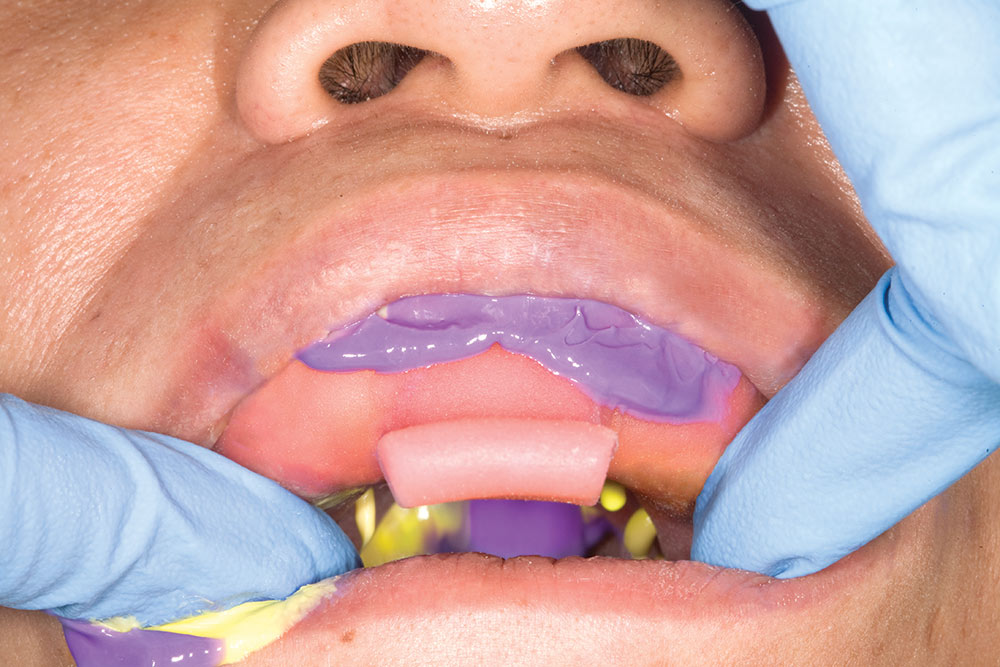
Figures 24–28: Having essentially performed enamelplasty and subsequent smoothing of the tooth structure, we are ready to take the final impression. Just because you do a no-prep or minimal-prep case does not absolve you from taking a great full arch impression. In no-prep and minimal-prep cases, I do not place a retraction cord because I want to have to have the margin right at the gingival margin. Keep in mind that nearly all minimal-prep cases will have no reduction in the gingival third. As such, there will be no margin to finish to, much like with a no-prep case. Because both types of veneers are going to have a small speed bump at the gingival margin, I do not want to place them subgingivally. Even though I skip cord packing or placement of Expasyl™ (Kerr Corporation; Orange, Calif.), I still take the impression as though it were a crown and bridge impression. I begin syringing the material at the last tooth to receive a restoration at the gingival margin, and I work my way around the arch at the gingival margin until I reach the last tooth to be restored. I then cover the facial surfaces of all the teeth to be restored, and place the tray my assistant has filled with heavy body material. You would not believe how many no-prep and minimal-prep impressions arrive at the lab with bubbles at the gingival margin from not using this technique. It may be a no-prep case, but it’s still a $10,000 case! Slow down and do it correctly.
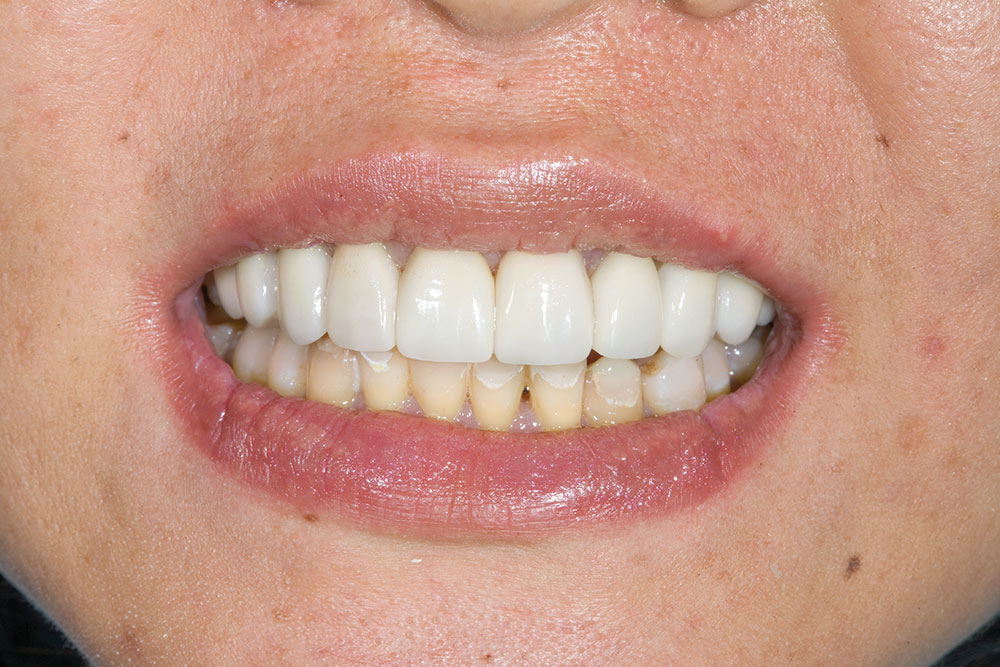
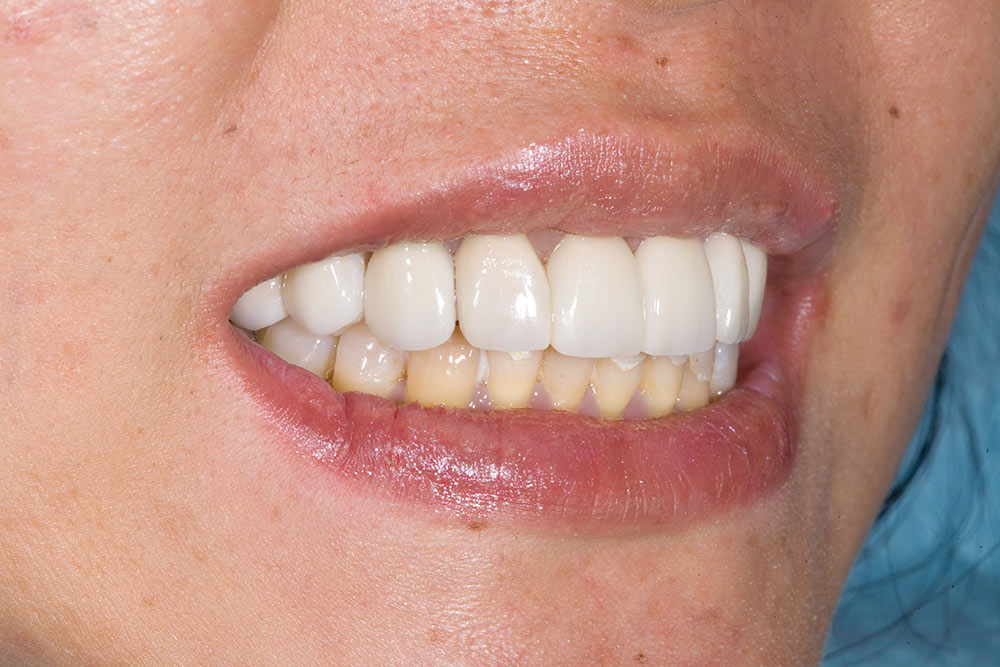
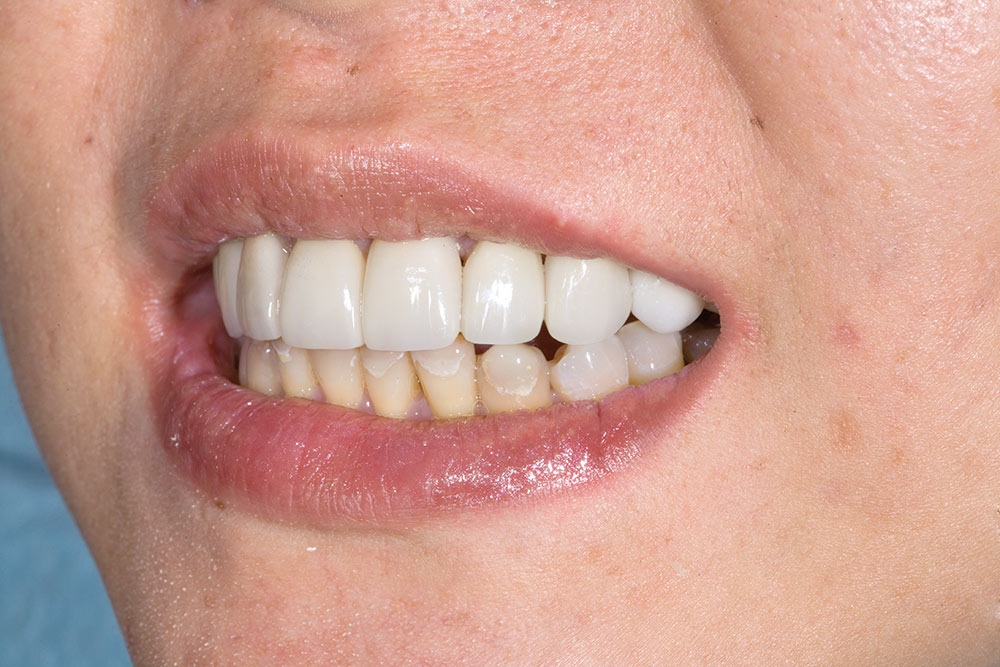
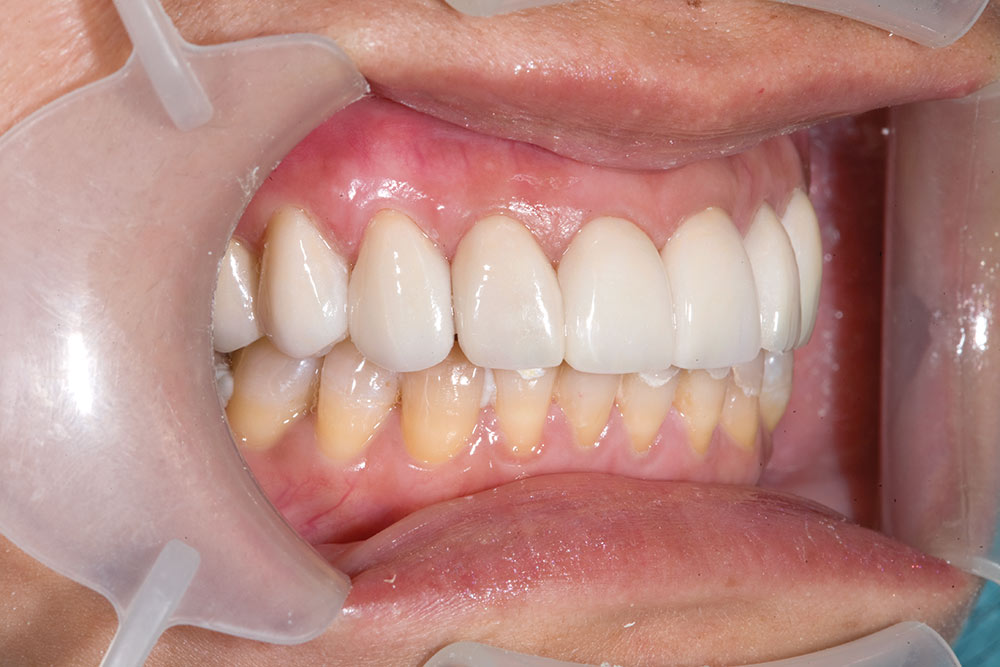
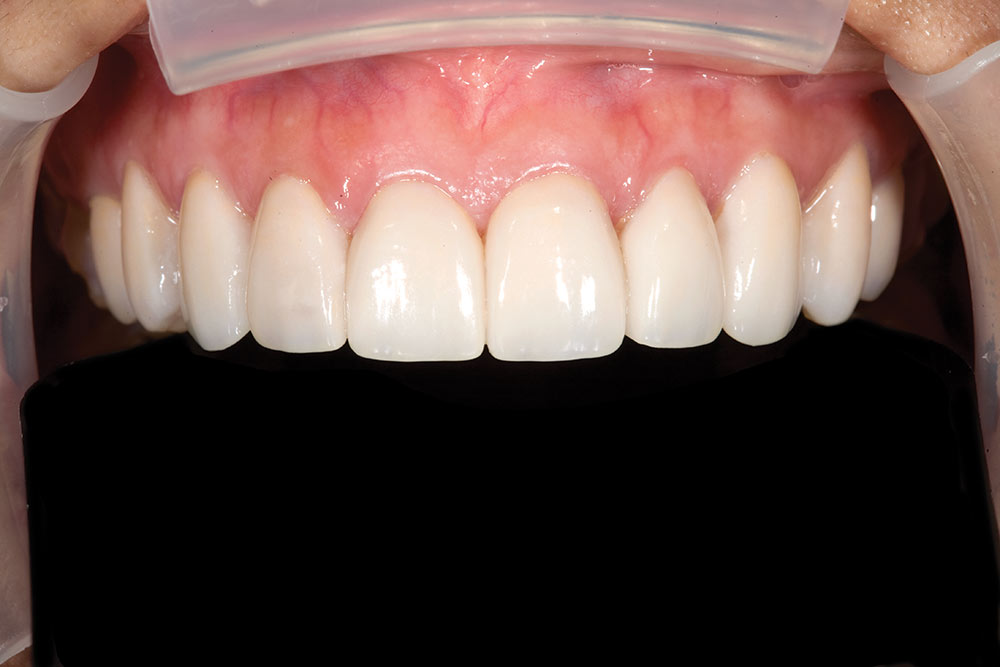
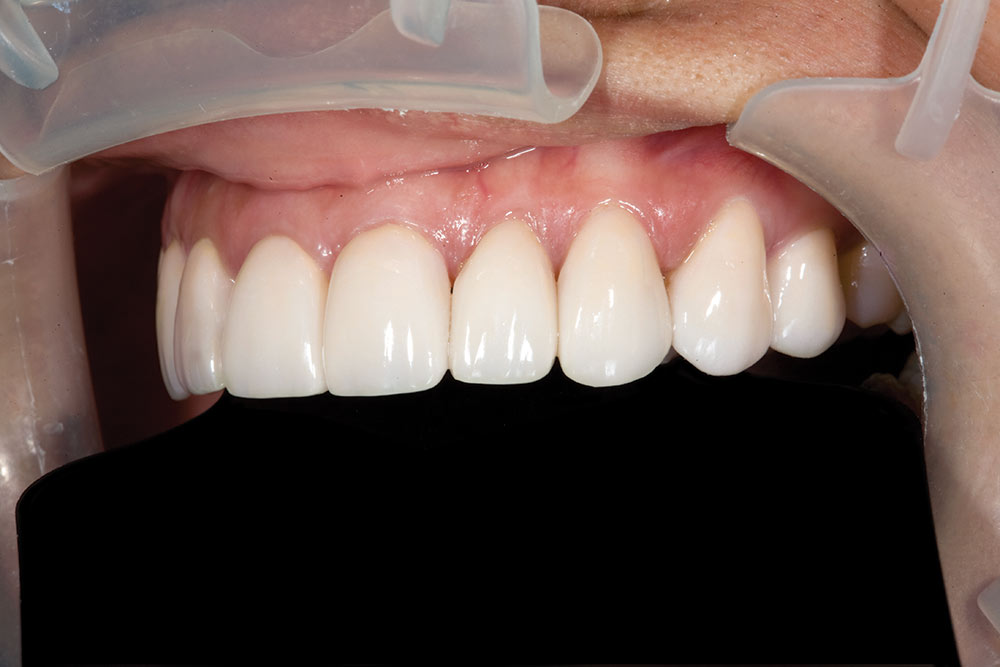
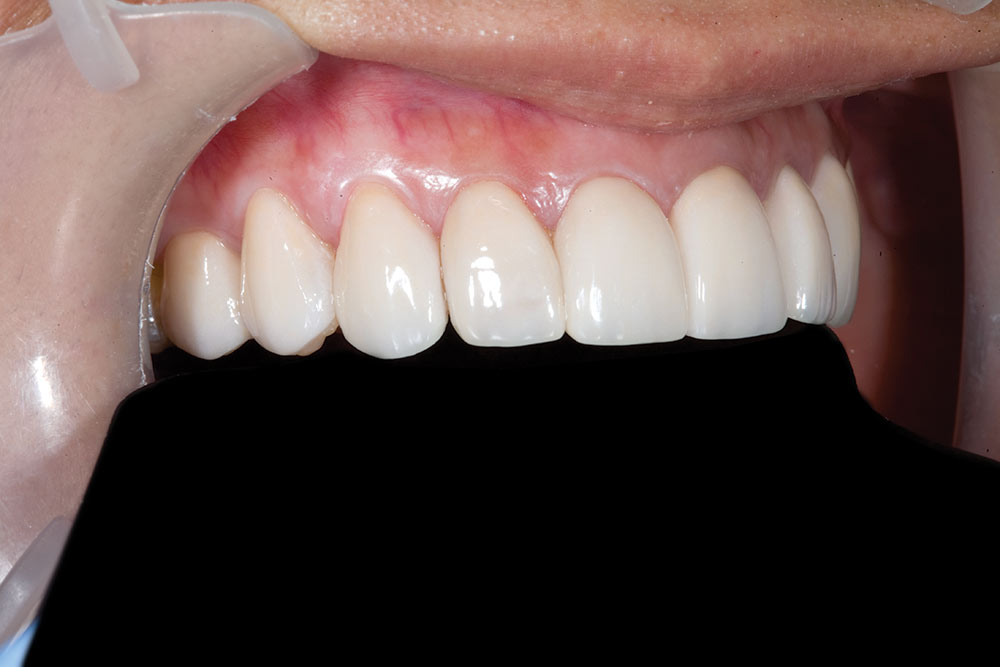
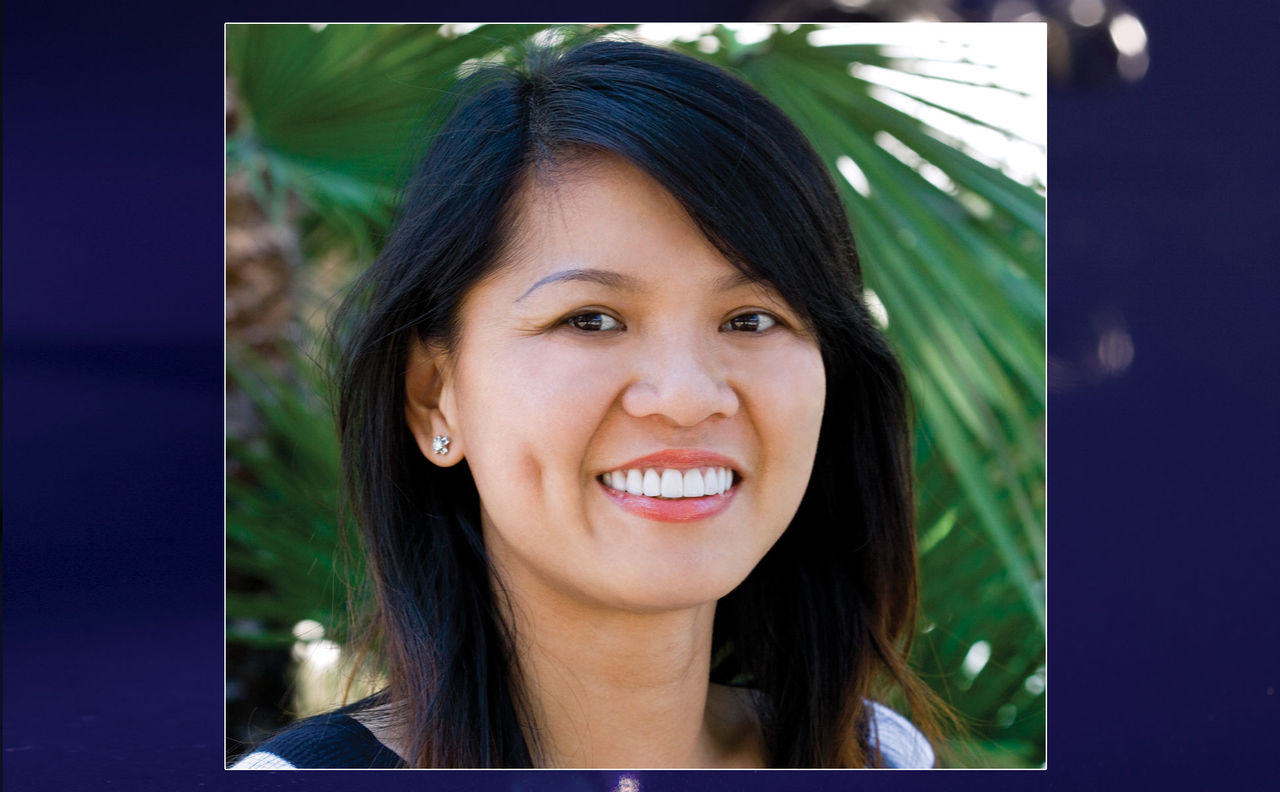
Figures 30–32: Here are the veneers on the day of cementation. Like many patients who had stopped smiling because they don’t feel comfortable with their smile, she will have to learn to smile again. That is not just an expression either; some patients literally need to practice smiling in front of a mirror if they have been hiding their smile with their hand or lips.
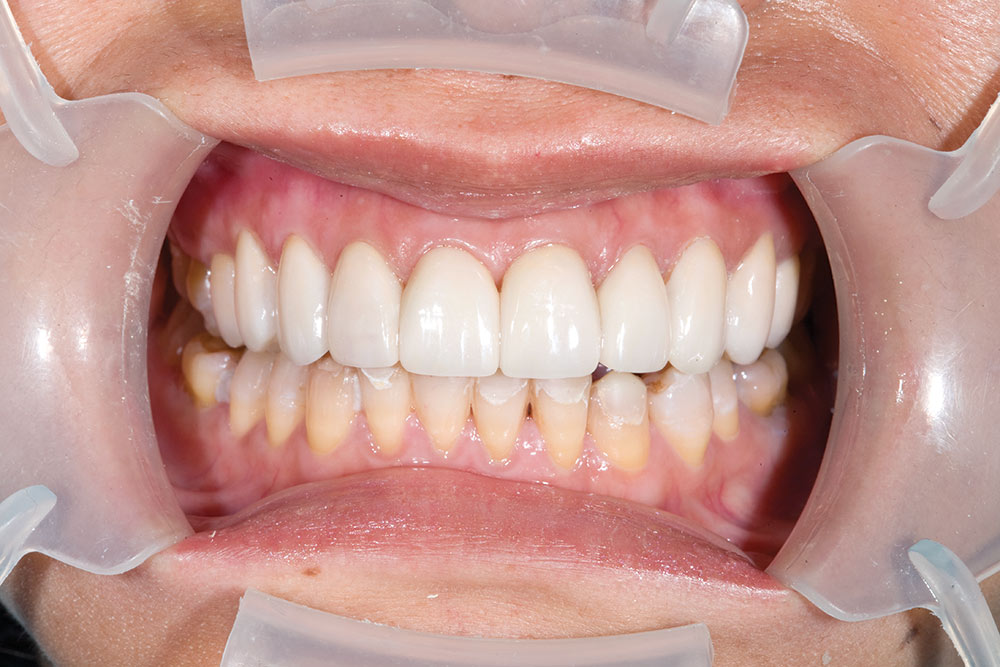
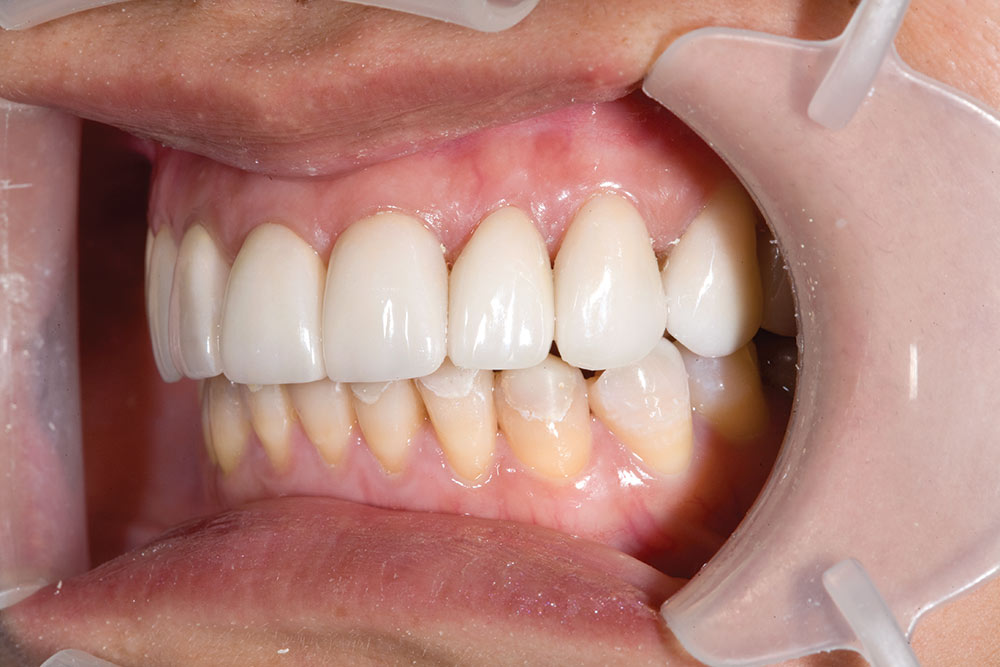
Figures 33–35: The retracted view is one the patient will never see, but it is a useful clinical view for us. Without full preparation it is impossible to get total control of the esthetics of the case, but, as you can see, we were able to address most of them. We certainly were able to address all the issues the patient was concerned with, which is a major determinant in esthetic success.
Figures 36–38: I call this case a minimal-prep case because we performed minimal preparation on teeth #7, #9 & #11. On the other hand, we did not prep the other seven teeth that we worked on, so it might actually be more of a no-prep case. Perhaps a mixed-veneer case would be the best way to describe it.

