Dental Photography: A New Perspective
Introduction
Other authors have described the importance of understanding the power of “visual learning”* in dental communication,1 as well as the traditional guidelines for dental photographs as suggested by several dental organizations.2 These authors have also argued for extensive use of photographs in dental practice.
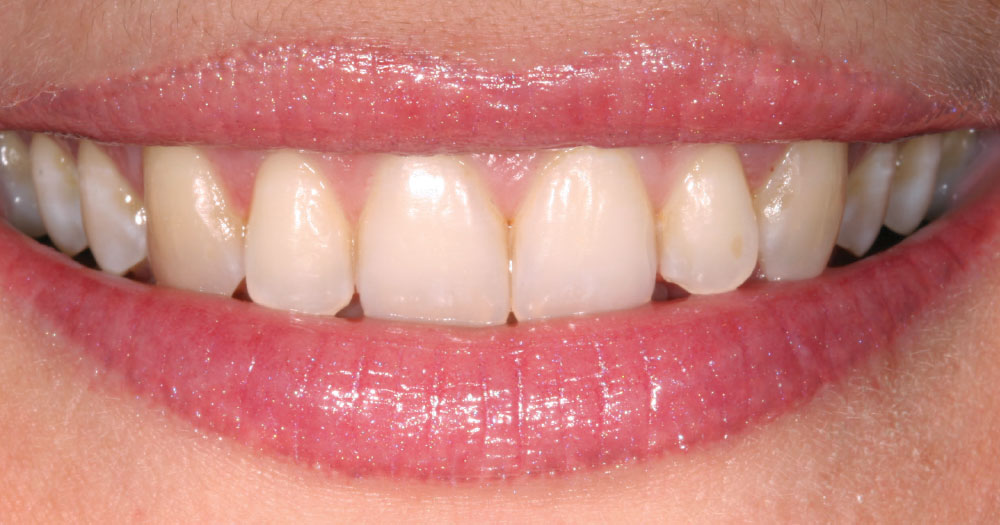
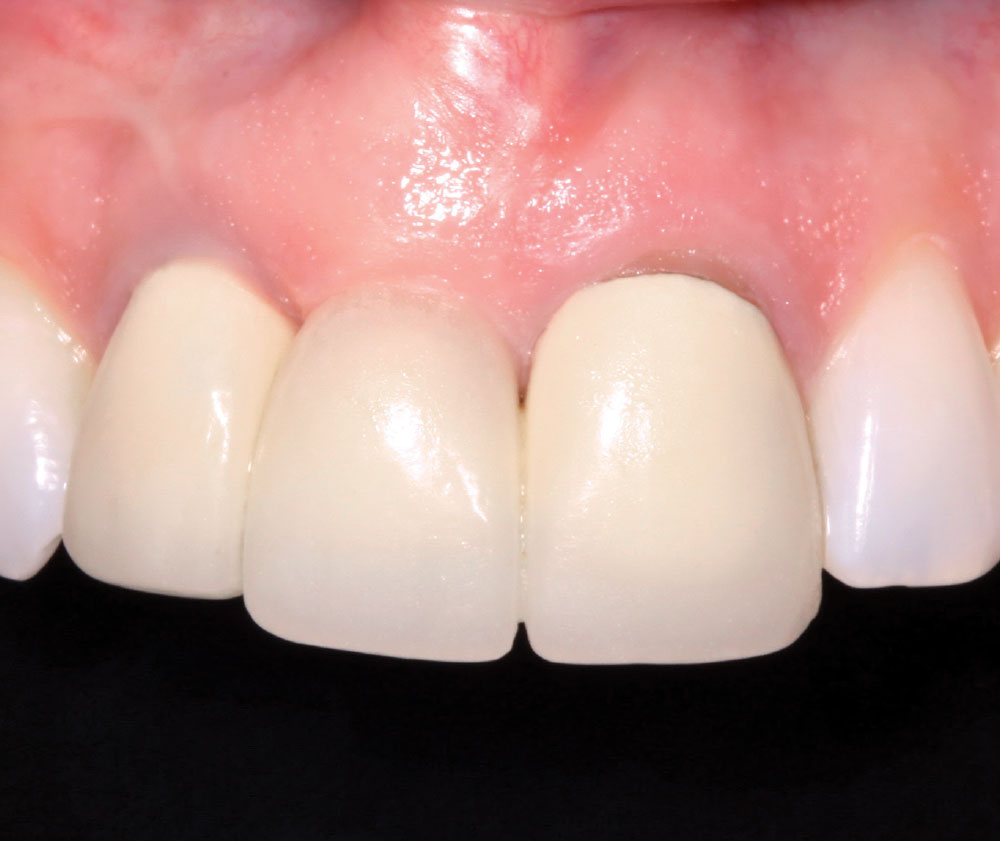
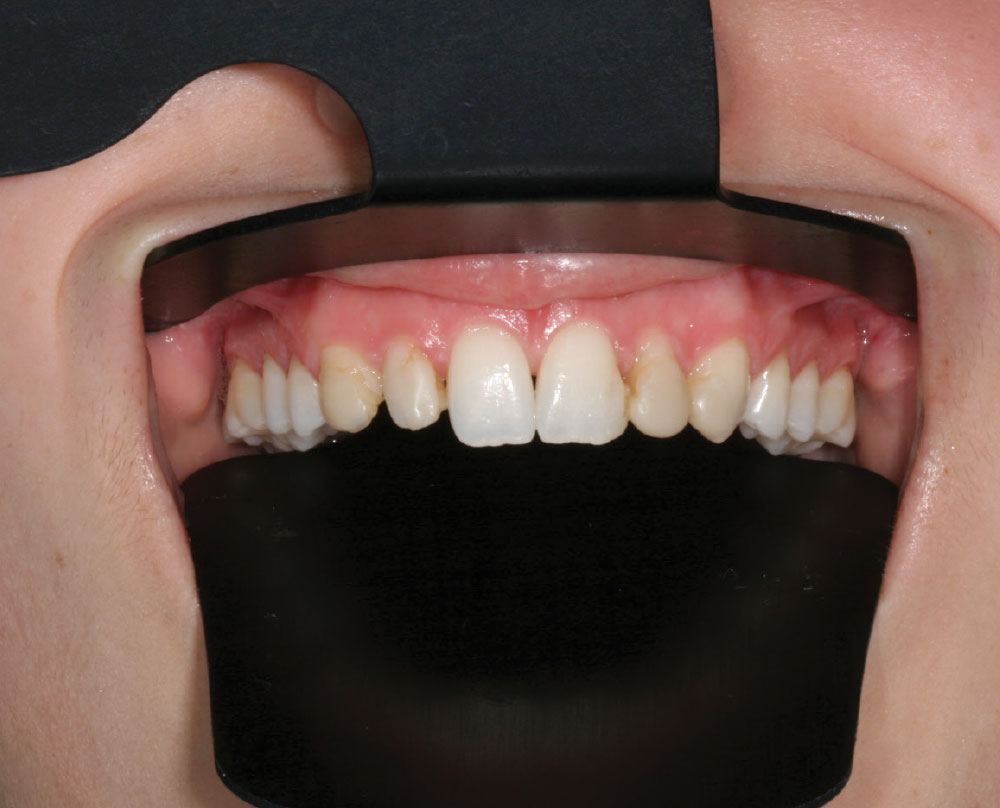
Dentistry has traditionally followed the suggested standard guidelines of lighting, composition, magnification, orientation, retraction and mirror use. Dental photographs taken when using these guidelines give a clear visual record of the dental subject (Fig. 1); however, the photographs can become static clinical records in spite of their importance to the dentist.3
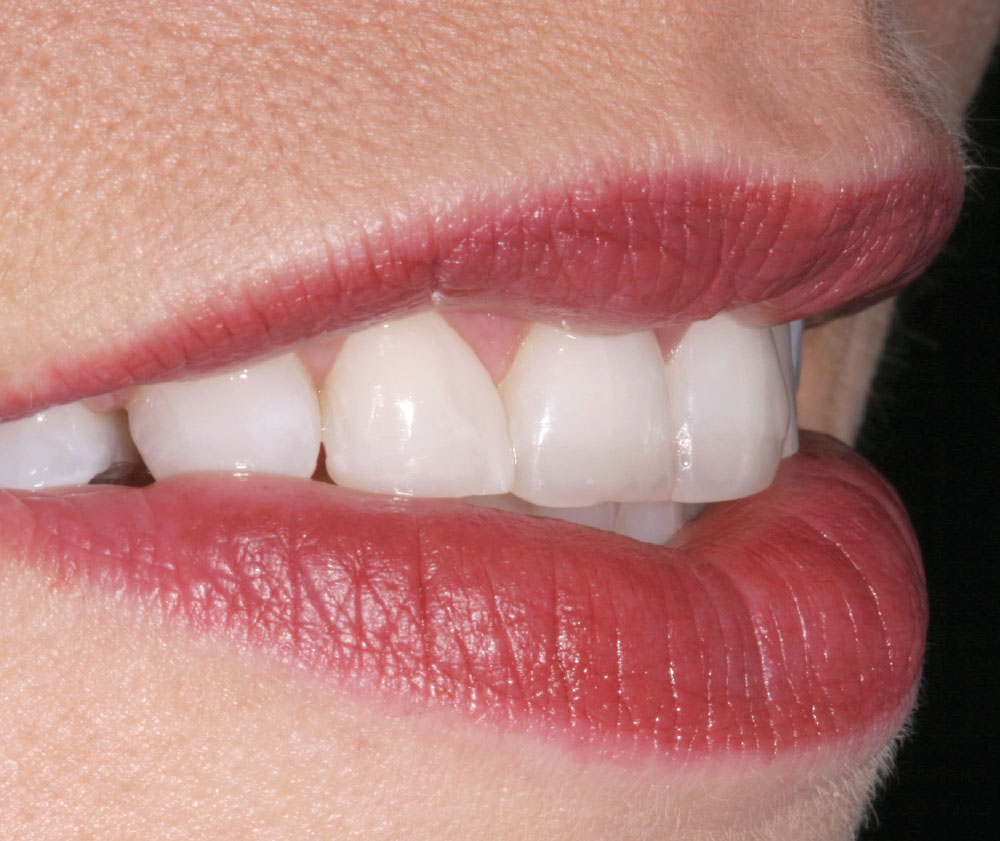
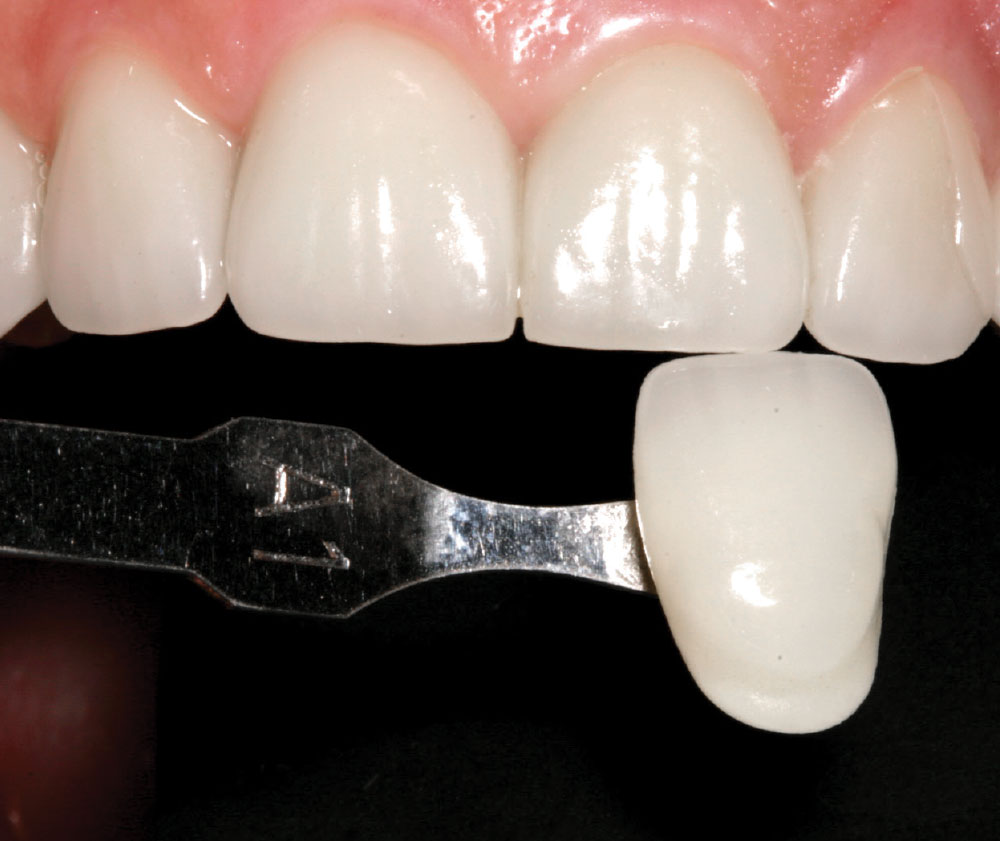
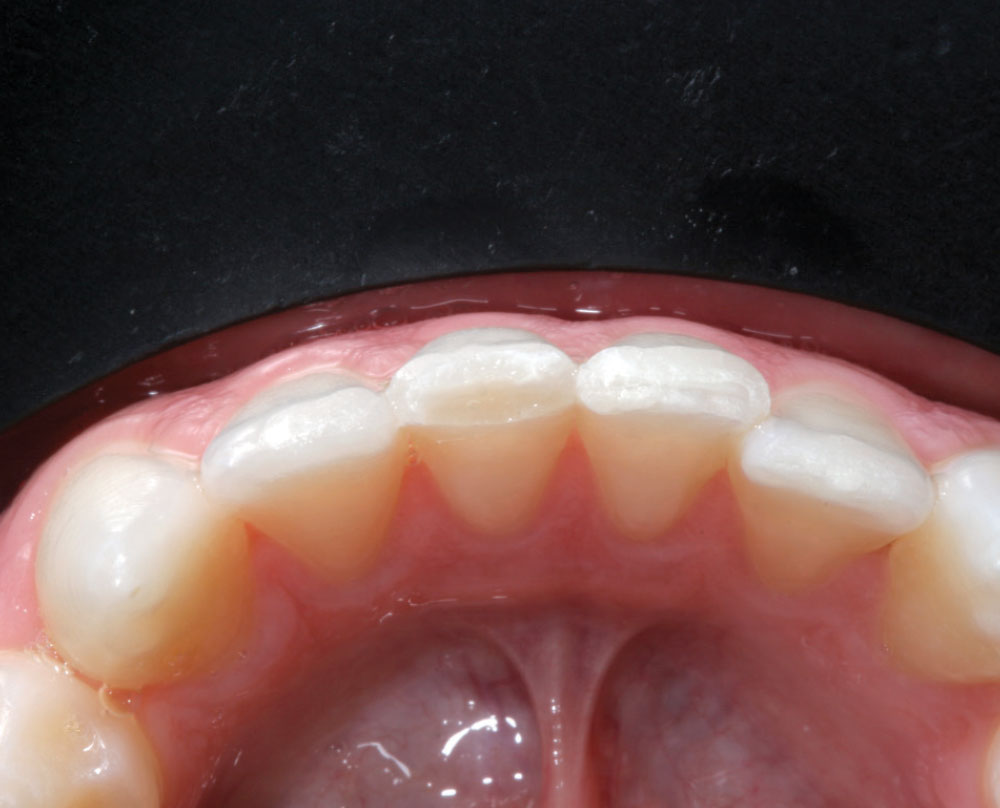
Photographs used for communication are just modifications of these basic clinical record photographs. Our subject is still the same — teeth, oral and para-oral anatomy; we are just using more artistic photographic techniques (Fig. 2). In general photography, these photographic differences are described as “factual” versus “artistic” photographs.4
The primary difference between dental record photographs and “presentation” or “communication” dental photographs is that communication photographs are created specifically for the benefit of the person we want to receive our dental visual message.
Communicating in Dentistry Using Art-Quality Photography
When communicating dental information to patients, peers, laboratories, or in marketing or publishing, we have to ask the question, do my photos show the story I want to tell? Photography is visual storytelling. To tell a clear story or show a clear visual of specific dental information, we have to understand the characteristics of a good photograph.
Describing what makes a photograph effective is difficult, but one of the best checklists I have found is by photographer Charlotte K. Lowrie. Although Lowrie describes general photography, I have paraphrased her checklist for dental photography.5
What Are the Characteristics of a Good Dental Photograph?
- Is there a clear center of interest?
- When you look at the photograph, is the first thing you see what you want to show?
- Are there other things in the picture that distract from the center of interest?
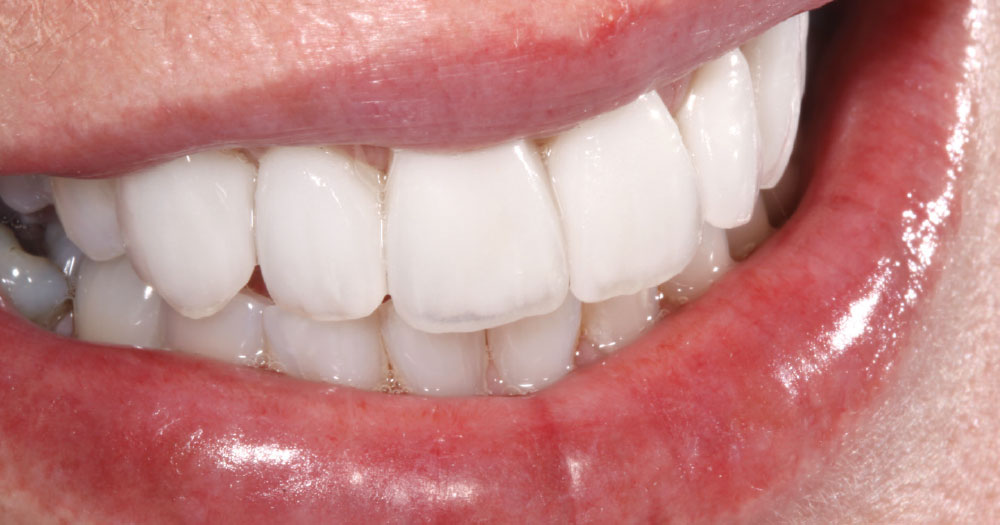
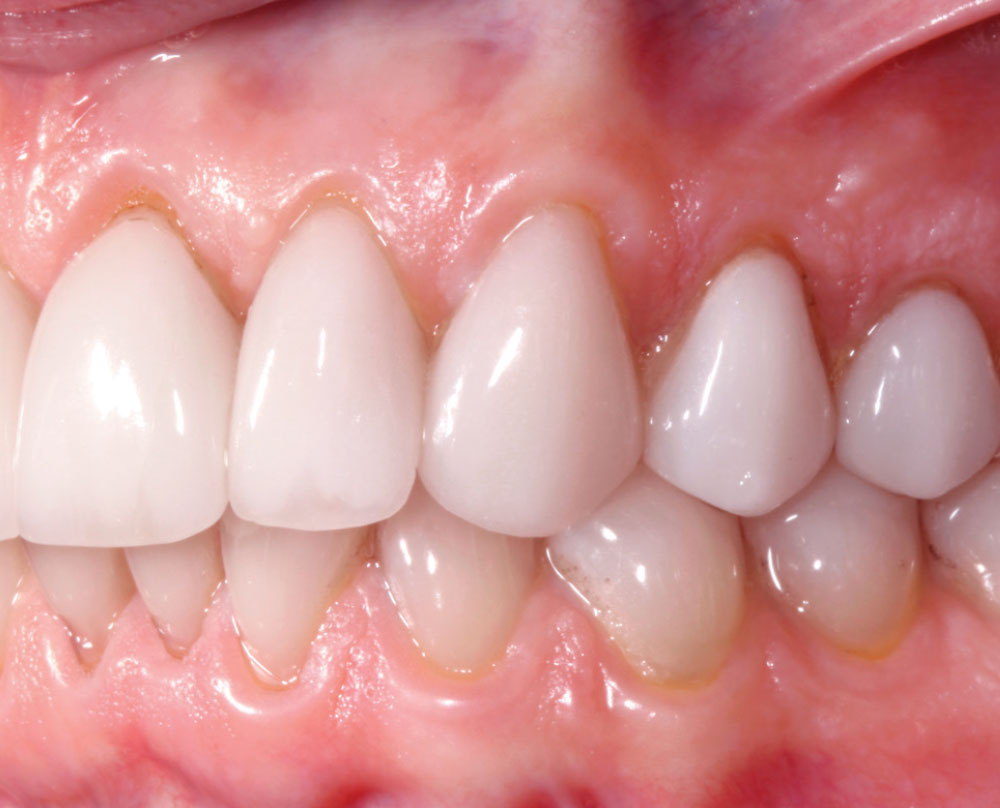
- Does the quality of light or direction of light and depth of focus add or distract from what you want to show (Figs. 3, 4)?
- Is the photograph composed well?
- Is the picture cropped to show only what you want to show?
- Is the picture in proper alignment and perspective?
- Is the picture in focus and does it have proper exposure?
- Is the dental subject of interest in crisp focus?
- Is the depth of focus adequate to clearly show the surrounding tissue?
- Is the exposure adequate to clearly see the subject?
- Does the picture tell the story you want to show?
- What change could be made to show a stronger story?
- Does the lighting enhance the visual story you want to tell?
- Is the intensity, direction and color of the light correct for your visual story?
- Does the lighting enhance your visual message?
- Is your photograph creative?
- Will your photograph stimulate viewer interest in the subject of the photograph?
- Will the intended viewer be able to clearly see the dental story you want to show (Fig. 5)?
It is important to take adequate dental photographic records. The uniform guidelines described by the American Academy of Cosmetic Dentistry (AACD), the Pankey Institute and other groups are essential as part of basic dental records. However, to communicate with both dental and non-dental viewers, we have to present photographs that meet the artistic criteria of professional photography. The photographs we use in any presentation compete with professional photographs seen in commercial advertising, glamour publications and on websites. Whether we like it or not, the quality of our photographs is seen as representing our quality as dental practitioners.
How do we as dental practitioners take professional quality photographs of dental subjects? One of the first things to remember in dental photography is that the eye of the photographer is more important than having the most elaborate camera equipment. The dental message we capture in our presentation photographs is what matters.
The best camera system is a system that is easy for you to use. If your camera system is cumbersome and not adjusted for quick use, you will not use it.
Camera Equipment Is Important, However
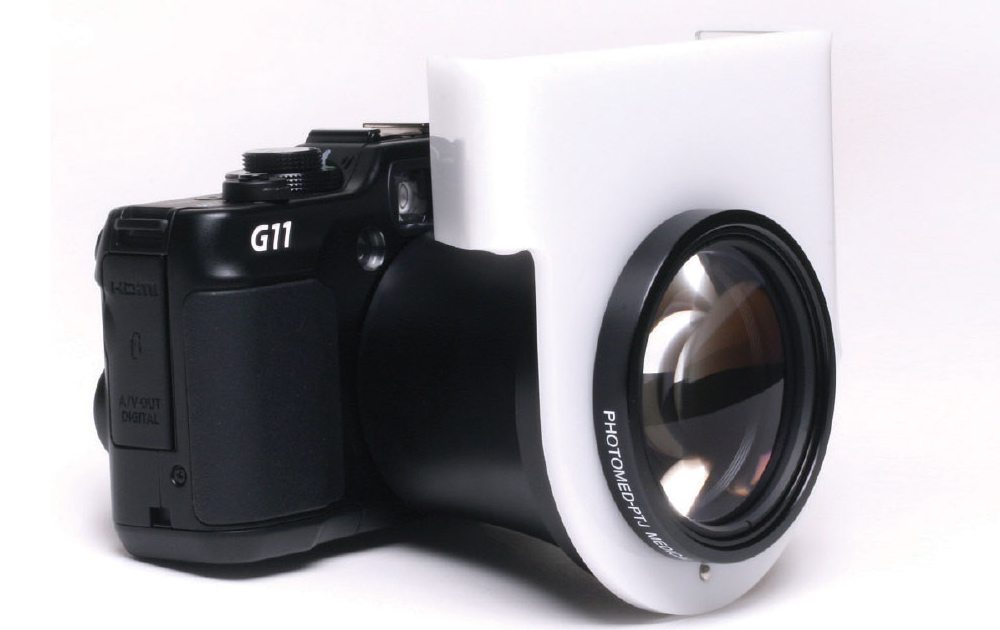
The best camera system is a system that is easy for you to use. If your camera system is cumbersome and not adjusted for quick use, you will not use it. You may want to use a point-and-shoot camera modified for dental use, such as the Canon G11 with the PhotoMed Closeup Attachment Kit* (Fig. 6).
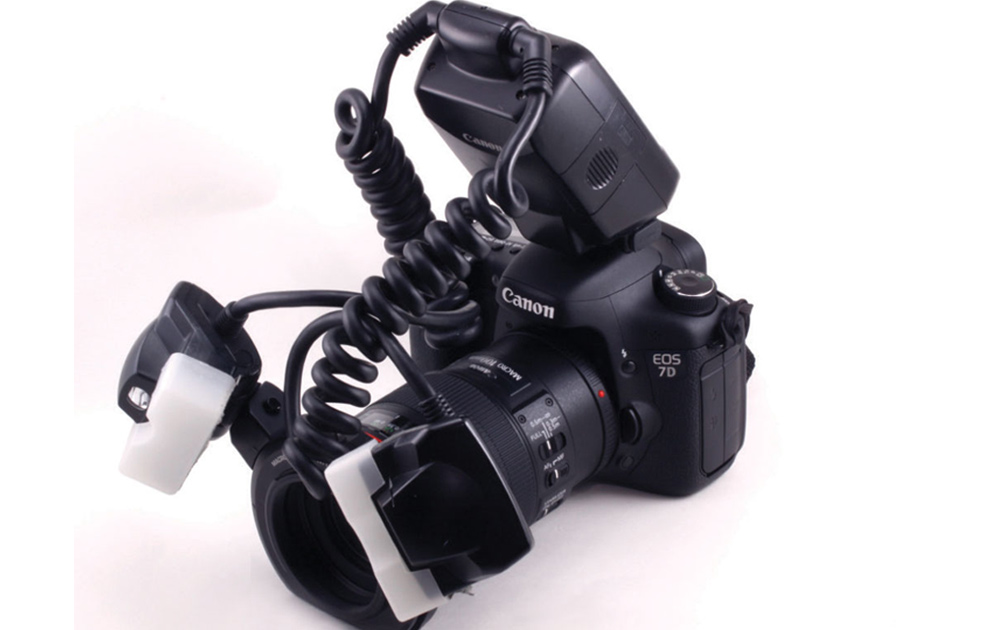
A more complicated but higher-quality image can be taken using one of the single-lens reflex (SLR) cameras with a 60 mm or 100 mm macro lens and an adjustable “macro” flash. An example of a quality SLR dental camera system is the Canon EOS 7D with a Canon 100 mm Macro lens and the Canon Macro Twin Lite MT-24EX flash with Sto-Fen flash diffusers* (Fig. 7). SLR camera systems are inherently more complex than point-and-shoot systems.
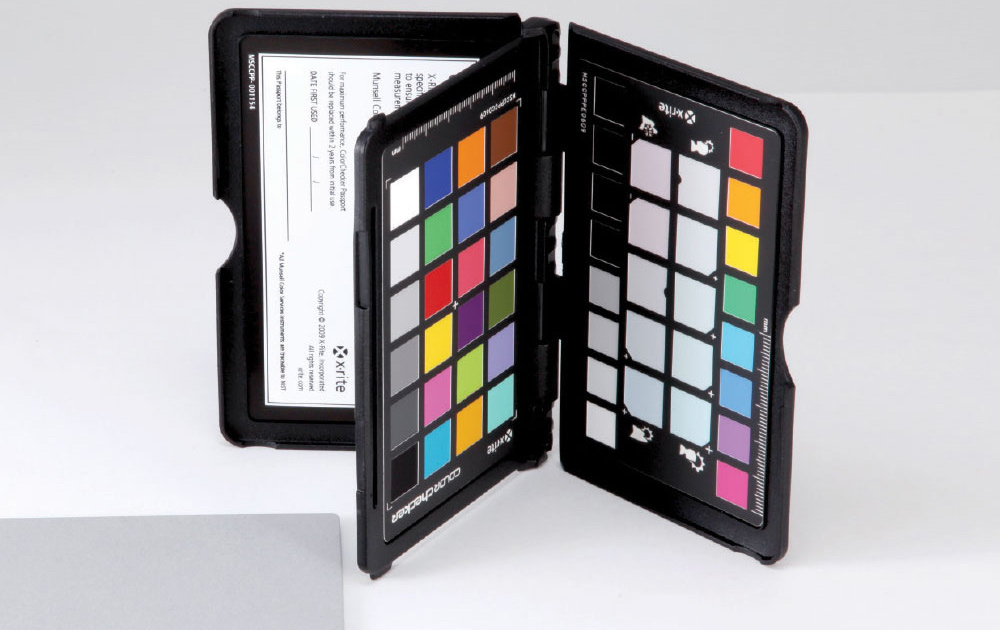
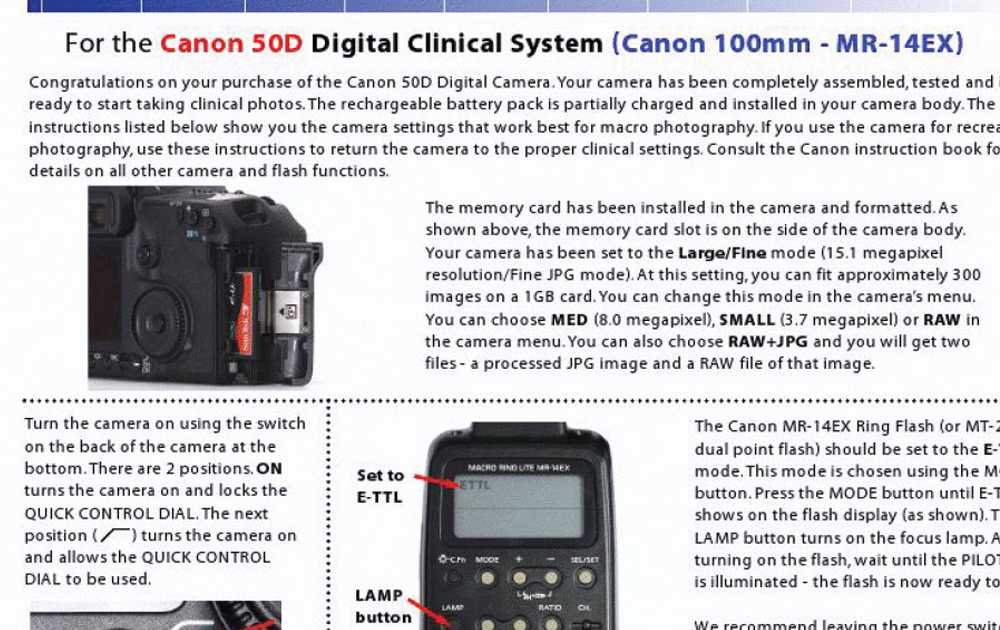
All dental camera systems must be properly set for optimum quality dental images. Settings include the white balance (Fig. 8), shutter speed, f-stop and picture style. Each of these settings affects the quality of the photograph. I suggest you purchase a dental camera system from a company that supplies you with the system already adjusted for optimum dental use, in addition to a quick-start guide* (Fig. 9) to quickly reset the camera to dental specifications when the camera adjustments are deliberately or unintentionally changed. Artistic quality dental photographs can be made with both of the aforementioned types of camera systems when used by an artistic photographer.
Camera Accessories Used with Communication Dental Photographs
Five accessories are essential when taking communication dental photographs.
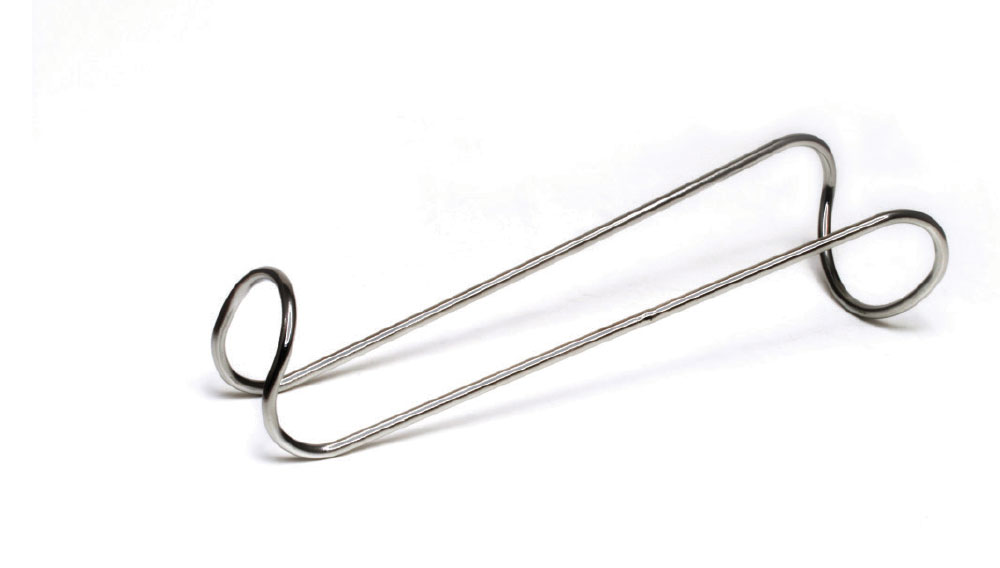
- Metal frame cheek retractors (Fig. 10)
- To retract lips to expose intraoral anatomy
- To retract lips when using mirrors
- Can be autoclaved
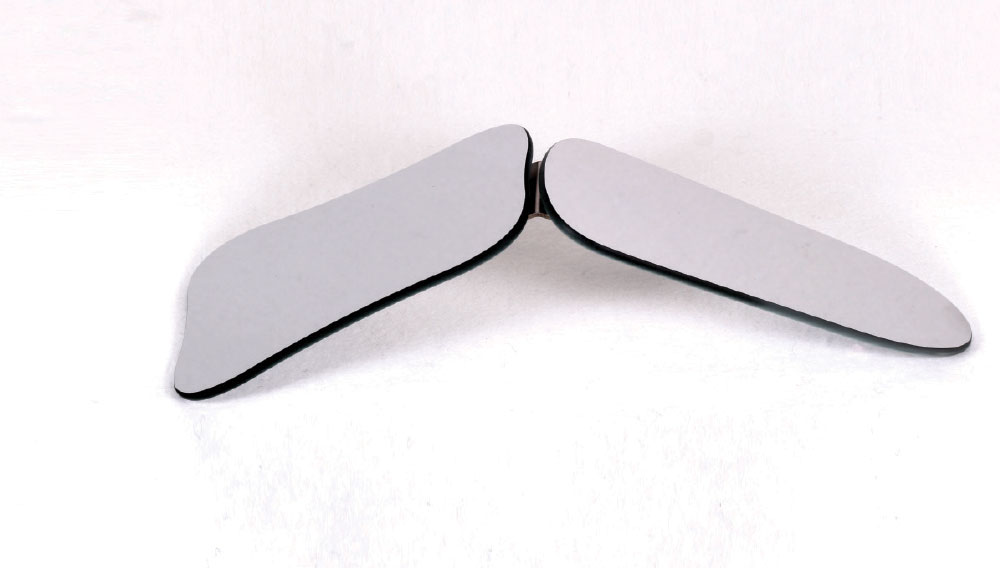
- Combination occlusal/buccal mirror* (Figs. 11a, 11b)
- For occlusal views (use buccal mirror as a handle)
- For quadrant occlusal views (use occlusal mirror as a handle)
- For lateral views (use occlusal mirror as a handle)
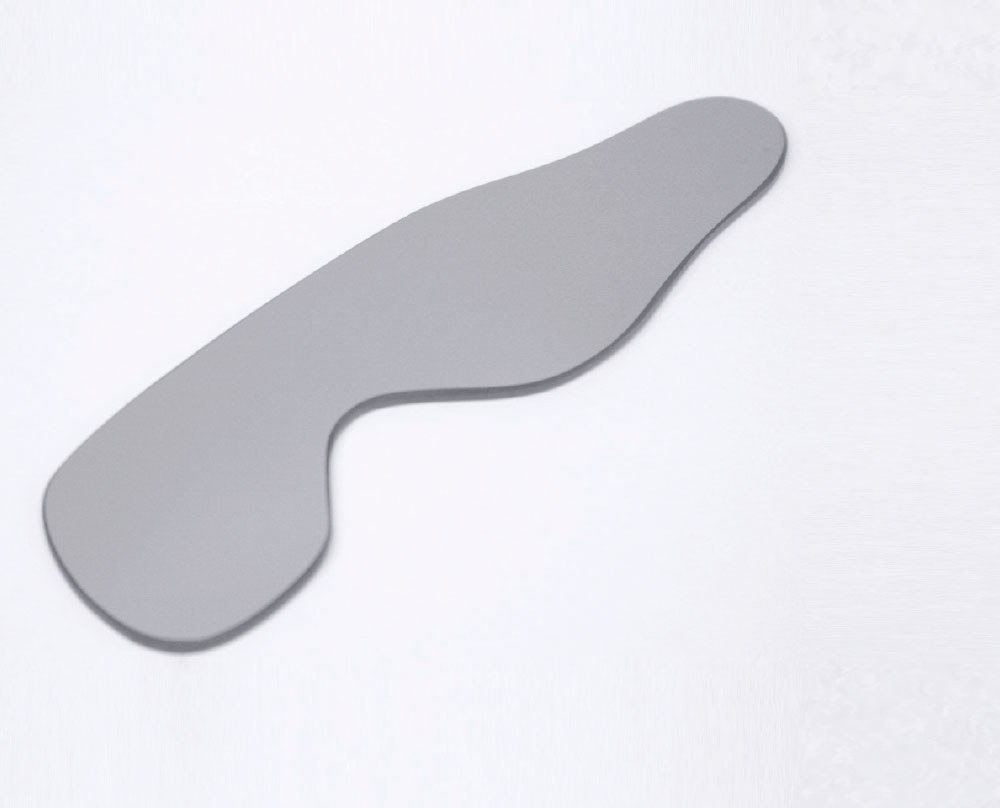
- Buccal mirror* (Fig. 12)
- For taking lingual views of posterior teeth
- For taking occlusal views of posterior teeth
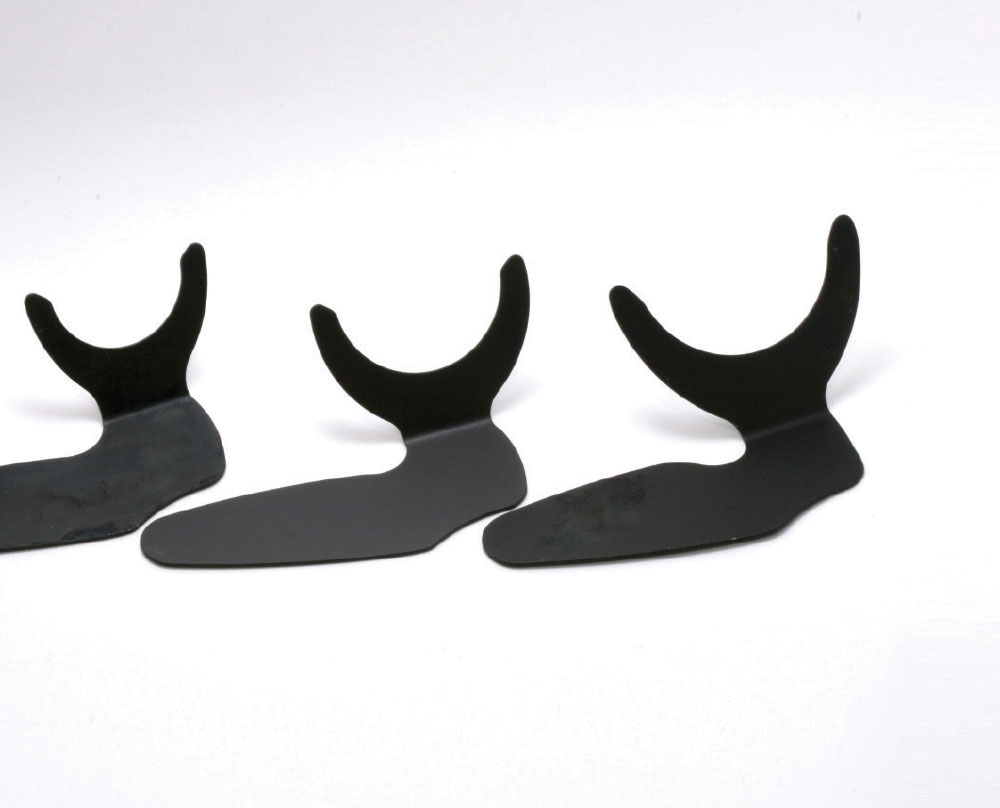
- Anterior “contrasters”* (Fig. 13)
- To create a “black” background for anterior teeth
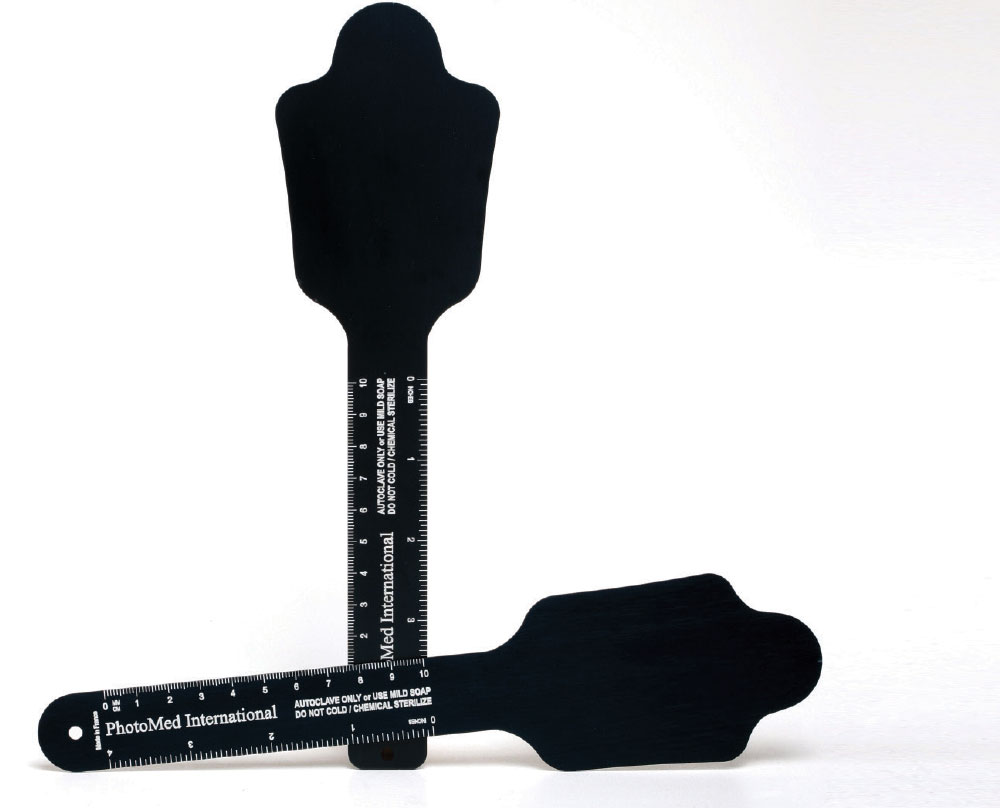
- Occlusal “contrasters”* (Fig. 14)
- To create a black border for maxillary occlusal views (hides lips, hair or nose)
- To create a black border for mandibular occlusal views (hides mandibular lip)
- Handle used as a black background for profile view of anterior teeth (hides cheek)
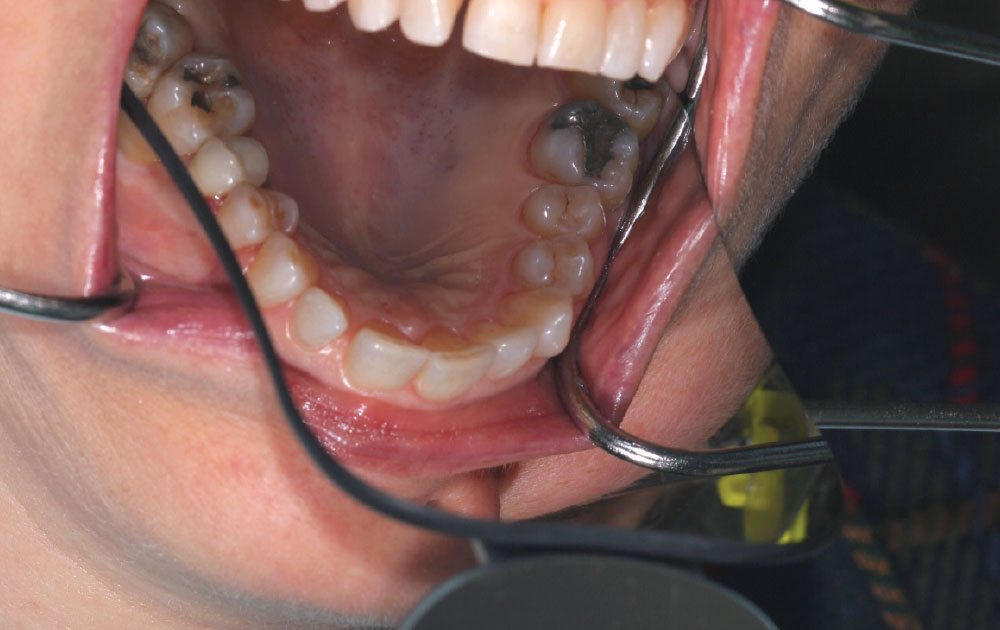
Each of these accessories allows for better framing and isolates distracting anatomy in dental photographs. The proper use of mirrors also allows for a direct view of areas that are difficult to see using direct vision, while contrasters hide distracting anatomy such as lips, tongue, palate or, in a lateral anterior profile, the cheeks. Using these accessories effectively may require additional hands, but they will enhance the attractiveness of the photograph.
Applying Good Photographic Principles to Dental Photography
- Determine that your camera system is adjusted to optimum dental settings. Check battery strength in both the camera and the flash systems. Have the necessary accessories ready to use.
- Know before you take the photograph what you want to show in the photograph and what you want to exclude. Crop the photograph to show only the area of interest. Focus closer. Use contrasters (Fig. 15) to exclude distracting anatomy. Use mirrors if you are unable to get a clear image using direct vision (Fig. 16). Align the subject to the best viewing position. Know who will view the photograph, and take the photograph so that they will be able to understand your visual dental message.
- Position the flash to direct light on the dental subject to best highlight anatomical detail. If taking the photograph directly, use a flash that allows side lighting. If using a mirror, direct the flash onto the mirror, which will reflect the light onto the subject (Fig. 17).
- Use a large f-stop number. Focus on the subject of interest.
- Immediately evaluate the photograph on the camera’s LCD screen. If the image does not meet your criteria, retake the photograph.
Additional Applications for Quality Communication Dental Photography
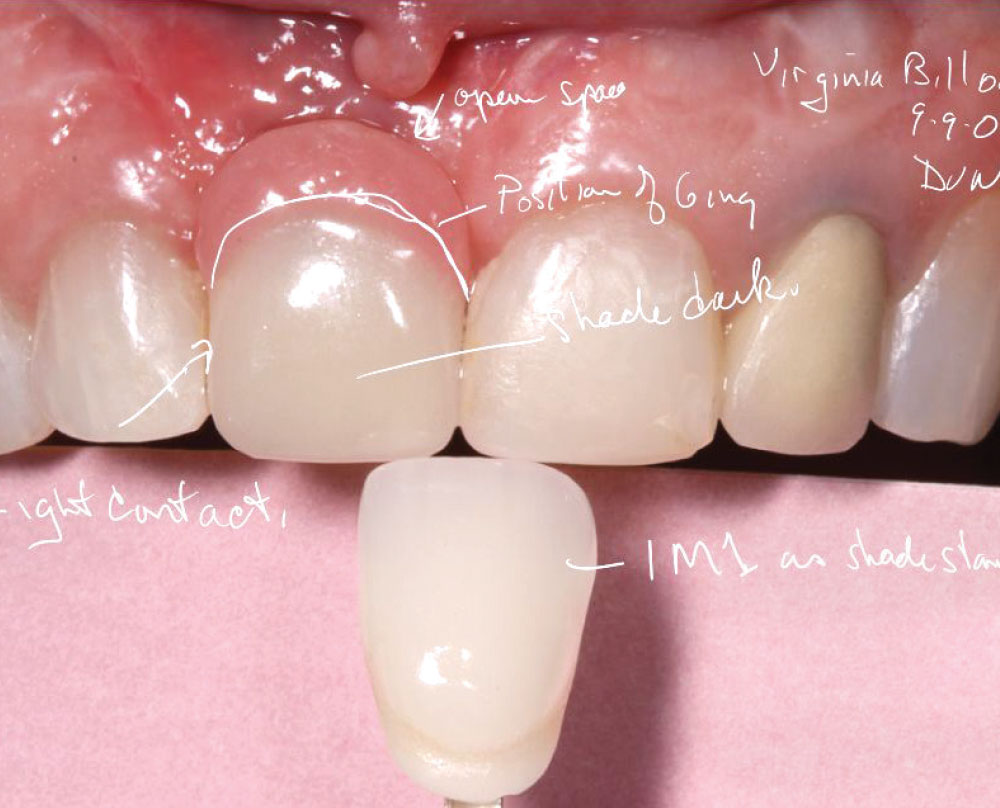
- Annotations on Photographs. Writing on photographs enhances the message by combining visuals and words (Fig. 18). Tablet PCs and graphic tablets have programs to conveniently annotate words on the photograph that can be saved to a new image. This image is an enhanced message to the recipient. I use this method to communicate with dental laboratories, when referring to dental specialists and communicating with patients. Annotations decrease the chance of our dental message being misunderstood.
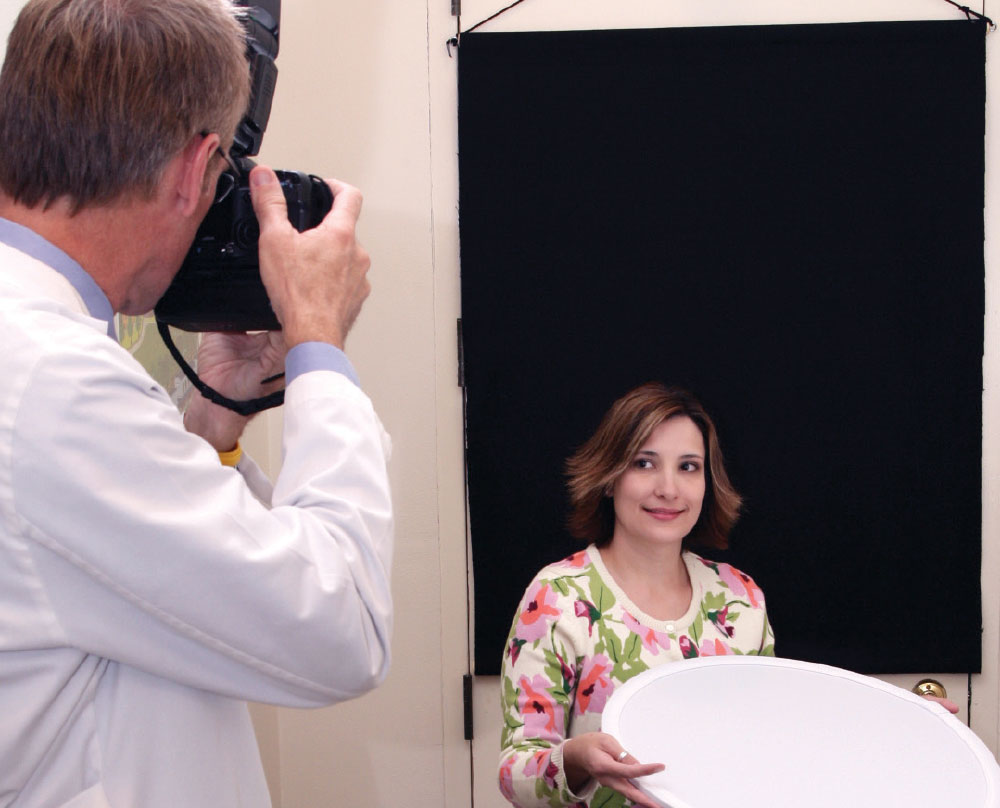
Dunn and Young* have developed a simplified in-office portrait technique that can be used in most dental offices without architectural modification or multiple external lights.
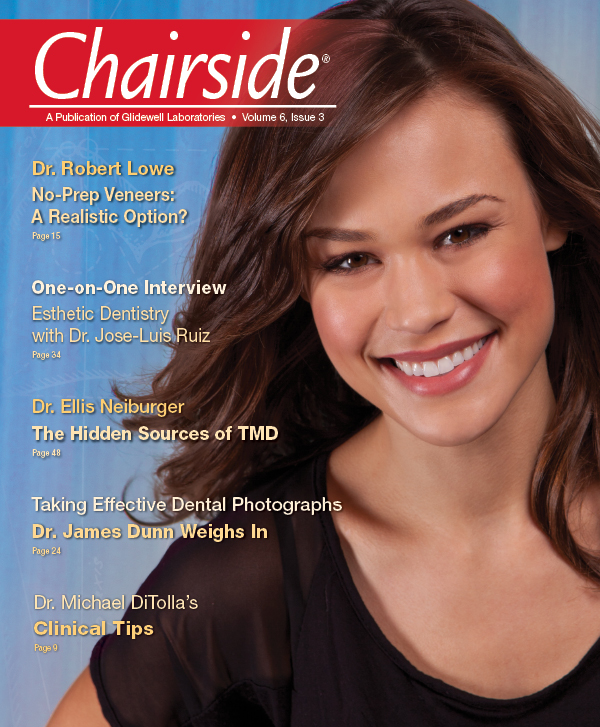
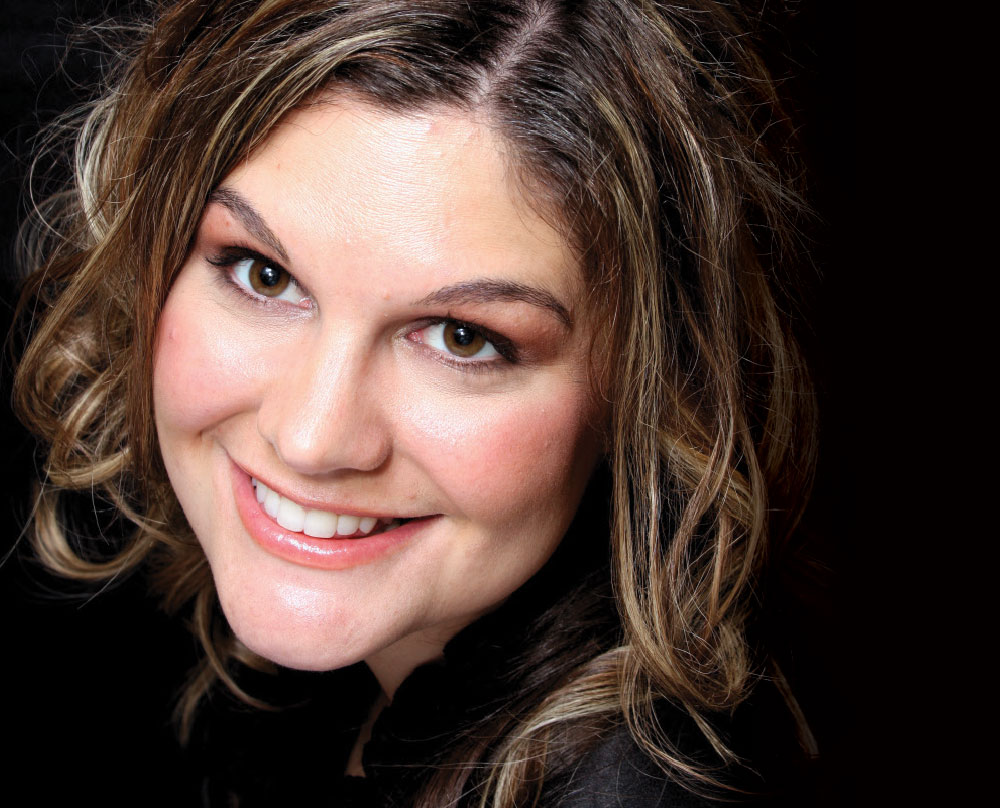
- Dental Portraits. Medical-style portraits can send negative messages to the recipient. Most patients do not want to see themselves in the harsh lighting and posing of our dental record portraits. Professional portraits are lighted and posed to show a person’s maximum attractiveness. Huefner6 has described professional portrait techniques for the dental photographer, and Dunn and Young have developed a simplified in-office portrait technique that can be used in most dental offices without architectural modification or multiple external lights. The simplified portrait uses a single flash, photo reflectors and a black background taken with the patient in the chair, in front of a wall or in a hallway (Fig. 19). A quality patient portrait can be given to the patient or used for marketing (Fig. 20).
Summary
For dental photographs of communication quality, use professional photographic principles to take attractive but highly effective photographs that convey a visual dental message. This visual dental message can be sent to patients, specialists and dental laboratories, and used in presentations, publications or marketing. The quality of our images publicly reflects the quality of our dental treatment and competes with professional photographs found in commercial advertising, magazines, periodicals and on the web.
Dr. James Dunn is in private practice in Auburn, California. He lectures and gives workshops on esthetic restorative dentistry and dental photography. Contact him at jrdunndds@gmail.com or 530-888-9764.
General References
- PhotoMed International, photomed.net, 800-998-7765.
- Traub CH, Heller S, Bell AB. The education of a photographer. New York: Allworth Press; 2006.
- Orr C. Dental Photography Interactive Training Program.*
- Bengel W. Mastering digital dental photography. Chicago: Quintessence Publishing Co.; 2006.
- Ratcliff S. Digital dental photography: a clinician’s guide. Key Biscayne (FL): The Pankey Institute; 2006.*
- AACD dental guide, aacd.com.
- Freeman M. The photographer’s eye: composition and design for better digital photos. Waltham (MA): Focal Press; 2007.
- McNally J. The moment it clicks: photography secrets from one of the world’s top shooters. Indianapolis (IN): New Riders; 2008.
- Arena S. Speedliter’s handbook: learning to craft light with Canon Speedlites. San Francisco: Peachpit Press; 2011.
- Peterson B. Learning to see creatively: design, color & composition in photography. New York: Amphoto Books; 2003.
- Wignall J. The Kodak most basic book of digital photography. Asheville (NC): Lark Books; 2006.
- Dunn JR, Young RA. Private correspondence and class handouts, 2006–2009.
- Williams R, Newton J. Visual communication: integrating media, art, and science. New York: Lawrence Erlbaum Associates, Inc.; 2007.
- Zucker M. Monte Zucker’s portrait photography handbook. Buffalo (NY): Amherst Media Inc.; 2008.
References
- ^Shorey R, Moore KE. Clinical digital photography today: integral to efficient dental communications. J Calif Dent Assoc. 2009 Mar;37(3):175-7.
- ^Shorey R, Moore KE. Clinical digital photography: implementation of clinical photography for everyday practice. J Calif Dent Assoc. 2009 Mar;37(3):179-83.
- ^Snow SR. Assessing and achieving accuracy in digital dental photography. J Calif Dent Assoc. 2009 Mar;37(3):185-91.
- ^Briot A. Mastering photographic composition, creativity, and personal style. San Rafael (CA): Rocky Nook; 2009.
- ^Lowrie CK. What Makes a Photo Good? wordsandphotos.org. 2007.
- ^Huefner NF. Digital Portrait Photography Basics for Cosmetic Dentists. 2006. Privately published Norman F. Huefner, 30131 Town Center Dr. Ste. 160, Laguna Niguel, CA 9267
*Items available from PhotoMed International, 14141 Covello St., Bldg. 7, Ste. C, Van Nuys, CA 91405, 818-908-5369.
Article and photos copyright James R. Dunn, DDS, 6 11.

