2201 Dupont Dr., Irvine, CA 92612
© 2025 Glidewell. All rights reserved.
800-854-7256 USA
Start getting better-fitting restorations with these best practices for dental implant scans.

Accurate intraoral scans are the foundation of predictable implant restorations. Even small errors in capturing scan bodies can lead to remakes, poor fit and lost chair time.
Unfortunately, dental labs still receive a high number of incomplete or distorted implant scans — often due to easily avoidable mistakes. Without a clear protocol, costly mistakes will continue to occur.
This guide explores the most common issues with dental implant scanning and teaches you the best practices for achieving better dental implant scans — consistently and confidently.
What You’ll Learn in this Article
Traditional crown preps rely on natural tooth structure and some tolerance for minor inaccuracies. Crowns over implant abutments, on the other hand, have less tolerance for inaccuracies. There’s no periodontal ligament to help absorb occlusal forces and cushion the fit. Every micron matters.
Instead of scanning a prepared tooth, you're scanning a scan body — a precise digital reference for the implant's position, angulation and rotation. If the scan body is misaligned or incomplete in the scan, the final restoration will not seat correctly.
If you’re looking to expand implant services in your practice, it’s vital to make intraoral scanning a core part of your business. More accuracy from dental implant scans means better-fitting restorations, less chair time for the patients and better overall productivity for your practice.
But just having an intraoral scanner isn’t enough. It’s essential to know the most common issues you can run into, and how to avoid them.
Part of building trust with a patient is making dental procedures as smooth as possible. Like with taking physical impressions, there’s still margin for error with dental implant scanning. Even if you have the best equipment and software, something unexpected can negatively impact a scan sent to the lab.
Here are the top issues with dental implant scanning and our expert-recommended tips for getting more consistent results.
A scan body that’s not fully seated — even by a fraction of a millimeter — leads to a distorted implant position in the scan file. This is one of the most common reasons for ill-fitting restorations.
How to fix it:
Even a properly seated scan body is useless if it’s not fully captured — especially the occlusal surface and index features.
How to fix it:
After removing a healing abutment, the surrounding tissue can collapse within seconds and obscure the emergence profile. Bleeding may also interfere with scan data.
How to fix it:
Without neighboring teeth, an opposing arch and a bite scan, the lab can’t correctly articulate the model or design proper occlusion. The lab may request this information, requiring you to bring the patient back for another scan.
If the lab mills a restoration without this data, a crown with high occlusion might be the result. This can lead to additional chair time for adjustments or require a remake of the prosthesis.
How to fix it:
Even with a great scan, the lab still needs key information to design the right restoration. If your scanner is not prompting you, be sure to include implant brand and platform. The lab will need this information to access the correct library when designing the restoration.
Don't forget to double check and include your shade selection. For cases in the smile zone, photos are becoming increasingly common to help with communicating desired esthetics. While not required, taking photos for all cases is a great habit to implement in your office.
Always include the following information:
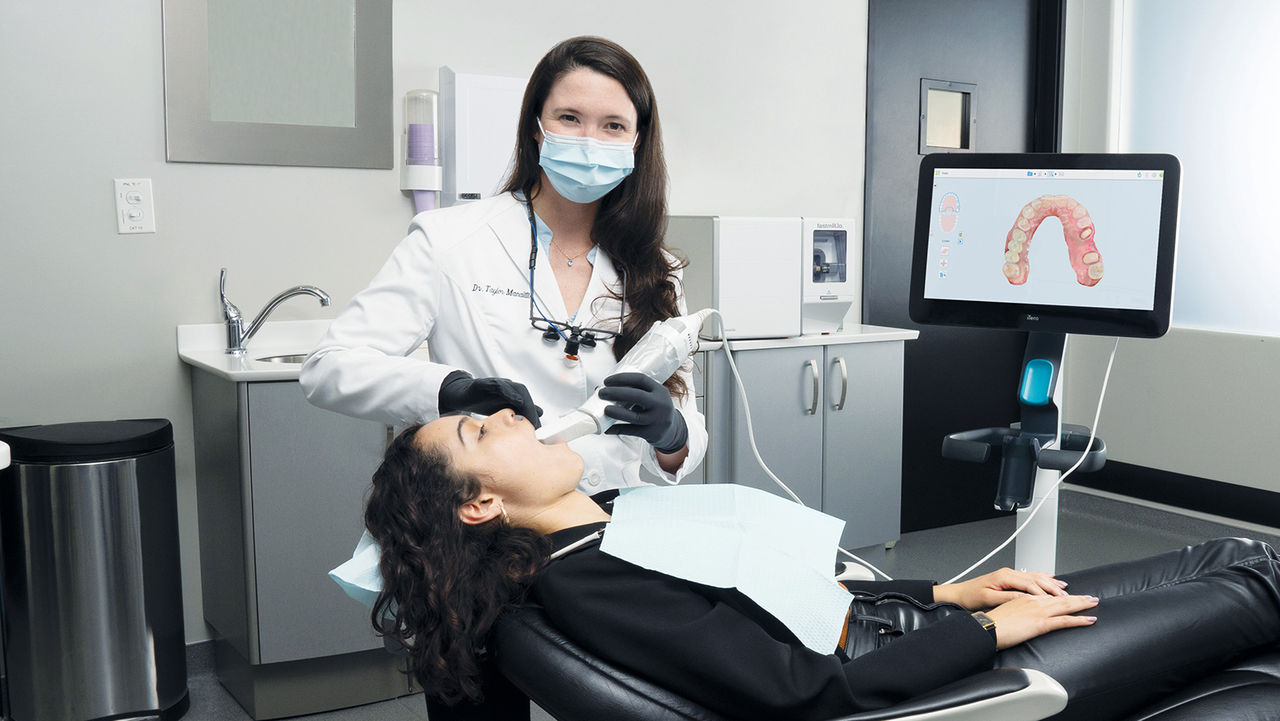
In many practices, assistants perform the majority of implant scans. That’s a great way to save time — but only if they’re equipped with the right training and tools for implant scanning. It’s vital to be a strong mentor for long-term practice success.
Because the rules are different everywhere, it is crucial for a dental practice to check its specific state laws before delegating the use of an intraoral scanner to an assistant.
Here’s a breakdown of how responsibilities can be effectively divided for implant scanning procedures if allowable under state laws:
Good training, clear communication and plenty of practice are three important ingredients for minimizing scanning mistakes. There will always be some bumps along the way, so it’s important to have a strong working rapport with staff to navigate those challenges.
Most intraoral scanners allow selective rescanning of specific regions. If the scan body appears incomplete, or the bite doesn’t articulate correctly, it’s recommended to rescan immediately. Always confirm scans with patients still sitting in the chair. Rescanning a segment is far more efficient than dealing with a return visit or remake.
Despite intraoral scanners requiring investment for implant practices, digital implant scanning offers tremendous benefits. The real potential of these scanners gets unlocked when done with accuracy and consistency. Single-unit cases may seem simple, but they’re often where small mistakes have the biggest impact.
By creating clear protocols, empowering your team and partnering closely with your lab, you can avoid common issues with dental implant scanning and consistently produce better dental implant scans.
Send blog-related questions and suggestions to hello@glidewell.com.


