Bite Registration 101
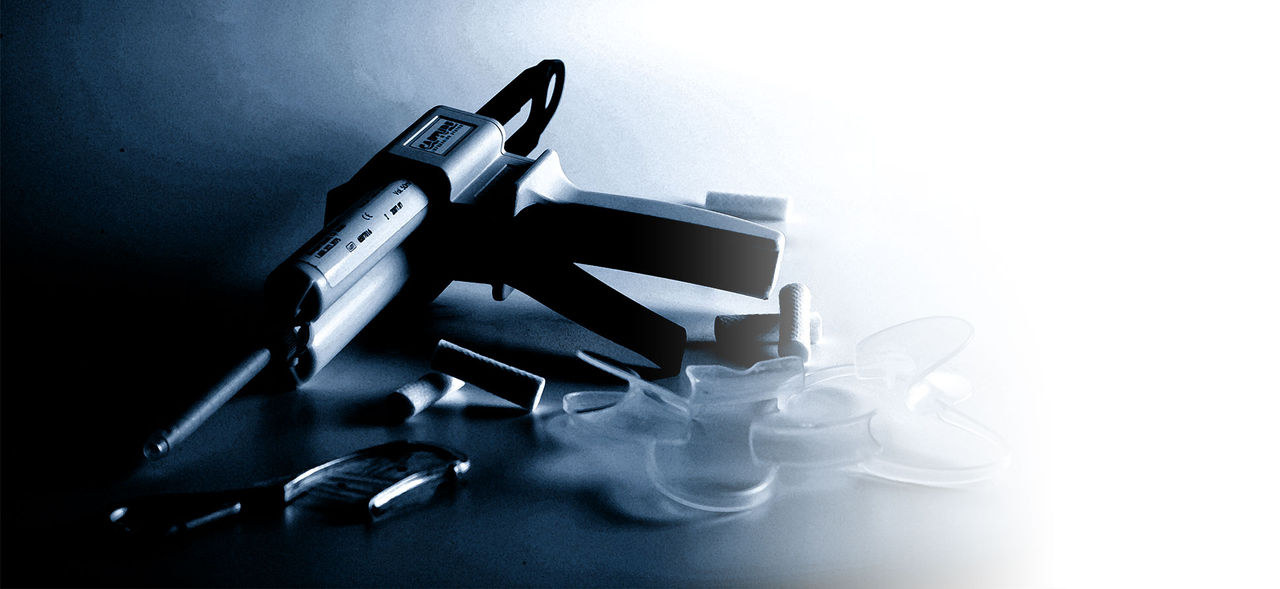
We spend a lot of time talking with doctors about preps and impressions, and many times bite registrations are almost an afterthought because it is a more manageable problem than inadequate preps and impressions. When it comes to the time required to seat a restoration, however, bite registrations play a large part in how long this appointment will be. There is almost no better feeling as a restorative dentist than to drop a restoration onto a preparation and have the patient bite down and report that it feels great. Excessive occlusal adjustments take up valuable time and destroy the anatomy of the new restoration the patient has just paid for. It can also be argued that we appear to be more of a restorative expert if the restoration simply “drops in” rather than having to be ground on for 45 minutes, as though it were a stock PFM being fitted for the patient’s mouth.
It is always helpful to observe the patient’s maximum intercuspation position prior to administering anesthesia. I always make sure to observe the interdigitation of the teeth on the contralateral side, as this will be the primary way that I verify that the patient is in maximum intercuspation when the impression tray is seated in the patient’s mouth. It is also helpful to mark the patient’s occlusion with articulating paper prior to preparation to help understand the patient’s occlusal scheme. This is especially true for the teeth being prepared, as we would like to replicate this occlusal scheme on the temporary as well. As important as the bite registration is, if the temporary is out of contact with the opposing tooth, it is very likely that one or both of these teeth will supererupt, requiring heavy occlusal adjustment on the restoration.
Dr. Gordon Christensen has stated on several occasions that the most accurate bite registration in dentistry is that of a properly done double-arch tray. He also says that this type of bite is even more accurate than full-arch impressions and a separate bite registration! This is good news for fans of double-arch trays, but this also means that the dentist and the laboratory must handle the double-arch tray correctly. Let’s begin by looking at how the dentist should utilize the double-arch tray.
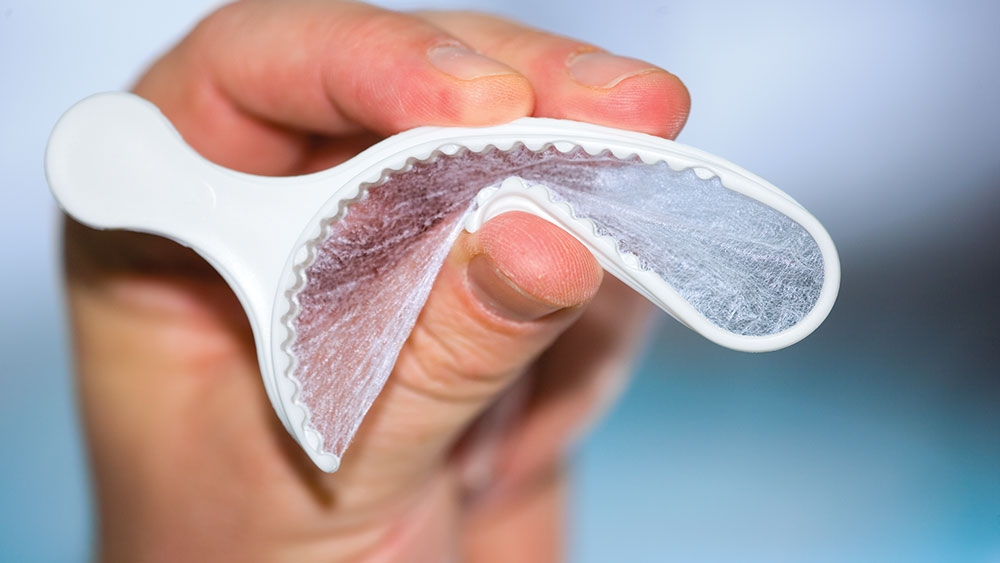
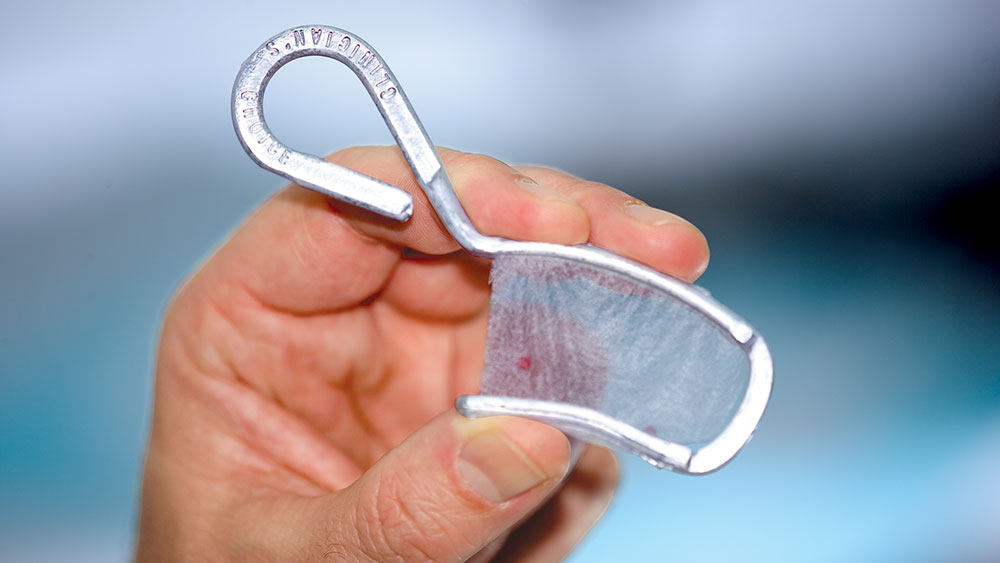
Step 1: Select the proper double-arch tray. For me, plastic double-arch trays have always seemed too flexible to provide enough support for the impression material. Figure 1 shows how a little pressure between my fingers can collapse this plastic tray completely. Figure 2 shows me applying even more pressure to a metal tray, yet it doesn’t distort at all. This is a QUAD-TRAY® from Clinician’s Choice (New Milford, Conn.; clinicianschoice.com), and it is my everyday double-arch tray.
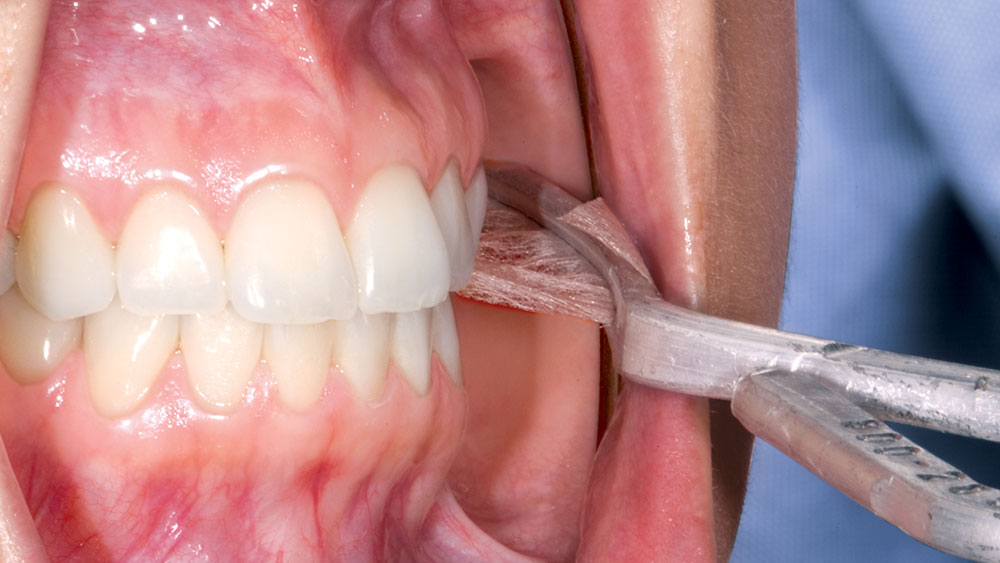
Step 2: Verify fit of the selected double-arch tray by placing it in the patient’s mouth without impression material and having them bite together. We want to make sure that the tray can be placed to clear the maxillary tuberosity and the retromolar pad. There are patients who can’t close down with this type of double-arch tray in their mouth. These patients are better suited for full-arch impressions. We check this by observing the contralateral side of the arch where we looked previously to observe the interdigitation of the teeth on that side. If the patient is able to bite together without shifting their mandible, and the contralateral teeth are in the proper position, the tray is a good fit. Figure 3 shows what this should look like.
Step 3: Verify that the double-arch tray is long enough to capture the arch from the most distal tooth to the cuspid on the same side, as seen in Figure 4. If the anterior portion of the tray mesh does not cover the cuspid, you should select a longer double-arch tray or consider full-arch impressions.
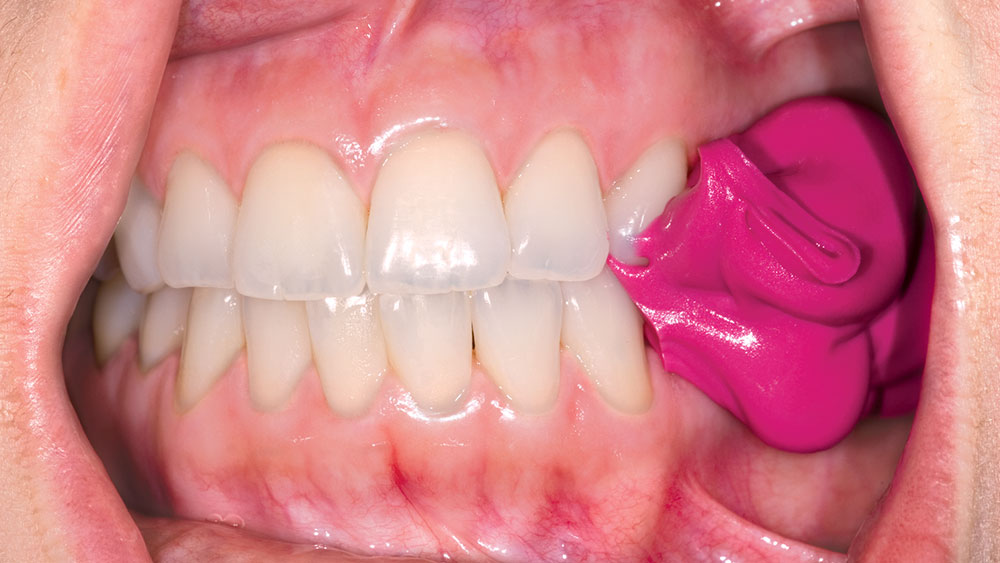
Step 4: Once the double-arch tray with the impression material has been placed, have the patient bite together and use the contralateral side to verify maximum intercuspation of these teeth as seen in Figure 5.
Even when following these steps, there are times when the impression is placed in the patient’s mouth and they simply are not able to bite down completely. This is usually because you have lost orientation when inserting the tray, as it is now covered with impression material. If after three or four attempts I can’t get the patient into maximum intercuspation, I will just have the patient hold that position while the impression material sets and then take a separate bite registration. When this happens, make sure to note on the lab slip that the technician needs to ignore the bite registered on the double-arch tray and needs to use the separate bite registration.
The laboratory also needs to follow certain steps to ensure that the double-arch method is as accurate as Dr. Christensen states it can be. The lab should pour one side of the double-arch tray and let the material set. The lab then flips the impression and pours the other side while the first pour remains in the impression. Then, with both sides of the impression poured and set, the lab now attaches the articulation hinge. The critical part is that the laboratory attaches the hinge before either of the poured models is removed from the impression for the first time. This is critical because once the model is removed from the impression it is virtually impossible to get the model to reseat completely in the impression. As long as the articulation hinge is attached BEFORE either model is removed from the impression, we can achieve the most accurate bite registration that Dr. Christensen refers to. To do this procedure correctly is more difficult for the laboratory, and you will hear laboratories say that they do not like double-arch trays, but it is hard not to be in favor of the most accurate bites in dentistry.
Unfortunately, we routinely see dentists abuse double-arch trays by using them for a variety of clinical situations that they were not intended for. Rather than list all of those situations, it is easier to list the acceptable clinical situations for double-arch trays: single-unit crowns or two adjacent single-unit crowns. That’s it! It’s not very complicated, but every day we receive double-arch tray impressions for a quadrant of crowns, 3- or 4-unit bridges, or my personal favorite — full-arch dentistry! If you follow these steps, keep the double-arch trays to one or two adjacent crowns, and make sure your assistant is keeping a good centric stop on your temporaries, you should find your crowns dropping into place.
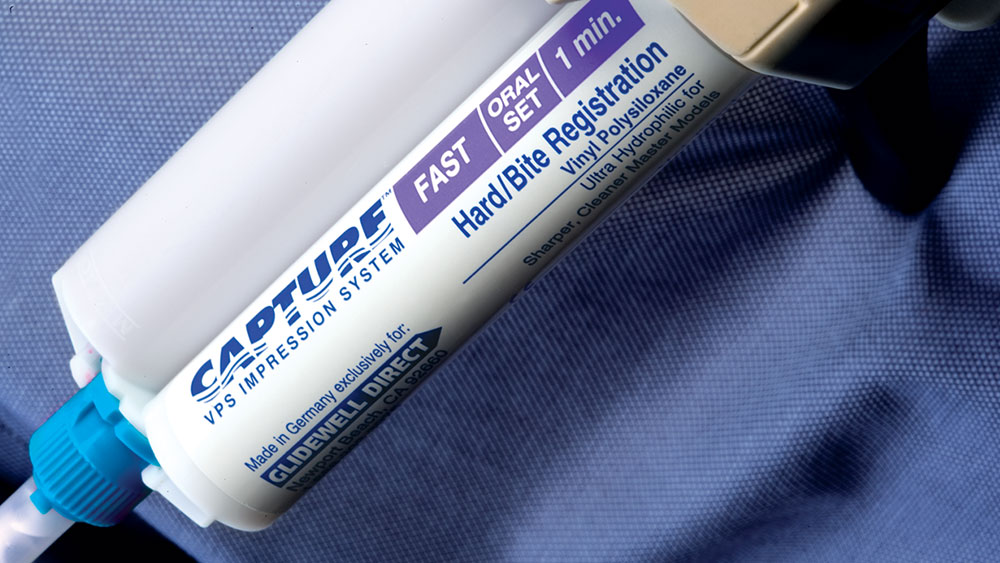
In clinical situations where we need to take a separate bite registration, there are guidelines to follow as well. With the introduction of stiff polyvinylsiloxanes into the dental market almost a decade ago, these materials have become the bite registration materials of choice, largely replacing wax and resins such as DuraLay. A good example of this type of polyvinylsiloxane is Capture® Hard Bite from Glidewell Direct (Fig. 6). As a result of its high durometer rating, it sets rigid and is also very easy to trim. Some keys to remember when taking a separate bite registration are:
- Always rehearse biting into maximum intercuspation with the patient prior to expressing the bite registration material onto the preparations. If your patient cannot reliably close into that position, get them to close into that position and hold it while you squirt the bite registration material onto the prepared tooth and the opposing tooth.
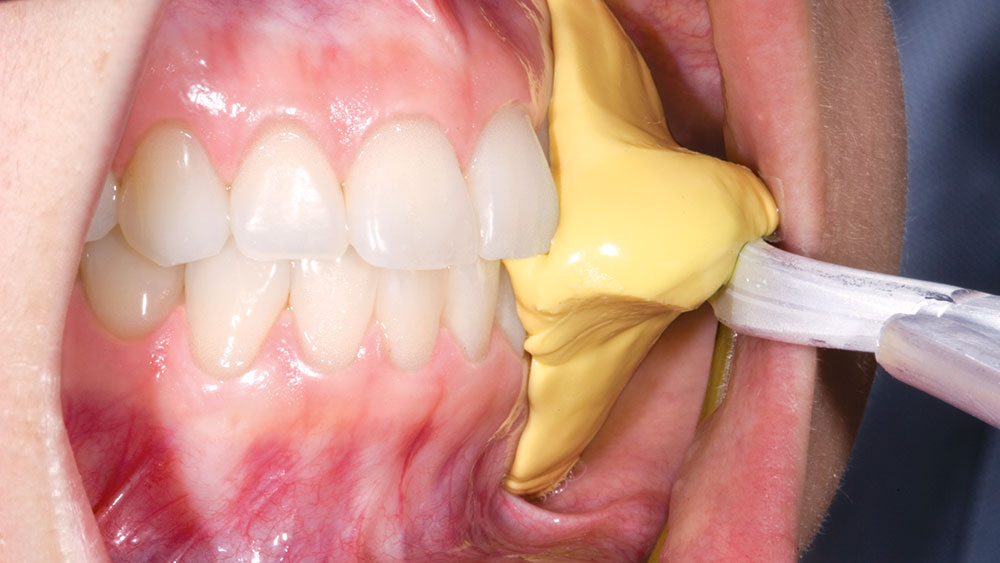
- Only squirt bite registration material onto the prepared teeth! Most of the bite registrations we receive in the laboratory are taken over the entire arch even though only one or two teeth have been prepared. In addition to being a waste of material, this full-arch approach actually can make the bite less accurate. The reason why we only express the bite registration material onto the prepared teeth is because we want the rest of the unprepared teeth to be in maximum intercuspation. The last thing we want to have is bite registration between those teeth as well. It is simple: Just put bite registration material onto the prepared teeth and have the patient close into it while you check the teeth on the contralateral side (Fig. 7).
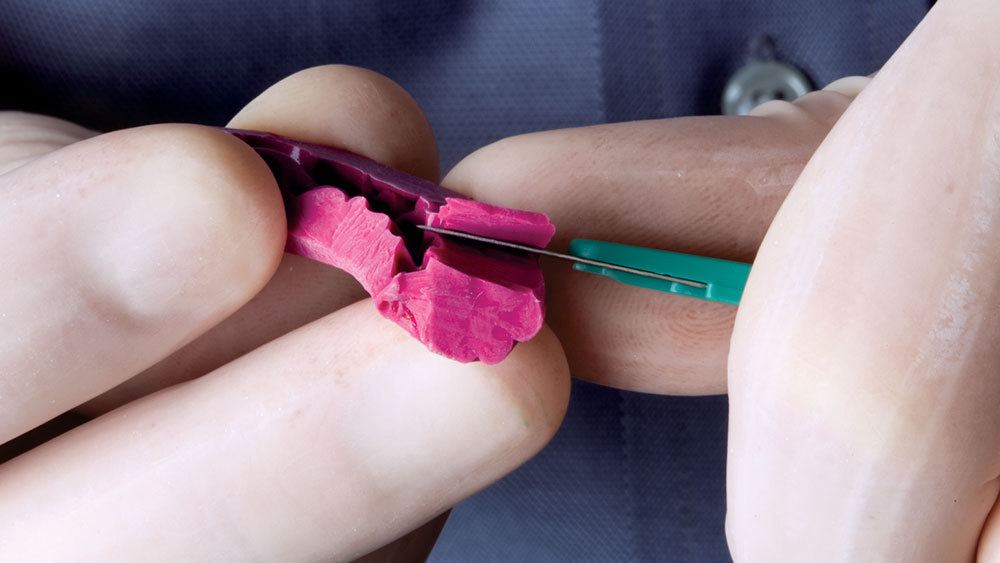
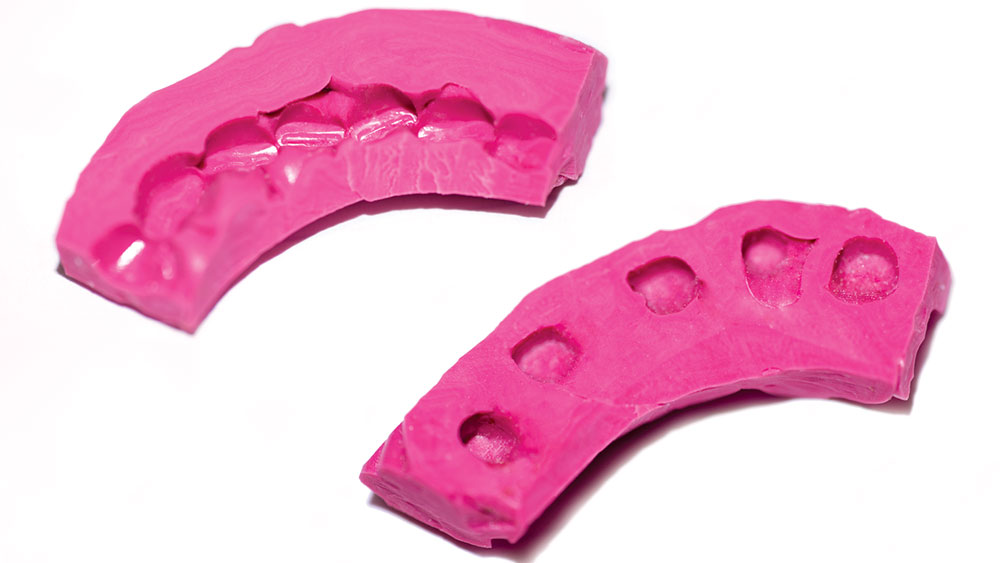
- Once the bite is set, we need to try it back into the mouth to verify its fit, but first we need to trim the registration. The easiest way to trim the registration is with a scalpel or a sharp lab knife with a thin blade (Fig. 8). We want to trim away any area where the registration was in contact with soft tissue, or in contact with anything other than tooth preparation or opposing tooth. Furthermore, the trimmed bite registration should only cover the occlusal or the incisal half of the prepared tooth and the occlusal or incisal half of the opposing tooth. Figure 9 shows what a properly trimmed bite registration should look like. Many dentists mistakenly believe that the bite registration needs to cover the entire tooth to be accurate, but this actually makes the bite more inaccurate because the bite will cover and compress soft tissue, which will keep it from fitting accurately on the model. It is fine to cover all of the prep and opposing tooth with bite registration material while it sets; just make sure to trim it after you remove it and then try it in.
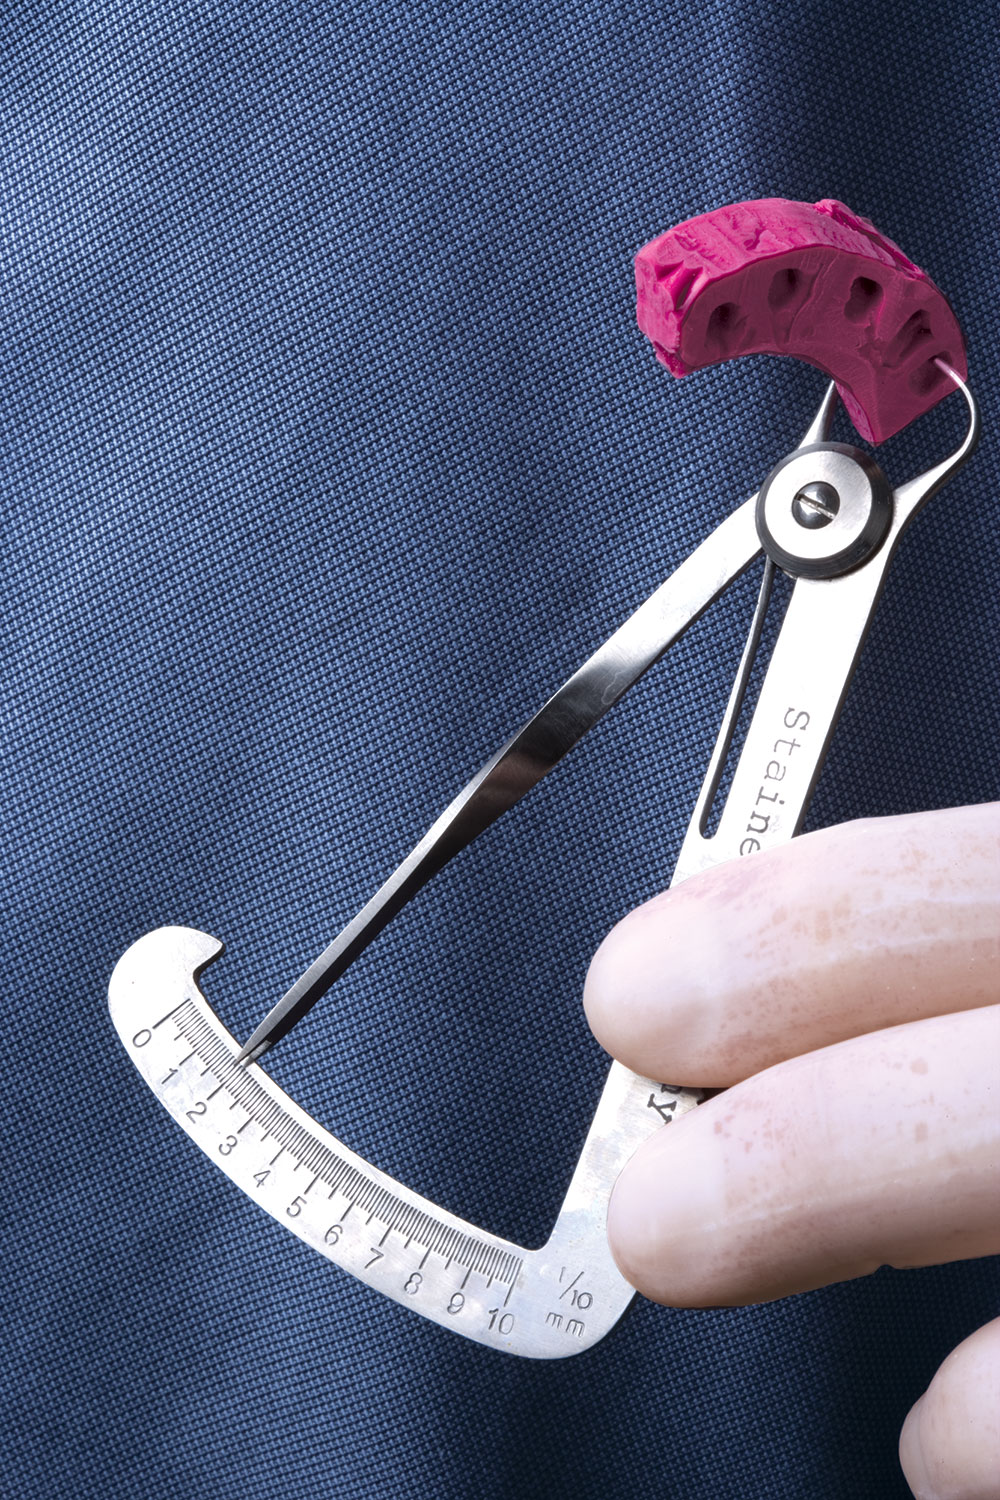
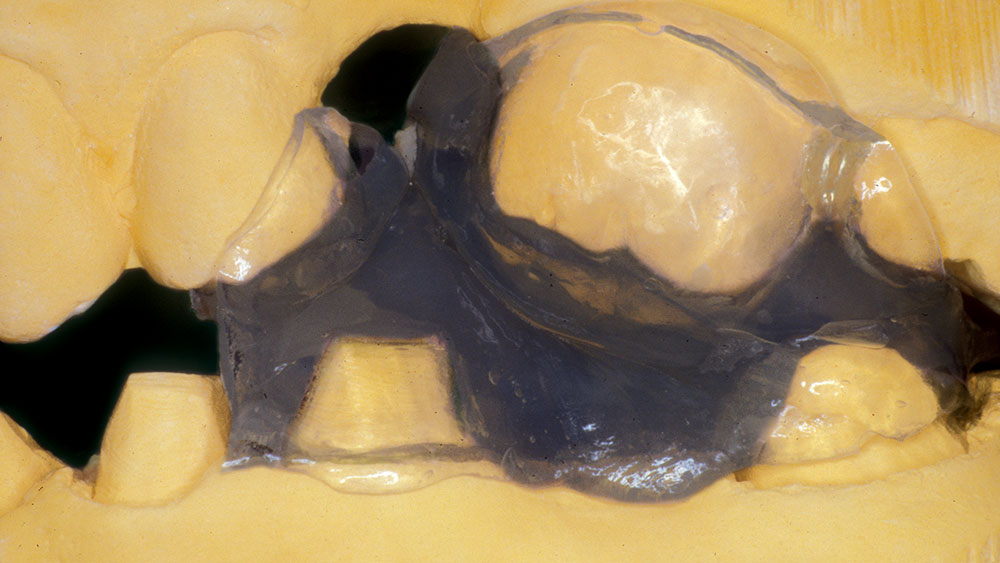
- If you take the bite registration prior to taking the impression, you can use a caliper to measure the amount of occlusal reduction you have done (Fig. 10). This is a good indicator as to whether or not more reduction should be done to achieve the 2 mm of occlusal reduction needed for all restorations, with the exception of cast gold. You can simply reduce more from the occlusal surface and take a new bite registration to verify the amount. When you are satisfied with the amount of reduction, take the final impression. Figure 11 shows the use of the Capture Hard Bite Clear material. This clear bite registration material allows you to visualize your reduction on the mounted models as well as in the mouth.
- On full-arch crown and bridge cases, I prep the arch in three phases: the anterior and the left and right posterior. On these cases, I use BioTemps® as my provisionals and I have them made in three segments that correspond to how I prepare the teeth. On the maxillary arch, for example, I usually prepare the upper left segment first. When the preparations are done, I will take a bite registration looking for maximum intercuspation on the unprepared anterior and upper right quadrants. After finishing the bite registration, I reline the BioTemps again using the unprepared teeth as my guide for vertical dimension and occlusal adjustment. I will then prepare the upper right quadrant. When it is time to take the bite registration, I place the bite registration back on the upper left quadrant while I take the bite registration on the right side. I then do the upper right BioTemps with the upper left BioTemps in place. I put both of the posterior quadrant temporaries in place when preparing the anterior teeth so I can have the patient bite down to evaluate the lingual reduction. When it is time to take the anterior bite registration, I put the two posterior bite registrations back into place, express the bite material onto the preps, and have them close into the posterior bite registrations. I make the anterior BioTemps with the posterior ones in place. I trim the bite registrations as described above and try them back into the mouth. I then send all three of the bite registrations to the lab, knowing they are at the correct vertical dimension.
Bite registration techniques often take a back seat to preparation and impression technique discussions, and while these are critically important, bites also play a large role in the seat appointment. By using the tips described, you should notice more seat appointments in which restorations simply “drop into place.” This is the reward for a bite well taken!
In our next Chairside® issue, Dr. Anthony Gallegos will focus on more complex bite registrations, including partially edentulous situations.

