Magazine Article
- Justin Chi, DDS, CDT: “Common Problems with Digital Impressions — and How to Avoid Them”
Blog Post
- Glidewell Staff: “How a Digital Dental Lab Can Transform Your Dental Practice”
Dental Video
800-854-7256 USA
Learn the benefits of digital dentistry and some helpful techniques for accurate impressions.
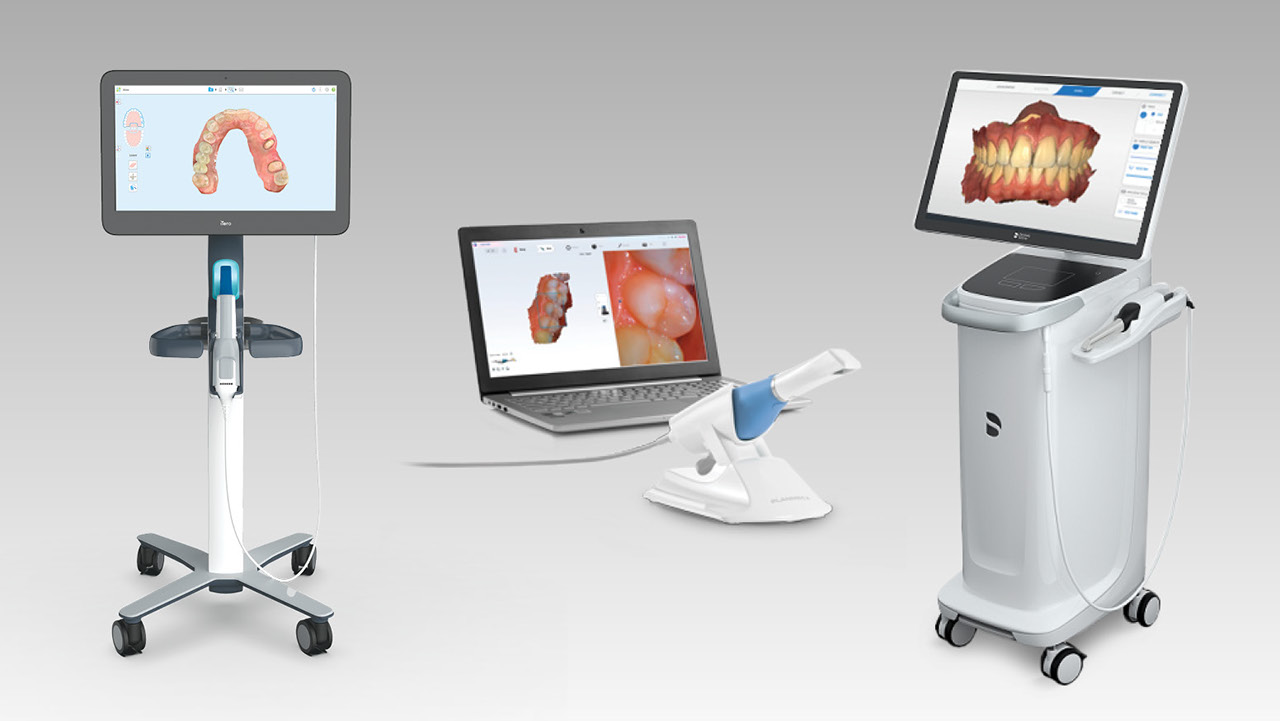
Entering the world of digital dentistry doesn’t have to be intimidating. Glidewell is ready to help you get your foot in the door and begin your digital journey today. A great place to start is with an intraoral scanner. Adding an intraoral scanner to your practice can seem daunting, but switching to a digital workflow — and putting in some time and effort to learn how to take clean intraoral scans — can benefit both you and your patients.
Intraoral scanners offer many advantages to your practice, including saved time and improved patient comfort. Some of the considerable benefits of using an intraoral scanner are time efficiency, improved communication between dentist and lab, improved accuracy, and simplified workflows.
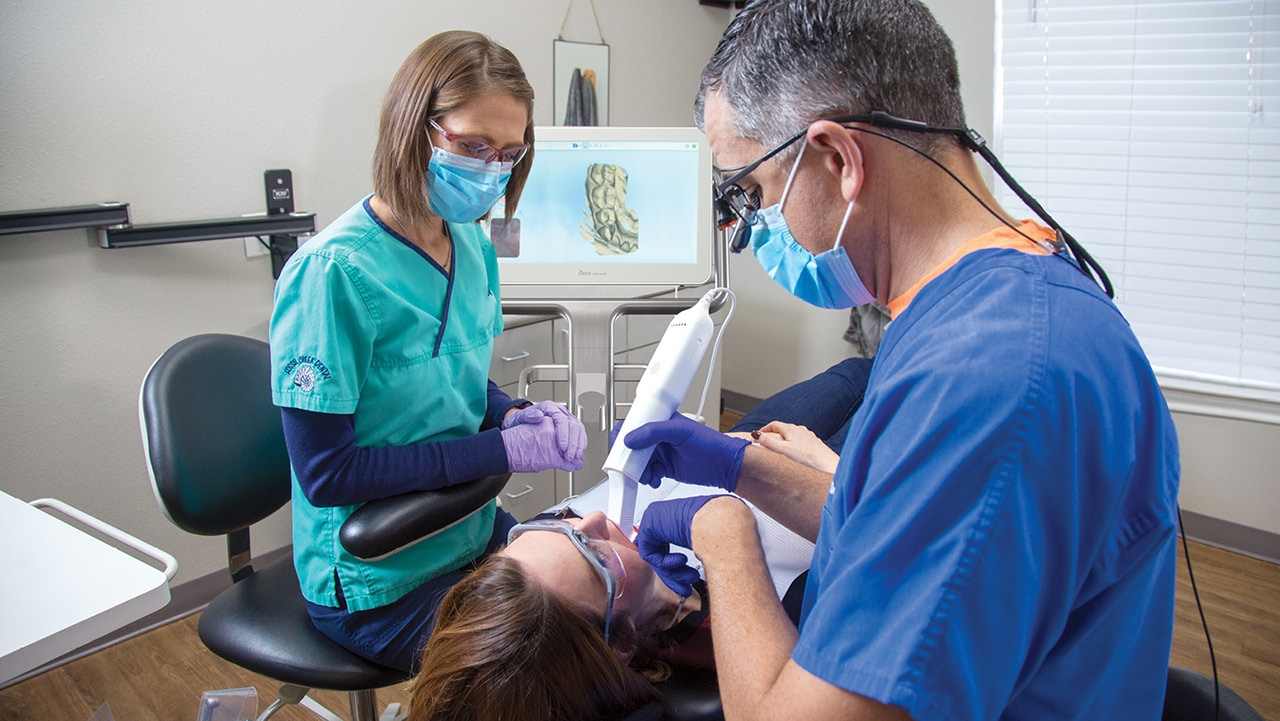
Intraoral scanners require less physical setup and no uncomfortable cement trays for your patients.
Although the intraoral scanning process may take you longer while you are getting used to it, digital scanning can save an exponential amount of time in the long run. Not only is it quicker to send digital cases to the lab, but pairing an intraoral scanner with an in-office mill makes it possible to fabricate single-unit restorations in one visit!
Having a digital model instantly available enables you to more clearly and directly communicate with patients. Allowing your patient to see what you see can increase case acceptance and make their in-office experience a more pleasant one.
Additionally, adopting a digital workflow makes communication with labs easier. After you submit your digital scan, any issues with the impressions can be quickly brought to your attention by the lab technician fabricating your restorations.
With the proper preparation, taking digital impressions is as predictable and accurate as traditional impression techniques — but with the digital workflow, there are fewer steps between capturing information in the oral environment and the technician creating restorations. Without the need for shipping or pouring stone models, the process achieves significantly greater speed and accuracy.
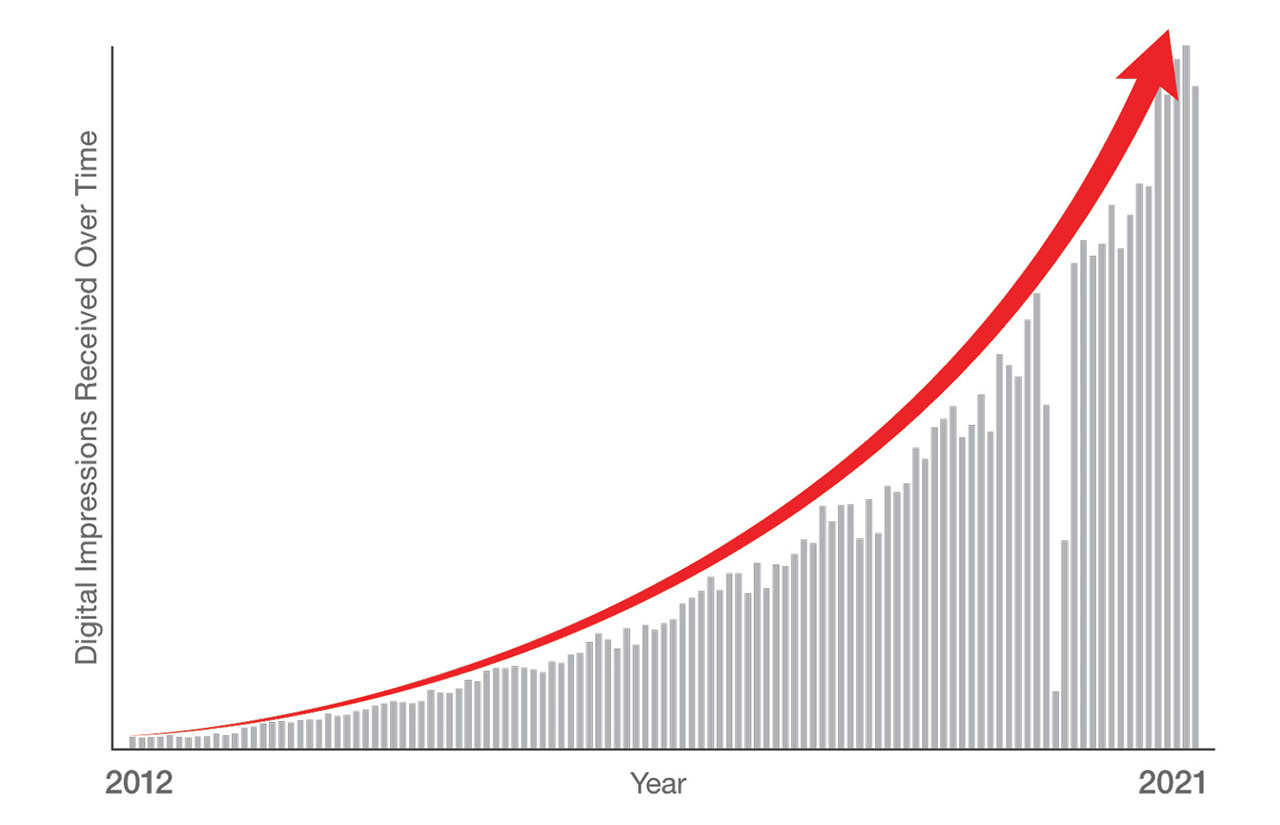
Source: Glidewell internal data
Getting comfortable with digital dentistry will save you time and money. It’s no wonder why the use of digital impressions is surging!
Once you’ve obtained an intraoral scanner, learning how to take accurate impressions will require a mild learning curve. However, by starting with proper preparation and scanning techniques, and ending with a thorough review of the scans, you can capture clear scans that provide the lab with accurate information every time. Here’s some useful tips to keep in mind while you take a digital impression!
A common issue encountered with intraoral scanners is the inability to capture details of subgingival preparation margins. In order to circumvent this, it may be necessary to pack cord in the gingival sulcus to achieve proper soft tissue retraction. Although packing cord may take a bit of additional time, by carefully prepping the patient’s mouth, you avoid potential rescans and may end up saving even more time in the long run.
An excessive amount of moisture can lead to image distortion, rendering the scans inaccurate or even completely unusable. Moisture can be caused by saliva, blood or other fluids, and can create a reflection that alters the final image. It is necessary to completely dry the surface that you are scanning to avoid this issue.
To capture clean scans, first make sure the lens of the intraoral scanner is clean and dry. You can also use cotton rolls to help absorb any moisture in the lingual vestibules during mandibular scans and on the buccal mucosa during all other scans.
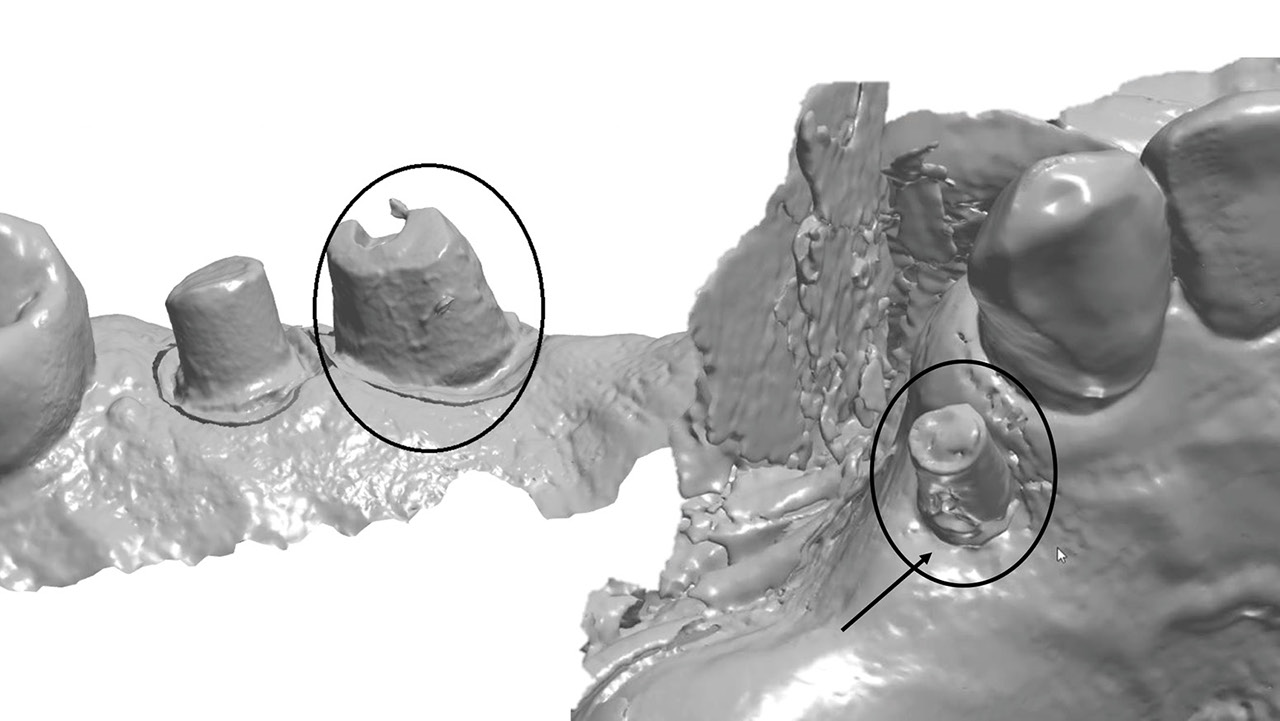
Make sure to completely dry the surfaces you are scanning, as excess moisture can lead to uneven scans that are unusable by the lab.
While performing the actual scan, it can be easy to capture an incomplete impression. Many times, especially with hard-to-reach surfaces, there will be missing spots or curved and distorted teeth. Finding the best angles to successfully capture a full impression is largely a matter of practice: The more you do it, the better you’ll get at it. But there are some things you can do to reduce the risk of distortions.
The first thing to do is get comfortable with your scanner. Keep a loose wrist to allow flexibility so you can reach awkward locations. Trying out different grips and positions is beneficial as well. Get creative with lighting and positioning. As there’s no foolproof method, finding out what works best for you is key.
Most importantly, take your time! Slow down and keep an eye at the screen as you perform the scan. Notice early on if you are moving too quickly or skipping parts of the mouth to reduce the chances of rescans. Some intraoral scanners will also alert you if certain parts are missing so that you can go back and scan them again without having to cover the whole mouth.
Capturing an accurate bite registration requires some coordination with the patient. It is essential to establish the patient’s correct bite. This should be easier than it is with traditional impressions, as there is no tray to get in the way. Only after the correct bite is established should you activate the scanner. When scanning, take your time and capture the buccal data for the maxillary and mandibular scans to ensure the software has sufficient data to work with when constructing the digital model.
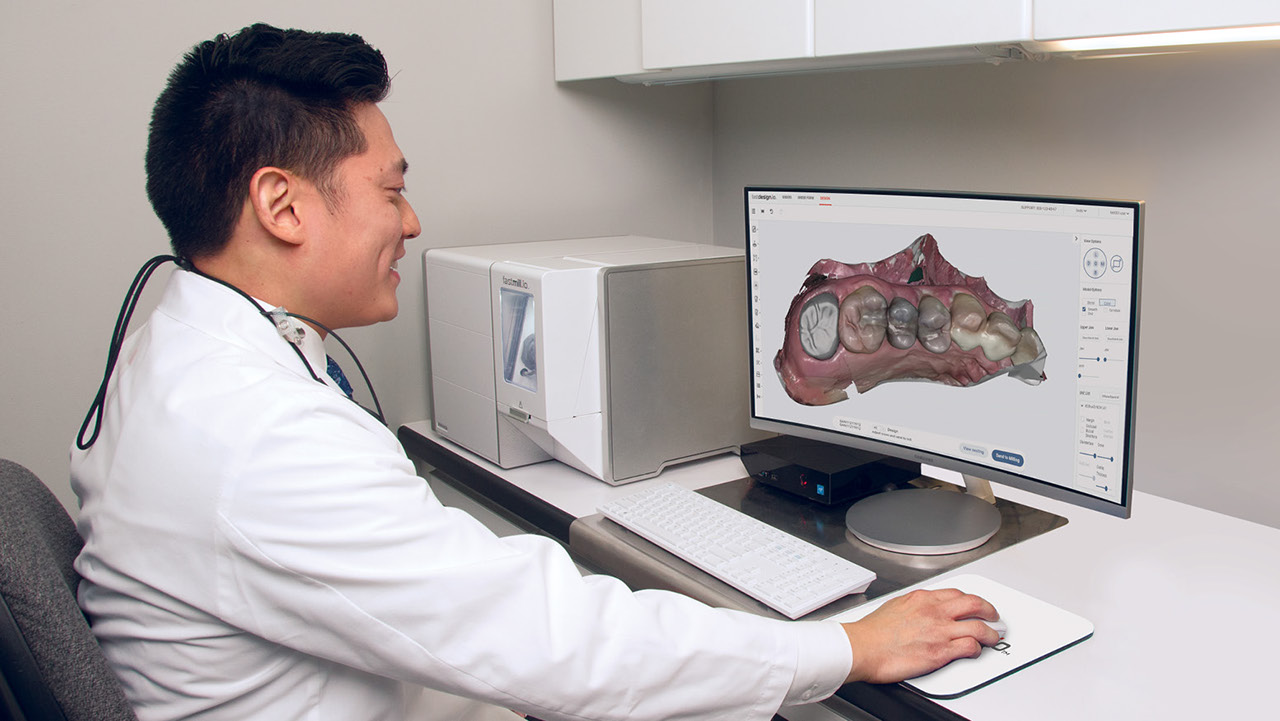
Spending the time to thoroughly review your scans is important and helpful. Take an extra minute to ensure that there are no inconsistencies, distortions or missing information.
After scanning, an important step to ensure the success of the impressions is the review stage. Reviewing the scans thoroughly can save you time and limit lab-requested rescans. A good quality check of the scans is essential to establish accurate impressions.
A useful tip when reviewing scans is to put the scanner’s display in “model” or “stone” mode. This will allow you to see the scans in the same way the lab sees them when they are fabricating your restoration. While reviewing, look for any abnormalities like missing contacts, an incorrect bite or moisture distortion — if you are using a scan body to take implant impressions, make sure that the scan body is straight and parallel to the neighboring dentition instead of curved. It is also good practice not to use the scanner’s “auto-fill” feature, as this may increase the risk of auto-generated renderings that are inaccurate.
Clear and accurate digital impressions are easier than ever, giving you and your patients a reason to smile!
Intraoral scanning can save your practice time and money — and it benefits your patients as well. Take the time to research and decide which scanner is right for you as you enter the world of digital dentistry. You will soon see that, after some practice, intraoral scanning is a simple and easy way to get accurate impressions.
Magazine Article
Blog Post
Dental Video
Send blog-related questions and suggestions to hello@glidewell.com.
