In this issue:
‘Chairside Live’ Case of the Week: Replacing Worn Direct Composite Restorations with Highly Esthetic Veneers
Author

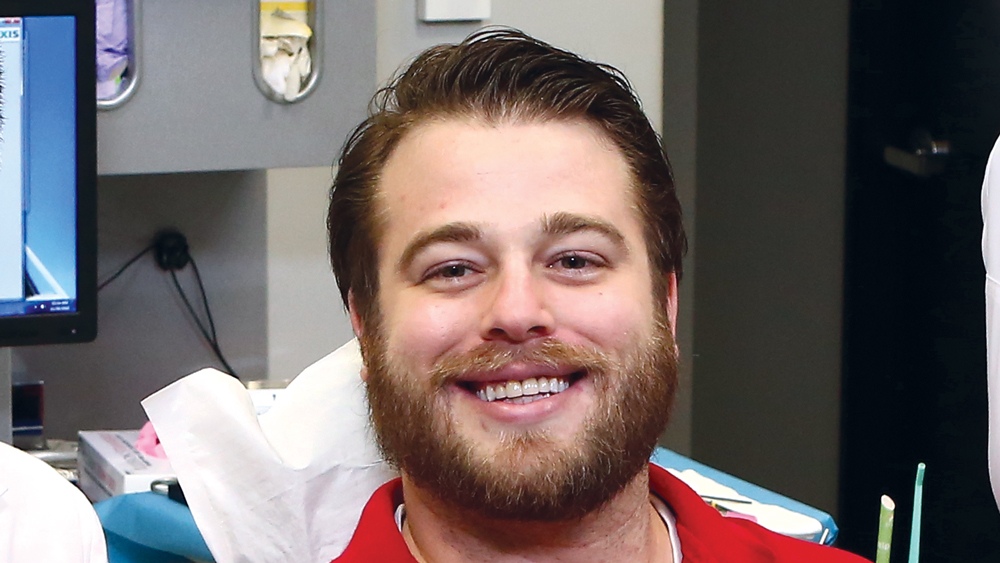
In the Case of the Week for Episode 201 of “Chairside Live,” I addressed the esthetic concerns of Ryan, a CNC operator here at Glidewell Dental. Ryan explained that he suffered a traumatic bicycle accident at age 13. He turned a corner, a car clipped his back tire, and he flew over the handlebars, avulsing tooth #9 and luxating teeth #7, #8 and #10 upon impact with the pavement. By luck, a dental hygienist quickly arrived at the scene and submerged the tooth in milk. ER physicians repositioned the tooth and referred him to an oral surgeon to splint the teeth by bonding them to his existing orthodontic appliances. Ryan wore his braces in this manner for approximately six months in order to stabilize the teeth. Eight months later, he received four root canals, and the dentist placed composite restorations. He was told that these restorations would need to be redone at some point.
Indeed, upon the initial consultation, Ryan stated that his front teeth bothered him esthetically, and he noted that his gums were “always puffy.” He had recently celebrated his 30th birthday, and he wanted to restore his smile before appearing as a groomsman in his friend’s wedding. Upon evaluation, I noted that the composite was discoloring and deteriorating between the centrals. Gingival inflammation, especially around teeth #7 and #8, was caused by overhangs along the margins. The treatment plan for Ryan was to replace the old composites with Obsidian® lithium silicate ceramic veneers (Glidewell Laboratories; Newport Beach, Calif.). I chose this method because the alternative, placing composite directly on the anterior teeth, is very challenging and technique-sensitive. Composite tends to discolor with age and may deteriorate more quickly over time. Obsidian veneers have superior strength and esthetic properties, and produce very predictable results.
Composite tends to discolor with age and may deteriorate more quickly over time. Obsidian veneers have superior strength and esthetic properties, and produce very predictable results.
Before the preparation appointment, I sent the pretreatment models to Glidewell Laboratories, where technicians designed a digital diagnostic wax-up to help us review the case and determine if there were any limitations. Once the designs were approved and finalized, BioTemps® Provisionals were fabricated.
Follow along through the case below to see how I utilized Obsidian and a minimally invasive technique to reconstruct Ryan’s smile.
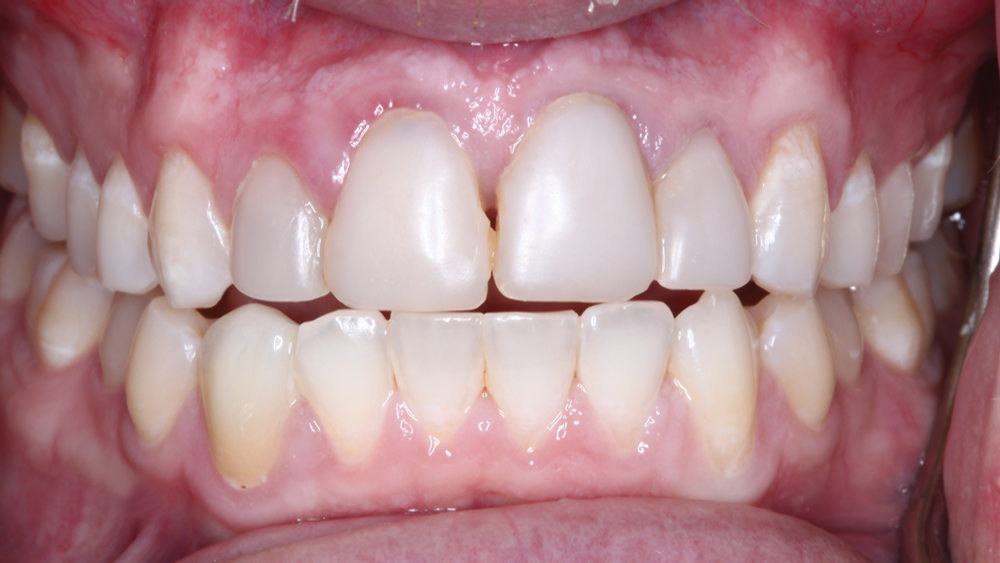
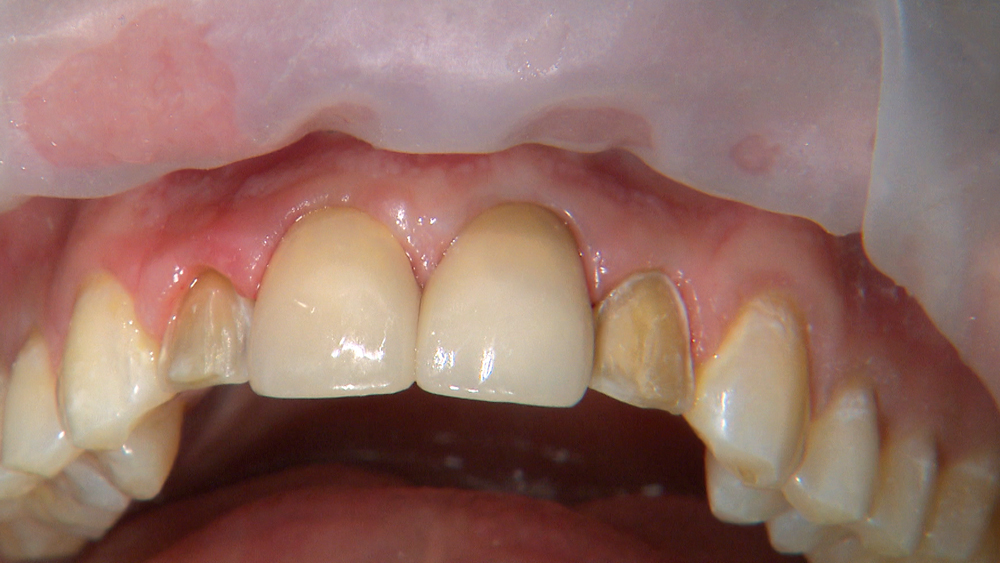
Figure 1: The patient, Ryan, presented with composite bonding on the labial surfaces of his maxillary centrals and laterals. Some of the composite was discolored and breaking down between the centrals. In addition, overhangs along the margins caused gingival inflammation, especially around teeth #7 and #8. We planned to replace the old composites with Obsidian veneers. Before the prep appointment, BioTemps Provisionals were fabricated by the lab.
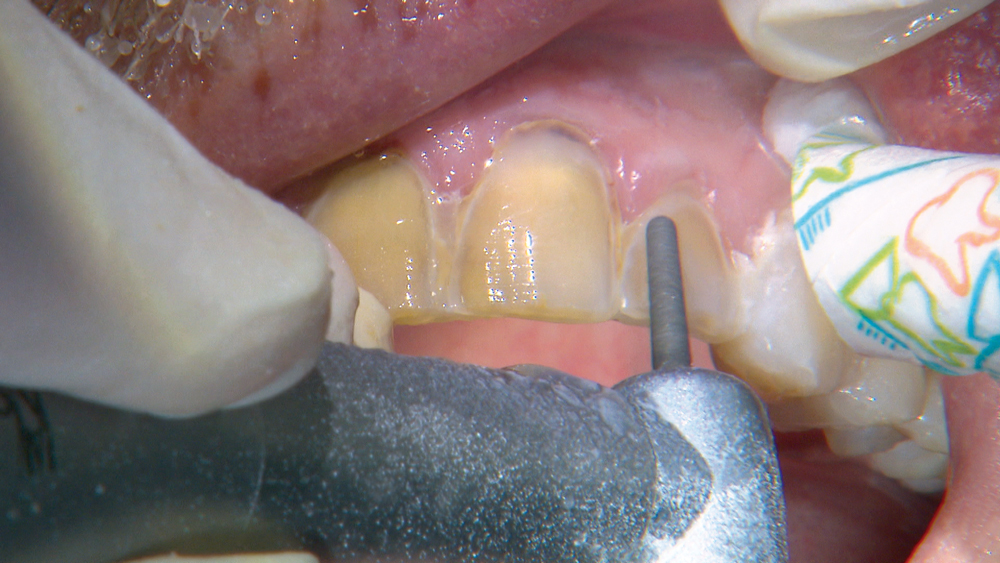
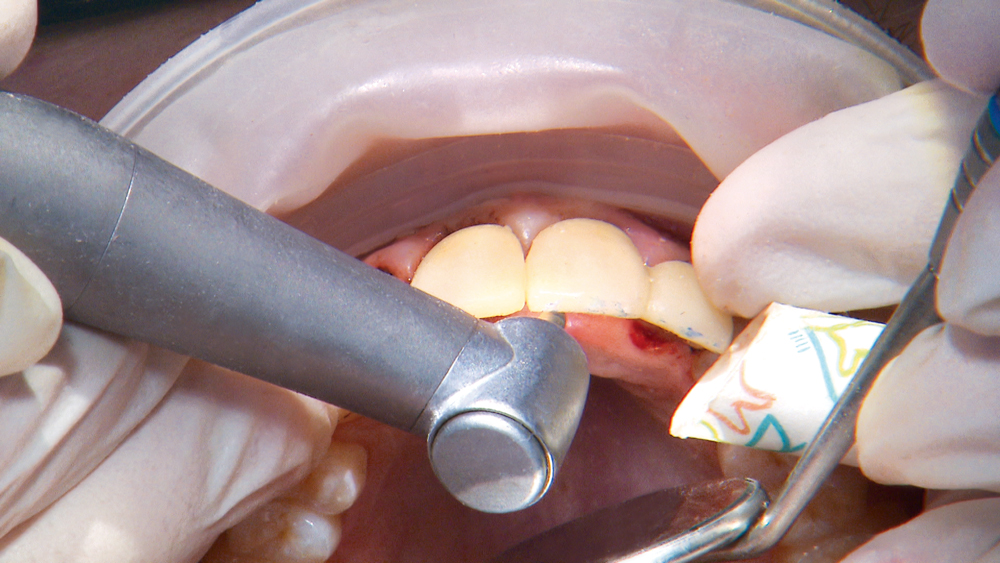
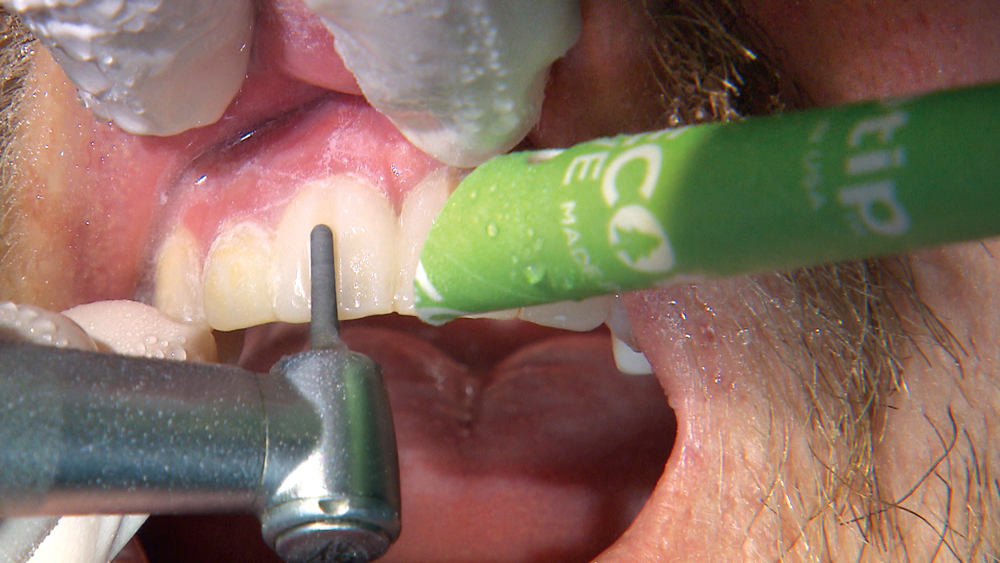
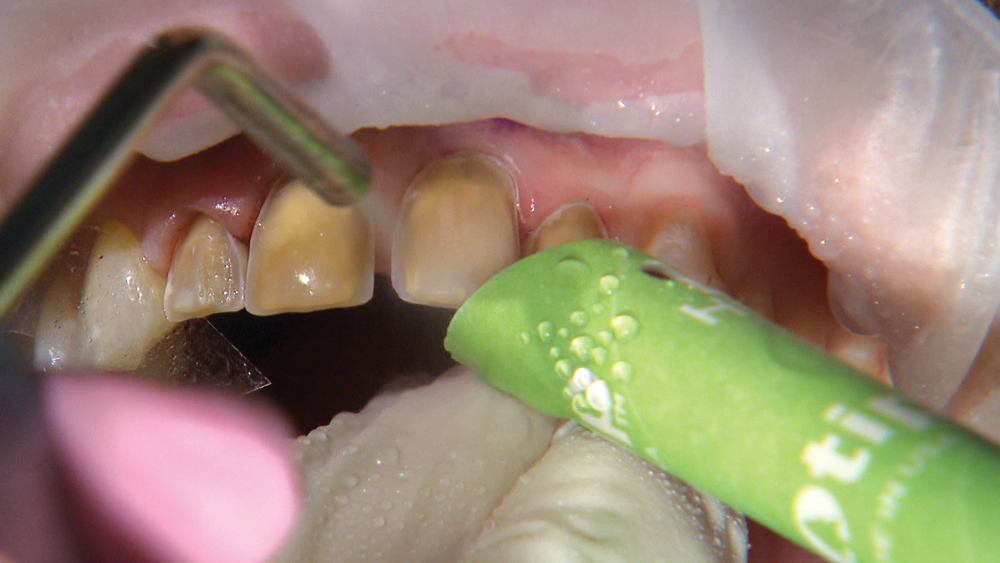
Figure 2: After administering local infiltration to ensure Ryan’s comfort, I used a coarse-grit, round-ended tapered diamond to place vertical depth cuts through the old composites until I reached tooth structure. Because the teeth were in proper alignment with the arch, the goal was to achieve an even amount of reduction along teeth #7 through #10, with a 0.5 mm chamfer at the margins and an increase in that reduction to about 0.8 mm along the middle and incisal thirds.
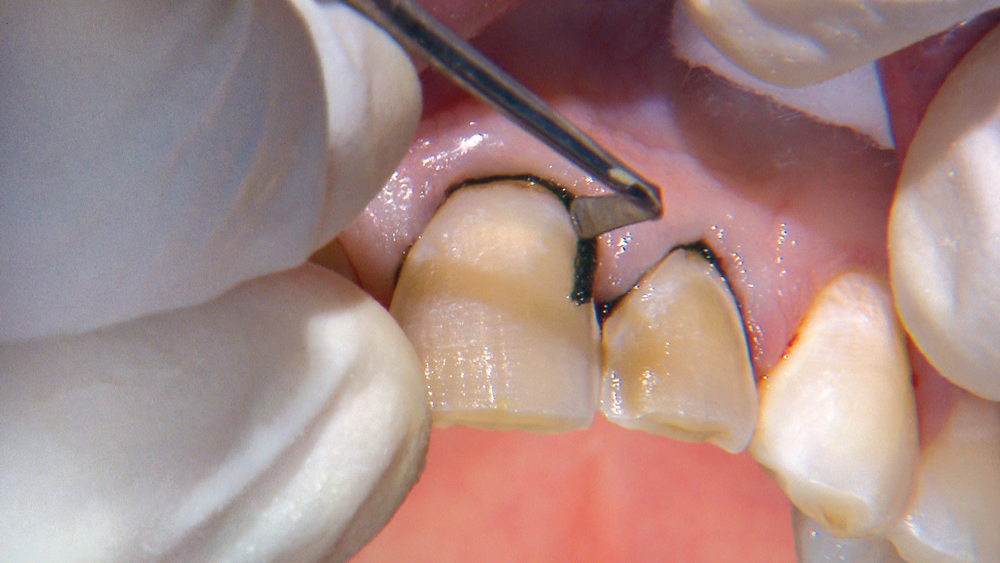
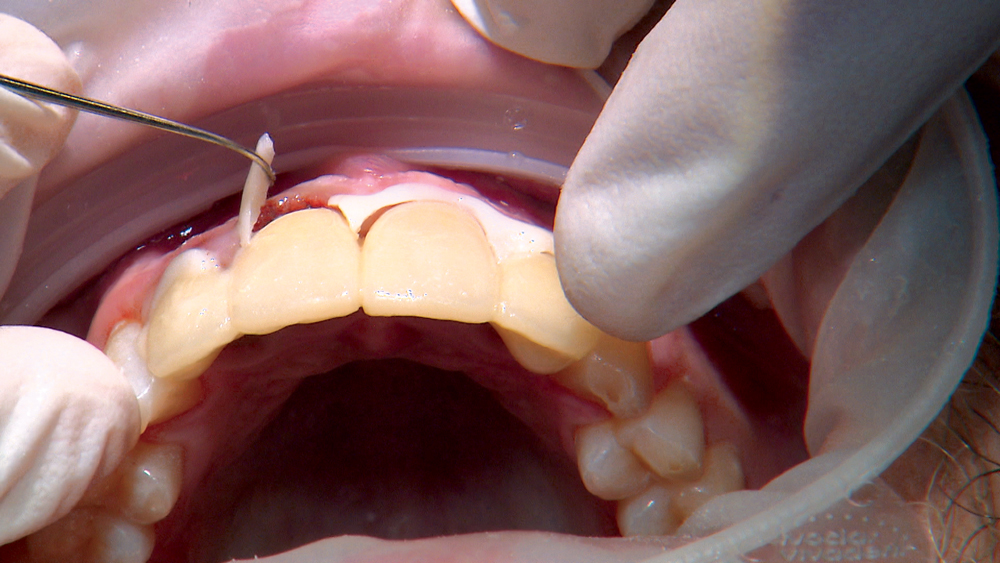
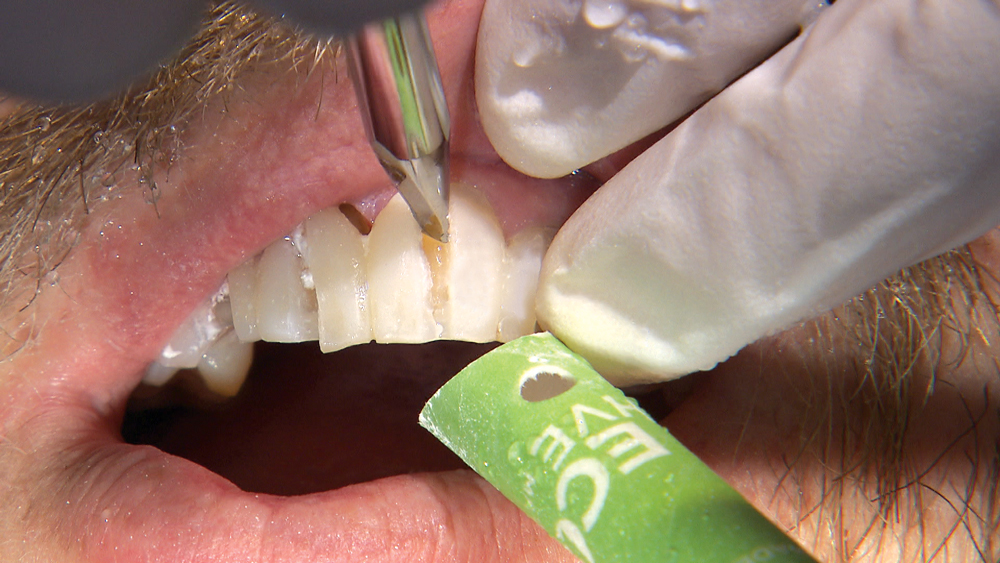
Figure 3: After the old restorations were removed, I placed a #000 cord down into the sulcus to help push the gingival margins out of the way. Note that the gingiva typically moves apically at least 0.5 mm. This is important for any anterior crown or veneer not only to avoid inadvertently damaging the soft tissue, but also to conceal the restorative margins slightly subgingivally after the tissue rebounds.
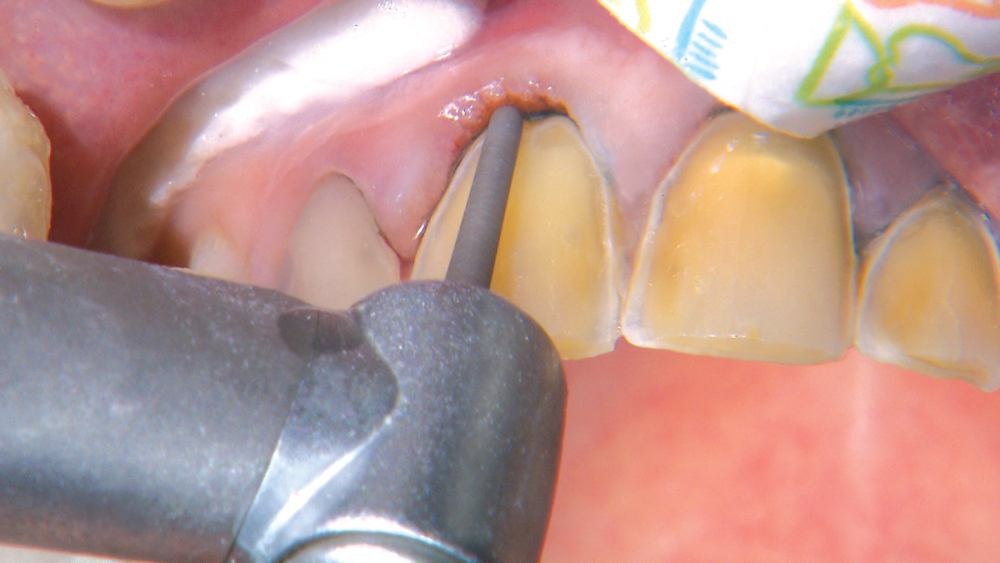
Figure 4: After placement of the cord, I refined the gingival margins with the same round-ended tapered diamond used to reduce the preps, positioning the margins along the soft tissue equigingivally. The tip of the bur is approximately 1.2 mm in diameter, so I ran it along the margins until nearly half of the bur was placed into the tooth. This helped create a clear chamfer along the margins and allowed for a uniform thickness of the final restorations in these areas. To follow the mesial to distal curvature of the anterior teeth, I ran the tapered diamond bur interproximally to a depth of about halfway into the contact area. Because we planned to lengthen the teeth, I flattened the incisal edges and terminated the margins at the incisolingual junction to include the entire incisal edge within the preparations.
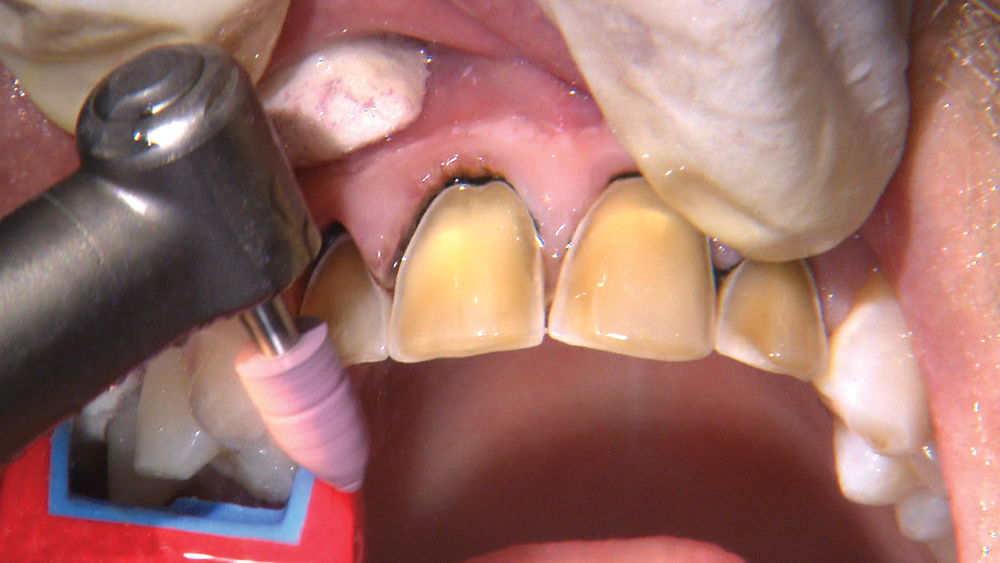
Figure 5: With preparations for all-ceramic restorations, it’s important to round off internal line angles to ease fabrication and to ensure the final restorations are well-adapted to the teeth, with minimal internal stress. I used a Venus® Supra coarse composite polisher (Heraeus Kulzer; South Bend, Ind.) at approximately 10,000 rpm to round over the sharp angles along the incisolabial interface. To ensure a smooth path of insertion for the veneers from the facial direction, I angled the incisal edges of the prep cervically from lingual to facial.
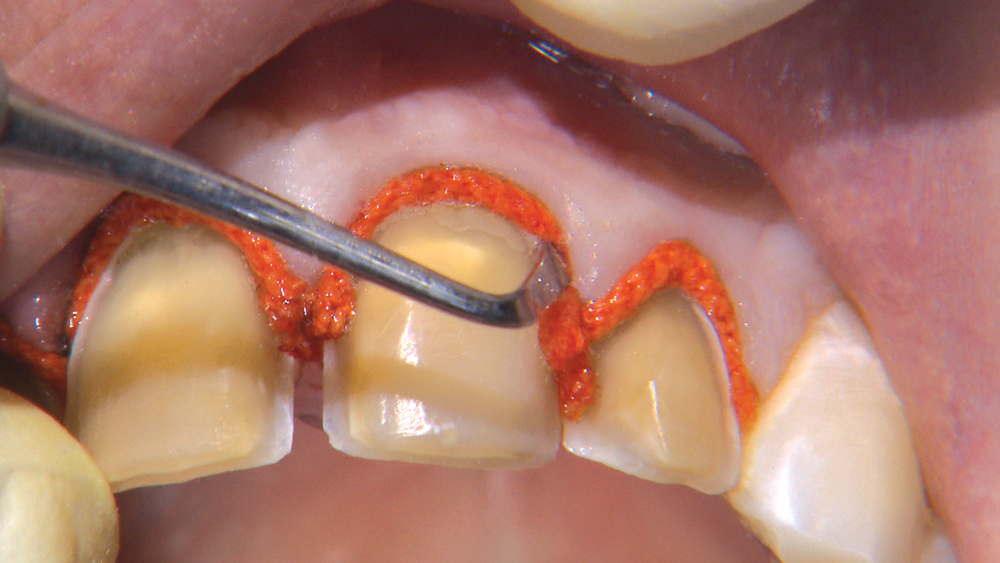
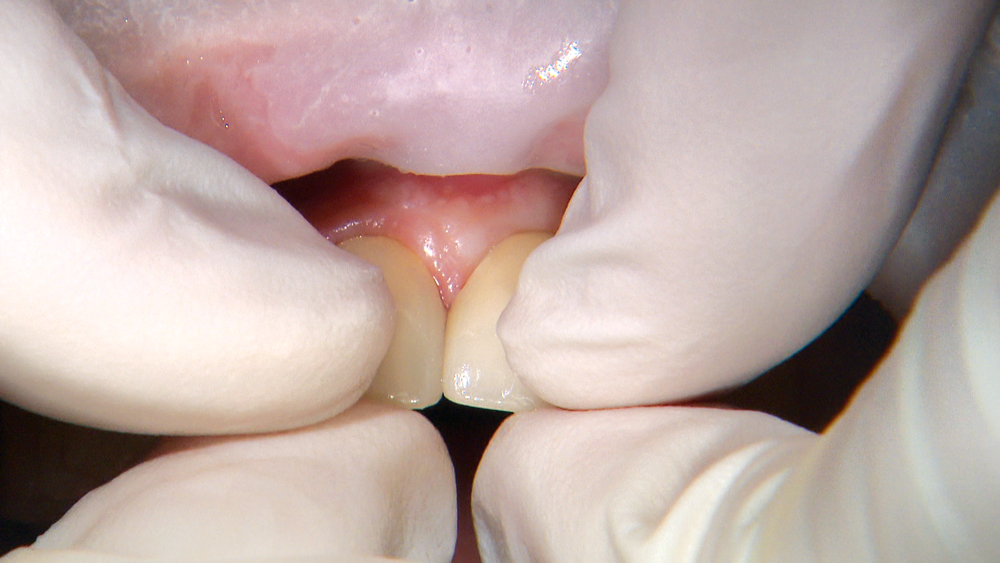
Figure 6: When the preps were completed, I used gentle pressure to push the second cord (size 2) into the sulcus, rotating the instrument out to secure it into place. I waited approximately five minutes for the cord to provide the desired retraction, and then I removed the larger top cord while leaving the smaller cord in place. Note: If you’re having trouble getting the cord to seat, go down a size until you find one that can seat adequately within the sulcus. The cord should be seated into the sulcus without much force, avoiding potential damage to the attachment.
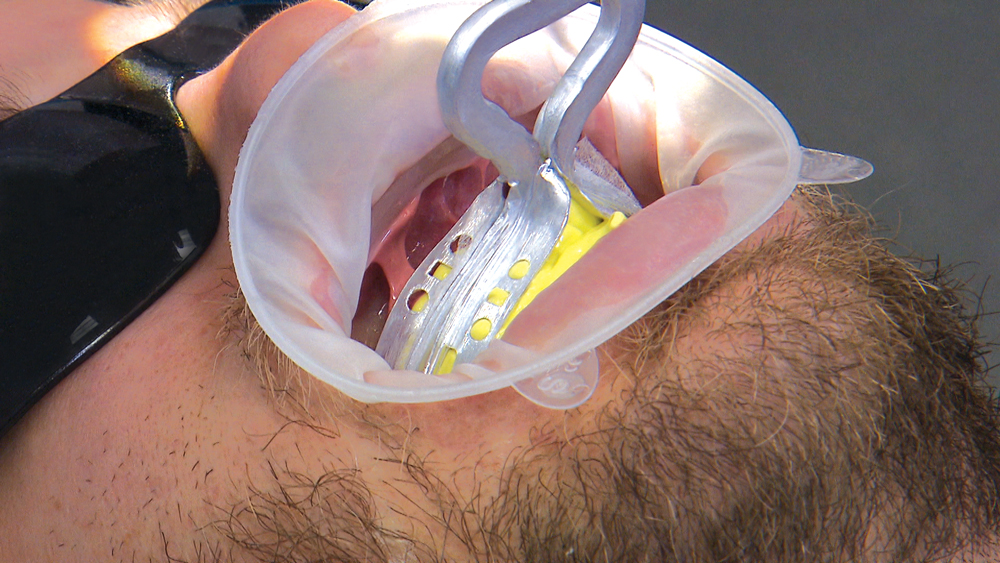
Figure 7: Adequate separation of the hard and soft tissue was achieved, allowing for the light-body impression material to flow into the area. This important step permits the lab technicians to clearly see where the margins are located.
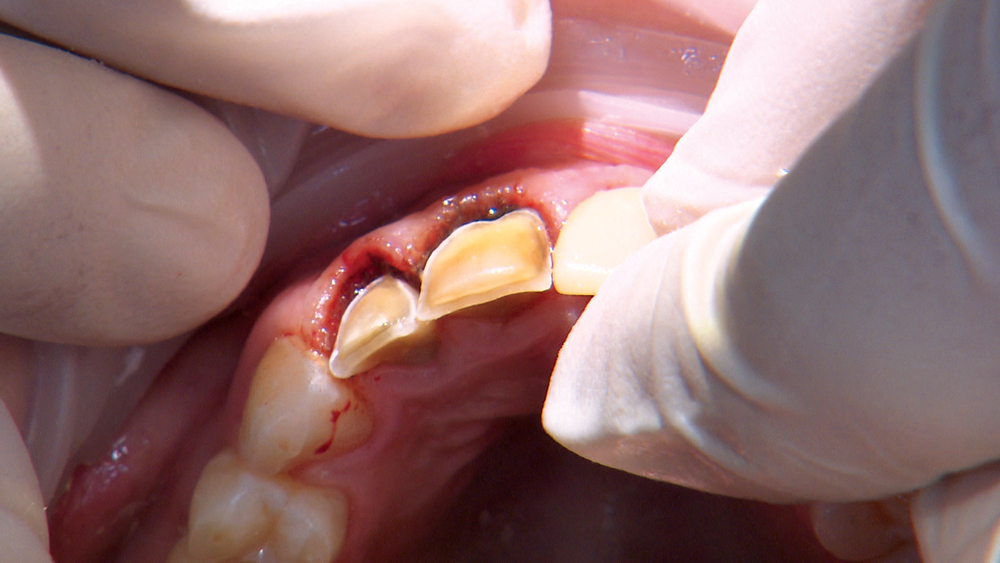
Figure 8: After taking the impression, I checked the fit of each BioTemps veneer.
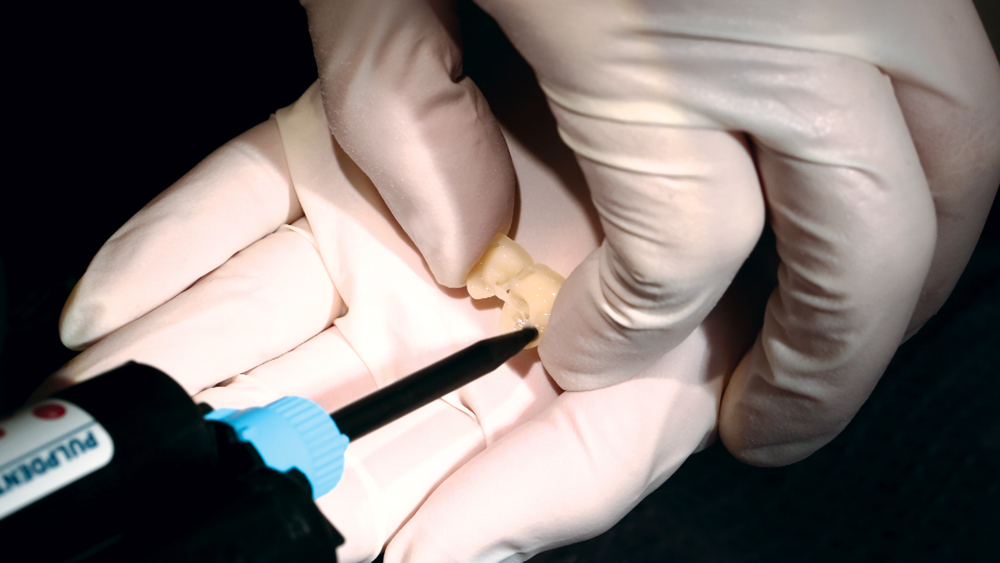
Figure 9: After thoroughly cleaning and drying the BioTemps provisionals, I relined their internal surfaces with Tuff-Temp™ dual-cure bisacryl material (Pulpdent; Watertown, Mass.).
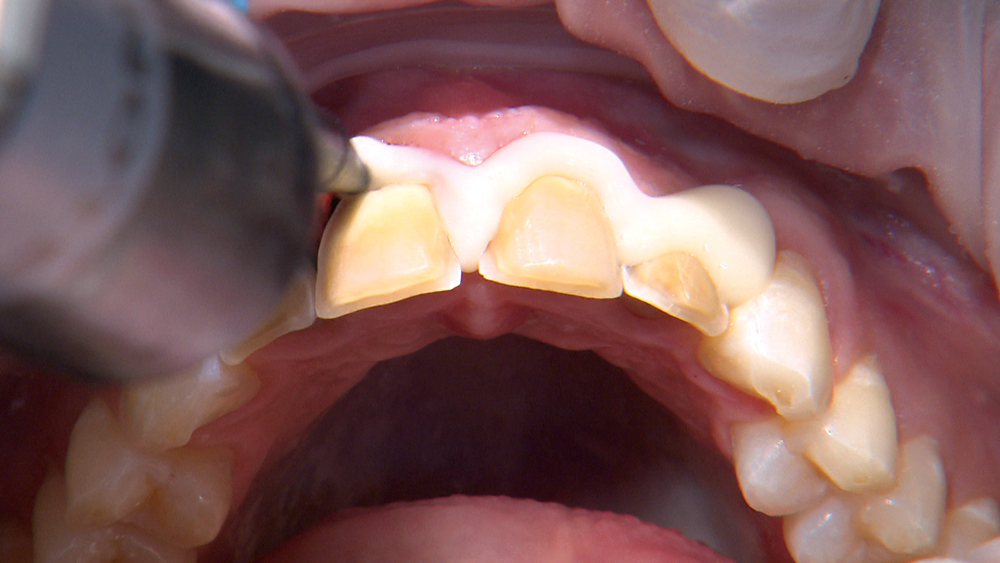
Figure 10: I then flowed the bisacryl material along the margins and seated the provisional veneers. I have found that this technique helps minimize bubbles along these areas.
Figures 11a, 11b: When provisionalizing veneers, a significant challenge is keeping them in place while the finals are being fabricated. I have found success by bonding them in at the center of the labial surface. The excess bisacryl material was trimmed away from the margins.

Figure 12: After the provisionals were bonded into place, I smoothed out the lingual margins with a composite polisher to blend with the tooth surface.
Figures 13a, 13b: I then used a fine football diamond to adjust the high spots on the provisionals while carefully avoiding the tooth structure, which can certainly alter the margin position.
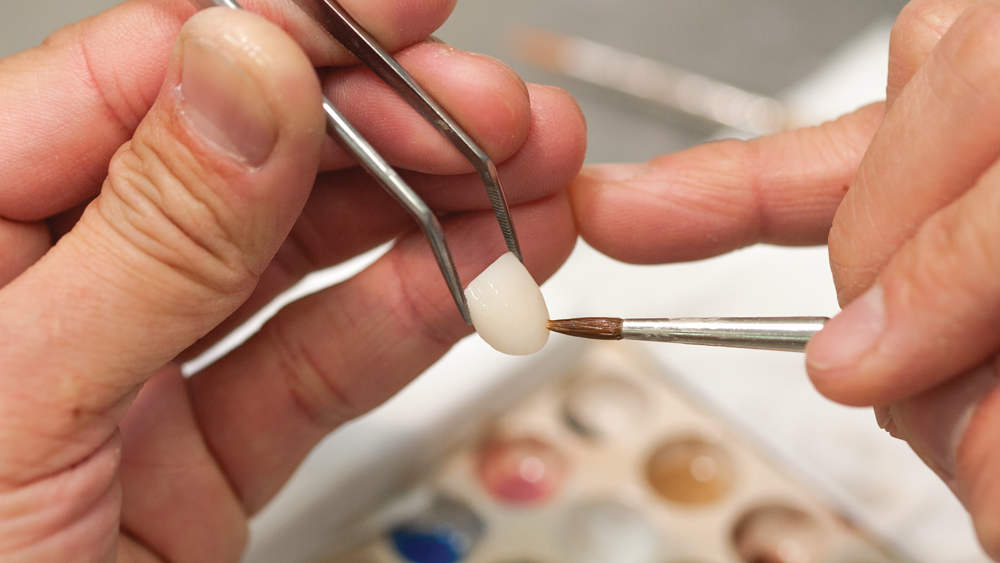
Figure 14: Ryan wore the provisionals while the lab fabricated the Obsidian veneers. A Glidewell Laboratories technician hand-stained the restorations to mimic the appearance of natural teeth.
Figures 15a, 15b: When it came time to remove the BioTemps veneers, after two weeks, I placed vertical depth cuts until the acrylic was thin enough to see the color of the preps showing through. I avoided cutting entirely through the provisionals with the high-speed tool so as not to inadvertently harm the preps beneath. When the material was thin enough, I twisted with the Christensen crown removal tool (Hu-Friedy; Chicago, Ill.) until the temps separated for a quick removal.
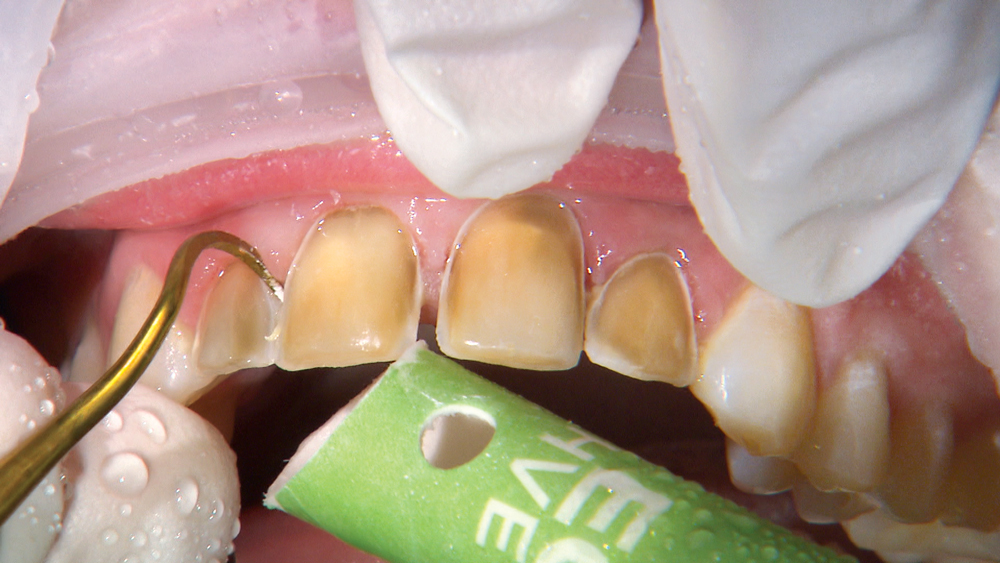
Figure 16: Any leftover material was removed from the tooth surface. Note that a slow-speed carbide round bur may be used to gently remove the excess.
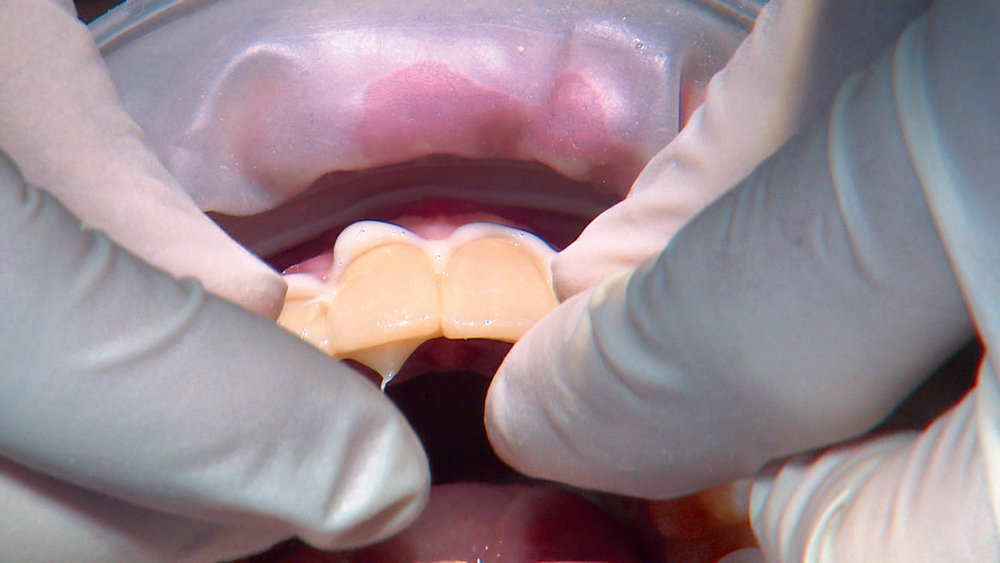
Figures 17a, 17b: The final Obsidian veneers were tried-in to verify proper seating and that the margins were flush with the teeth.
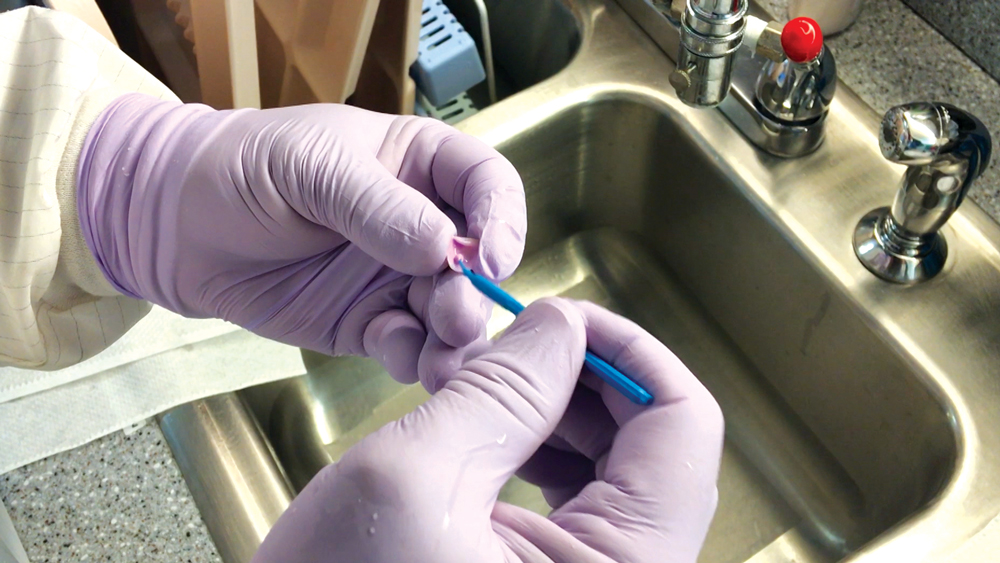
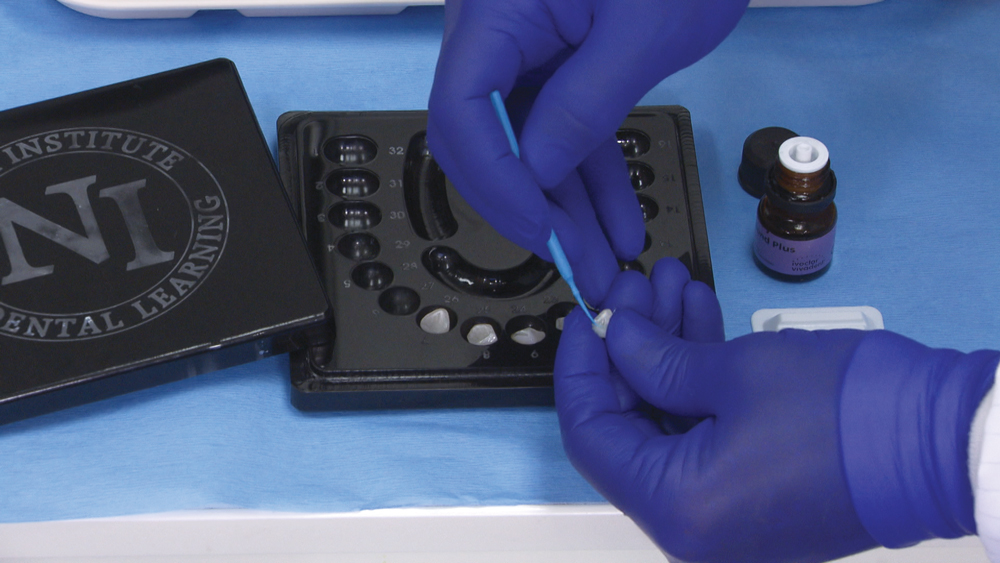
Figures 18a, 18b: To prepare the veneers for cementation, Ivoclean (Ivoclar Vivadent; Amherst, N.Y.) was applied to the internal surfaces for 20 seconds. The veneers were then rinsed and dried. Afterward, Monobond Plus (Ivoclar Vivadent) was applied; it contains the required silane coupling agent to allow the resin cement to adhere to the ceramic surface.
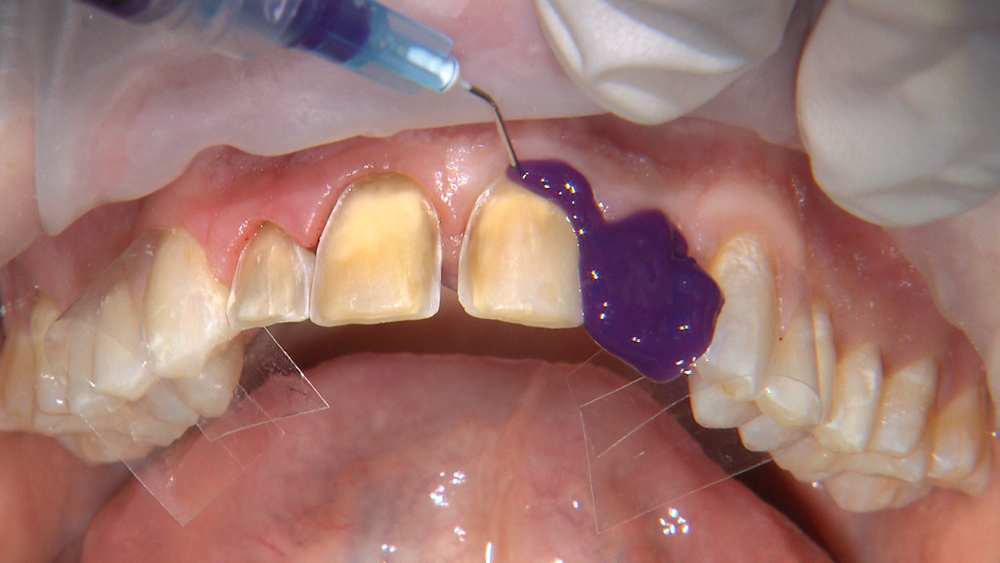
Figures 19a, 19b: For the preps, I used a total-etch technique to maximize the bond of these veneers. With clear mylar strips protecting the canines, the preps were etched with 37 percent phosphoric acid for about 20 seconds.
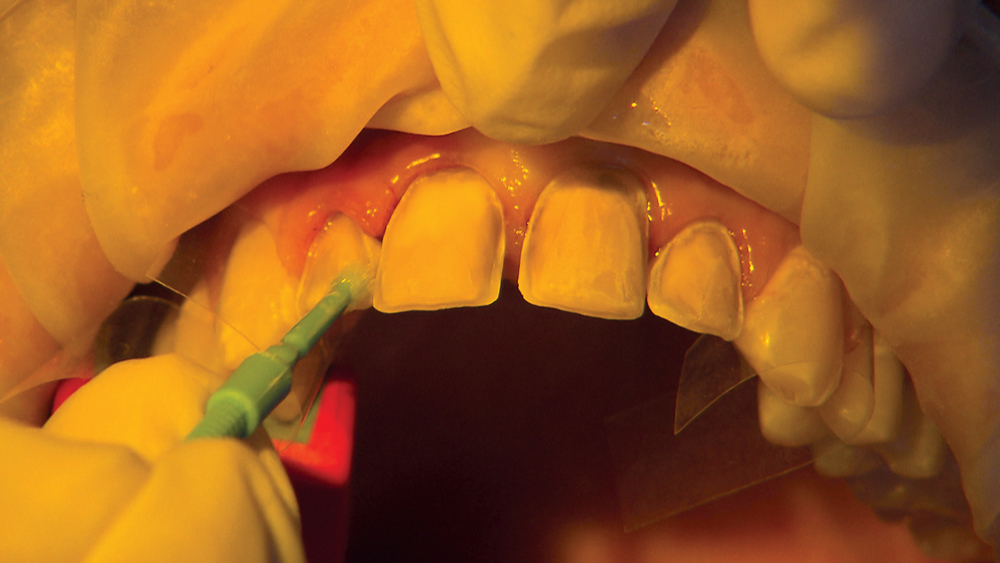
Figure 20: Next, I applied a thin layer of GLUMA® desensitizing agent (Heraeus Kulzer) to all the preps for at least one minute and aspirated any excess. I then applied a bonding agent along the margins and, with pressure, I scrubbed the material into the dentin for at least 20 seconds. This was done to allow the resin monomers to effectively infiltrate the collagen matrix.
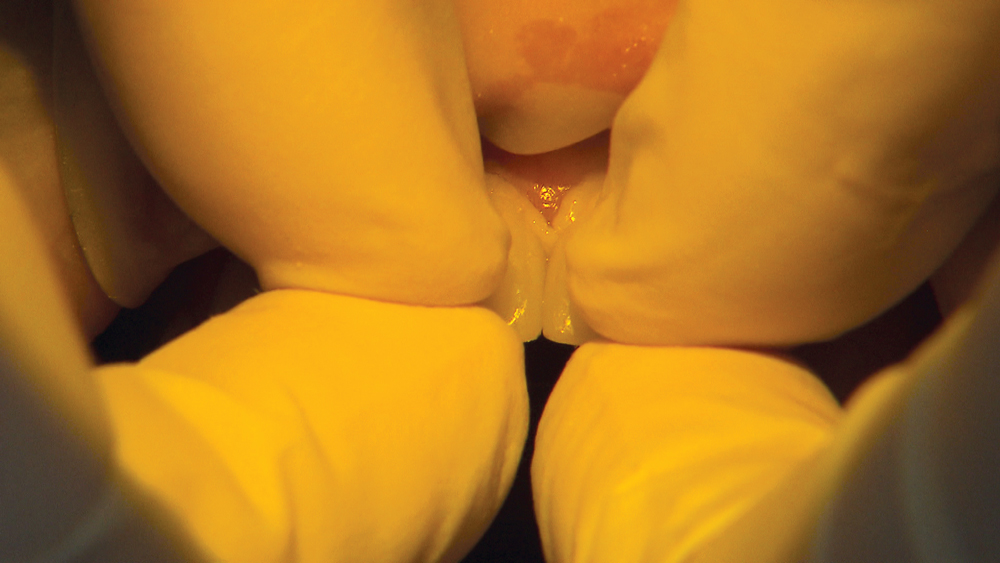
Figures 21a, 21b: I seated #8 and #9 using Variolink Esthetic resin cement (Ivoclar Vivadent). I use this cement for esthetic situations because it is available in five different shades that can increase or decrease the value as needed. There are try-in pastes that correspond with each of the shades, so clinicians can determine which shade will work best for each case. I chose to use the neutral for these veneers, as I didn’t need to alter the final shade with the cement. Once the veneers were fully seated, I tack-cured along the gingival margins to convert the cement into a gel state, which aided with the removal of any excess.
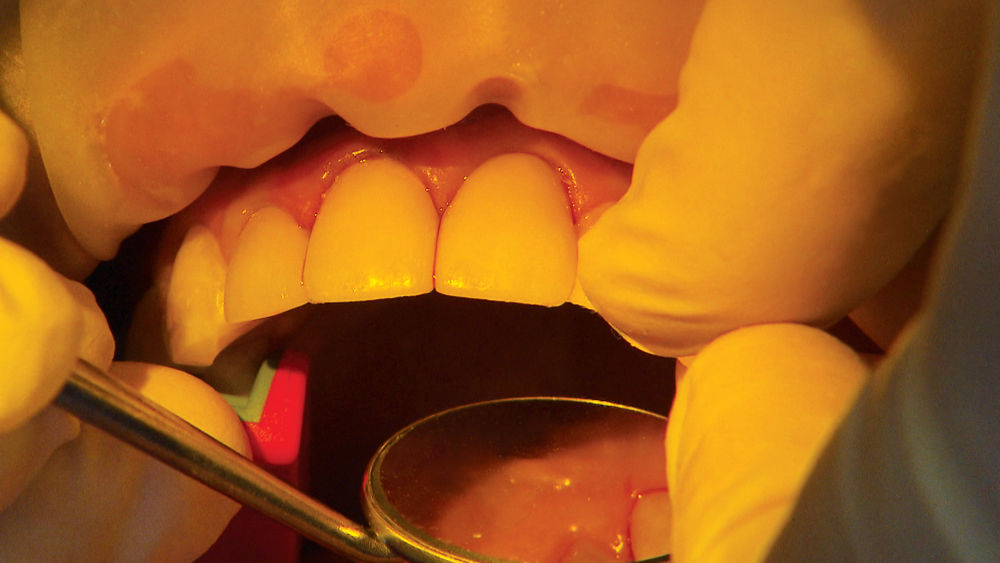
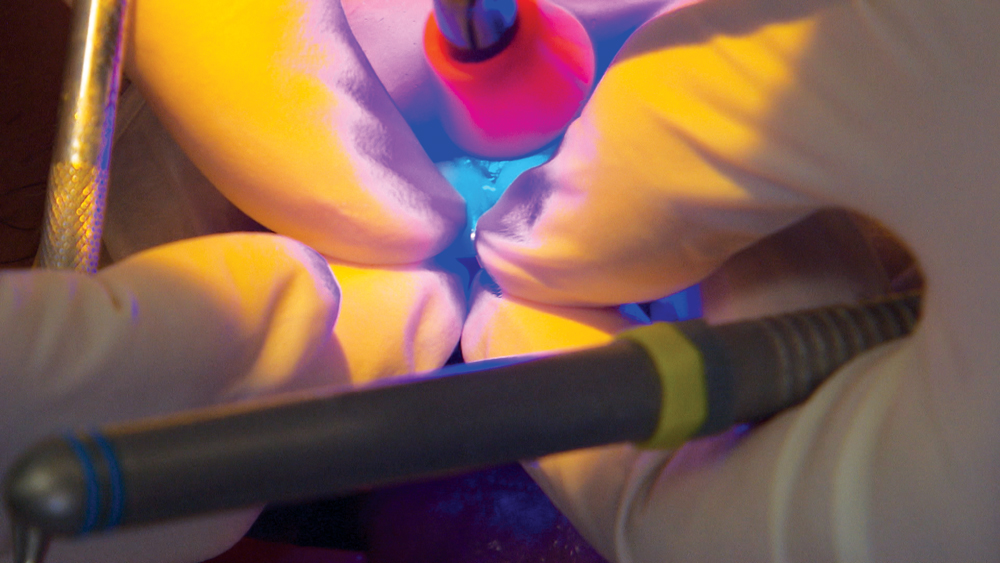
Figure 22: After most of the cement was removed along the gingival margins and lingual surface, I polymerized these areas more to help hold the veneers in place during the interproximal removal, which is usually the most challenging area. I repeated the same process on the laterals.

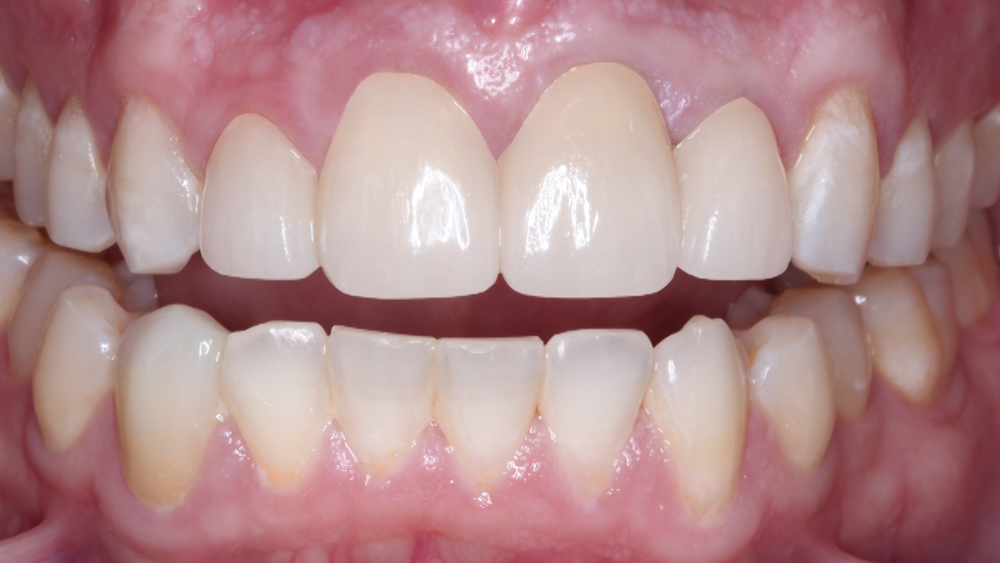
Figures 23a–23c: Describing his new smile as “electric,” Ryan was extremely happy with the final results. The Obsidian veneers provided a much more natural appearance than the old composite restorations and blended in very well with the rest of his natural dentition — and the treatment was completed in time for his friend’s wedding.
CONCLUSION
When Ryan first visited the office, his worn restorations from an unfortunate incident 17 years ago required reevaluation and repair. Restoring with Obsidian veneers provided him with a natural appearance and confidence that he can enjoy for many years to come. With 385 MPa of flexural strength, Obsidian offers a great combination of esthetics and durability, and it’s my material of choice for esthetically demanding cases.