In this issue:
Photo Essay – Predictable Esthetics with BioTemps® CAD
Author

For cases in the esthetic zone, achieving the desired final result is contingent upon the success of the previous stages of the restorative process. Maximizing the level of care exhibited throughout the diagnostic, preparatory and temporization phases enables the clinician to deliver a final restoration that satisfies the goals of the patient as well as simplifies the clinical procedures. Fortunately for today’s clinicians, there exist tools, technologies and materials that make accomplishing chairside esthetic excellence more accessible than ever before.
During treatment planning, the clinician must decide whether a diagnostic wax-up is necessary and whether the use of a chairside or laboratory-fabricated provisional will provide the best results. Though a chairside-fabricated temporary requires a lower investment in terms of cost and delivery time, the benefits brought about by a laboratory-fabricated diagnostic wax-up and temporary can significantly impact the final esthetic result. Glidewell Laboratories has offered BioTemps® Provisionals for nearly two decades, successfully providing dentists with a simple-to-use lab-fabricated temporary option. This year, the workflow behind creating diagnostic wax-ups and BioTemps in the lab was fully digitized, with the upgraded temporaries being designed virtually and milled from poly(methyl methacrylate) (PMMA) resin.
The following case demonstrates the use of BioTemps CAD Provisionals to temporize a patient in preparation for future all-ceramic restorations in the esthetic zone.
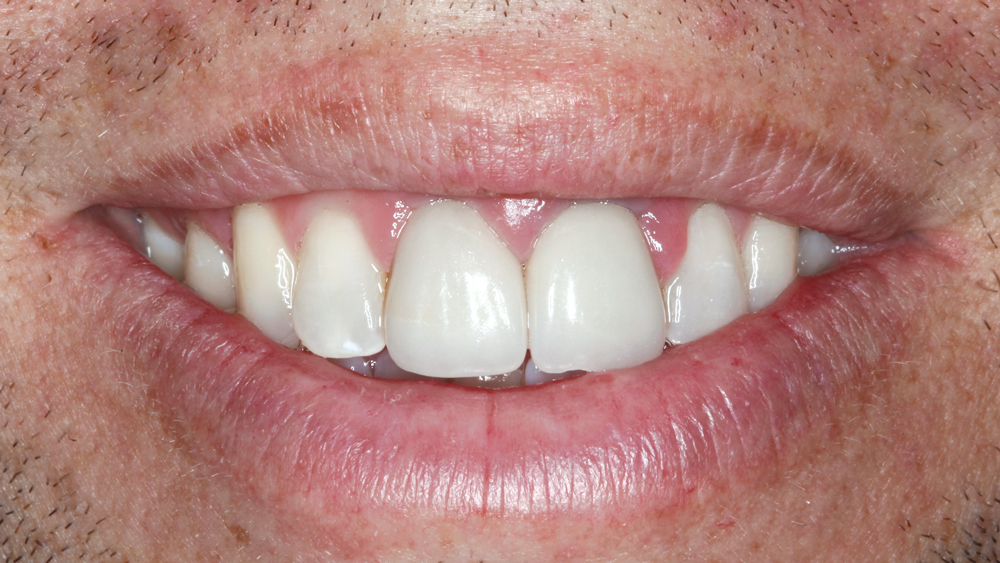
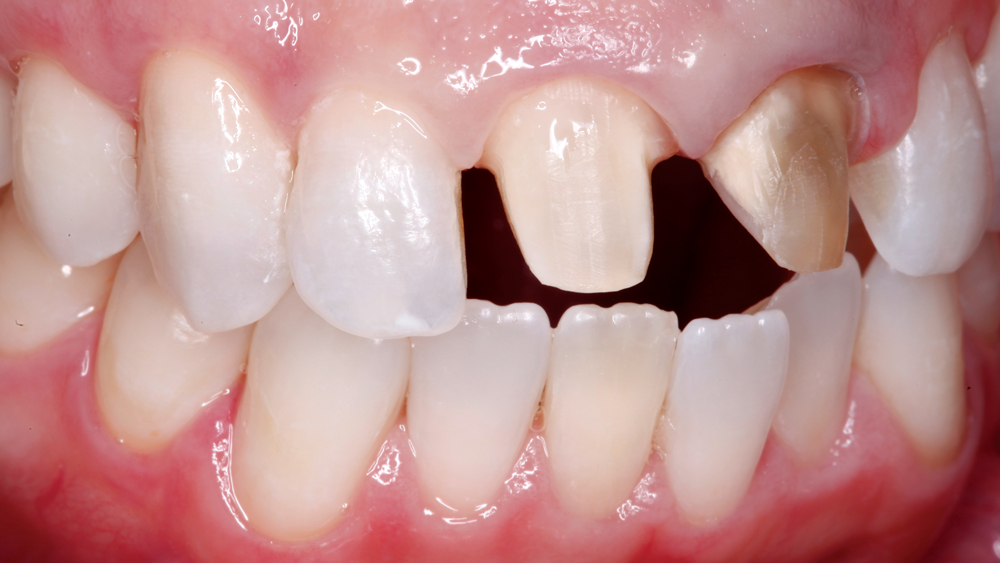
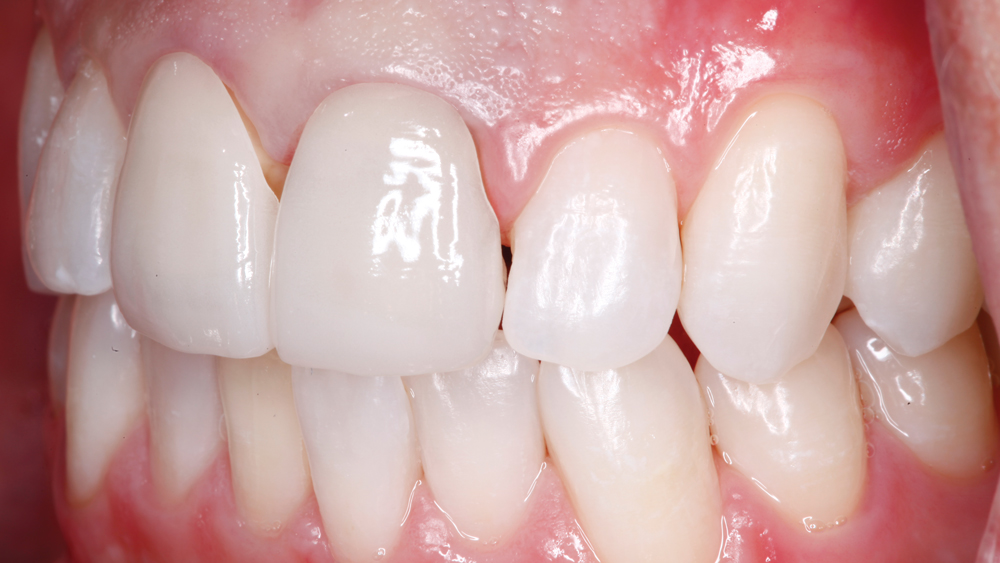
Figure 1: A patient presented to the operatory with the chief complaint of unesthetic restorations on tooth #8 & #9. He had suffered trauma to his centrals at an early age, with tooth #9 being treated with root canal therapy. The existing all-ceramic crowns had been in place approximately four years and were over-contoured and unesthetic
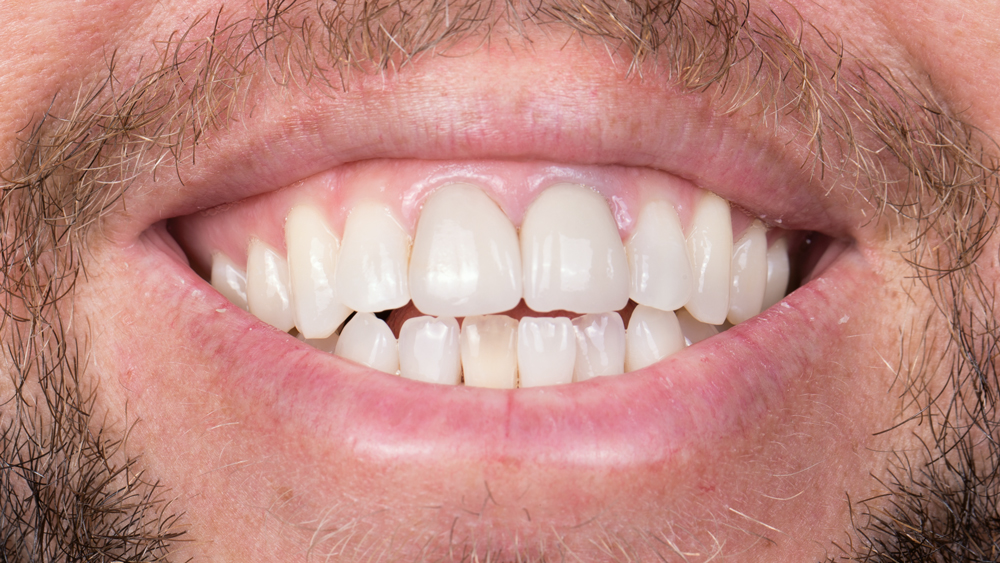
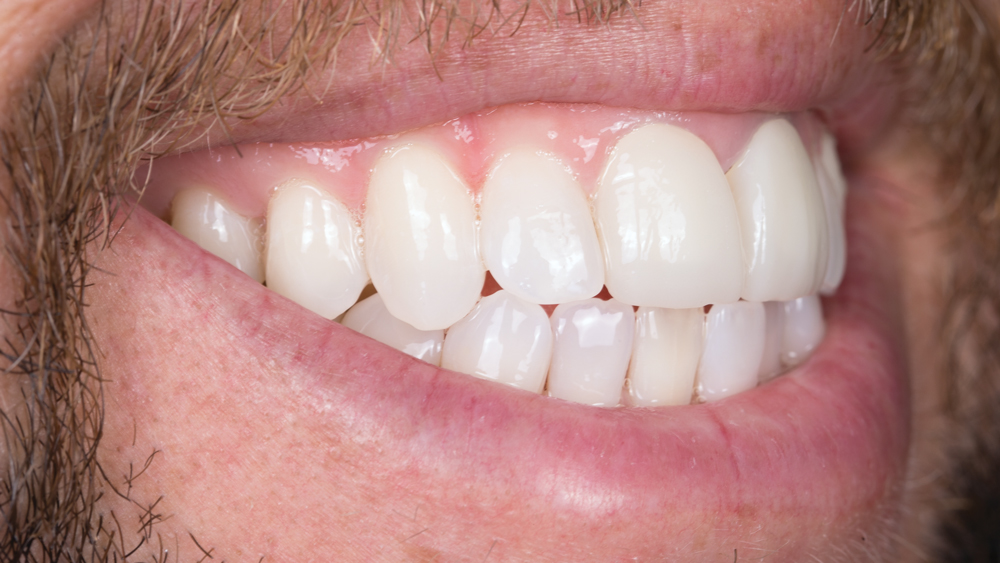
Figure 2: To begin developing a treatment plan for the patient, I approach the case from an extraoral perspective. Adding to the challenges of the case are a high smile line and an incompetent lip at rest. Inspection of the area to be restored reveals discolored gingiva due to intrinsic staining of the underlying dentin and cementum. Selecting a restorative material that will provide the optimum result becomes an important choice in this stage of treatment planning.
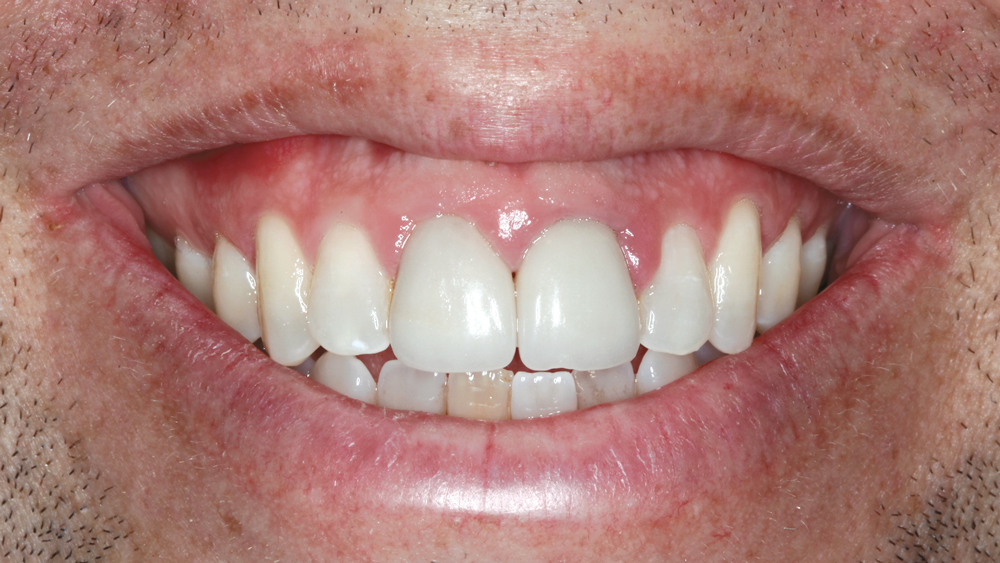
Figures 3a–3c: These images show the smile progression of the patient. His at-rest state demonstrates lip incompetence. Complicating the esthetics further, a significant portion of the gingiva becomes visible as the mouth progresses from partial to full smile.
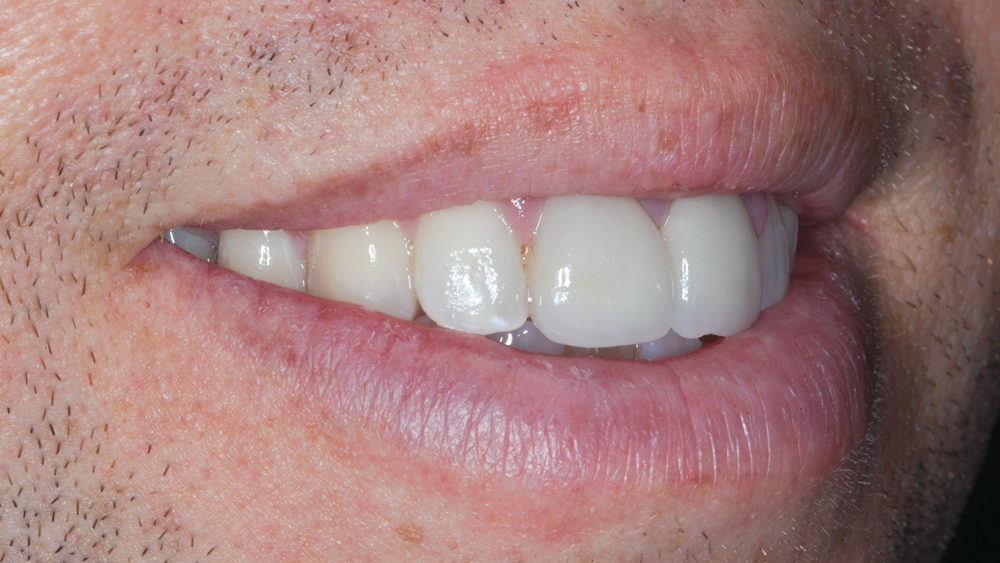 Figure 4a
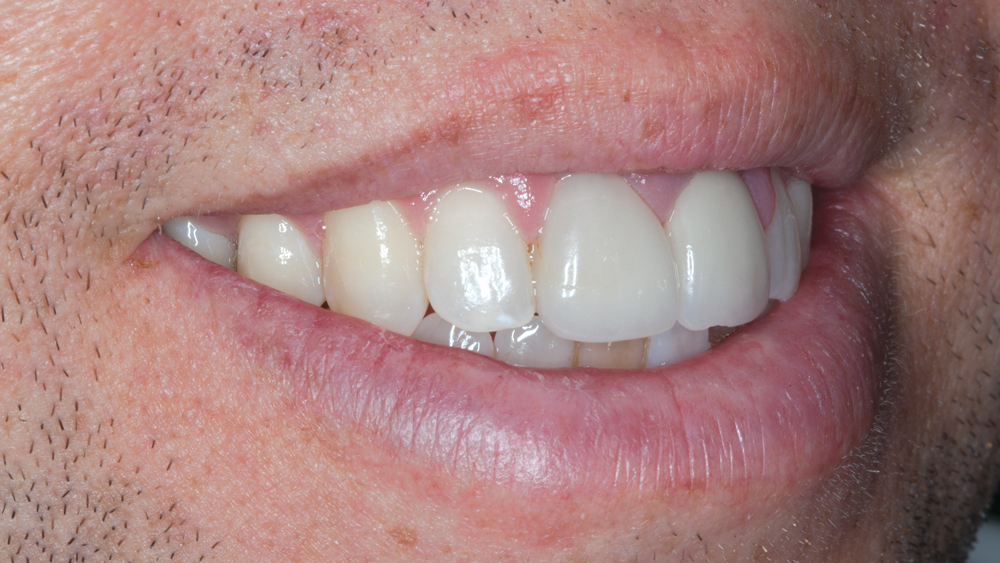 Figure 4b
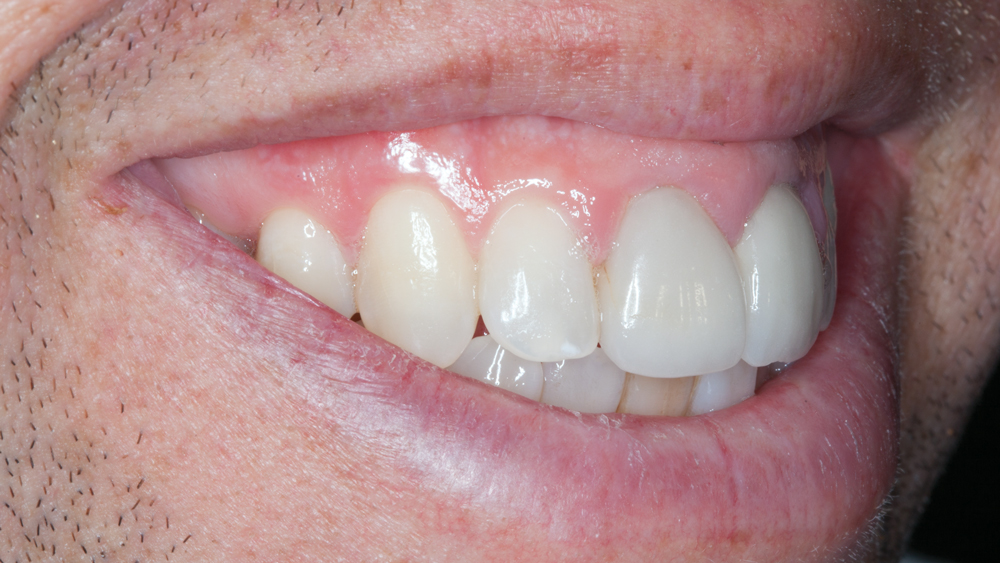 Figure 4c
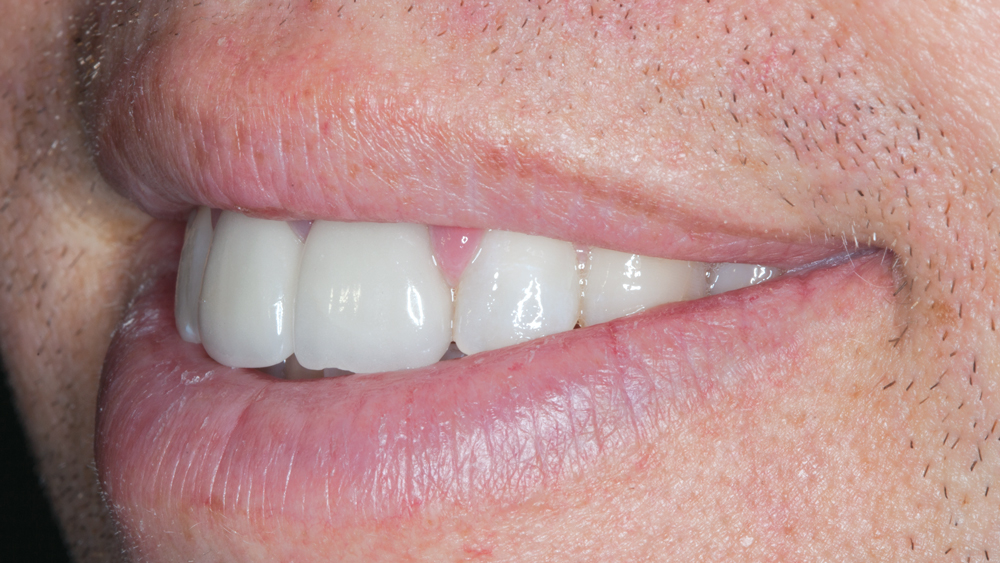 Figure 4d
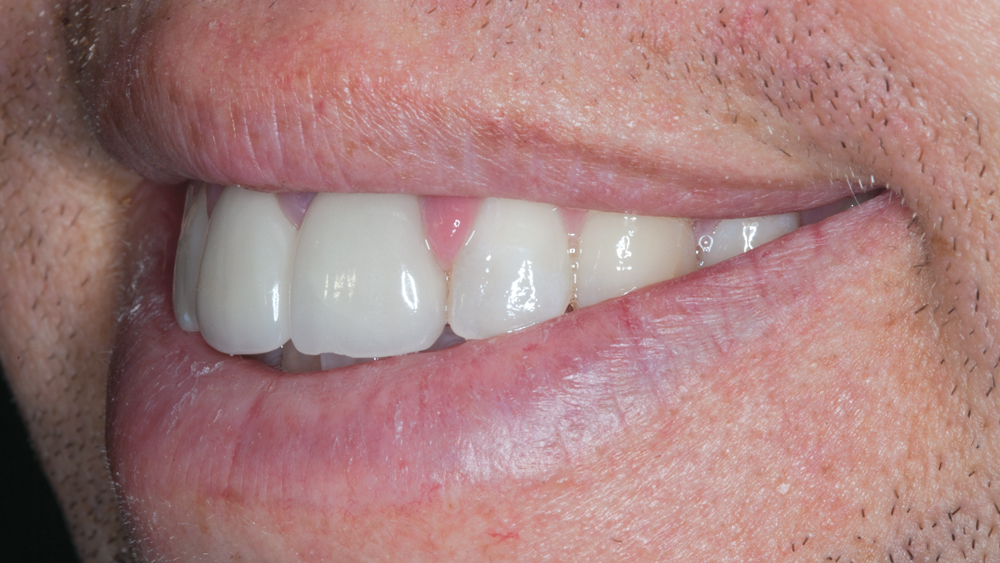 Figure 4e
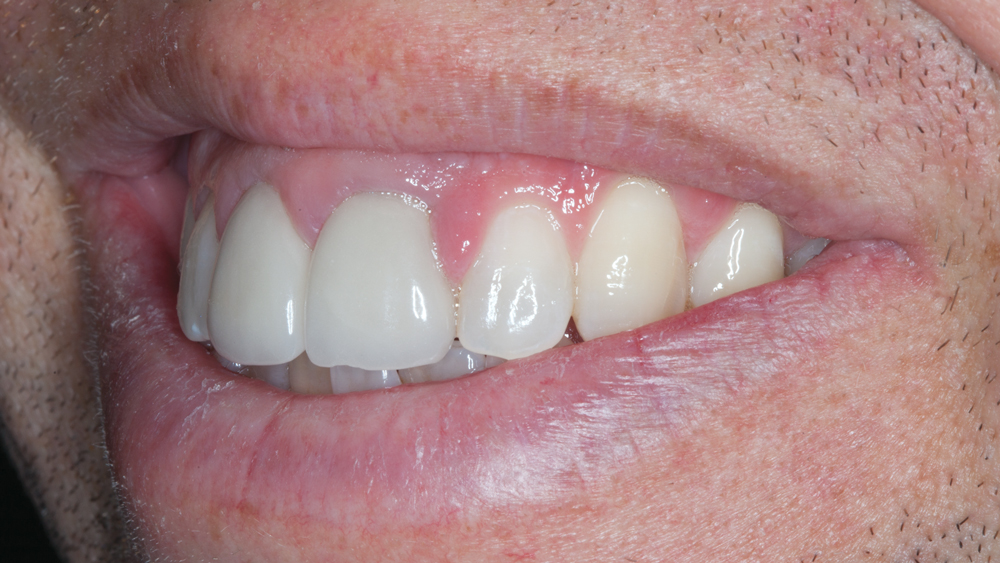 Figure 4f
Figures 4a–4f: The over-contoured existing all-ceramic crowns are exhibited during examination of the smile progression. The patient’s lip movement presents an esthetic challenge due to the high smile line.


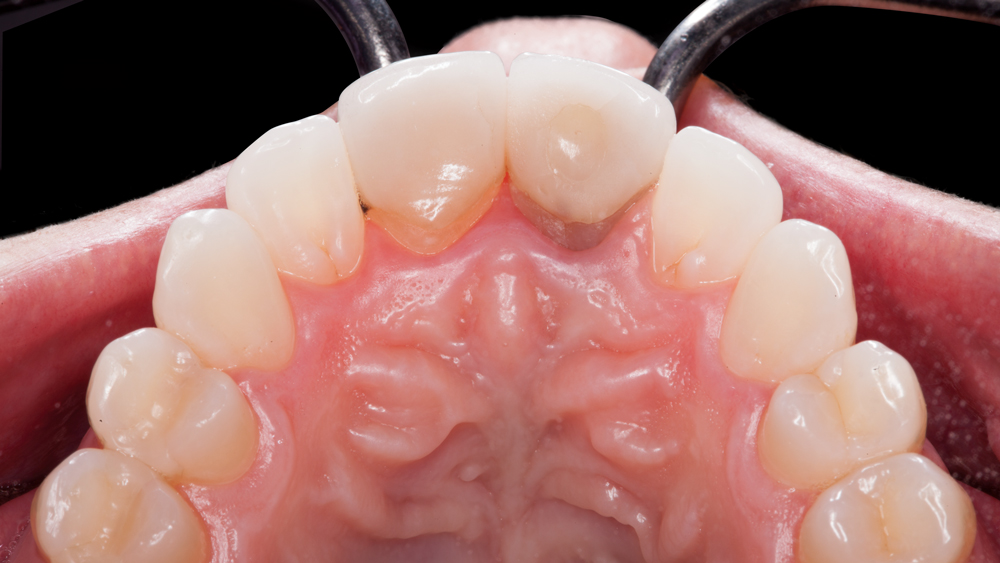
Figure 6: Prior to taking impressions for the BioTemps, impressions are made for the purpose of custom at-home bleach trays. Then, preoperative vinyl polysiloxane (VPS) impressions are made for the BioTemps CAD Provisionals.
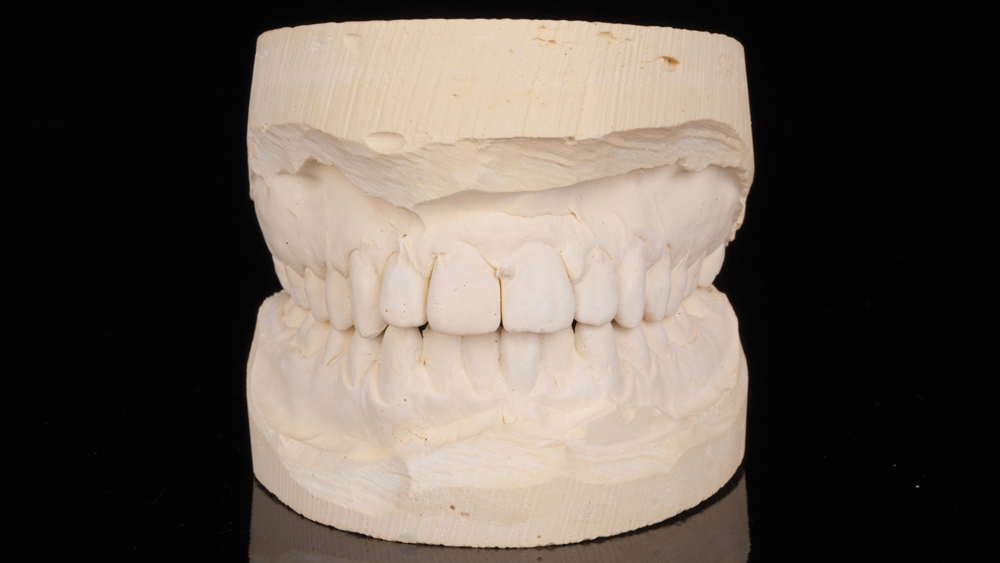
Figure 7: The impressions are sent to the laboratory for the fabrication of a master stone cast.
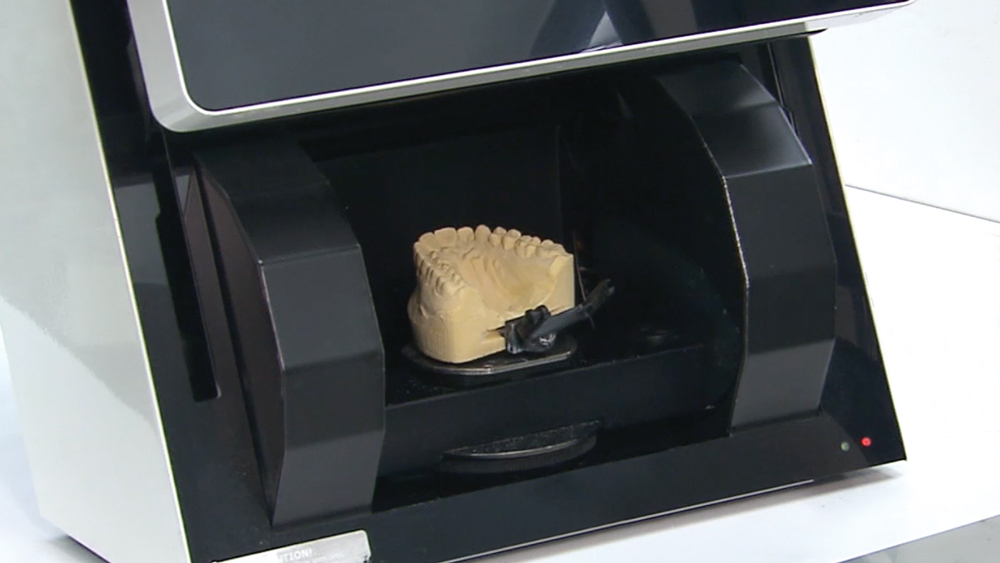
Figure 8: Once the master cast is produced, the technicians will utilize a desktop scanner to digitize the working arch, the opposing arch and an interocclusal registration. The data is then imported into design software.
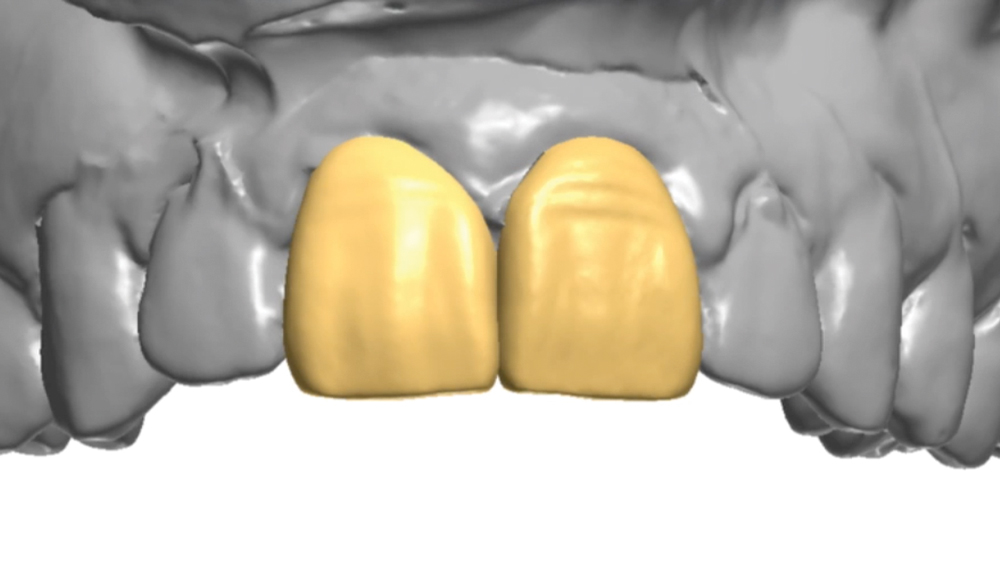
Figure 9: Utilizing the software, the occlusal plane is marked. This informs the software how the data set should be positioned in the 3D space. Then, the technician will use the margins of the existing restorations as a rough guideline to place the new margins. The new margins are set similar to a crown preparation, except more coronally on the interproximal than they are on the facial and lingual. With the occlusal plane and margins set, the software generates BioTemps over the existing dentition. These new digital provisionals can be further contoured and enhanced as necessary by the technician.
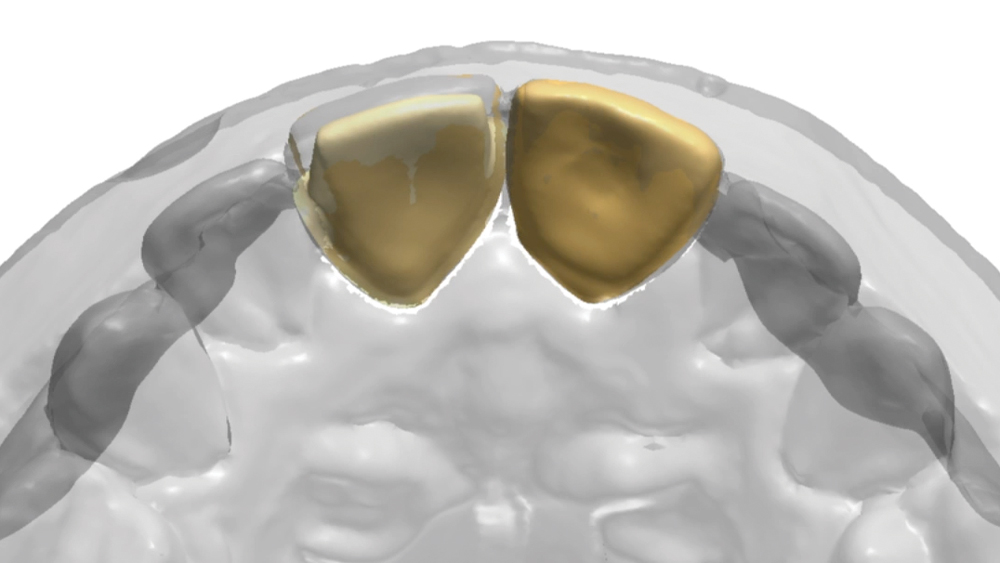
Figure 10: With the location set and the contours completed, the technician will trigger the software to perform the virtual prep. This step creates a minimum, uniform thickness of the BioTemps Provisional around the entirety of the existing tooth structure, performing a precise digital tooth reduction. With this step, clinicians receive a BioTemps Provisional that’s uniform in thickness. Personally, I appreciate that the automated virtual prep thickness is thin, as it provides for a range of preparation reduction at the next appointment. You are able to minimally prep the teeth if that’s what is required.
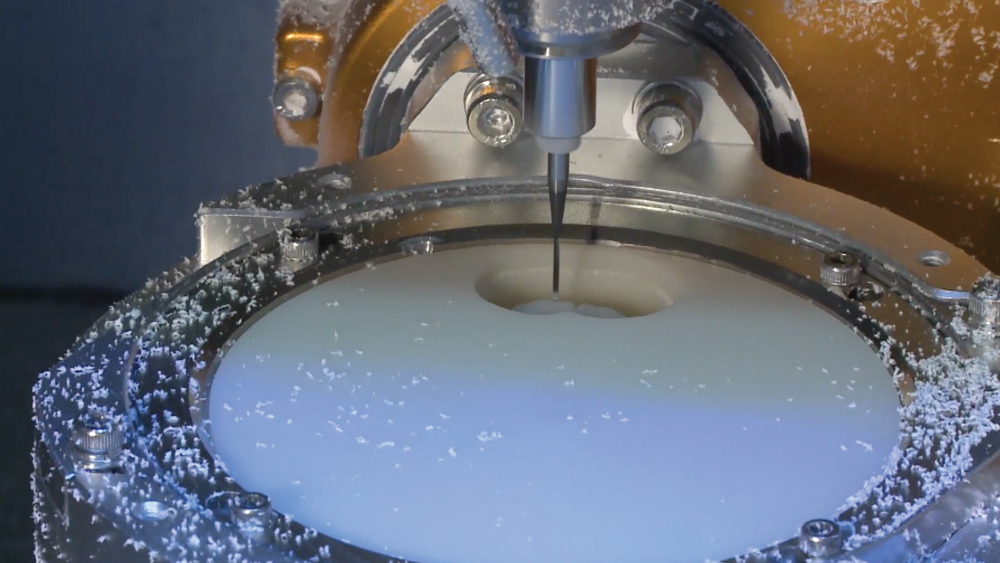
Figure 11: Once the digital file is finalized, the technician “nests” the design into a milling blank, placing the BioTemps file within a digital representation of the milling block, which allows the milling unit to recognize the desired orientation and position of the interim restoration within the physical milling blank. The nested digital file is then transferred into a physical machine and the milling takes place. Within minutes, the mill produces a BioTemps CAD Provisional that is very close to completion.
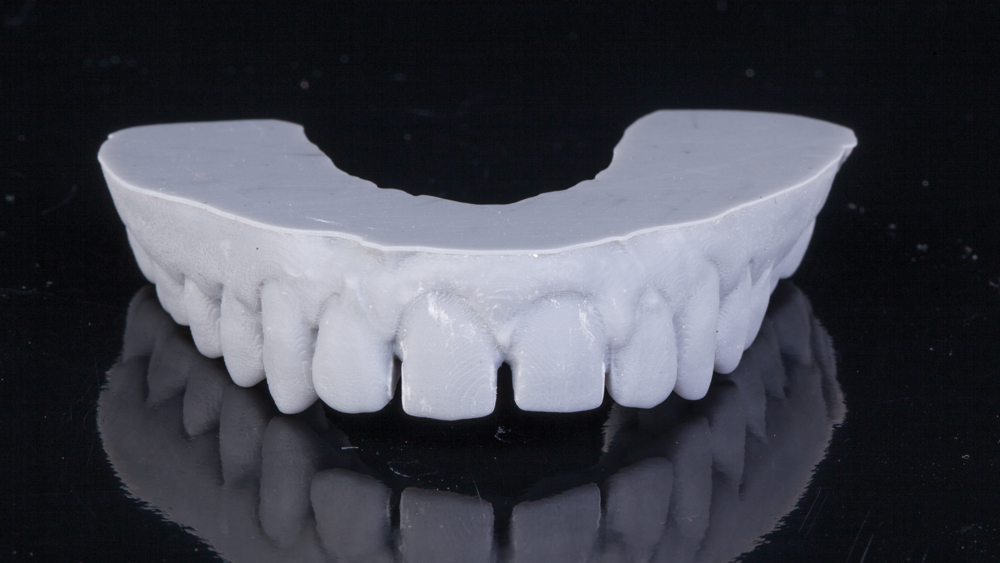 Figure 12a
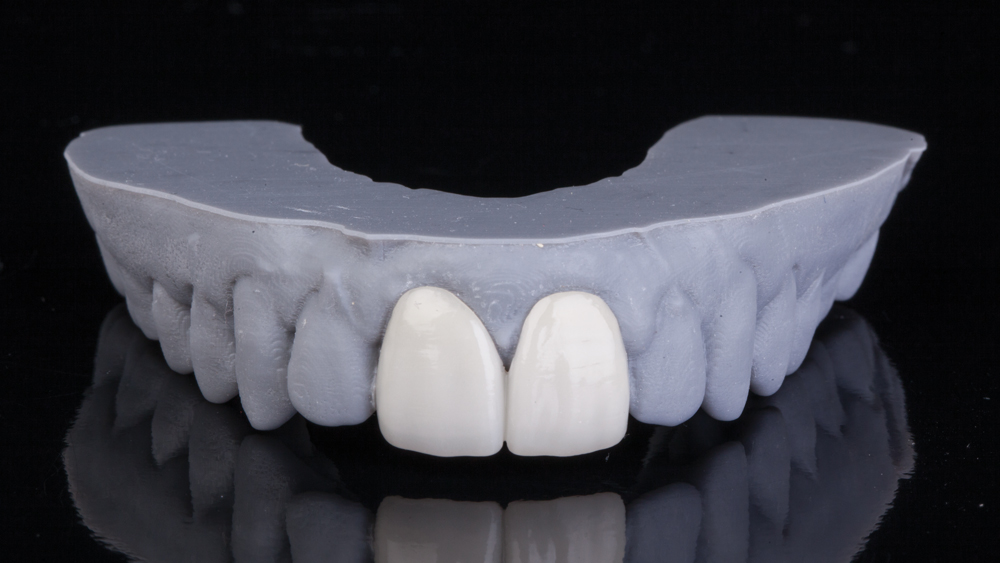 Figure 12b
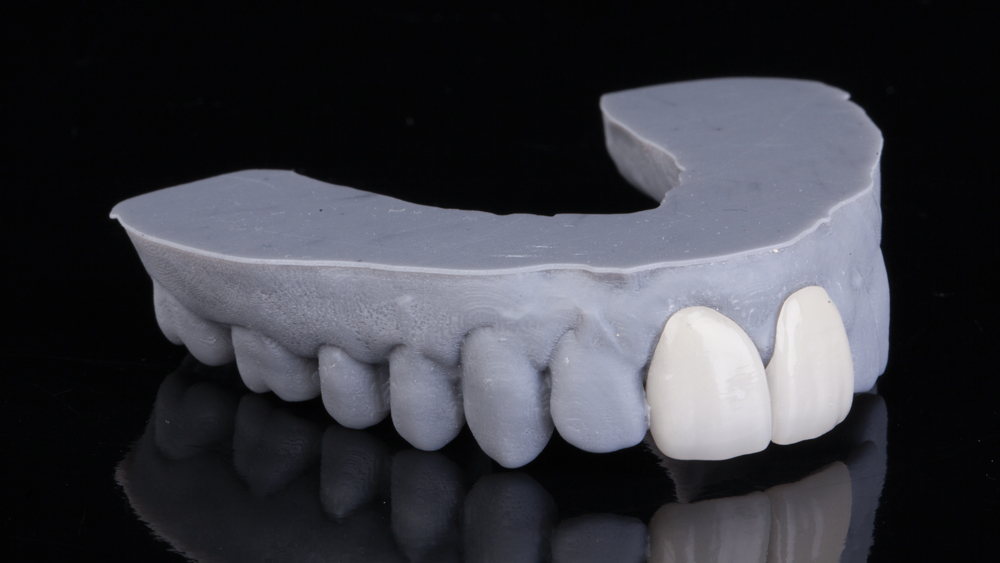 Figure 12c
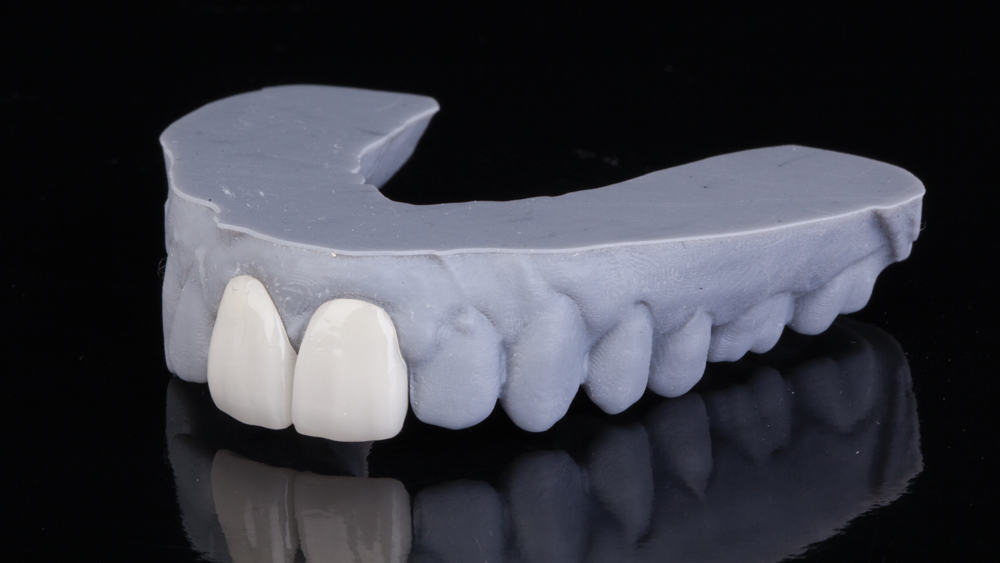 Figure 12d
Figures 12a–12d: Upon request, our technicians can use the digital data to produce a diagnostic wax-up. If this scenario is desired, a physical wax-up is fabricated with a 3D printer. The advantage is that the clinician can see exactly how the provisionals fit and seat on the preparations, as well as how much reduction must be achieved to seat the BioTemps. Before the BioTemps CAD Provisionals are shipped, a technician will stain and glaze them to blend with the existing dentition.

Figure 13: With the BioTemps fully fabricated, the patient returns for a second visit. The area is anesthetized and the existing all-ceramic crowns are removed. The previous dentist was overly conservative with the initial preparation, resulting in bulky final restorations. Many clinicians practice very conservative, well-intentioned dentistry; however, vetted restorative materials feature specific reduction guidelines that should be followed when possible to produce the best results.
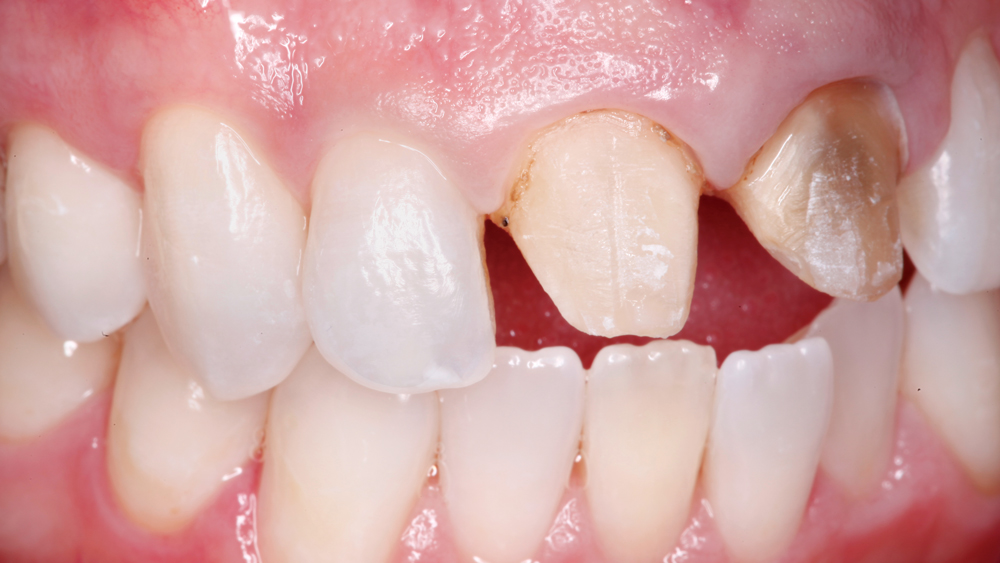
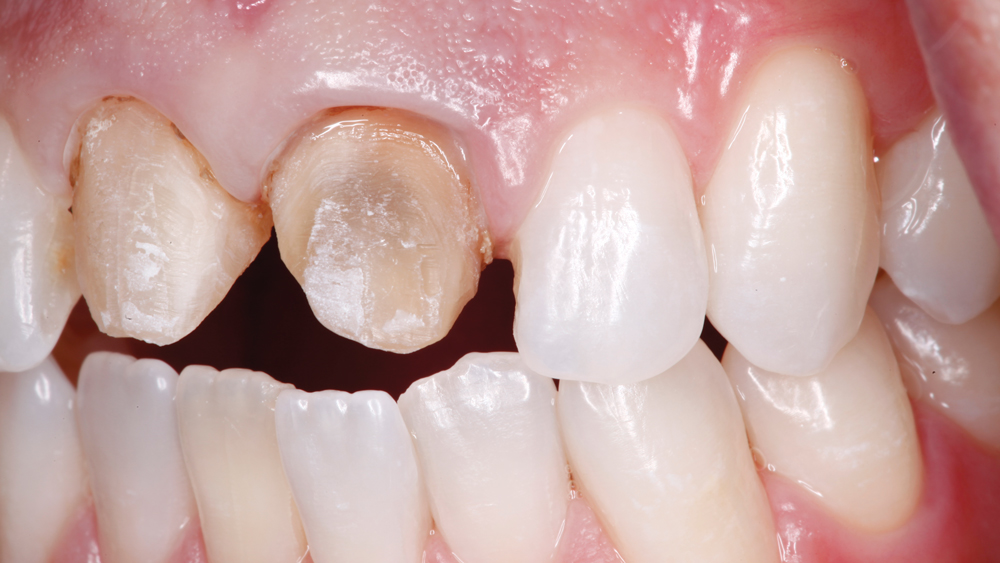
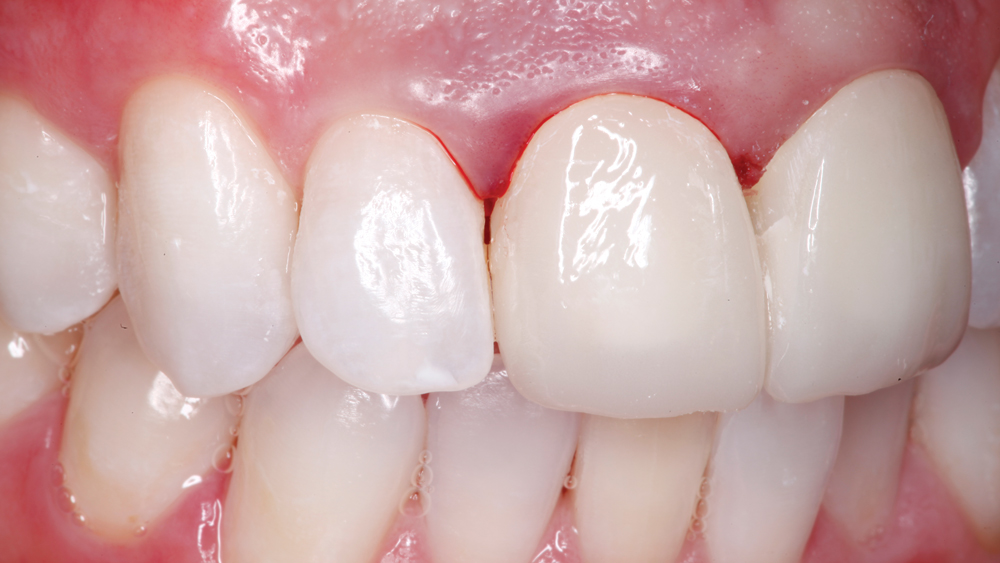
Figures 14a, 14b: Removal of the crowns means I am able to fully examine the existing preparations. It’s confirmed that tooth #9 has a darker dentin shade than tooth #8, and our materials selection will be based on the ability to block out the discolored tooth.
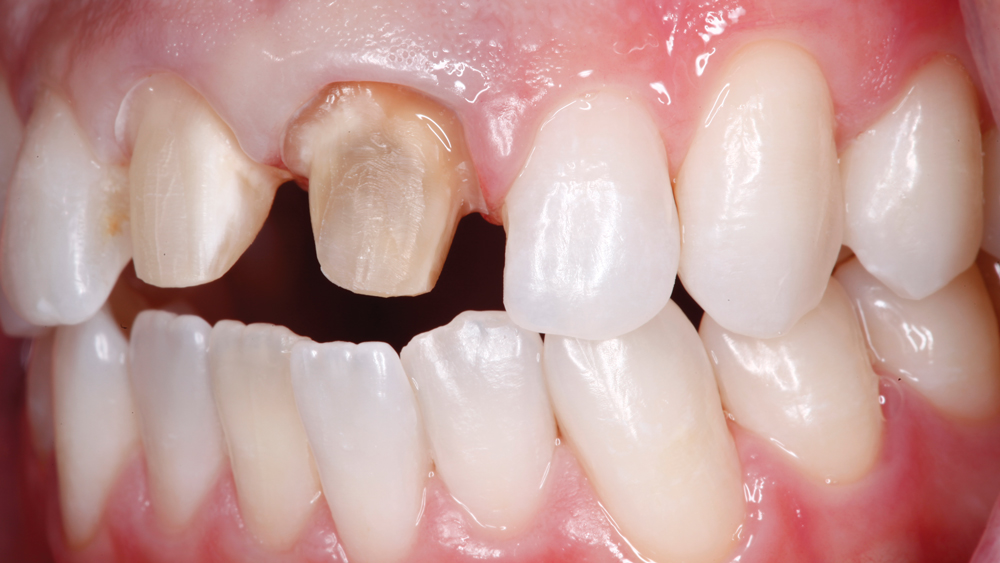
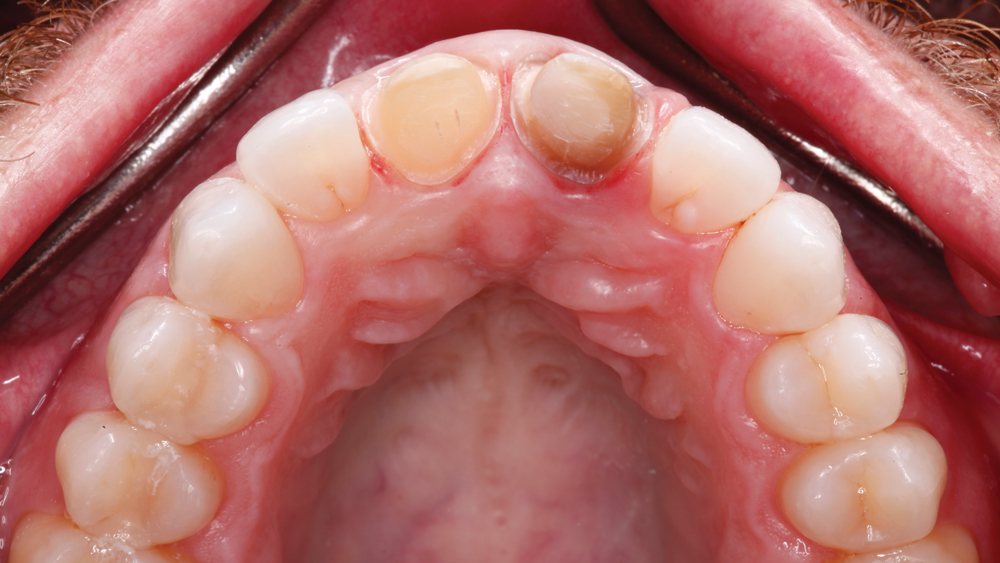
Figures 15a–15c: Tooth #8 & #9 are prepared for placement of the BioTemps CAD Provisionals. Due to the dark dentin shade of tooth #9, the facial margin is prepared slightly subgingival. Though there are solutions such as internal bleaching, the long-term complications often outweigh the benefits.
Figures 16a, 16b: At this stage the BioTemps are seated on the preparations. Seating of the BioTemps verifies that the proper amount of reduction prior to relining the provisional was achieved. Tuff-Temp™ Plus (Pulpdent Corporation; Watertown, Mass.) provisional crown and bridge resin was utilized for the reline of the BioTemps.
Figures 17a, 17b: With the reline completed and the excess trimmed and polished, a try-in of the BioTemps CAD Provisionals is required to check for proper margins and occlusion prior to delivering them with temporary cement. After cementation and removal of excess temporary cement, the interproximal space between tooth #8 & #9 is cleaned with Oral-B Super Floss™ (The Procter & Gamble Company; Cincinnati, Ohio). The patient is also given a package of Super Floss, and oral hygiene and flossing instructions are reviewed.
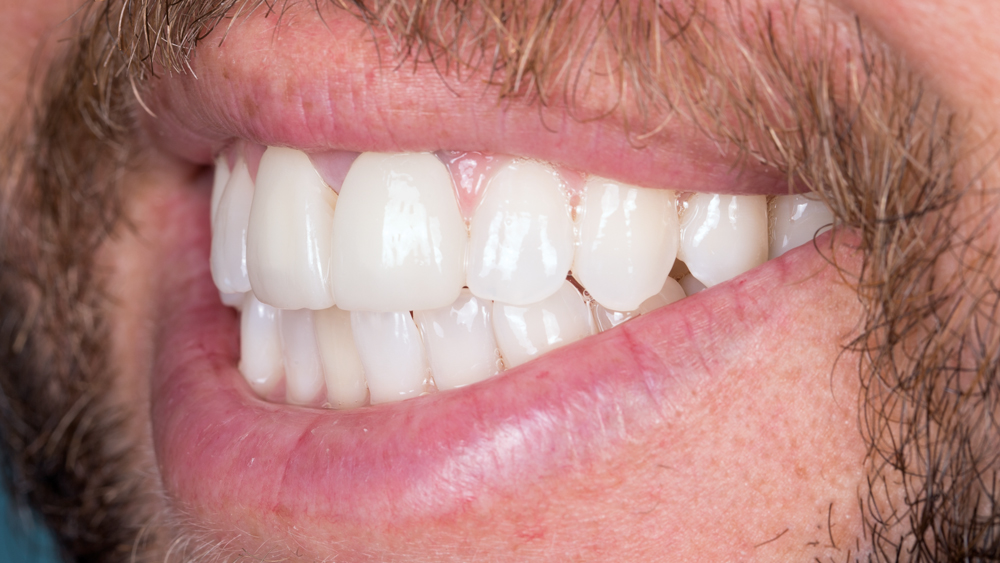
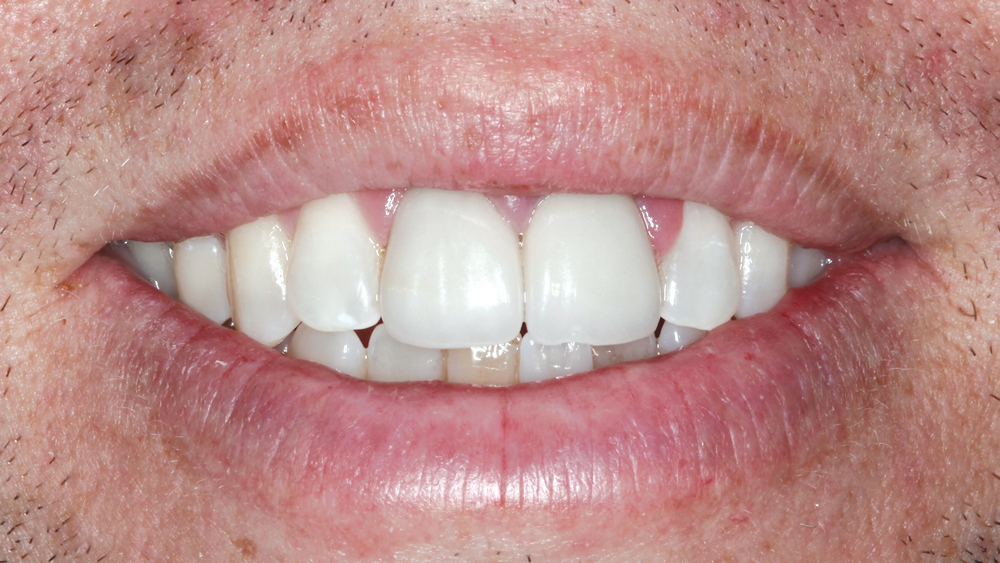
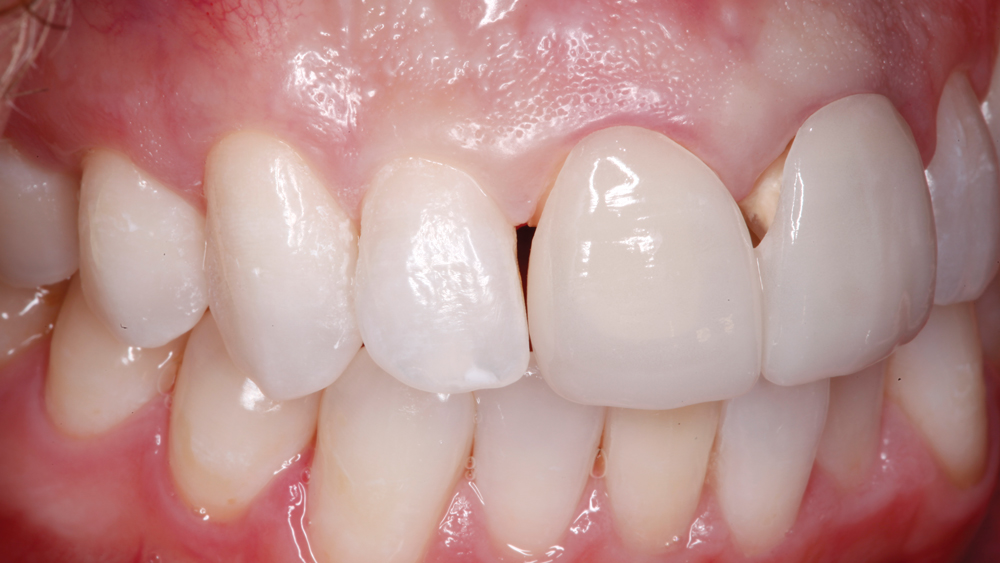
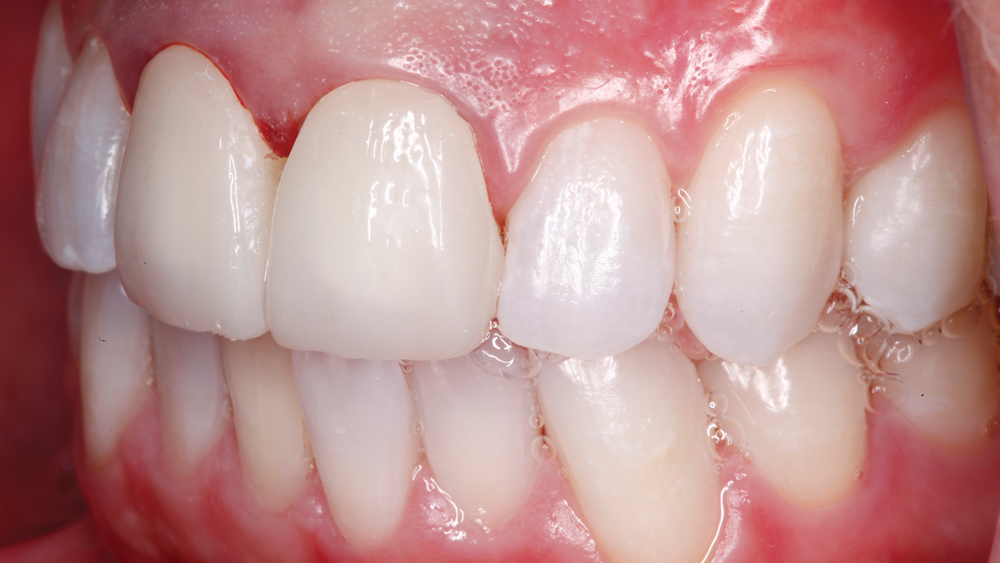
Figures 18a, 18b: After one week, the patient returns for a follow-up appointment. At this stage, photos are taken to highlight the appearance of the BioTemps CAD Provisionals in place. Note the gingival health with the BioTemps in place after a single week of healing.
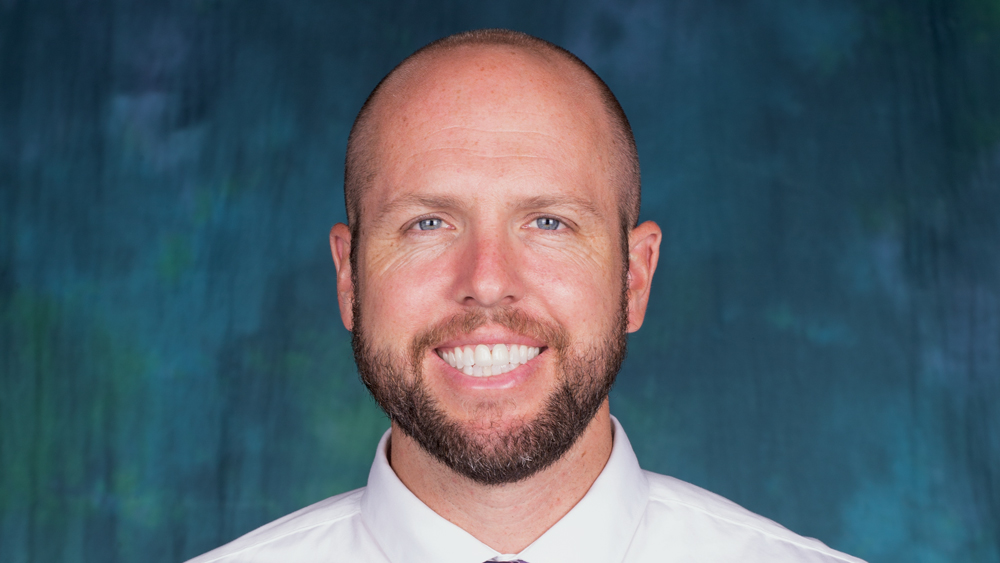
Figure 19: This case is now ready to move forward to selection of the final restoration.
Conclusion
This was a challenging esthetic case because of the patient’s high smile line. However, the computer-designed contours of the BioTemps promoted optimal tissue healing. Combining precisely shaped restorations with methodical diagnosis and preparation can bring about outstanding results.