Reverse Preparation Technique Photo Essay
I hate to sound like a broken record, but dentists typically don’t reduce enough when preparing full coverage restorations. I know that from walking through the lab and measuring models for crowns on cases where we have a preoperative model available as well. I also know that from chronically under-reducing my own crown preps for the first 13 years of my career.
I tried almost every technique out there for verifying adequate reduction until I finally found one that works extremely well and doesn’t slow me down — depth cuts. I had been taught to use depth cuts in dental school but in a clumsy way. The introduction of a new depth cut bur by Axis Dental changed that. I incorporated those depth cuts with another technique I had picked up for preparing beautiful gingival margins, and together they form the Reverse Preparation Technique.
This photo essay shows the individual steps of the technique, although it might be helpful for you to view it on our website at glidewelldental.com. It is the “Rapid Anesthesia, Reverse Preparation & Two-Cord Impression Technique” program, and it is also available on DVD free of charge from the laboratory.
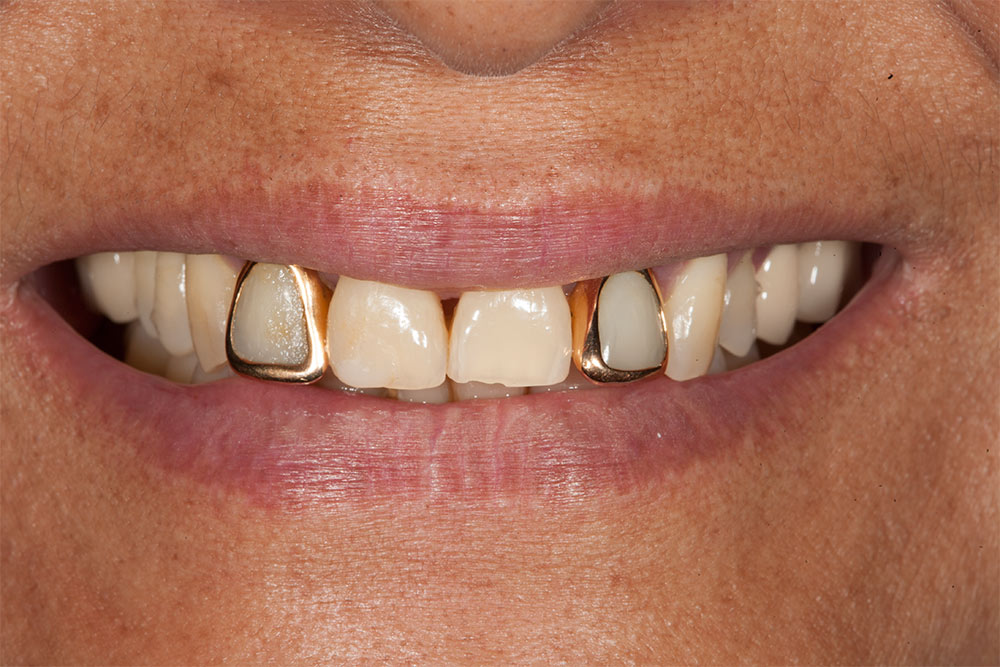
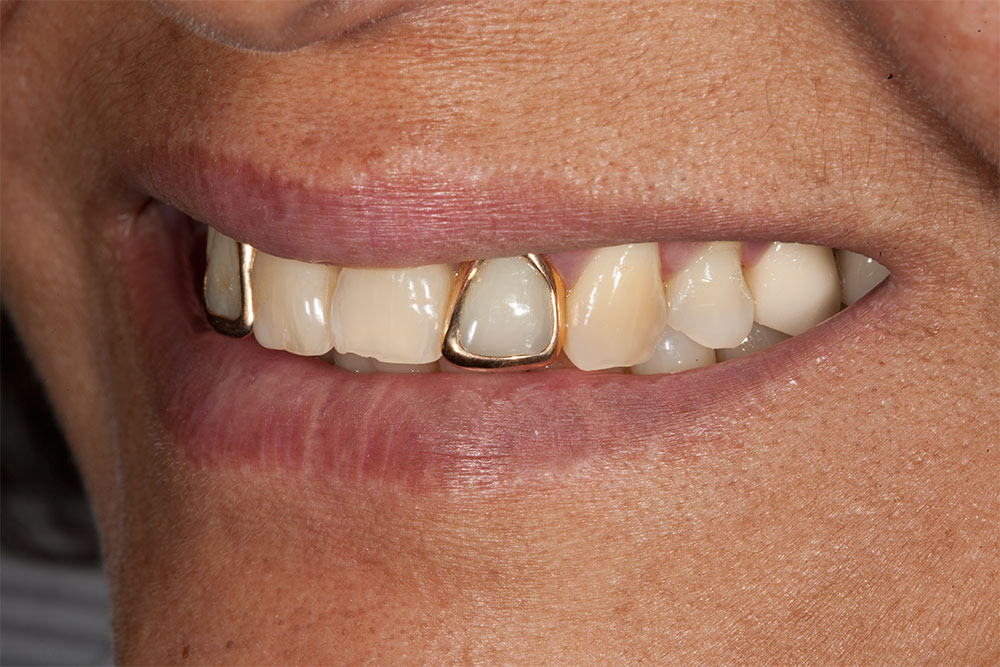
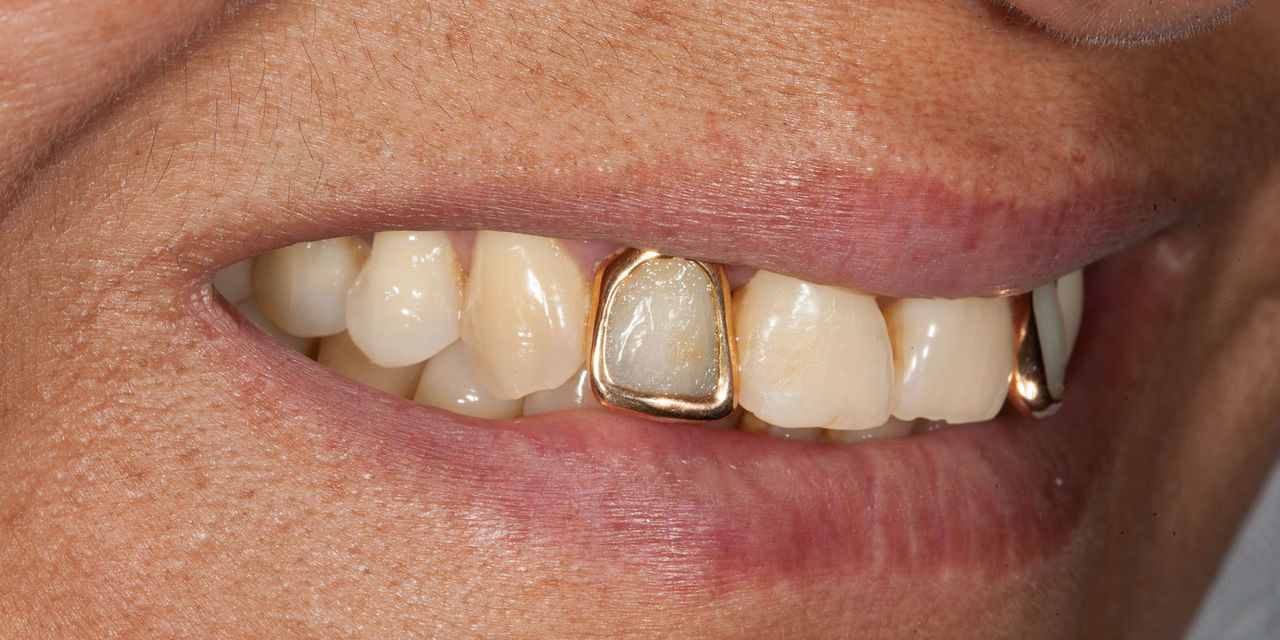
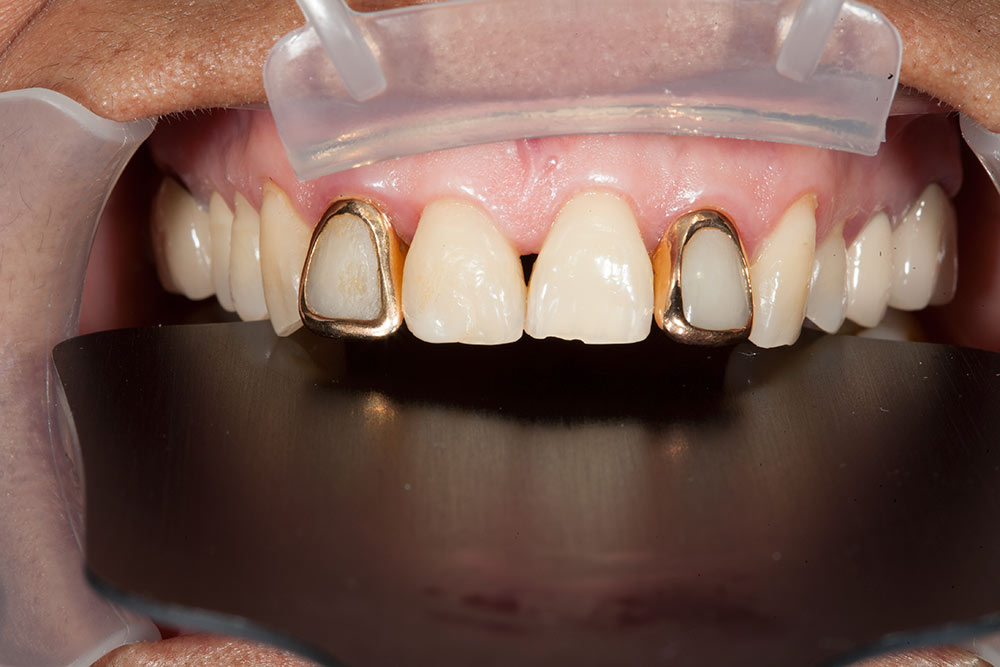
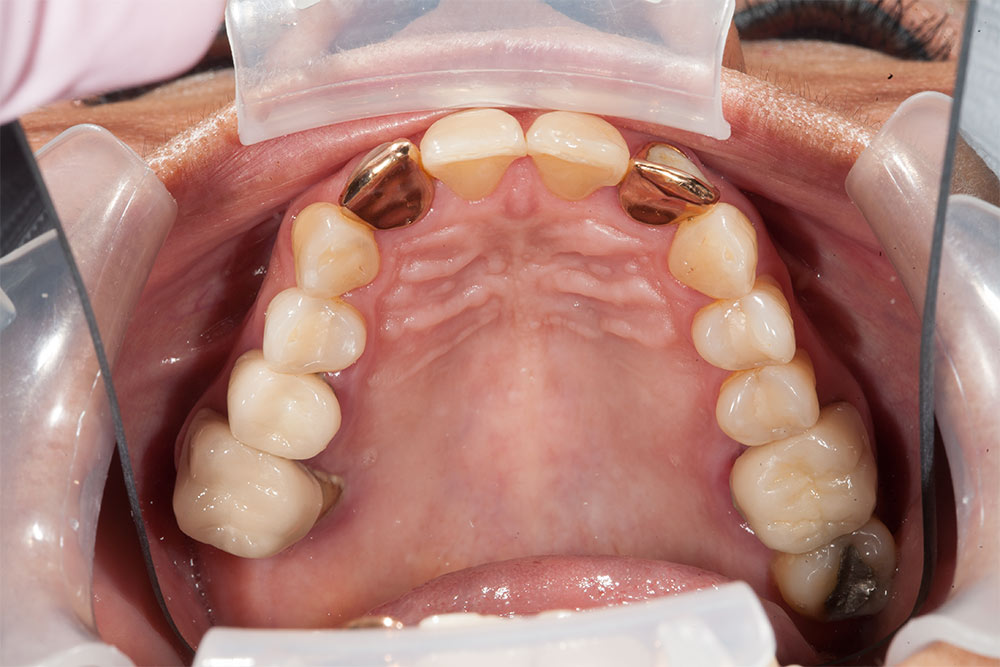
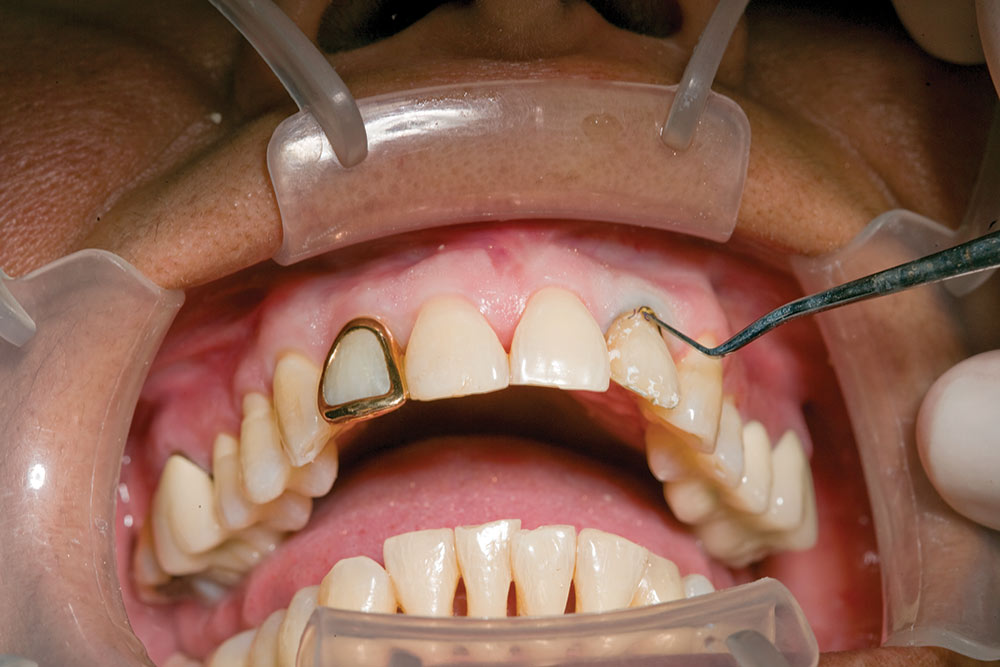
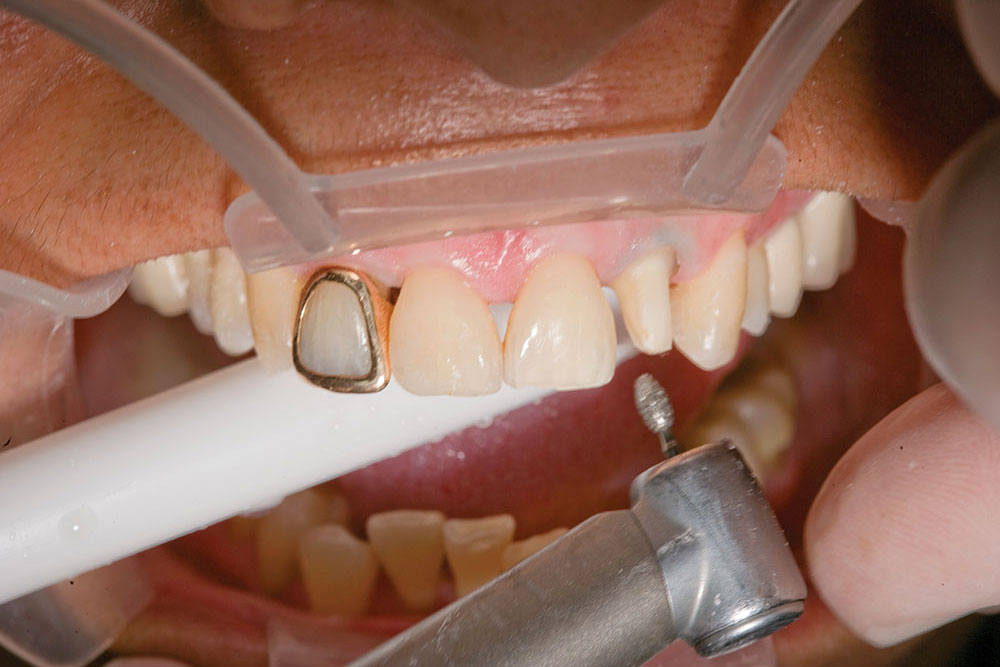
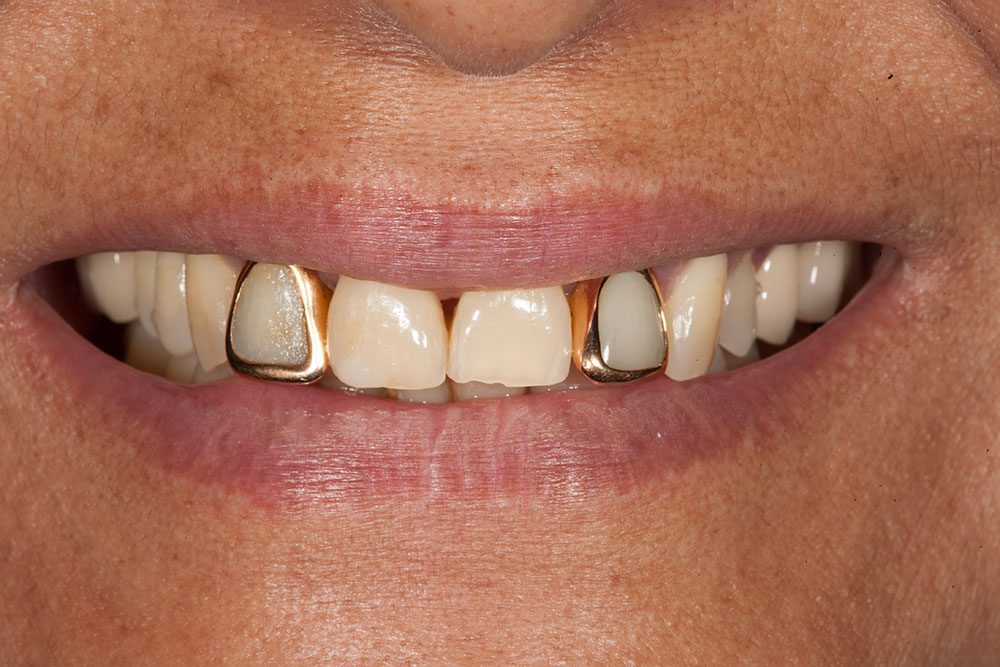
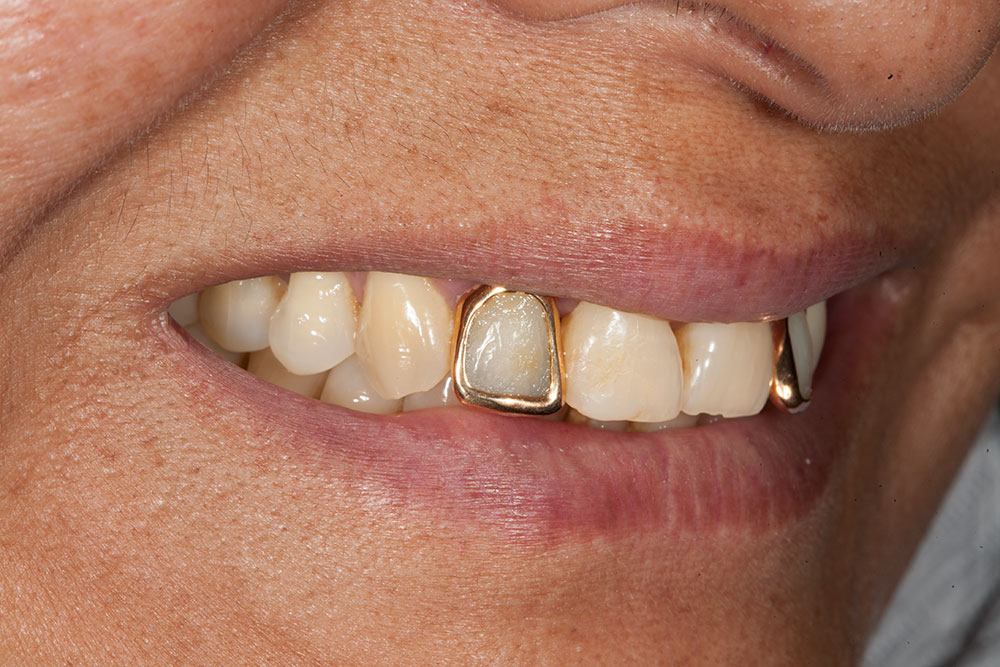
This patient has multiple esthetic concerns she wanted to correct. The gold window crowns are fairly obvious and were done in her home country many years ago. Of course the gold really isn’t gold, and typically restorations like this leak like a sieve. These restorations are more like stainless steel crowns for permanent teeth. They cover the gingival margin, the incisal edge, the interproximal surfaces and the entire lingual. We decided to place Prismatik Clinical Zirconia™ crowns on teeth #7 and #10, and No-Prep Vivaneers™ on teeth #4 through #13. Any time we are doing crowns on teeth #7 and #10, for example, we will always discuss the possibility of placing no-prep veneers on #8 and #9. They help make #7 and #10 blend in, and improve the looks of #8 and #9.
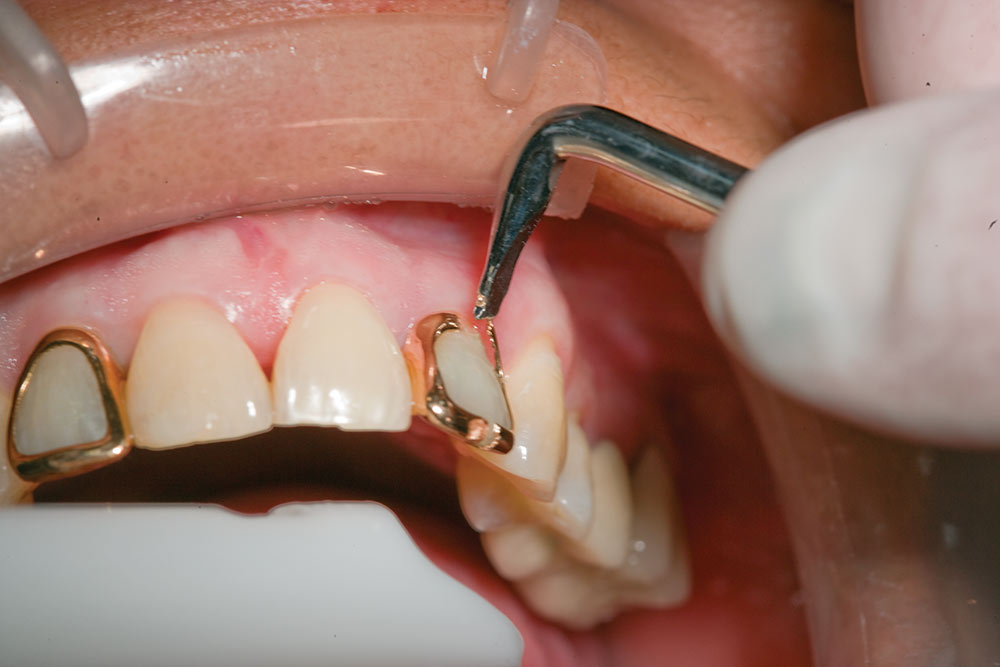
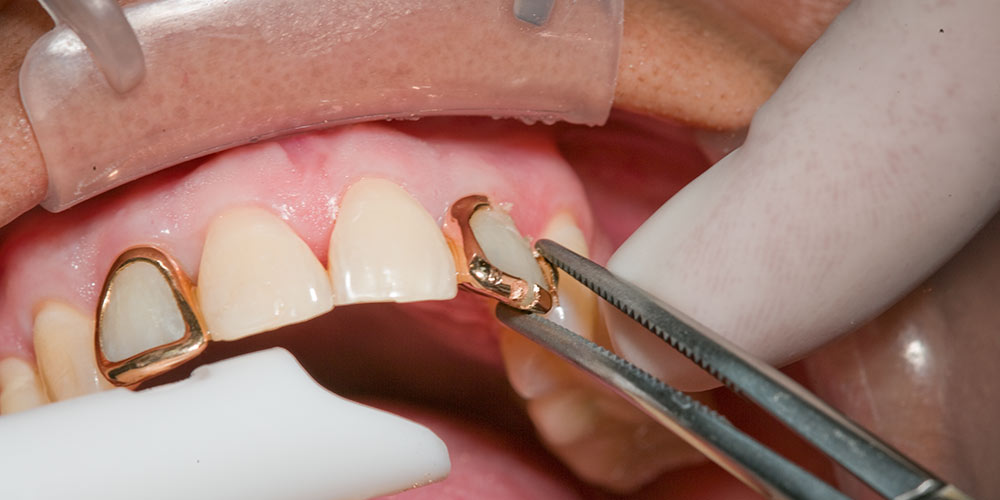
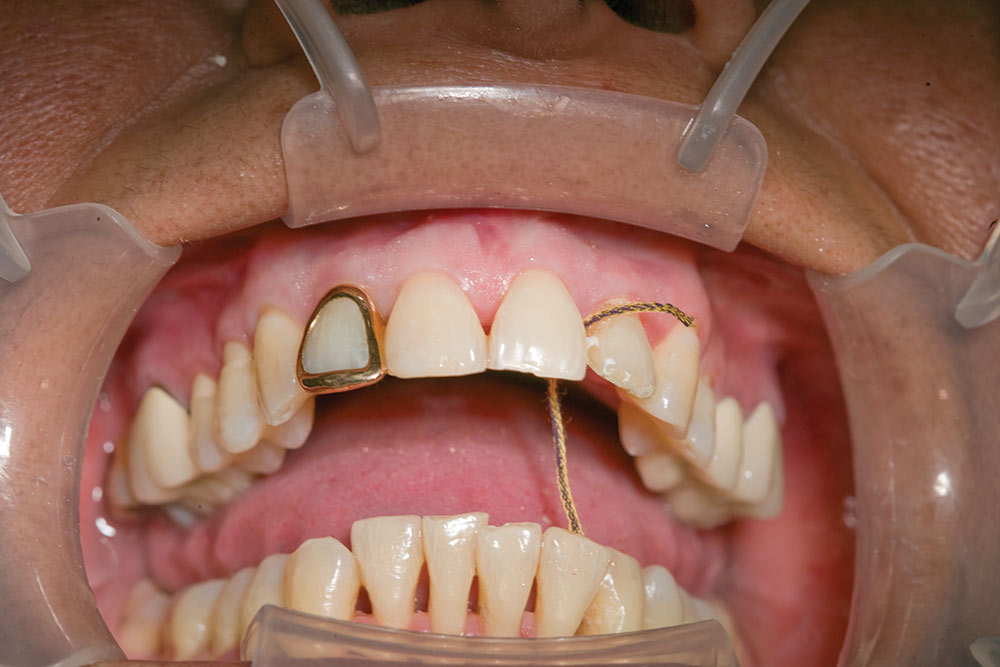
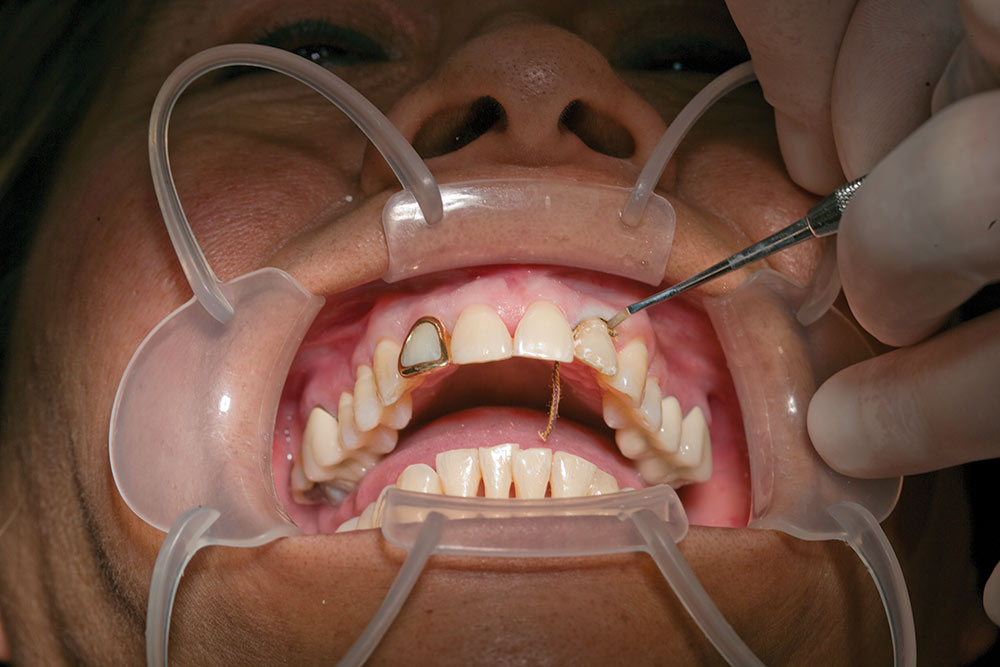
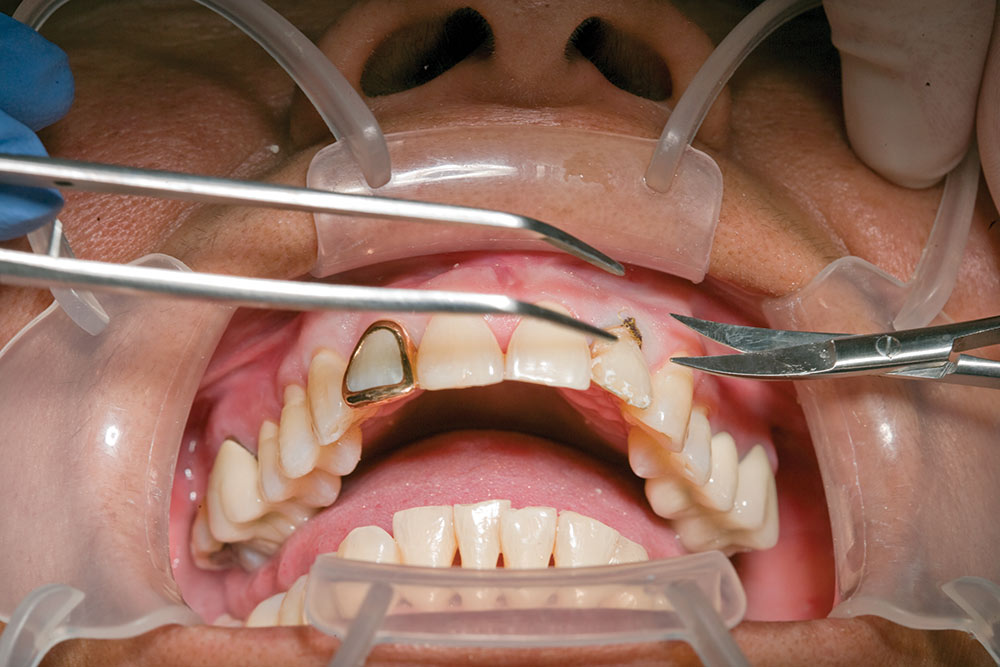
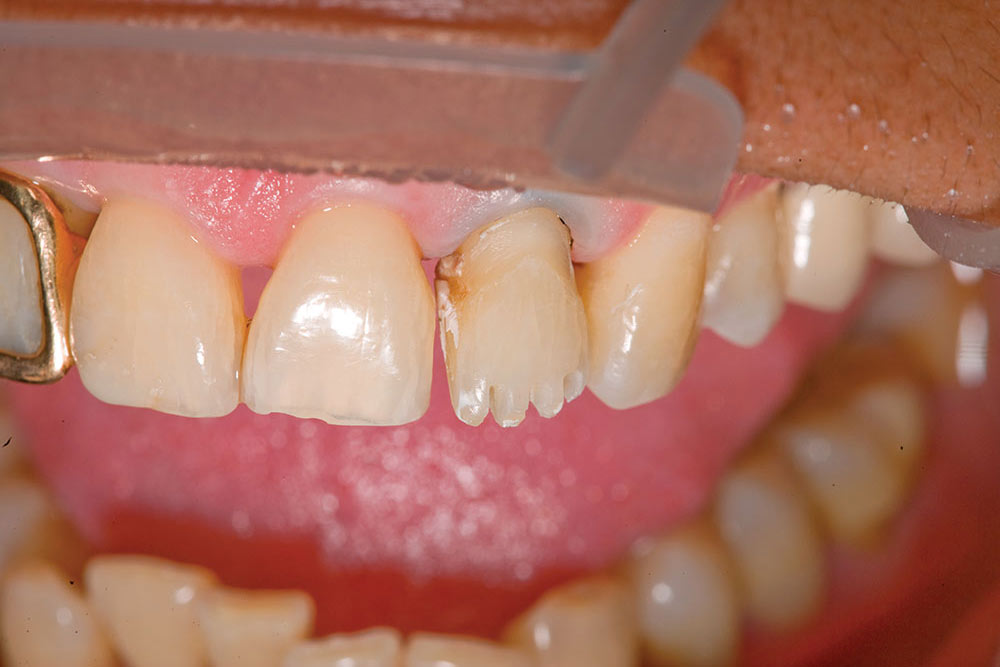
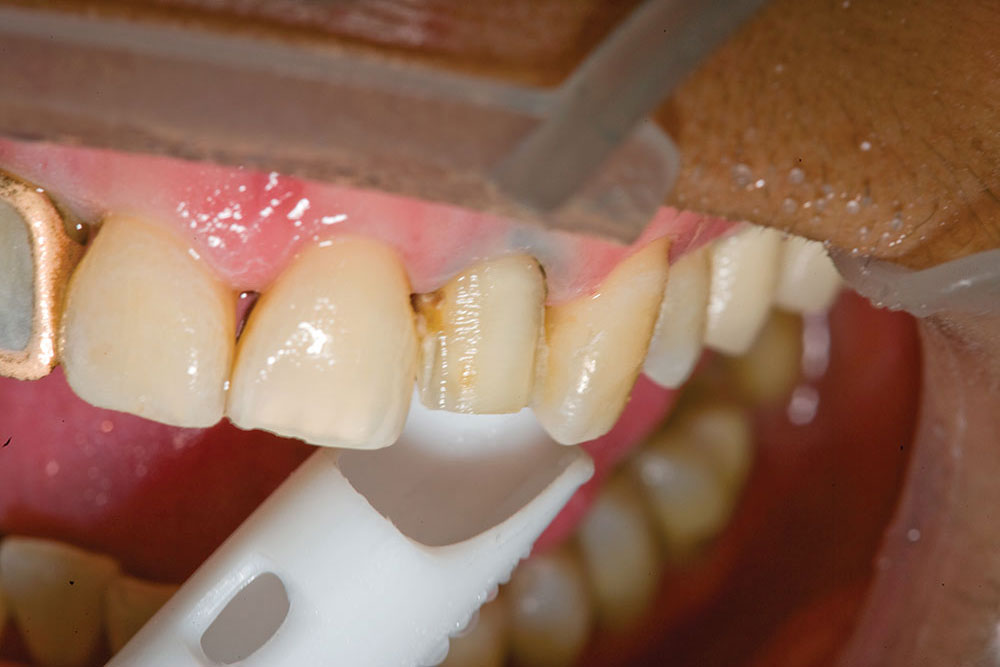
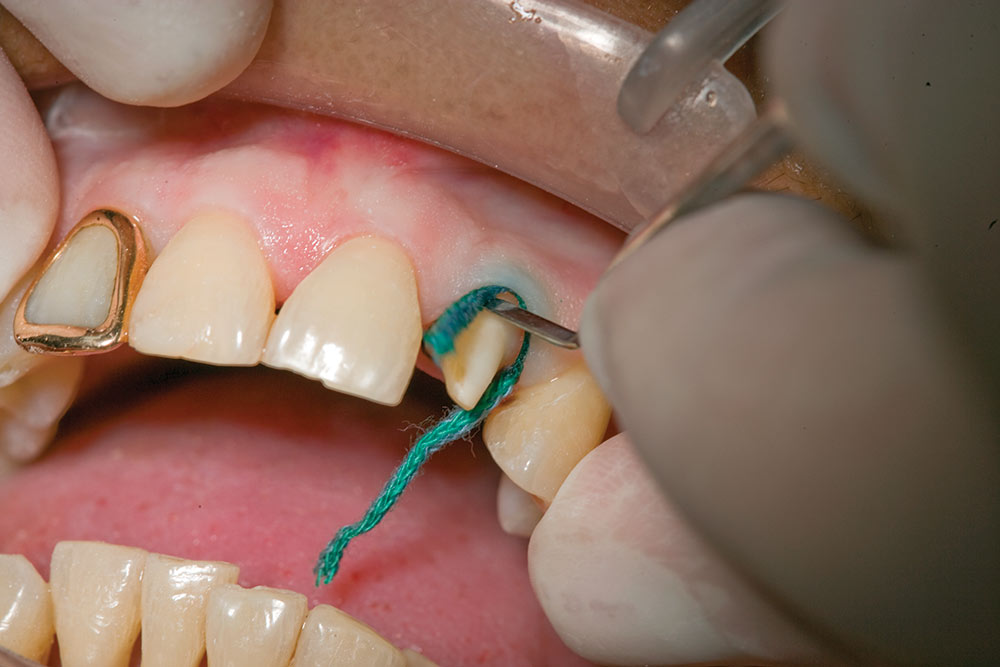
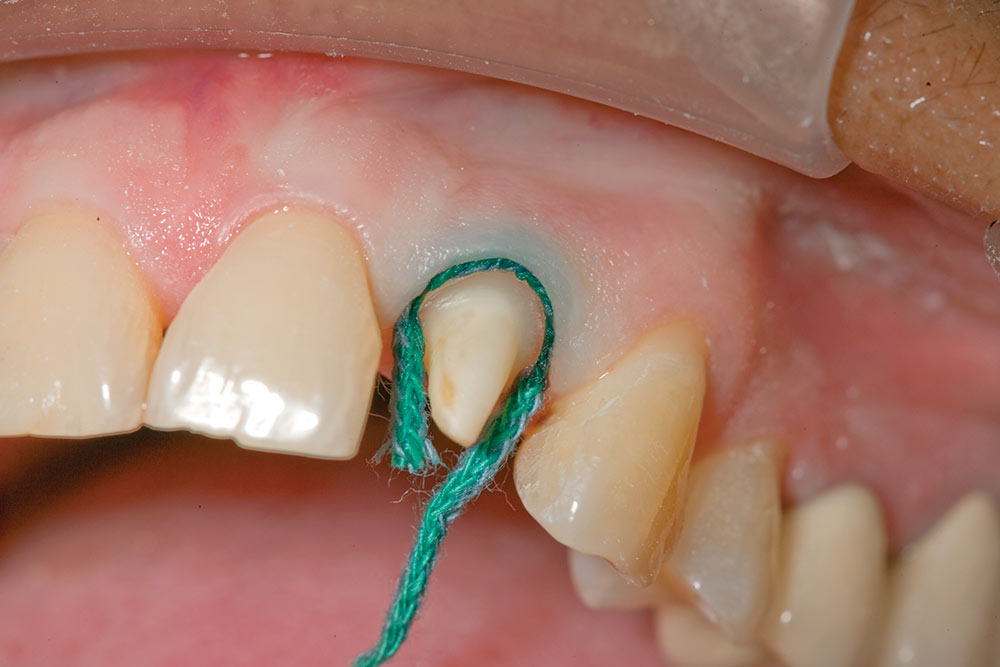
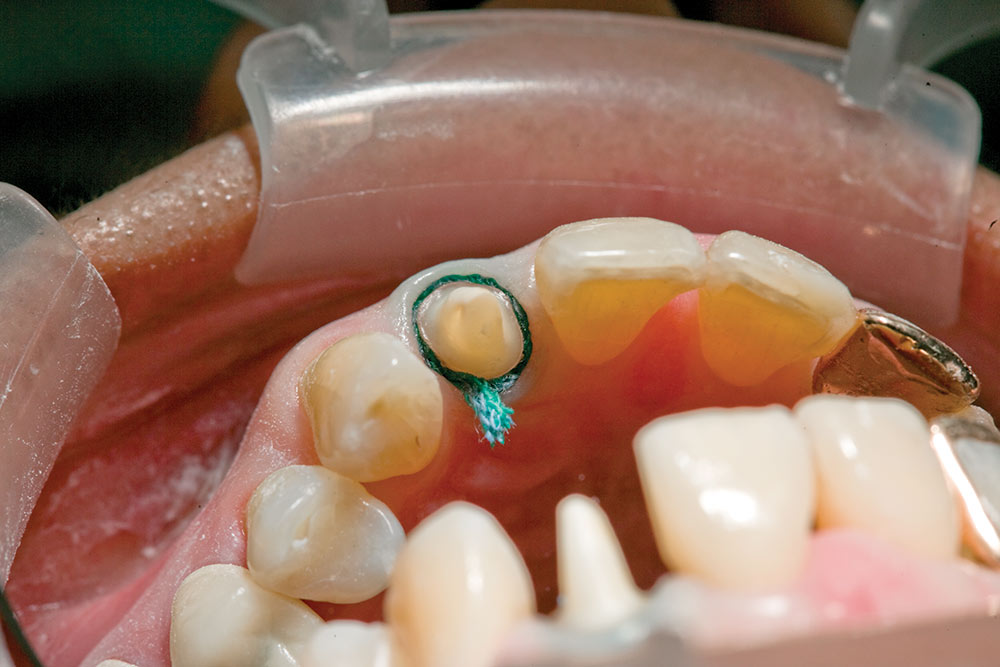
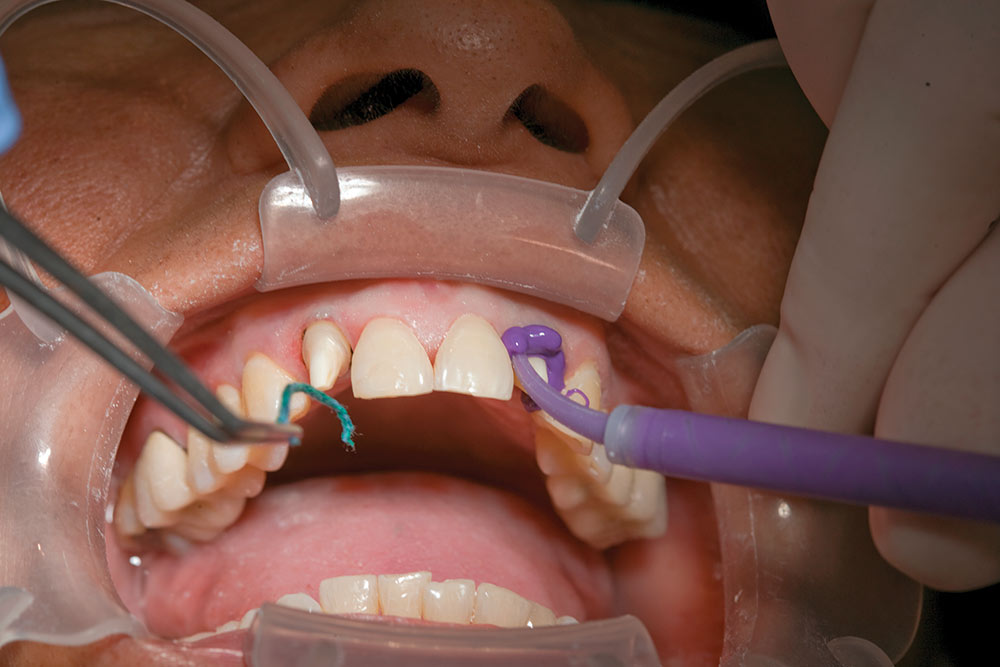
I used a 57 bur to cut through the window crown at the gingival and the incisal, and then used a Christensen Crown Remover to spread the crown and removed it with a set of forceps. As soon as I removed the crowns, I had access to the interproximal area between the teeth. Breaking the contacts is step one of the Reverse Prep Technique, so I am able to move on to step two — placement of the first cord. This cord is a size #00 hollow braided cord from Ultradent (South Jordan, Utah). Floss the cord interproximally and begin packing it. As the two ends of the cord approach each other, cut one or both ends with scissors so that once both ends are in place, they will butt up against each other and not overlap.
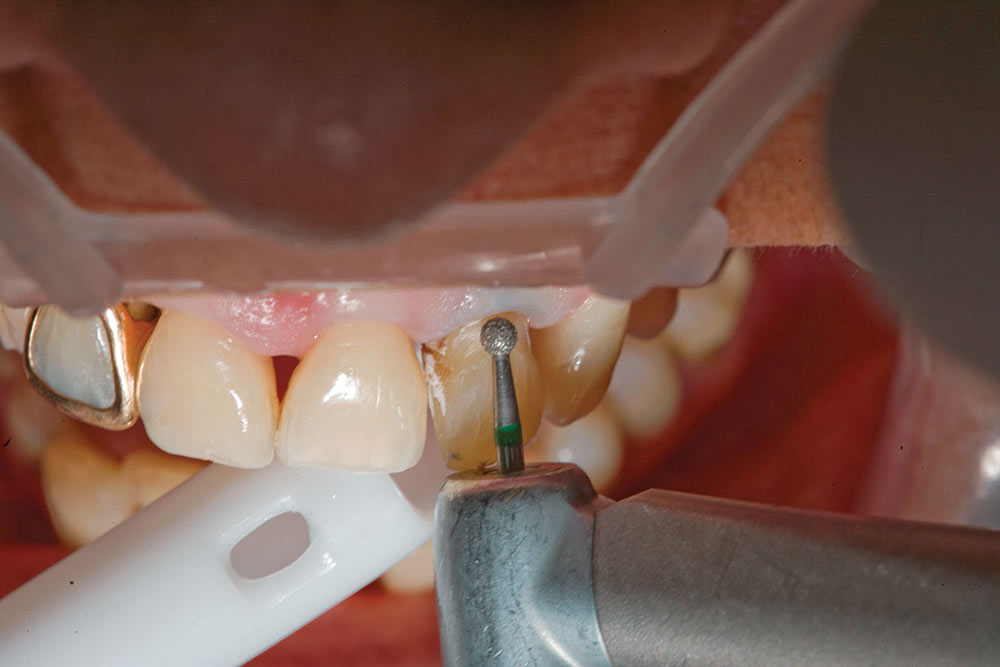
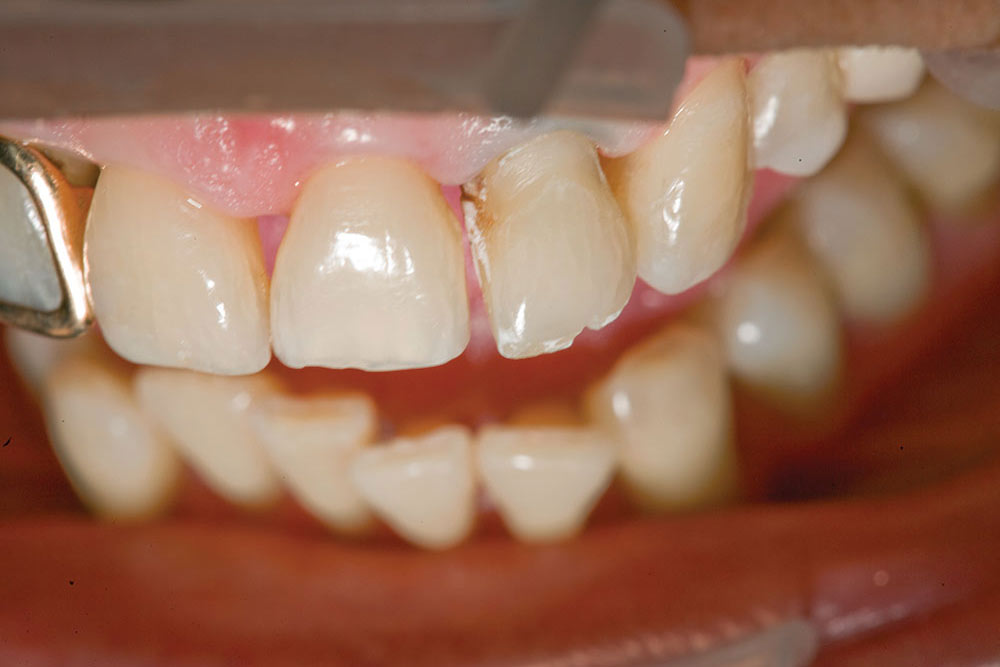
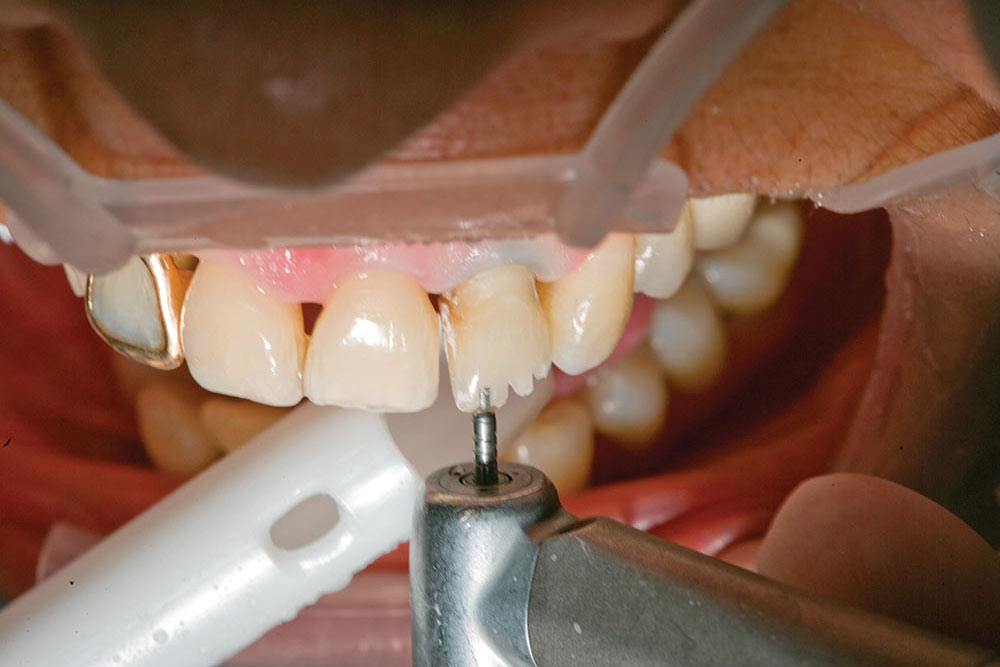
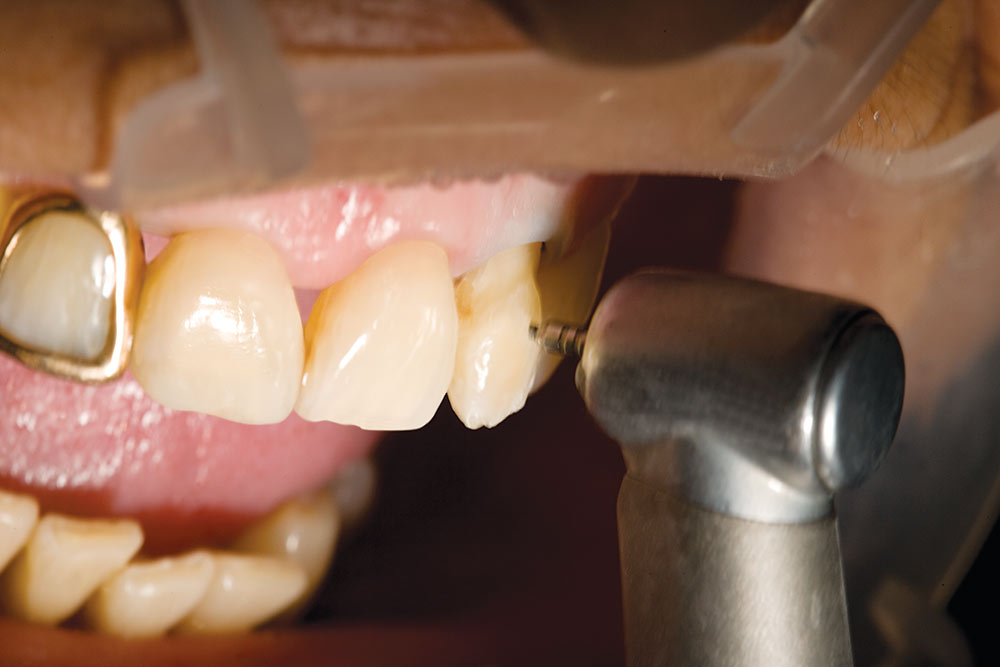
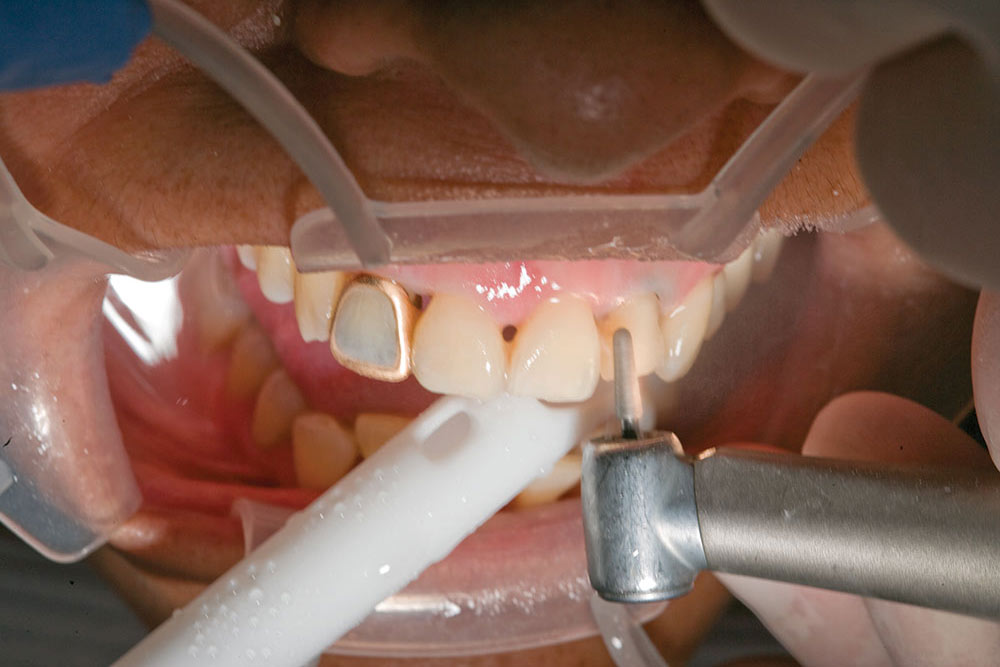
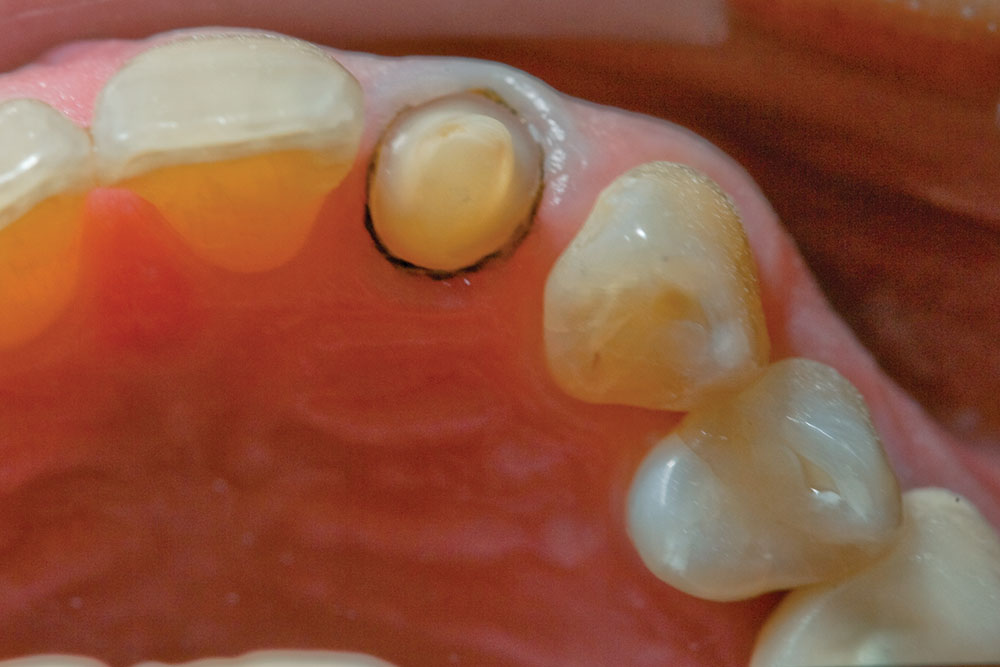
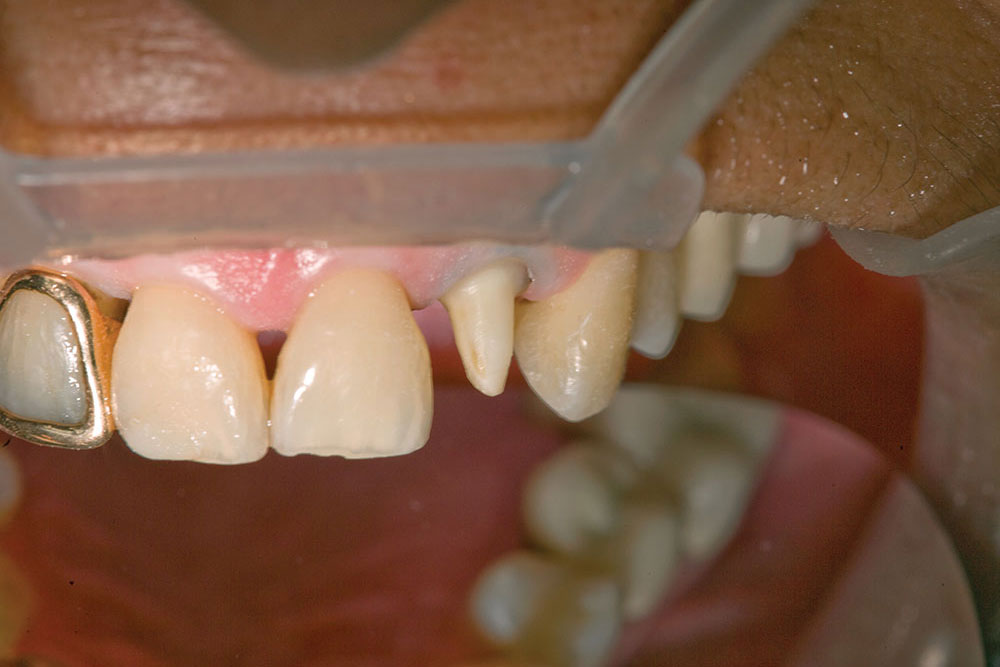
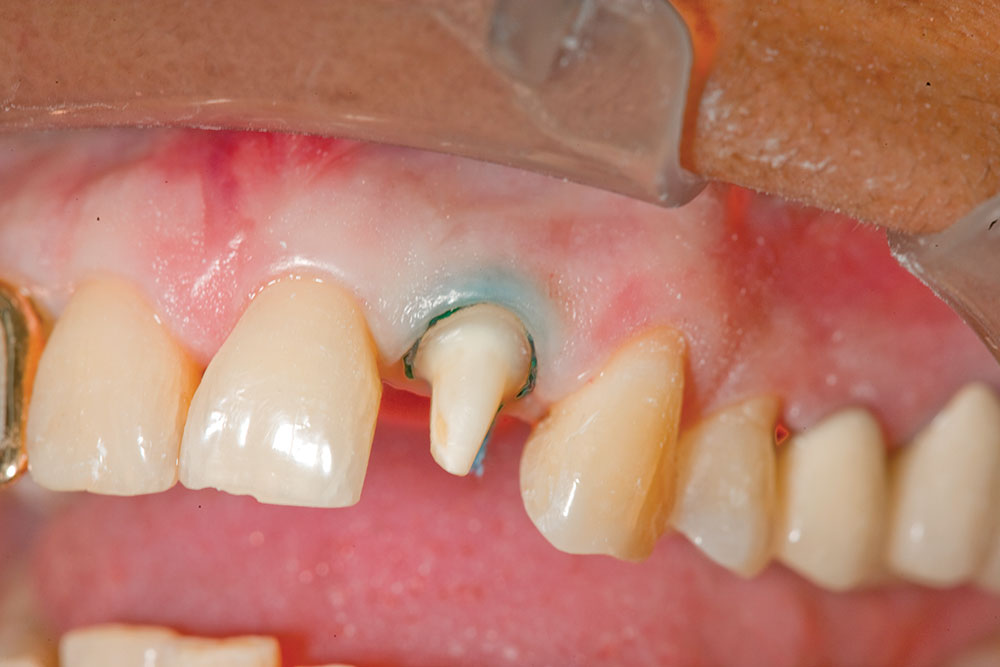
Once the #00 cord is in place, it will retract the gingiva approximately 0.5 mm. Step three is to prep the gingival margin with an 801-021 round bur. This is why it is called the Reverse Preparation Technique; we prepare the gingival margin at the beginning rather than the end of the prep sequence. Trace the round bur along the free margin of the gingival while being careful not to touch the bur to the gingiva. This marginal depth cut of 1.2 mm also cuts a perfect half circle in the tooth that will become the perfect margin after the axial reduction is finished. A 2 mm depth cutter is used on the incisal to ensure adequate reduction. A 1.5 mm facial depth cut is made in the middle third, and then the depth cuts are blended until the depth cuts have disappeared.
Once all of the depth cuts are gone, you have ensured that you have enough reduction on your preparation. The only thing left to do now is the lingual reduction. I don’t place a depth cut on the lingual of anterior teeth because it is the one tooth surface where you can easily measure reduction against the opposing tooth. On posterior teeth, I always place depth cuts on all the surfaces of the tooth. The finished prep is now ready for the second, or top, cord to be placed. This is a size #2E hollow cord from Ultradent. The easiest area to start packing this cord is interproximally. This cord retracts the gingival circumferentially to temporarily expand the sulcus to allow room for the syringe material.
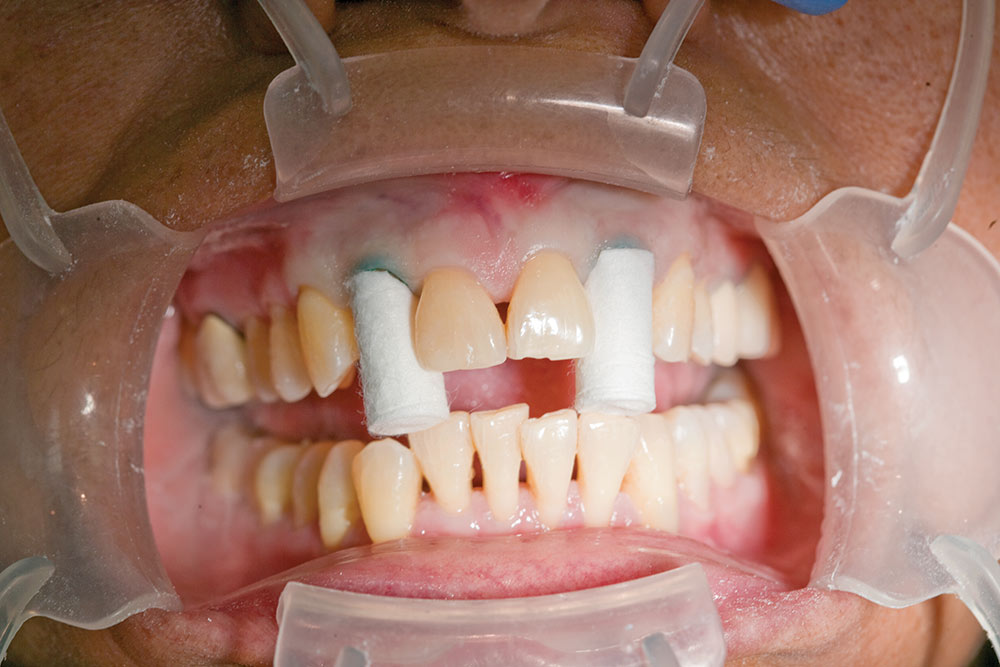
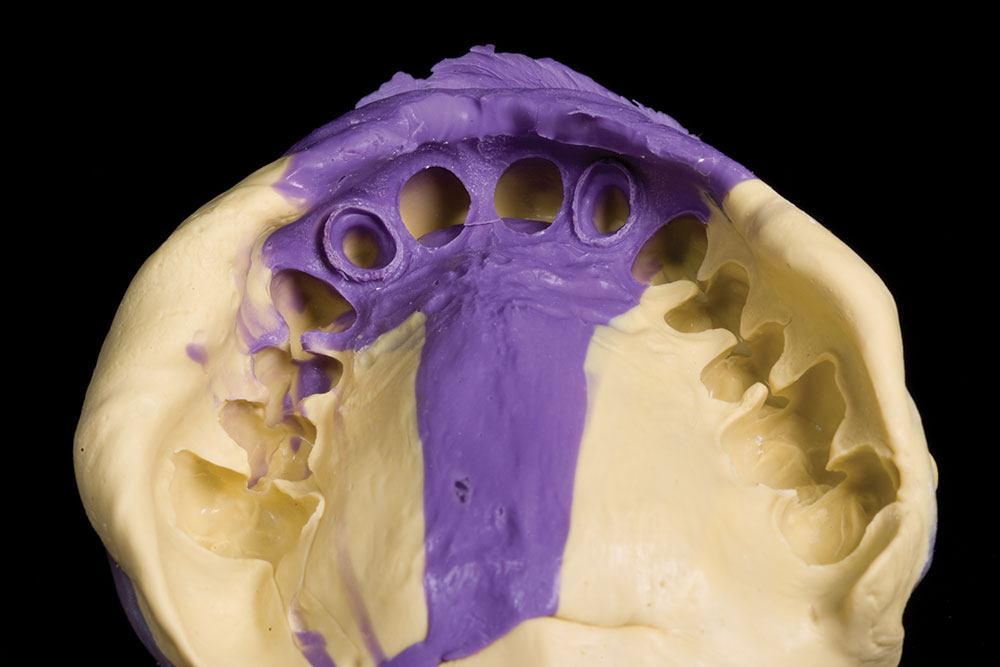
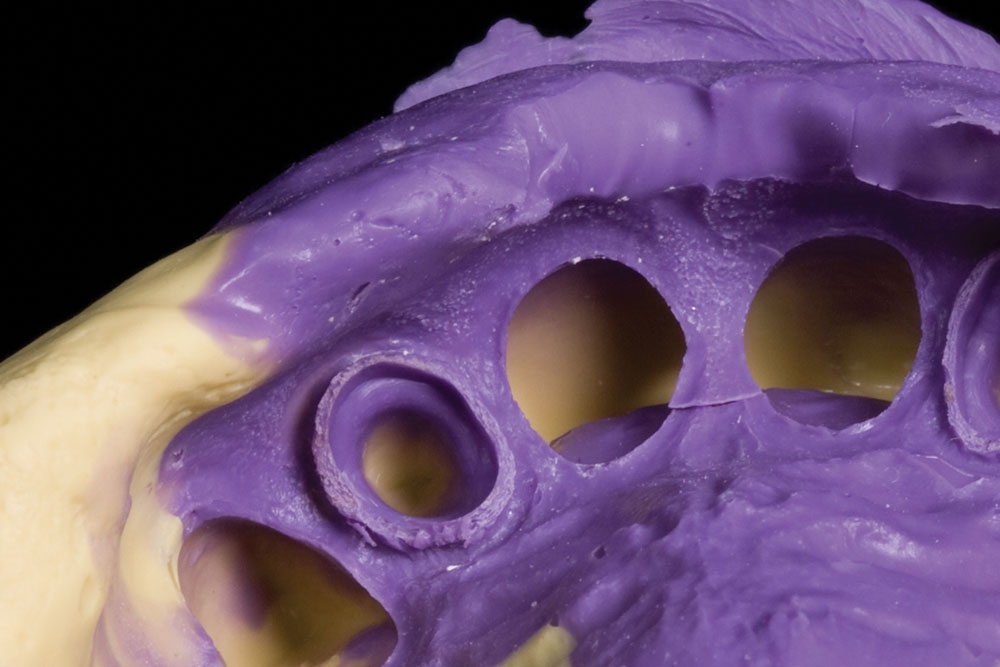
With the #2E cord in place, the margins should be clearly visible. There is no need to have the ends of the cord be flush as with the bottom cord. Leave one free and out of the sulcus for easy removal. Next, place Anatomic Comprecaps from Coltène/Whaledent (Cuyahoga Falls, Ohio) onto the two preparations and have the patient bite down for eight to 10 minutes. Leave the operatory and do a hygiene check or return a phone call, but wait for eight to 10 minutes. My assistant removes the cords as I express the syringe material around the two preparations, as well as around the teeth that will have the no-prep veneers on them. The resultant impression looks as good as it always does with great margins and material beyond the margins.
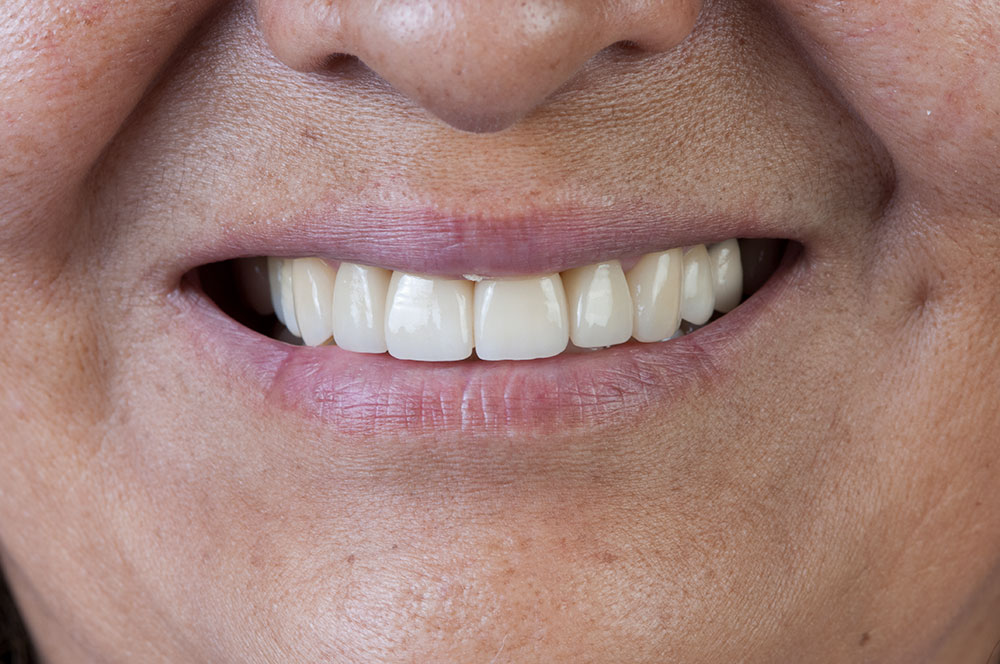
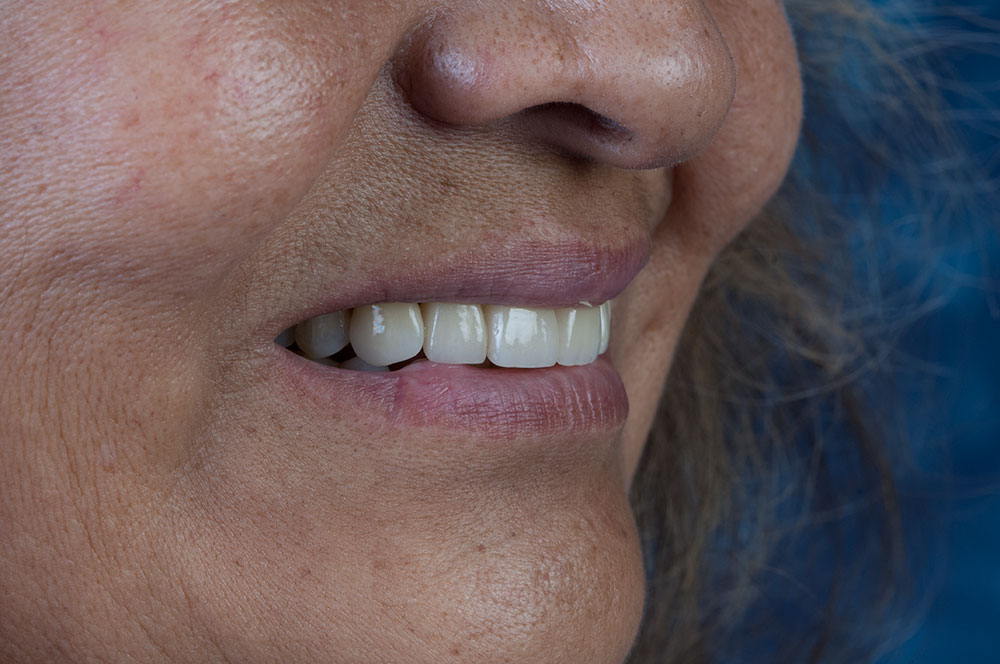
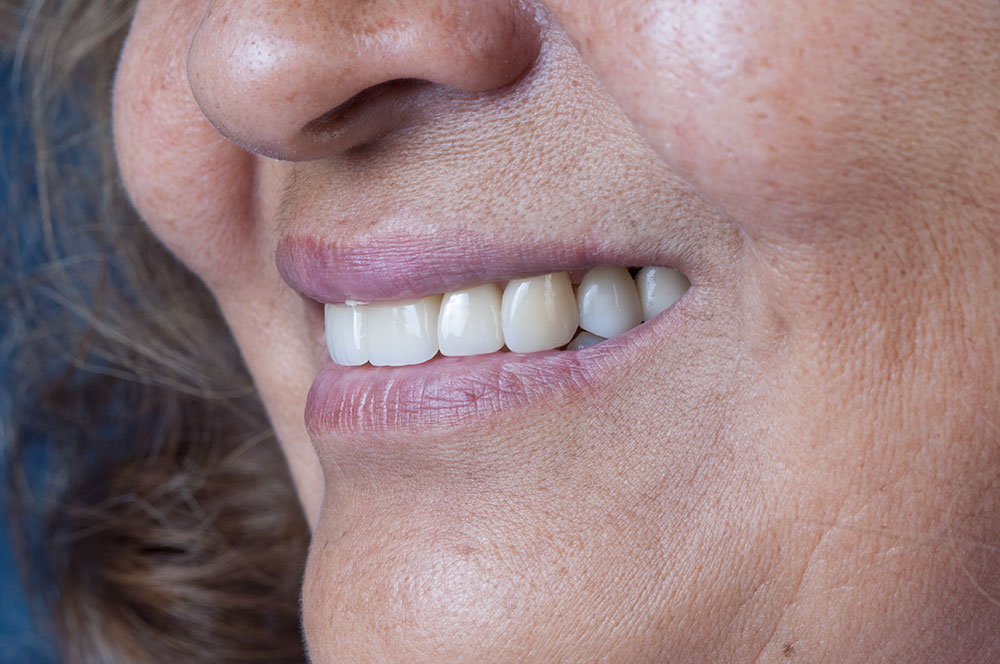
Some smile shots of the patient before and after. Again, these are Prismatik Clinical Zirconia crowns on teeth #7 and #10 and No-Prep Vivaneers from teeth #4 to #13. I have always been impressed by the chameleon effect of no-prep veneers, and how we can put them next to nearly any other restoration and they have the ability to blend in with those restorations. In these after pictures, I would be hard pressed to pick the crowns from the veneers if I didn’t already know.
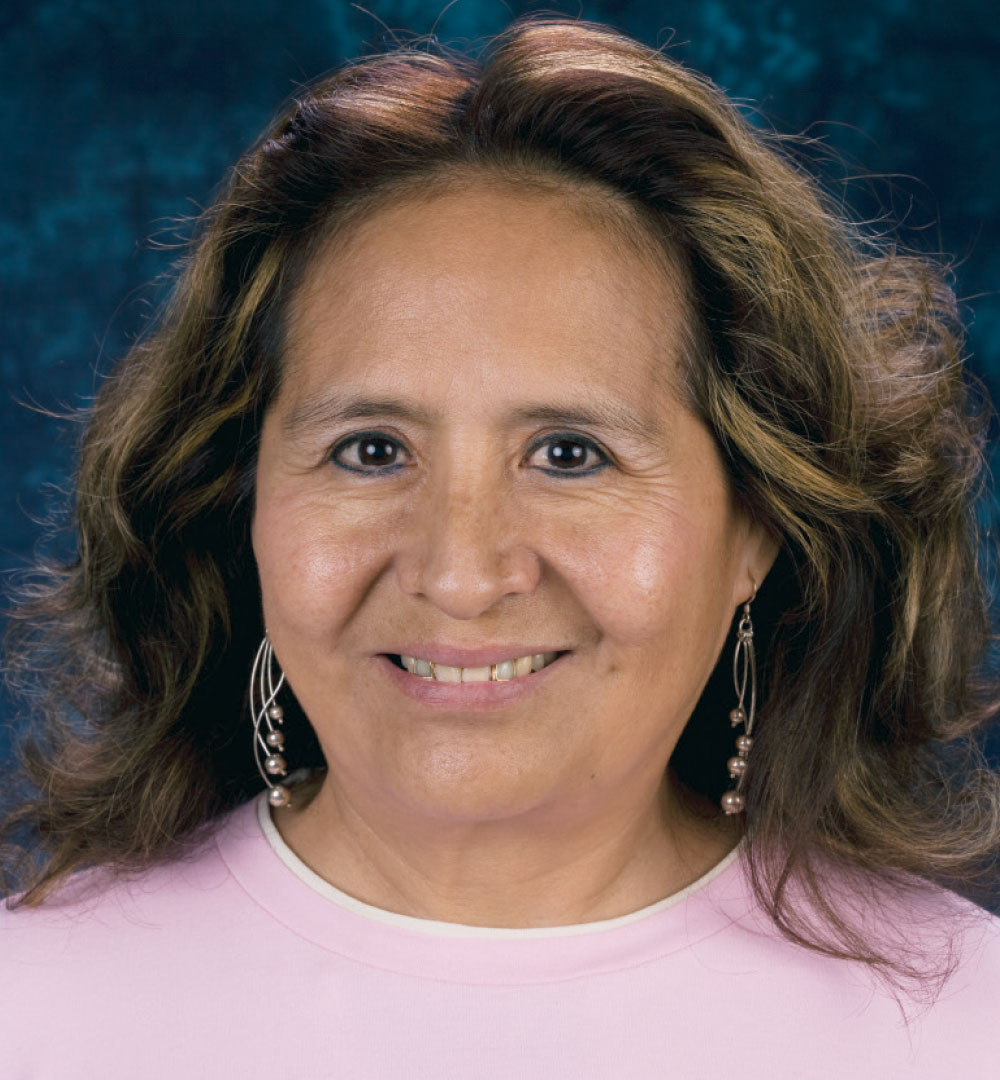
The patient’s before and after portraits. In the patient’s world, these are the views that really matter. After all, this is why they had the treatment done in the first place, to improve how they look when they smile. It’s not about how they look with retractors in or with a black background in place. It is all about the smile at conversational distances. Never let the patient evaluate their smile with a higher magnification than you prepped it with!

