When Are Overdentures the Right Treatment?
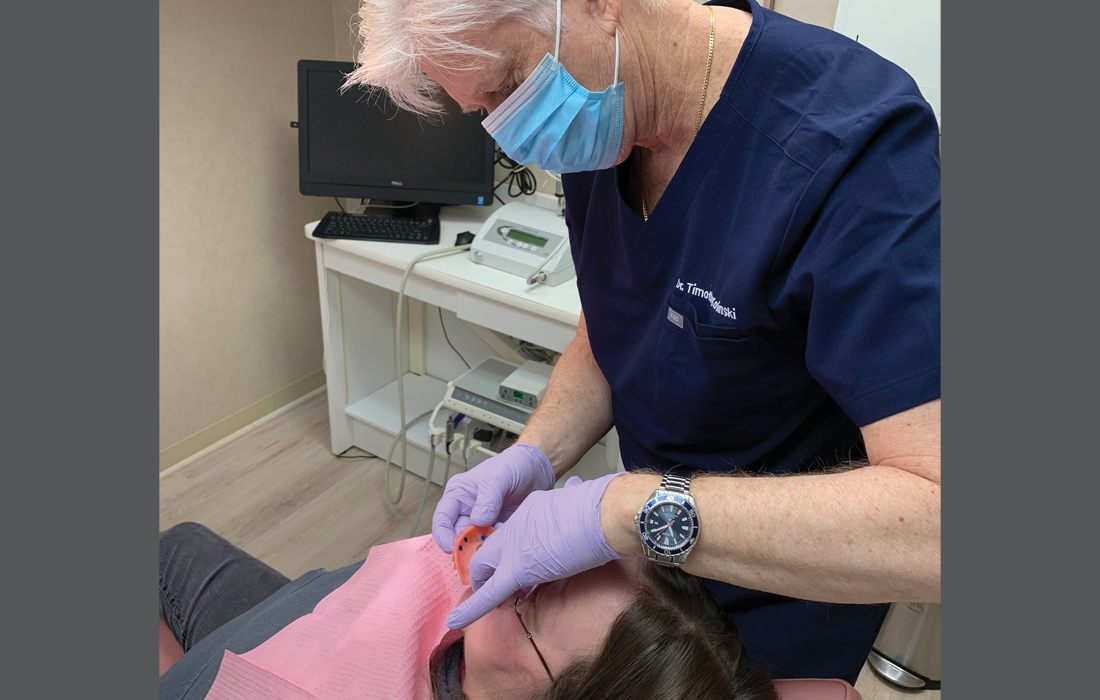
When a patient visits your office with terminal dentition or an unstable, poorly fitting denture, dental implants are typically the best long-term solution. Providing superior function, prosthetic stability and quality of life, dental implant treatment offers a vast improvement over traditional complete dentures.1-3 Depending on the patient’s health, anatomy and financial circumstances, a fixed full-arch implant restoration is ideal for some patients, while a removable implant overdenture is well suited for others. Here, I will explore the implant overdenture, common situations in which it is prescribed and a case report that illustrates a simplified restorative workflow.
An implant overdenture is an implant-retained prosthesis that restores function and stability by attaching to two or more implants. Unlike the fixed full-arch restoration, most implant overdentures are soft-tissue supported and can be removed by the patient for cleaning. Although fixed restorations usually provide superior stability and function, here are some common situations where implant overdentures should be considered:
- Patients with limited finances — Implant overdentures typically require fewer implants and can be offered to patients at a reduced cost compared to fixed implant restorations. In certain situations, the patient’s existing complete denture can be retrofitted to the implants, reducing costs even further.
- Limited bone in the edentulous arch — When the patient doesn’t have enough bone volume to support the number of implants in the correct positions needed to provide adequate anterior-posterior (A-P) spread for a fixed restoration, an implant overdenture is an excellent solution.
- Grafting procedures are contraindicated — When bone augmentation is needed to facilitate placement of the implants for a fixed restoration, but the patient cannot receive bone grafting due to health or financial reasons, an implant overdenture is a great alternative.
- Patients who like their dentures but want more stability — Some patients prefer their removable dentures but experience problems with retention. An implant overdenture solves this problem and offers the same esthetics as traditional dentures.
- A palateless maxillary appliance is desired by the patient — With an adequate number and positioning of implants, maxillary overdentures can be horseshoe-shaped, addressing the concerns some patients have with regard to comfort, speech and taste.
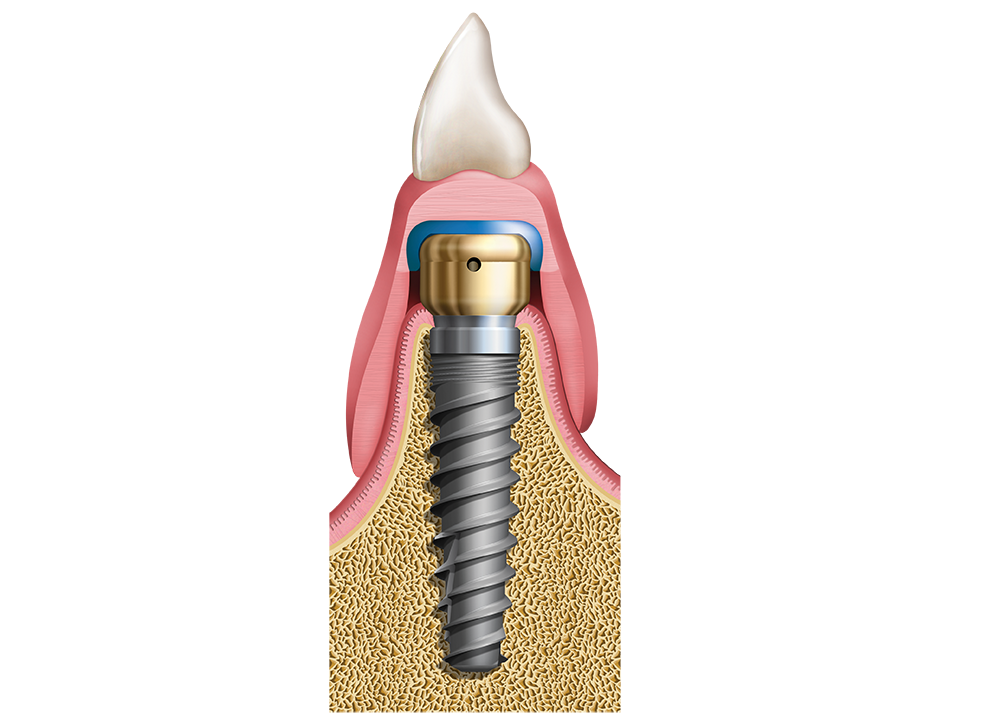
The Locator Overdenture provides increased retention for the patient’s denture via retentive caps that seat over the Locator Abutments connected to the implants.
CASE REPORT
The following case report illustrates a straightforward clinical workflow for delivering a Locator® Overdenture (Glidewell; Newport Beach, Calif.) — a removable appliance that seats over Locator Abutments connected to the implants. Denture caps are embedded in the overdenture and provide retention by seating over and engaging the Locator Abutments. By stabilizing the prosthesis, these retentive devices improve function and chewing efficiency.
Our patient is a middle-aged female who presented with a chief complaint of ill-fitting, unstable maxillary and mandibular conventional dentures. We discussed several options, including relining her existing dentures, fabrication of new conventional dentures, implant-retained overdentures and fixed implant-supported prostheses. The patient opted for implant placement and restoration with a Locator Overdenture — which would provide an effective, economical means of addressing the patient’s needs and improving prosthetic stability and dental function.
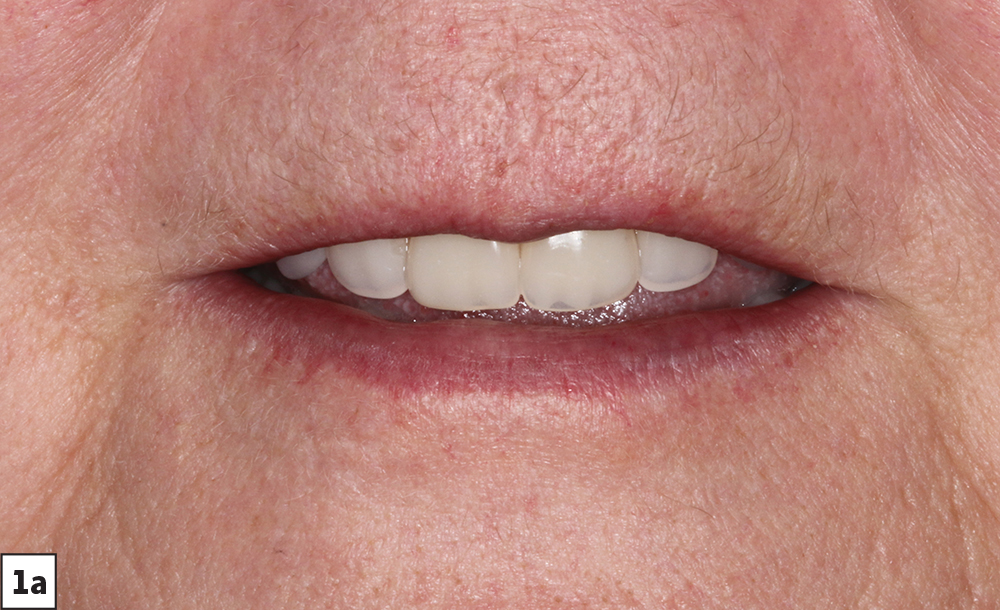
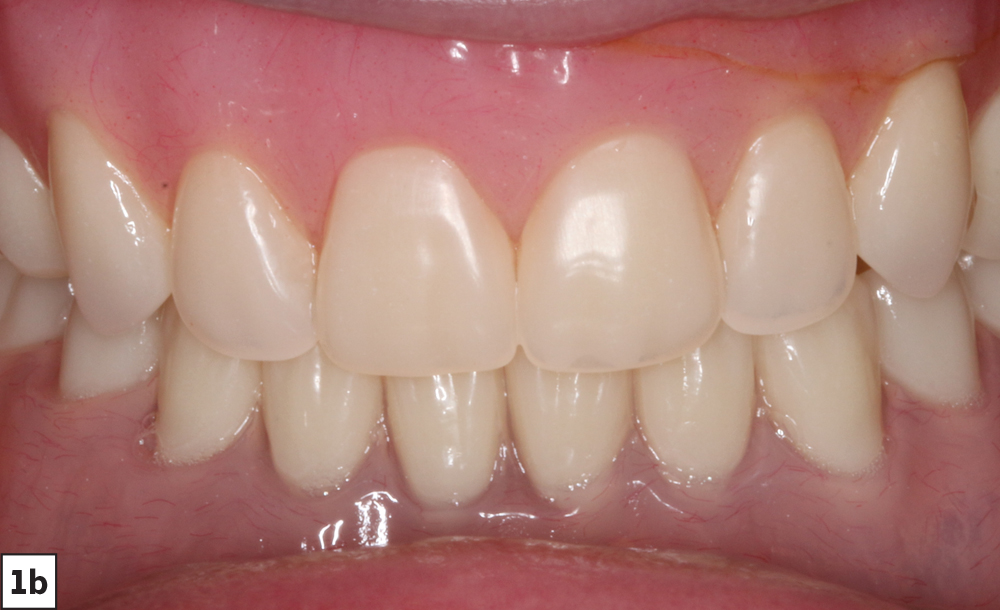
Figures 1a, 1b: Preoperative smile and intraoral image of patient’s existing maxillary and mandibular complete dentures. The patient’s dentures no longer fit or functioned well and the upper denture was cracked, leading the patient to consider treatment that provided more retention, stability and chewing force, while eliminating the acrylic on the maxillary palate for enhanced comfort and taste.
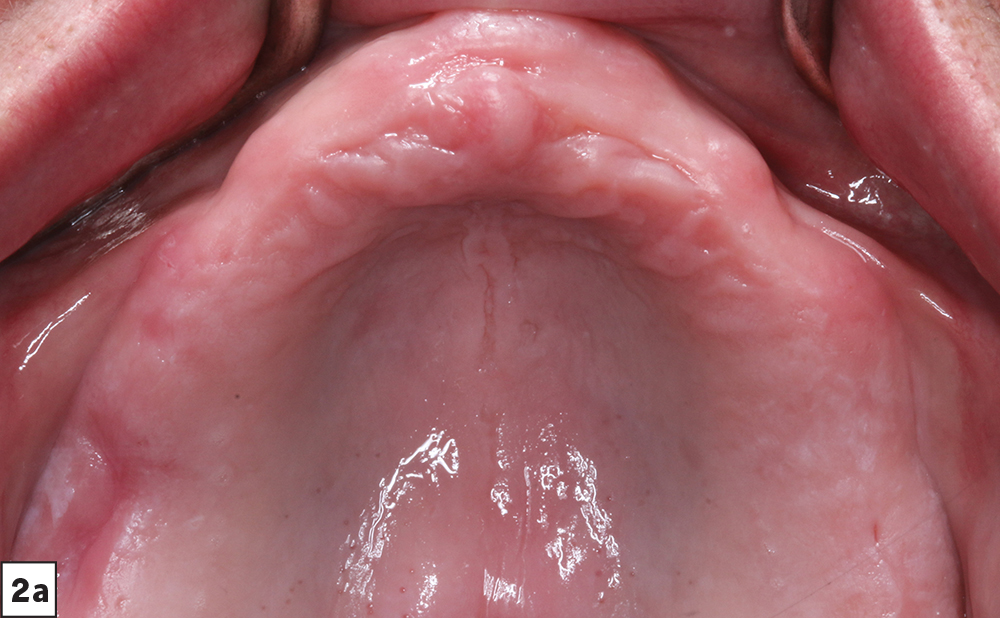
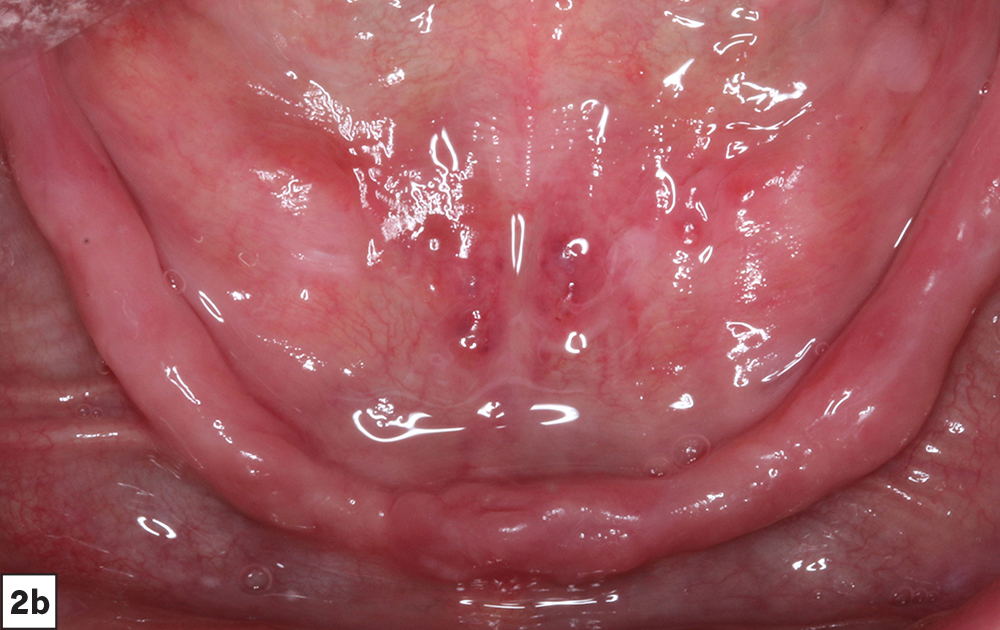
Figures 2a, 2b: The edentulous ridges exhibited significant bone loss, especially in the mandible. Note the sore spot on the right side of the patient’s maxillary arch from the cracked, unstable denture. After discussing treatment options with the patient, she selected overdentures as an affordable means of increasing her chewing efficiency and function while maintaining the esthetics she had grown accustomed to with her conventional dentures.
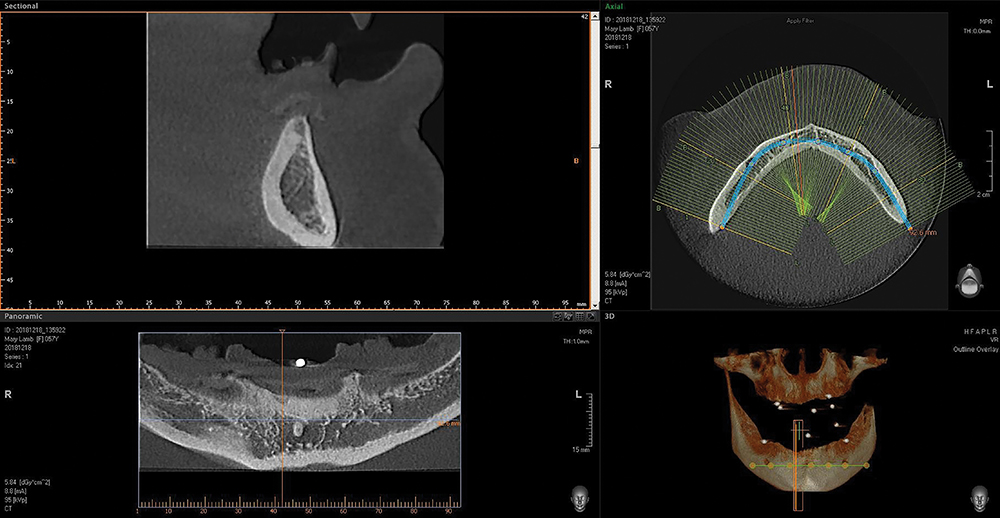
Figure 3: CBCT analysis demonstrating horizontal and vertical mandibular bone loss. Based on the available bone, we decided to place four implants in the maxilla and four in the mandible to support implant-retained overdentures.
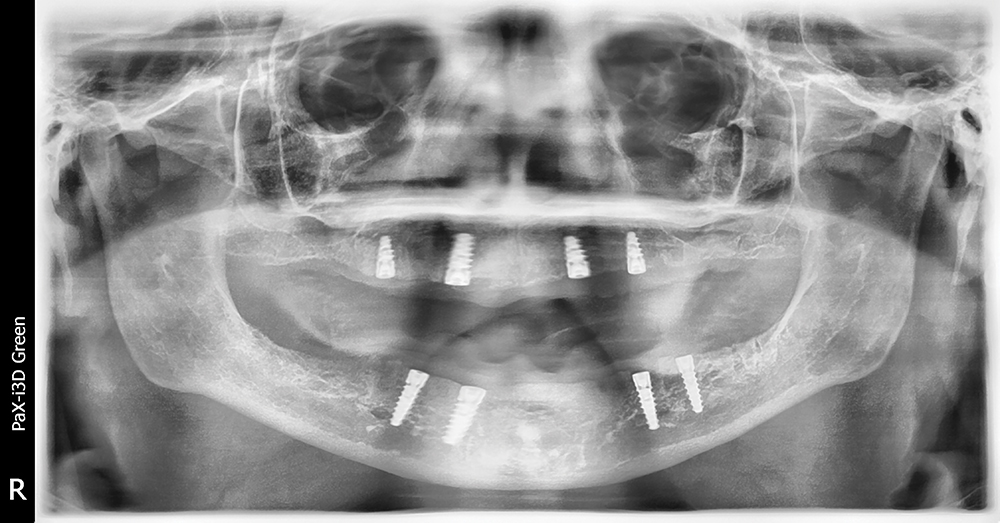
Figure 4: Postoperative panoramic radiograph illustrating the strategic placement of eight Hahn™ Tapered Implants (Glidewell) in the edentulous arches.
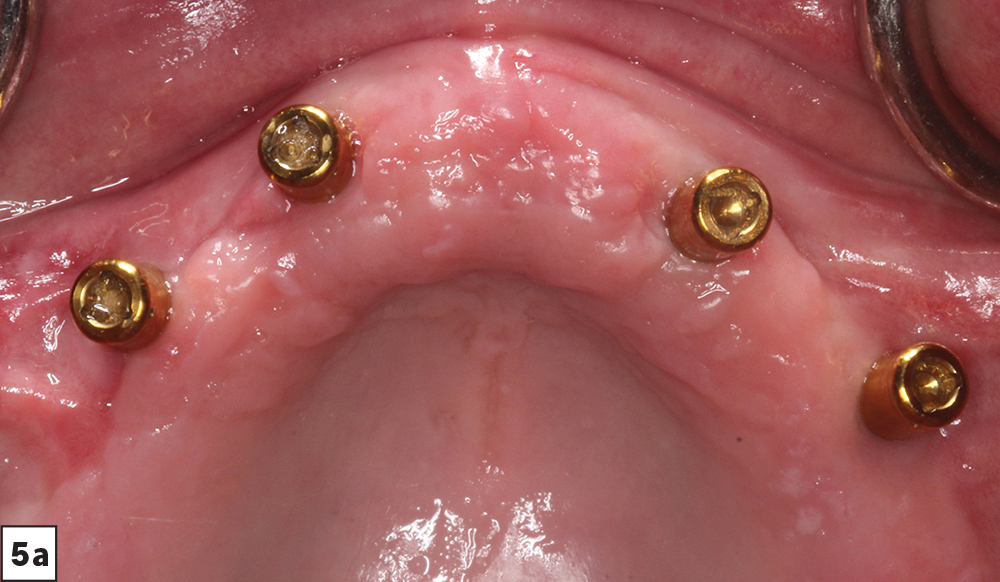
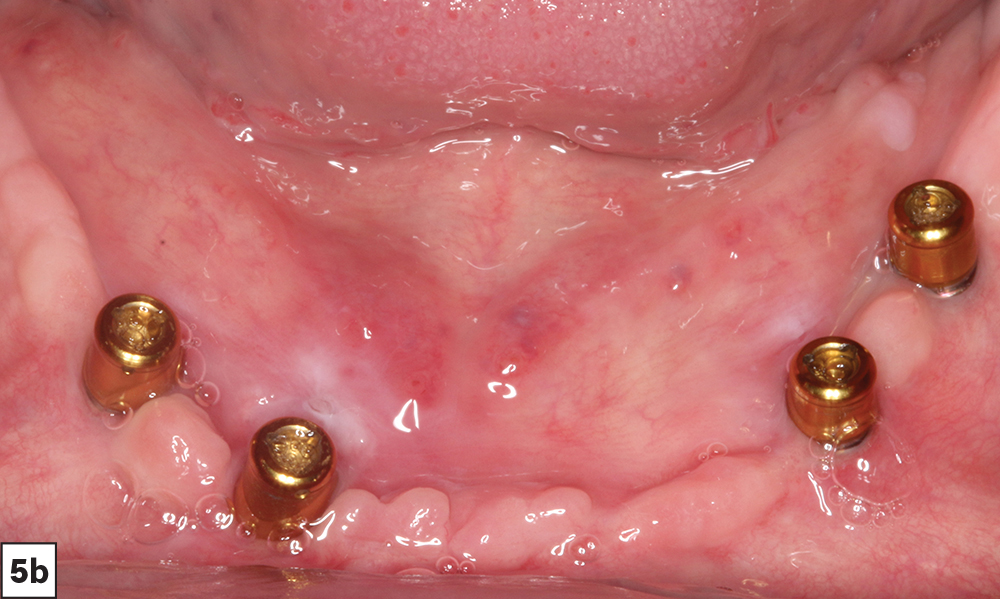
Figures 5a, 5b: Four months after placing implants, implant-level impressions were made and sent to the lab, where Locator Abutments were chosen according to the height of the soft tissue. At the next appointment, Locator Abutments were connected to the implants, which extended 1.5–2 mm above the mucosa. This allowed for seating of the prostheses without impingement of the soft tissue.
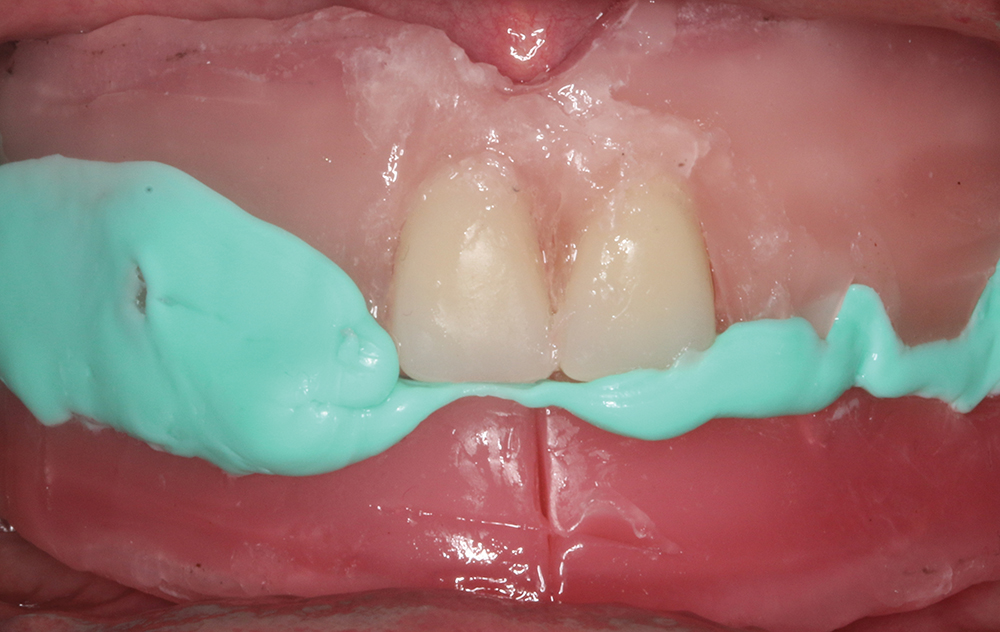
Figure 6: Wax rims were produced by the lab and tried in to establish proper vertical dimension of occlusion (VDO), record the jaw relationship, and confirm lip support and other aspects of the prosthetic design. Placing two anterior teeth on the wax rim helped accurately capture the midline.
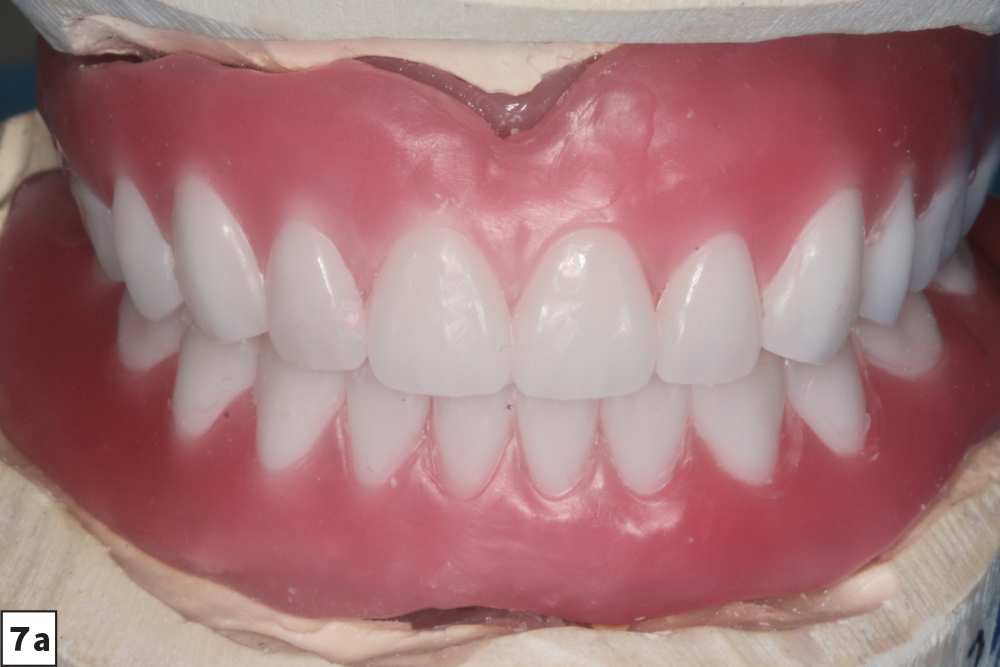
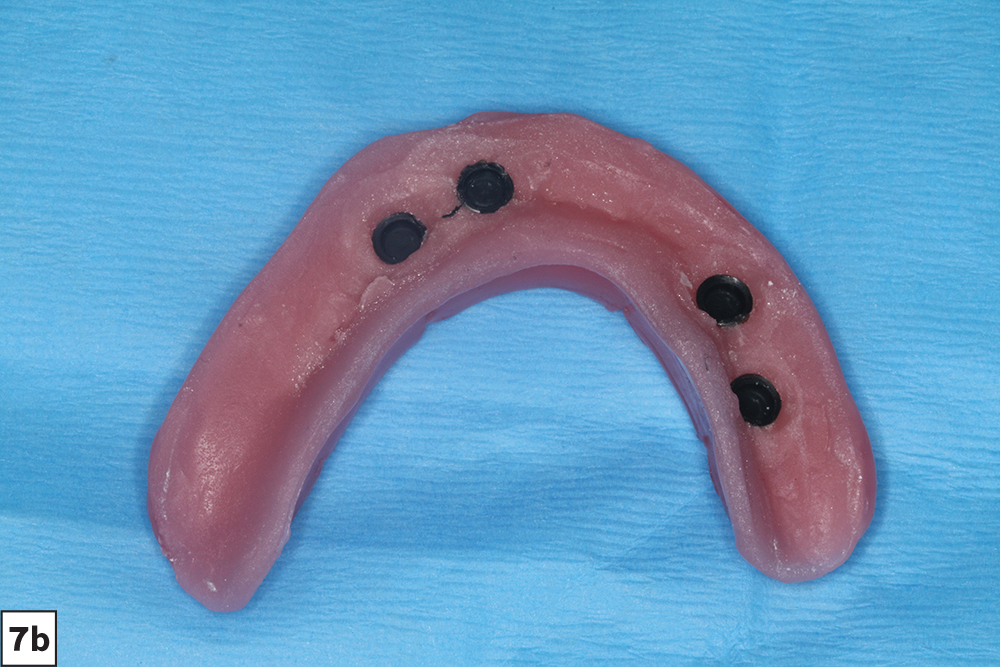
Figures 7a, 7b: The lab created wax setups and designed the overdentures to improve lip support, esthetics and function. The metal housings for the Locator Attachments were cured into the denture bases to stabilize and retain the appliances during try-in.
Figure 8: The trial denture setups were seated in the patient’s mouth and the VDO, esthetics, occlusion, phonetics and midline were carefully evaluated. After making minor adjustments, the setups were returned to the lab for processing of the final overdentures.
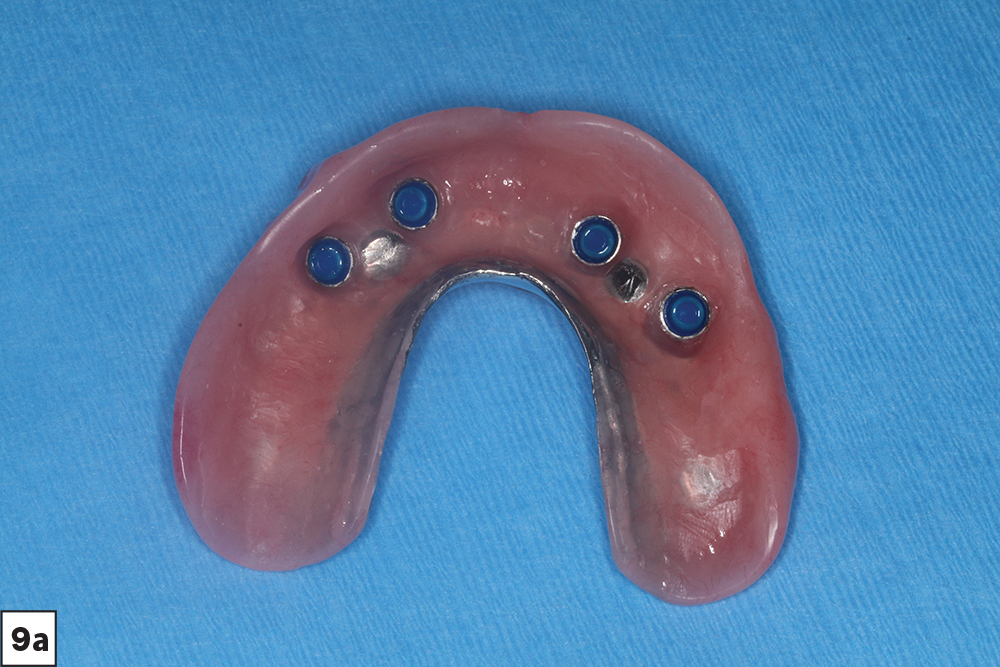
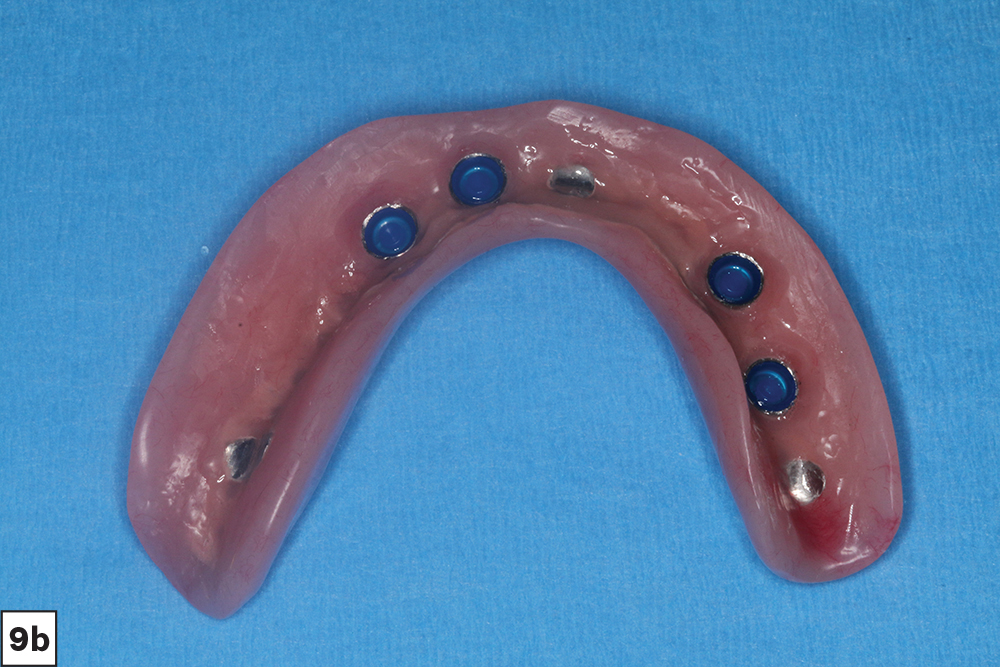
Figures 9a, 9b: The final Locator Overdentures were produced by the lab based on the approved wax setups. Note the use of metal substructures to maximize the strength of the prostheses.
Figure 10: Before delivering the final implant overdentures, the Locator Abutments were torqued to 35 Ncm on the Hahn Tapered Implants. Then, the implant-retained overdentures were seated and the occlusion, esthetics and function were confirmed. The restorations provided the patient with outstanding stability and retention using the Locator attachment system.
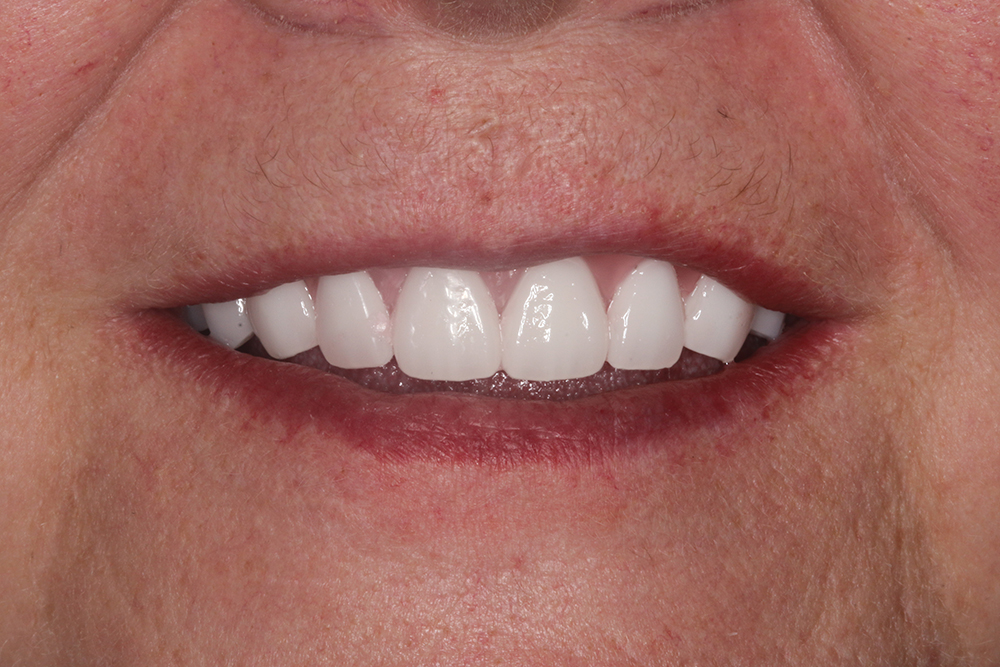
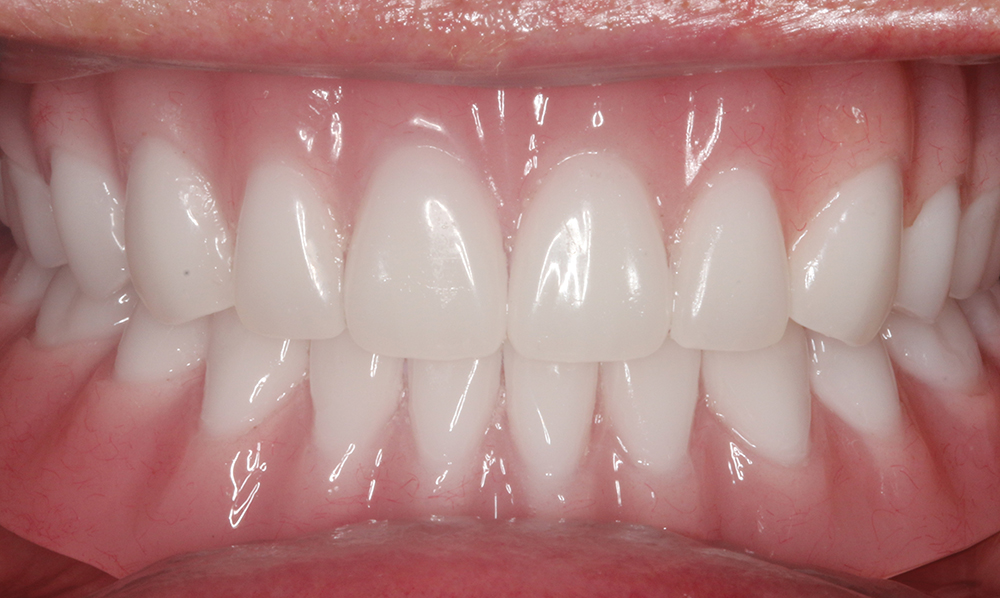
Figure 11: The final smile of our patient, who was extremely happy with her stabilized overdentures and now enjoys renewed dental function, comfort and quality of life.
CONCLUSION
As more patients turn to implant treatment as the optimal solution for the edentulous arch, it’s important that doctors consider the full range of restorative options. While the fixed full-arch restoration provides the best possible outcome, for many patients, the removable implant overdenture is an excellent alternative that addresses the issues associated with traditional complete dentures and is indicated in many patient situations.
Locator is a registered trademark of Zest Dental Solutions.
CHAIRSIDE PICKUP OF LOCATOR HOUSINGS
with Len Conner, CDT
Director of Education and Clinical Affairs at Zest Dental Solutions
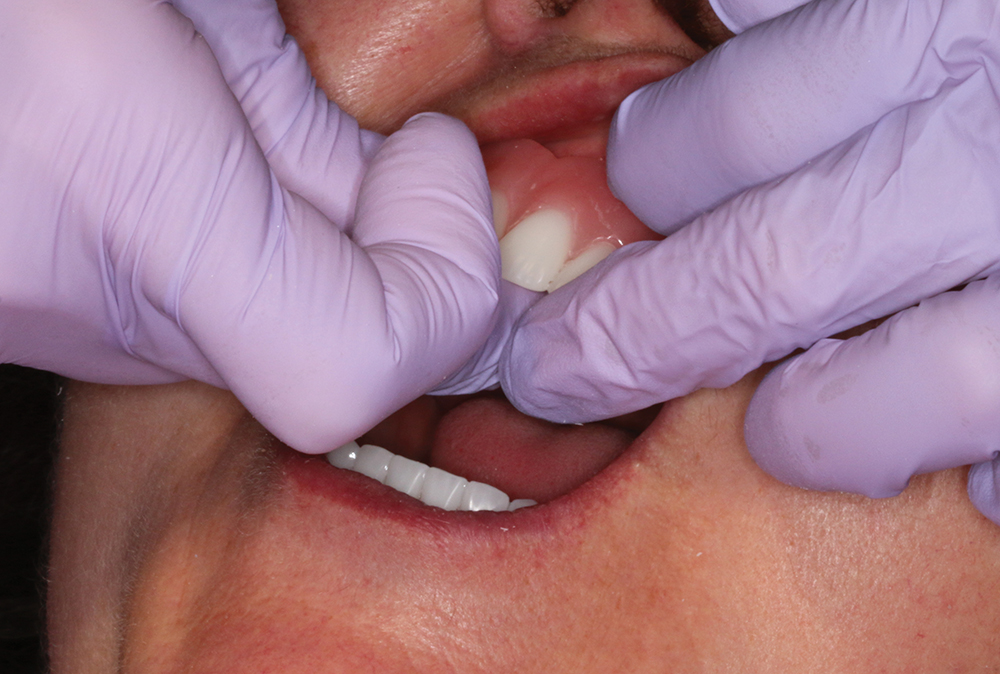
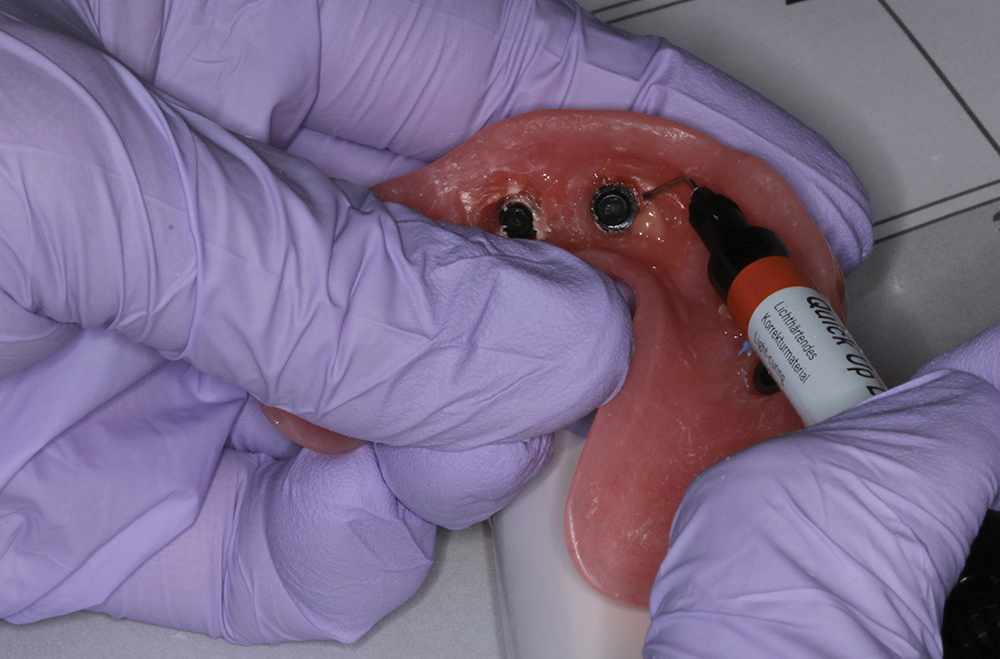
In the standard protocol for the Locator Overdenture, the Locator housings are processed into the overdenture by the dental lab. However, some doctors may prefer to pick up the Locator housings intraorally. The following presentation, courtesy of Len Conner, CDT, director of education and clinical affairs at Zest Dental Solutions, illustrates the straightforward clinical procedure for intraoral pickup.
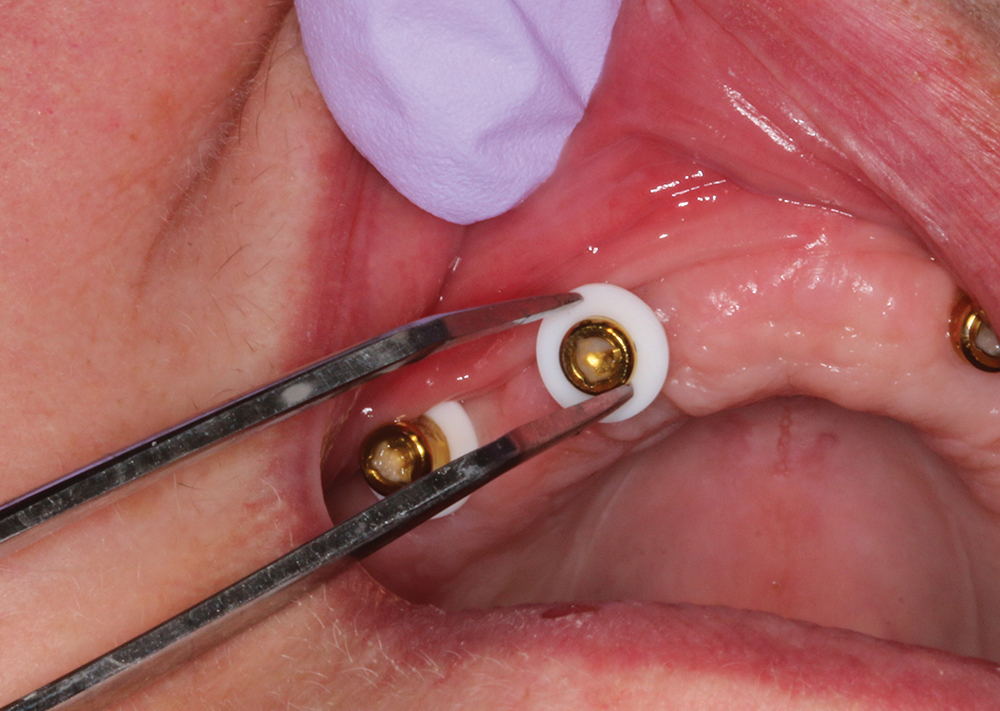
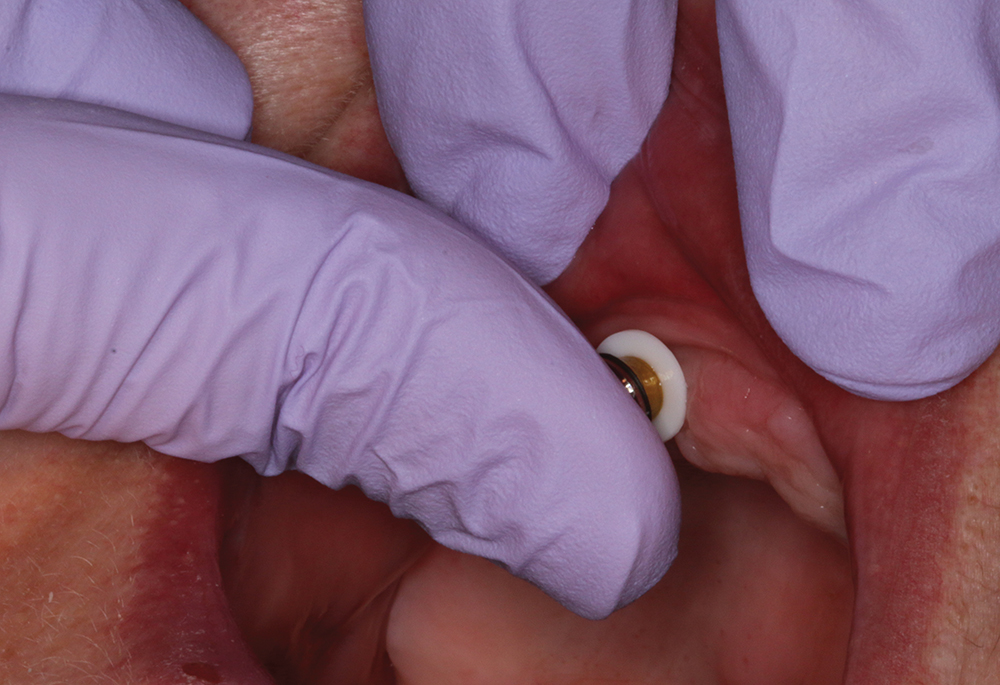
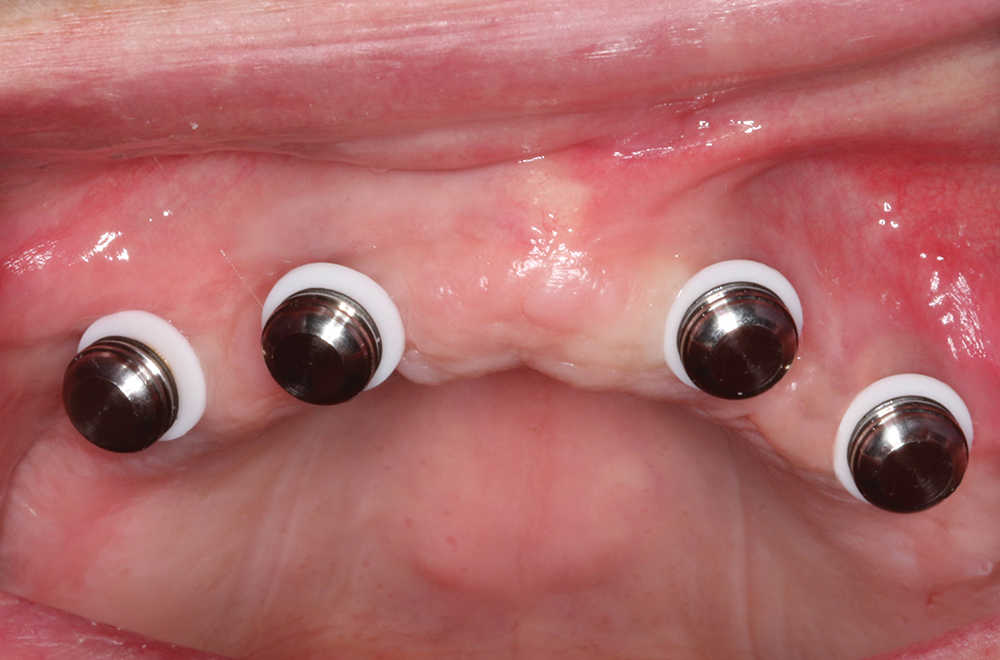
Step 1: After seating the appropriate Locator abutments and tightening them to the recommended torque, place the white block-out spacer over each abutment.
Step 2: Snap the Locator housings with the black nylon processing caps over the block-out spacers and abutments.
Step 3: Make sure the metal housings are fully seated.
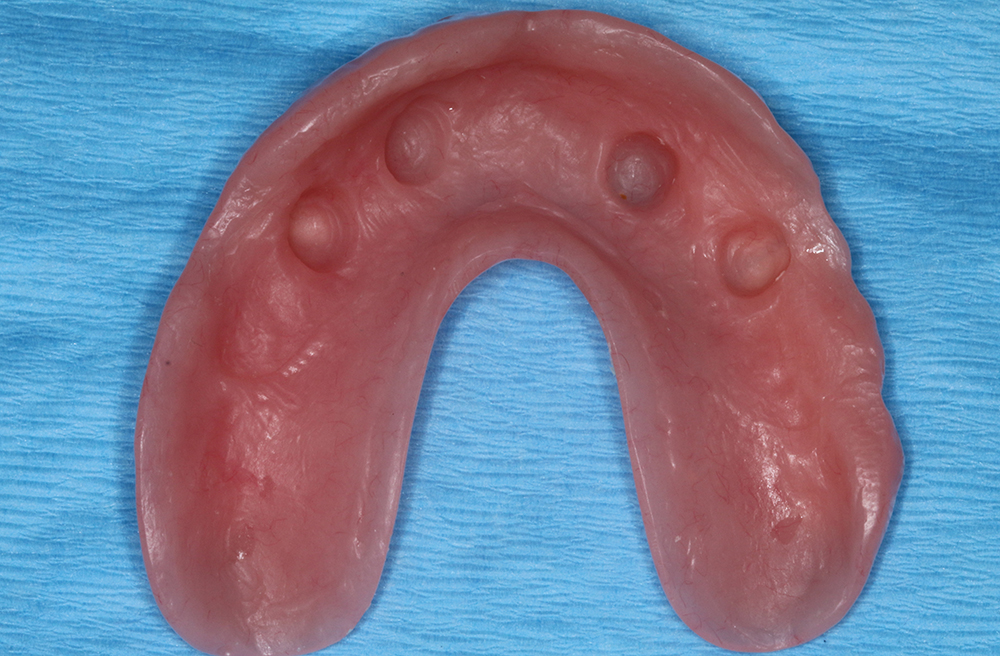
Step 4: Apply fit-check marking paste to the intaglio surface of the denture. Seat the overdenture over the Locator housings. Then, remove the overdenture and relieve the marked areas with an acrylic carbide bur. Remove enough material so that the overdenture seats over the Locator housings passively without making contact, adding undercuts for mechanical retention.
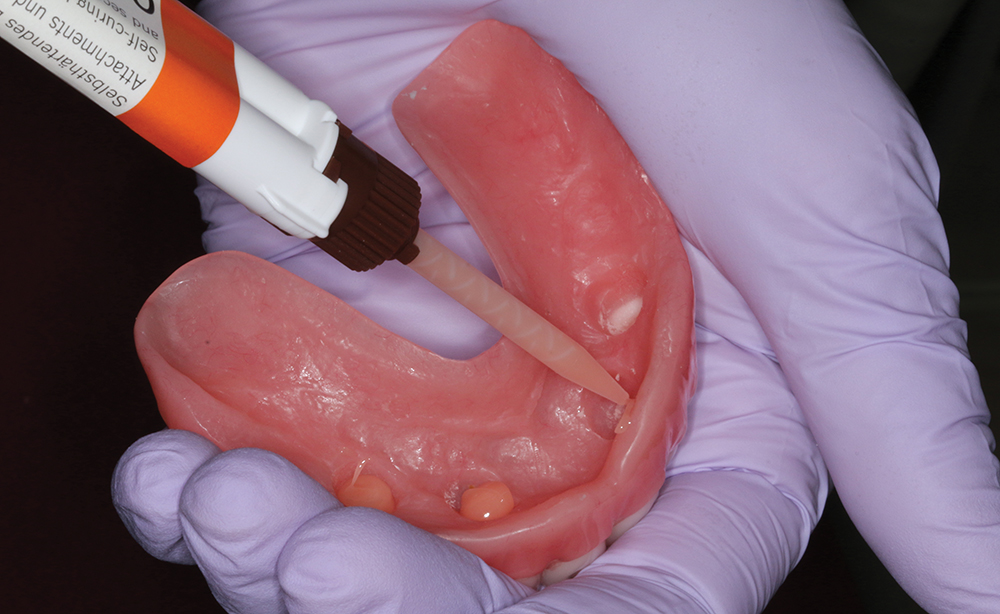
Step 5: After drying the metal housings, apply a small amount of processing material on top of and around the circumference of each cap. Then, partially fill the relieved areas of the denture with processing material.
Step 6: Seat the denture over the housings and onto the tissue. Have the patient close into light occlusion and hold while the material sets.
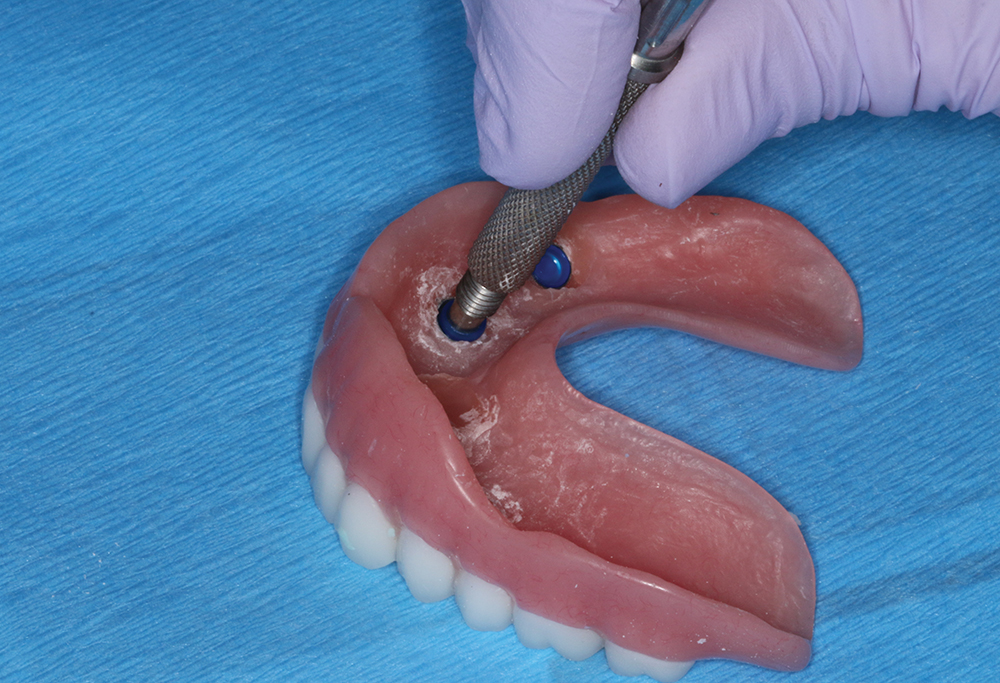
Step 7: Remove the denture from the mouth. Verify that the housings have been securely processed into the overdenture. Fill voids with additional processing material and light-cure. Remove any excess material with an acrylic cutting carbide bur.
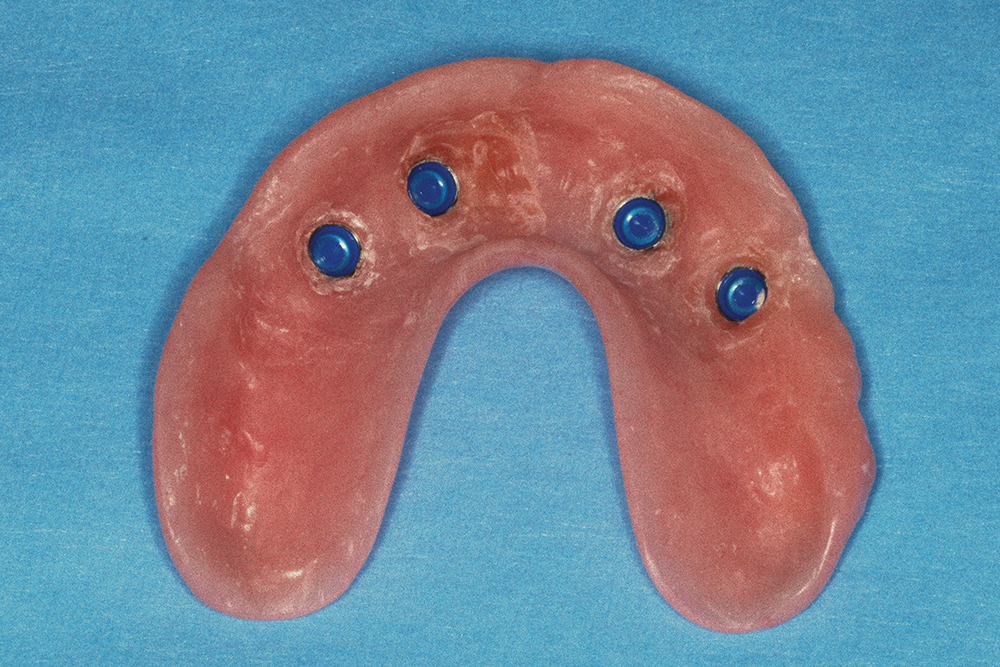
Step 8: Depending on the desired retention and the patient’s ability to remove the prosthesis, remove the black nylon processing caps and replace them with either the clear, blue or pink nylon caps.
Step 9: Instruct the patient on insertion and removal of the final overdenture.
References
- ^ Yunus N, Masood M, Saub R, Al-Hashedi AA, Taiyeb Ali TB, Thomason JM. Impact of mandibular implant prostheses on the oral health-related quality of life in partially and completely edentulous patients. Clin Oral Implants Res. 2016 Jul;27(7):904-9.
- ^ Hyland R, Ellis J, Thomason M, El-Feky A, Moynihan P. A qualitative study on patient perspectives of how conventional and implant-supported dentures affect eating. J Dent. 2009 Sep;37(9):718-23.
- ^ Geckili O, Bilhan H, Mumcu E, Dayan C, Yabul A, Tuncer N. Comparison of patient satisfaction, quality of life, and bite force between elderly edentulous patients wearing mandibular two implant-supported overdentures and conventional complete dentures after 4 years. Spec Care Dentist. 2012 Jul-Aug;32(4):136-41.