
In this issue:
4 Ways to Temporize Dental Implants
Author

Note: The Hahn Tapered Implant System is now known as the Glidewell HT Implant System
These provisional solutions are designed to support your patient’s oral health — and provide an efficient, simple clinical protocol for your implant cases.
When I am asked about my favorite way to provisionalize dental implants, I have one answer on standby: “It depends.” How many teeth need to be restored? Is the implant stable? How long will the patient be wearing the provisional? These are just some of the factors that inform my clinical decision-making. Ultimately, I want to provide temporization results that will best serve my patient’s oral health — in the healing phase and for the final implant restoration.
I’m always aware of the time factor, too. That’s why I often prescribe lab-fabricated solutions to temporize dental implants, rather than enduring the time and inconvenience of trying to create temporaries chairside. Let’s look at four options.
1. SCREW-RETAINED BIOTEMPS® PROVISIONALS
For single-unit implant cases, screw-retained BioTemps® Provisionals are my go-to solution. Why? Because my driving concern in the temporization stage is to ensure esthetic gingival contours, whether I want to retain the current position of the gingiva or guide the soft tissue into an ideal emergence profile.
When it comes to implant cases in the esthetic zone, we are all acutely aware of the challenges and importance of managing the soft tissue. Fortunately, BioTemps Provisionals enable predictable results. It’s also important not to rush this pivotal step. For patient comfort, predictable final esthetics and ease of communication with the lab, goals for the soft tissue need to be fully realized before advancing to the final restoration.
CASE REPORT
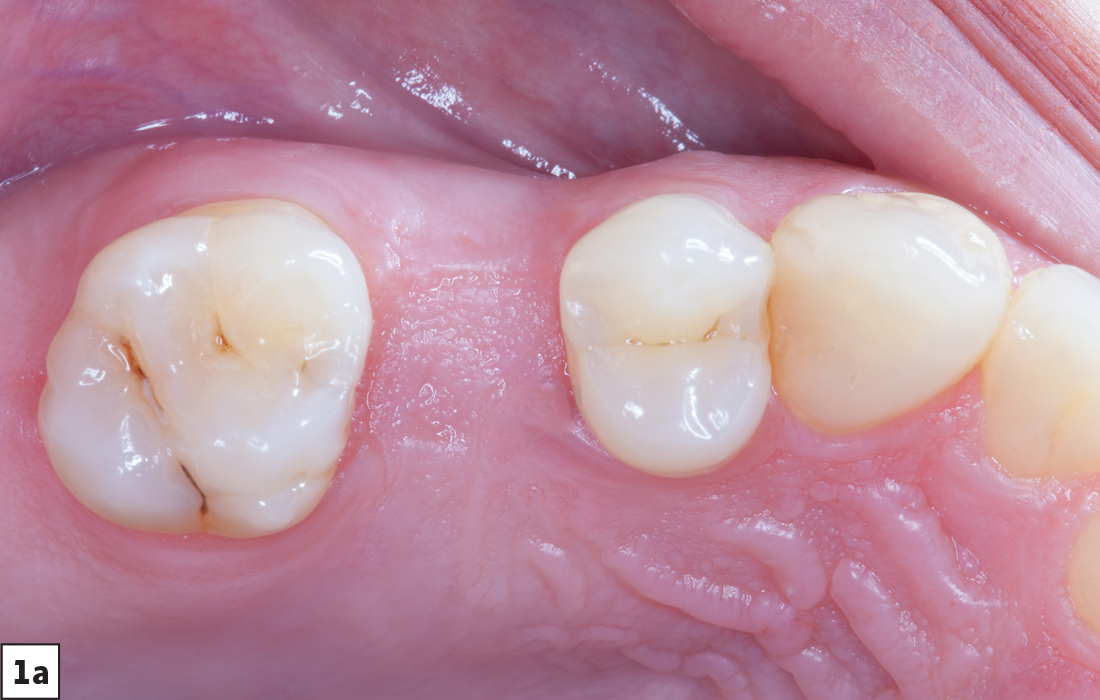
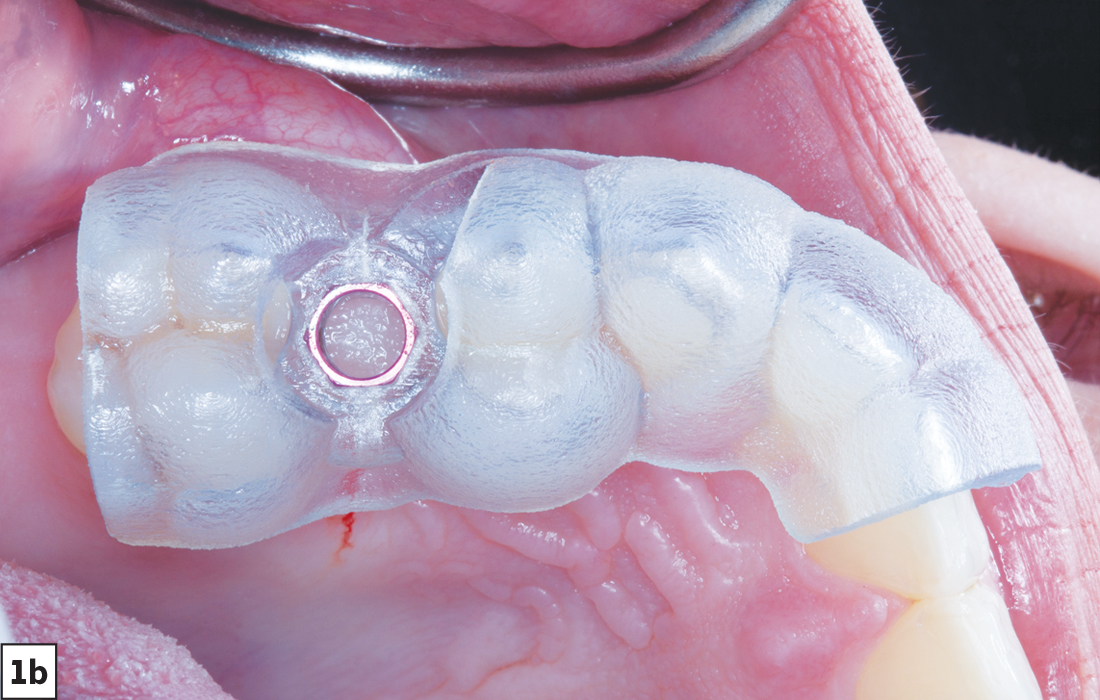
Figures 1a, 1b: This patient was missing tooth #4. To achieve a predictable, esthetic and functional restorative outcome, I used the Digital Treatment Planning (DTP) and surgical guide fabrication services from Glidewell. These services consistently enable accurate placement and allow me to save precious time. The lab’s DTP team identifies the optimal positioning of the implant and creates a restorative-driven treatment plan, complete with a tooth-supported surgical guide for precise implant placement.

Figure 2: For this case, I prescribed a screw-retained BioTemps provisional, which was fabricated prior to the implant surgery. This step can also simplify the final restoration, as Glidewell automatically saves the BioTemps design file. The BioTemps design can be used to fabricate the final restoration after any necessary adjustments are made.
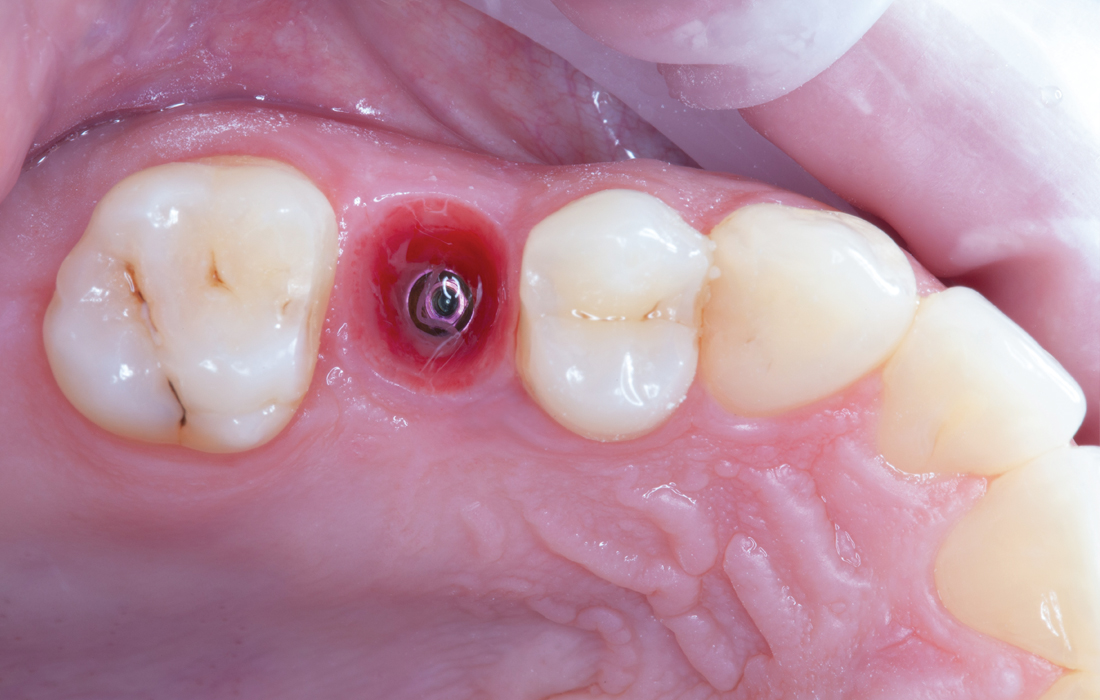
Figure 3: BioTemps Provisionals are far more efficient than the chairside temporaries that we’re all familiar with, and immediate loading is possible if the implant achieves sufficient primary stability. For this case, using a BioTemps provisional enabled me to guide the soft tissue to establish an ideal emergence profile. Also, it is worth noting that BioTemps Provisionals can be made as screw-retained or cementable restorations.
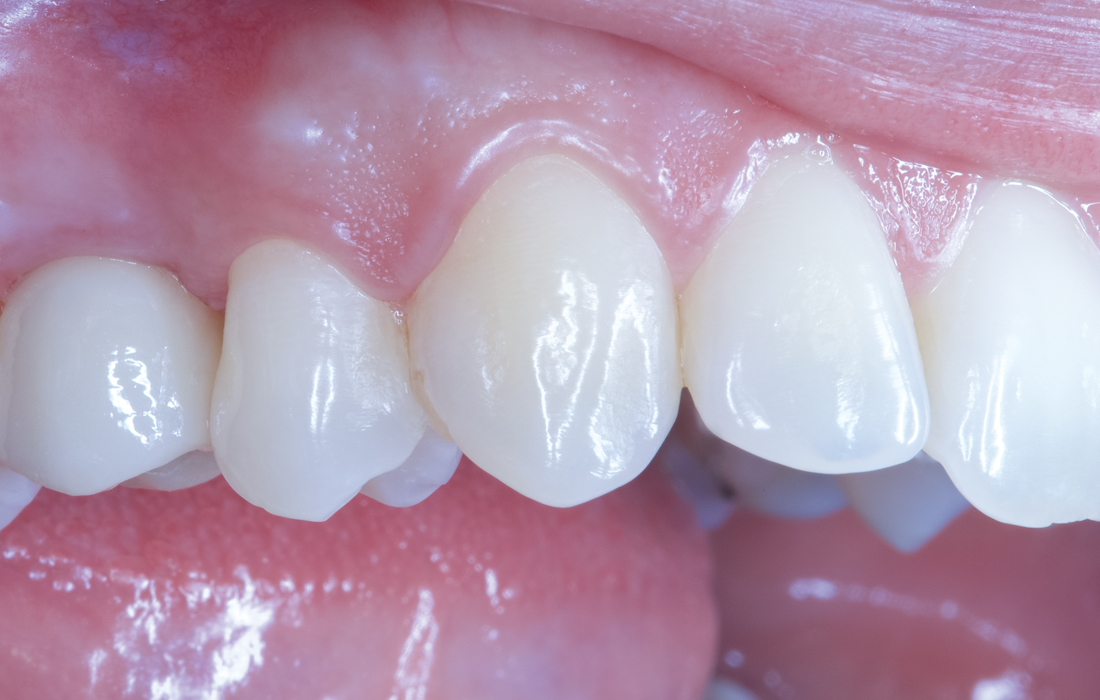
Figure 4: This buccal view of tooth #4 shows the BioTemps provisional in place with nicely healed tissue and papillae — something that I never take for granted when temporizing dental implants. The smooth surface of BioTemps Provisionals is conducive for healthier tissue like that shown in the above photo, as BioTemps Provisionals accumulate lower levels of biofilm compared to chairside acrylic temporaries. For this case, I am planning to prescribe BruxZir® Full-Strength Zirconia for the final screw-retained restoration.
2. CEMENT-RETAINED BIOTEMPS PROVISIONALS
When multiple sites — implants and natural teeth — need to be provisionalized, BioTemps Provisionals remain my answer. In this case report, you’ll see how I placed a dental implant at tooth #9 and immediately temporized teeth #8–11 with splinted BioTemps Provisionals.
CASE REPORT
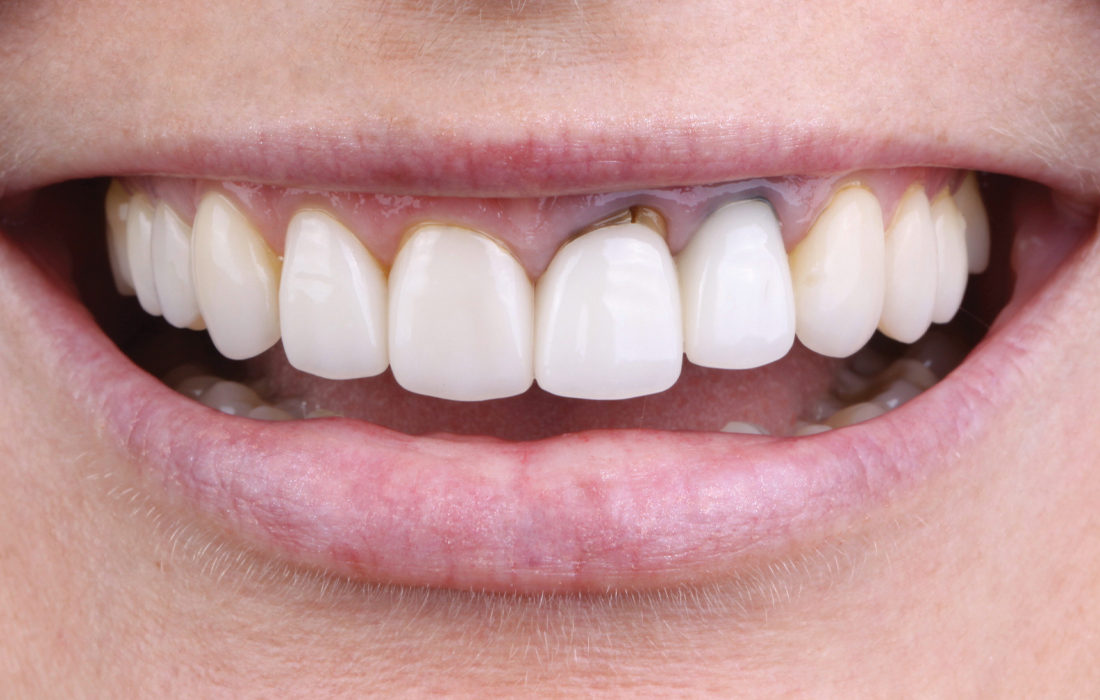
Figure 1: This patient desired more esthetic restorations for a full smile makeover spanning teeth #4–13. Teeth #9 & #10 were non-restorable due to vertical root fractures.

Figure 2: After extraction, I grafted using Newport Biologics™ Cortico/Cancellous Allograft Blend (Glidewell; Irvine, Calif.). As the patient had a thin tissue biotype, I chose to place a ZERAMEX® XT Implant at site #9. The white all-ceramic implant would help avoid metal showing through the thin facial gingiva.
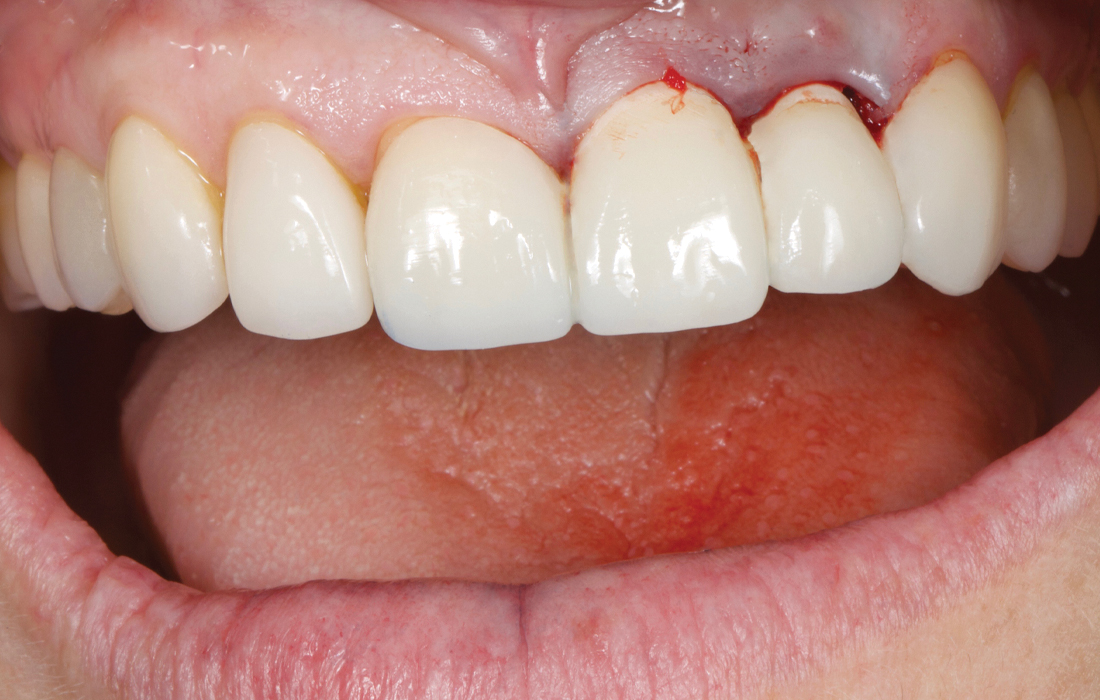
Figure 3: With the splinted BioTemps Provisionals, I was able to immediately temporize the surgical sites and adjacent teeth on the day of surgery, and proactively manage the tissue.

Figure 4: At one month post-op, the soft tissue looked great, and the patient remained comfortable. The esthetic BioTemps Provisionals empowered the patient to smile with confidence during the healing and osseointegration phase for the dental implant.
3. SMILE TRANSITIONS™ COSMETIC APPLIANCE
Fully transforming a smile is often a complex process that takes place over many months. But before the process can begin, there’s the crucial step of gaining patient acceptance. And one of my favorite motivational tools for smile makeovers is the Smile Transitions™ cosmetic appliance.
Prescribing a Smile Transitions appliance is an easy, affordable way to give the patient a preview of the cosmetic possibilities. The patient can instantly see dramatic improvements in the shape and shade of the teeth, without any tooth preparation or cementation.
CASE REPORT

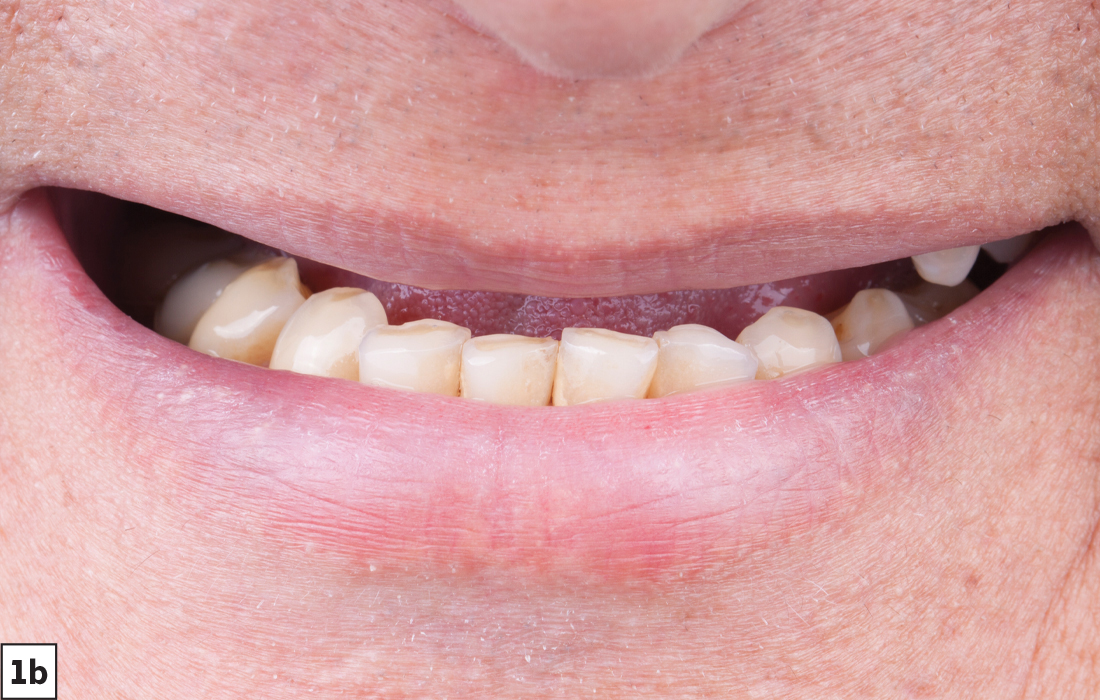
Figures 1a, 1b: This patient was edentulous in the area of teeth #4–12 and had a collapsed vertical dimension. The restorative treatment plan to provide full function and an esthetic smile was going to be a lengthy process.
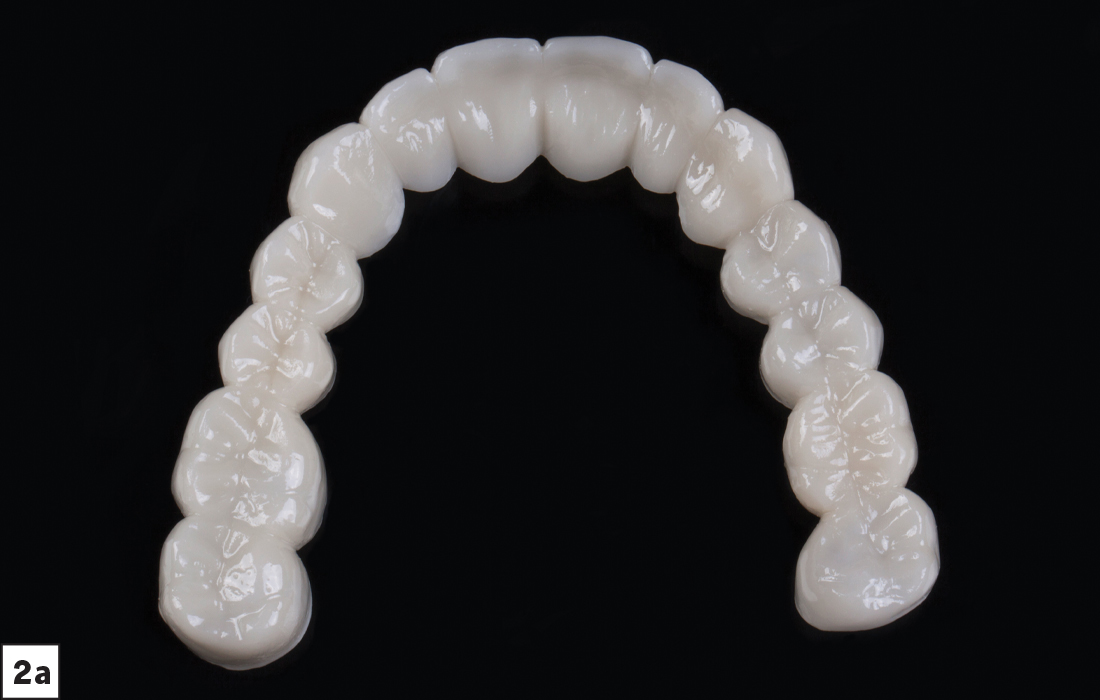

Figures 2a, 2b: To help the patient visualize what his completely transformed smile could look like, I prescribed a Smile Transitions cosmetic appliance (2a). The Smile Transitions appliance also was beneficial in the interim for restoring the vertical dimension. If no changes to the vertical dimension are needed, the lab can fabricate a Smile Transitions appliance that includes occlusal cutouts, upon request (2b).

Figures 3a, 3b: The Smile Transitions cosmetic appliance also provided an immediate temporization solution after placing the patient’s dental implants. During the healing and osseointegration period, the posterior teeth were kept to retain the Smile Transitions appliance. The patient enjoyed the daily preview of his more esthetic smile. And I appreciated knowing that the Smile Transitions cosmetic appliance — milled from acetal resin — would be a durable solution as the rest of his treatment progressed.
4. ESSIX RETAINER
Sometimes, primary stability is inadequate and immediate loading is not indicated. For instance, when placing an implant in the maxillary posterior, with Type 3 or Type 4 bone, immediate loading is less predictable. Typically, I prefer to put on a cover screw and do a full soft-tissue closure. Then, with the implant buried, I can temporize the site with an Essix retainer from Glidewell.
An Essix retainer is the easiest of these four implant temporization options. Glidewell fixes a denture tooth in the Essix retainer to maintain the edentulous space and provide an esthetic temporary tooth replacement.
CASE REPORT
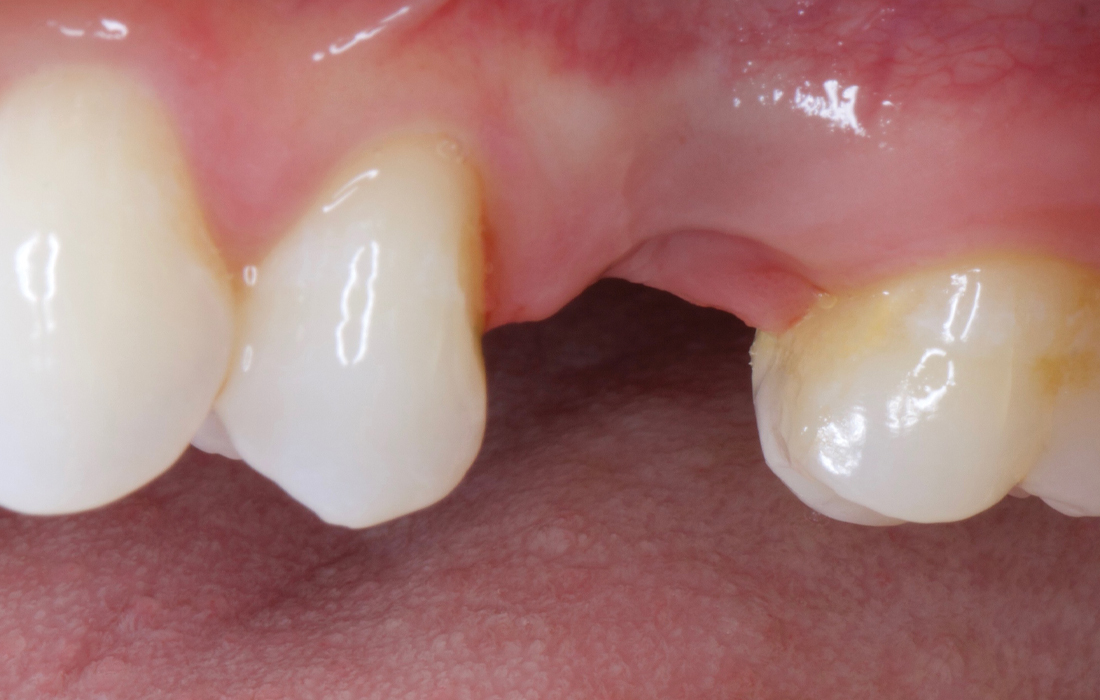
Figure 1: This patient sought treatment due to discomfort caused by a failing implant at site #13, which had been restored several years ago. I removed the existing implant, from an unfamiliar implant system, and replaced it with a Hahn™ Tapered Implant (Glidewell). The lower pitch and deeper thread pattern of the Hahn Tapered Implant are two of the many qualities that I like about the Hahn Tapered Implant System. This photo is from the healing and osseointegration phase, following placement of the Hahn Tapered Implant.

Figure 2: I chose to prescribe an Essix retainer from Glidewell for this patient, as maintaining the space during the healing phase is an important factor. The Essix retainer can help prevent supraeruption of the opposing dentition and prevent rotation or drifting of the adjacent teeth.
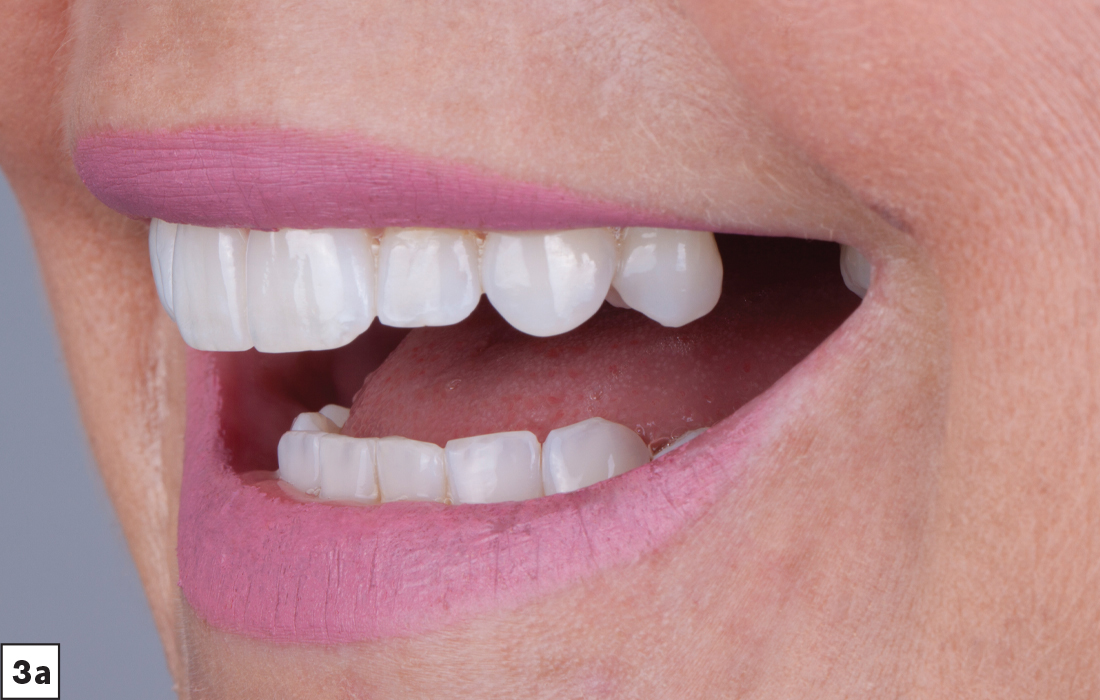
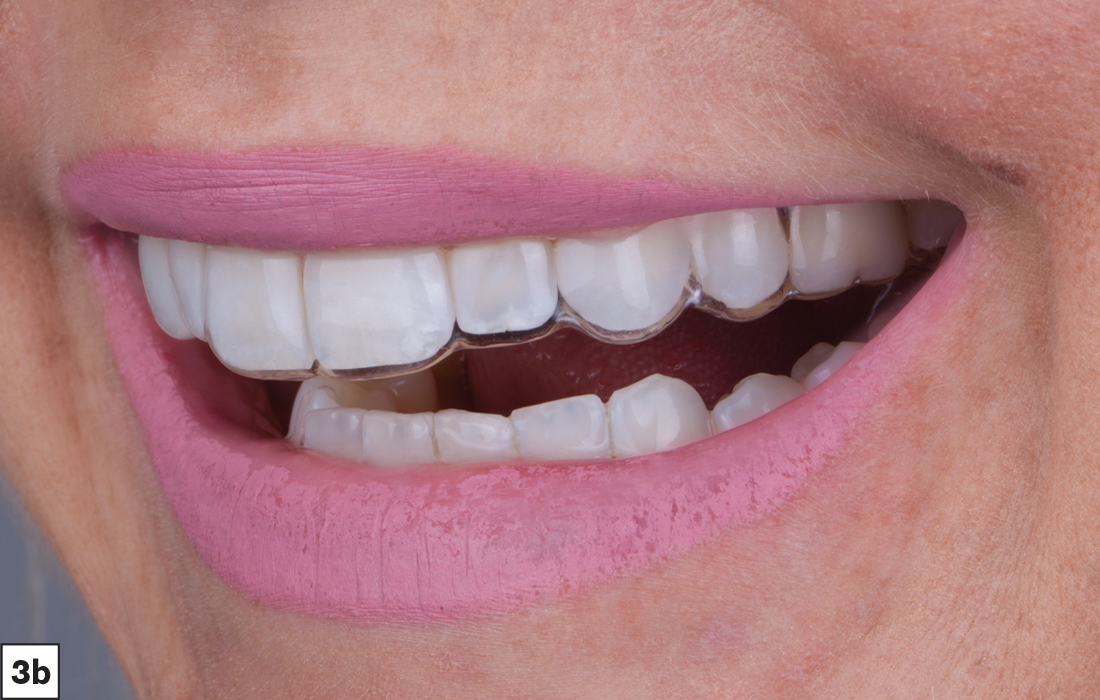
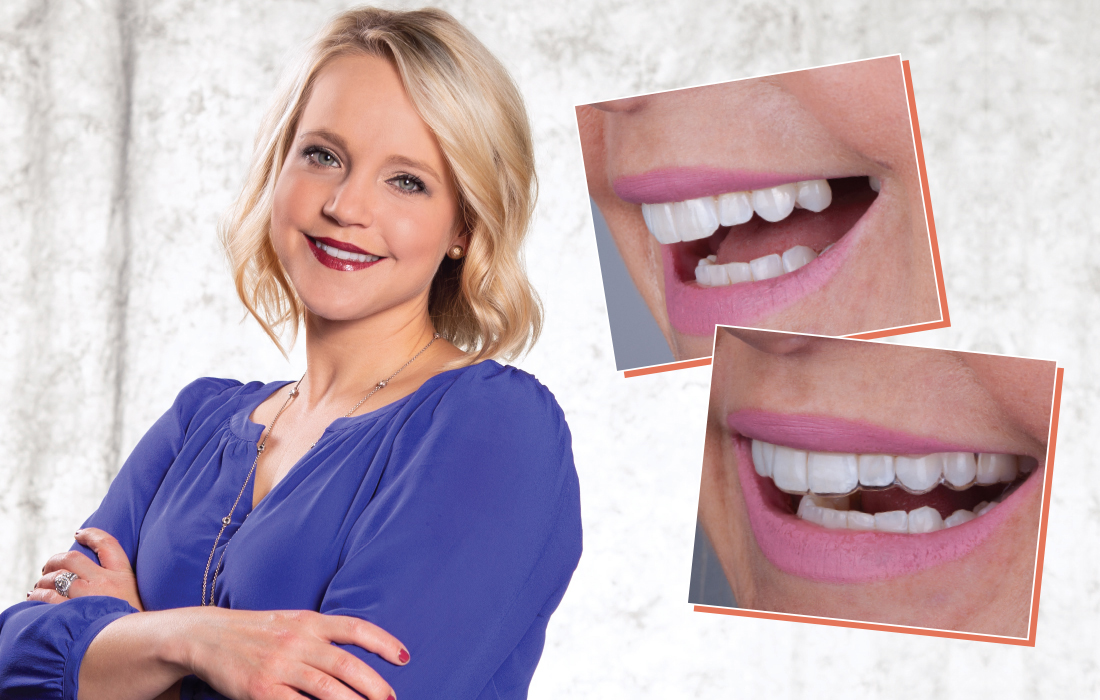
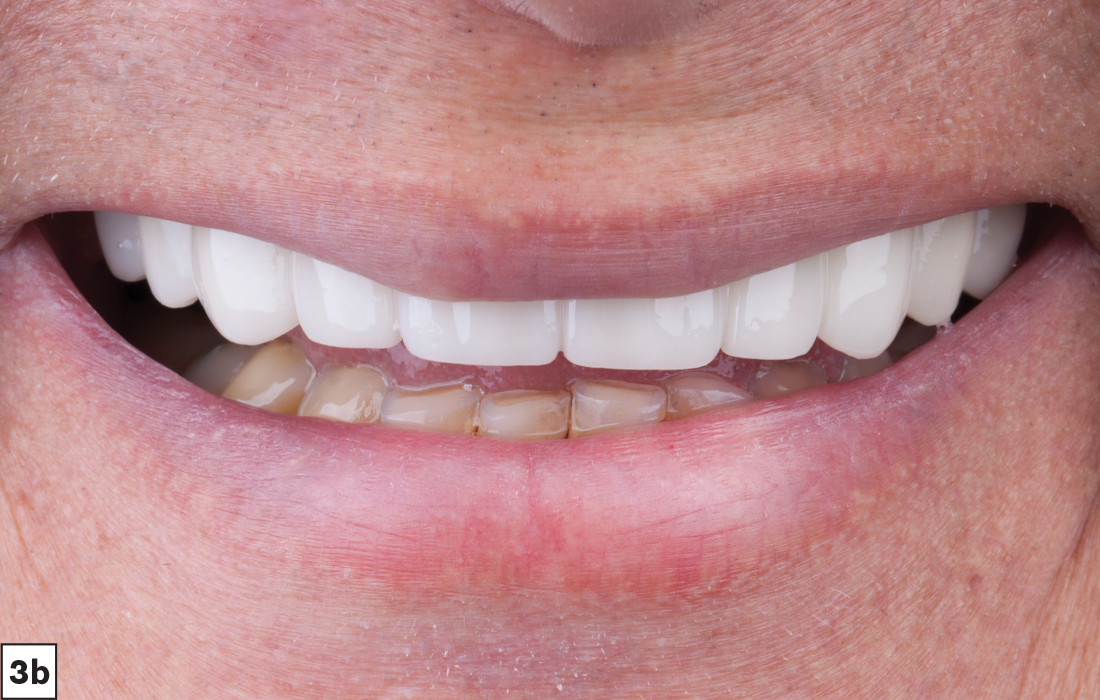
Figures 3a, 3b: Although the missing tooth was a second premolar, the area showed when the patient smiled. The esthetics of the Essix retainer made it an excellent choice for this case.
CONCLUSION
Knowing all your options is essential for predictably temporizing dental implants across a range of case needs. These four lab-fabricated options are just one indicator of how, with the right dental laboratory by your side, implant dentistry can be simpler and safer.