In this issue:
A Smile from Within
Author

Today’s patients have expectations that reach beyond traditional preventive and restorative dentistry. Patients come to our offices now with some knowledge of cosmetic dentistry, and they have desires informed by online information, social media and the experiences of friends. Therefore, dentists are often called upon to overhaul a smile and improve upon the esthetics, contours, morphology and proportions of the patient’s natural teeth in the process.
CASE REPORT
This patient came to our office with a dental concern she’s had most of her life — she didn’t like the size, shape or color of her teeth. Upon examination, it was evident that this patient had a very wide smile, characterized by the visibility of her first molars. The preoperative evaluation also showed that her maxillary teeth were a bit short and somewhat uniform in length across the arch — a look which presents as a more aged appearance. The patient reiterated her lifelong desire for a more esthetic smile and a lighter shade. After a thorough evaluation, the patient accepted our recommendation to provide veneers on teeth #4–13.
When it comes to selecting an esthetic material, this is a wonderful time to be practicing dentistry, because we have a variety of excellent choices. Traditionally, we would have to choose between a material with strength or a material with beautiful esthetics. But with its unique combination of proven strength and lifelike vitality, BruxZir® Esthetic Solid Zirconia is a material that enabled me to confidently offer both properties, without compromise.
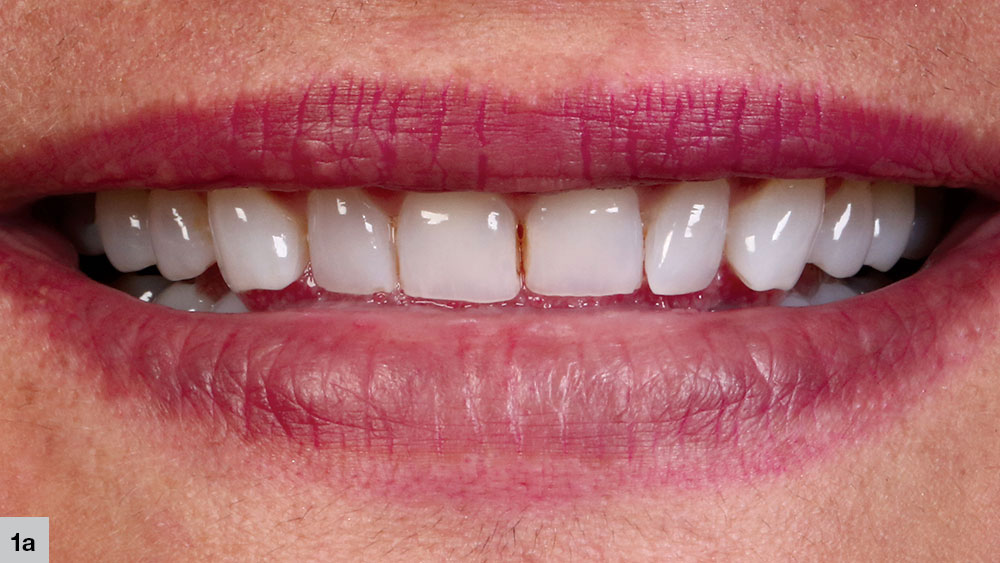
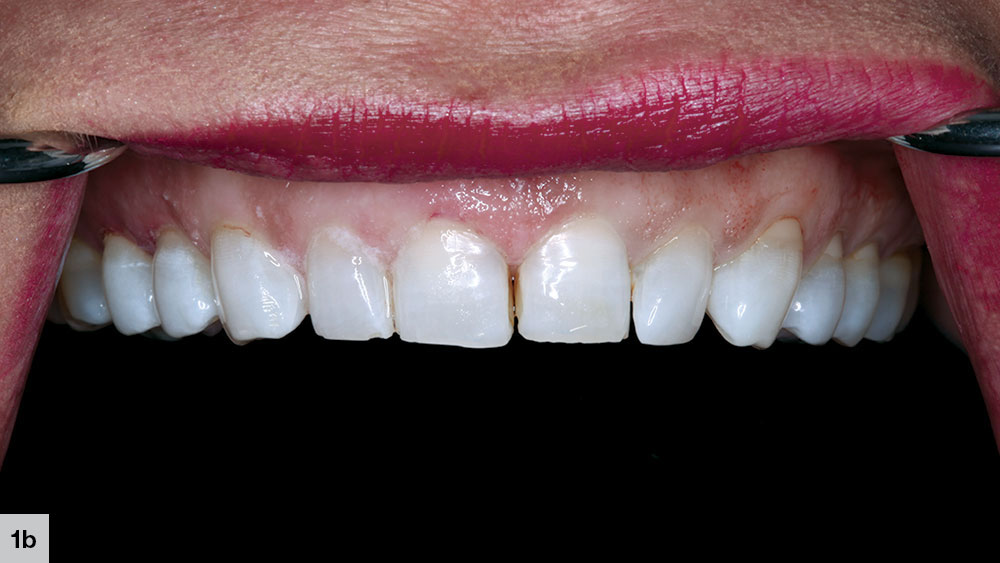
Figures 1a, 1b: The patient presented with some interproximal composite bonding between #8 & #9, Class III restorations on teeth #7 & #10, and various diastemas on the upper arch.
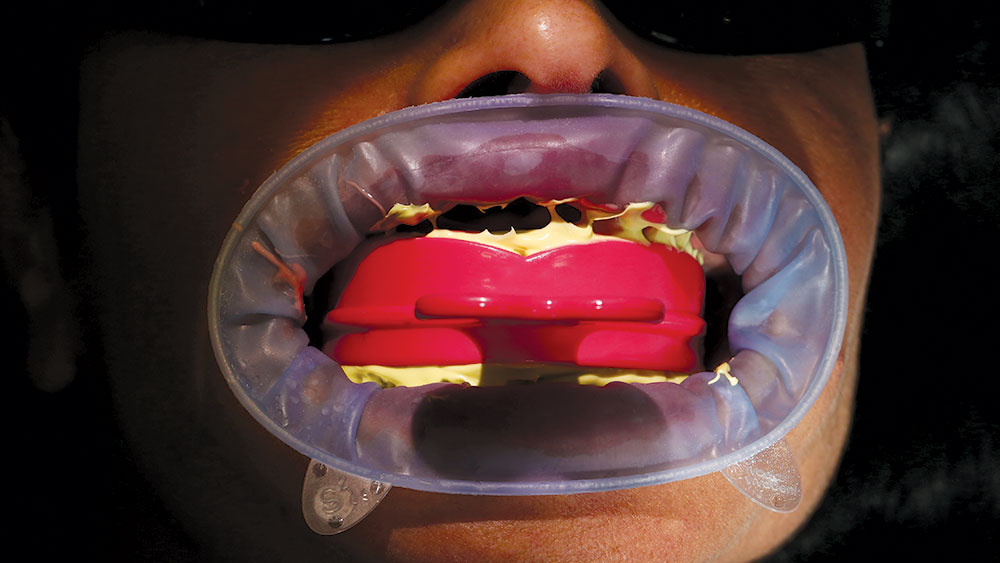
Figure 2: A preliminary anterior, triple-tray VPS impression is taken with Capture® impression material (Glidewell Direct; Irvine, Calif.) and sent to Glidewell Laboratories to serve as the basis for a diagnostic wax-up.
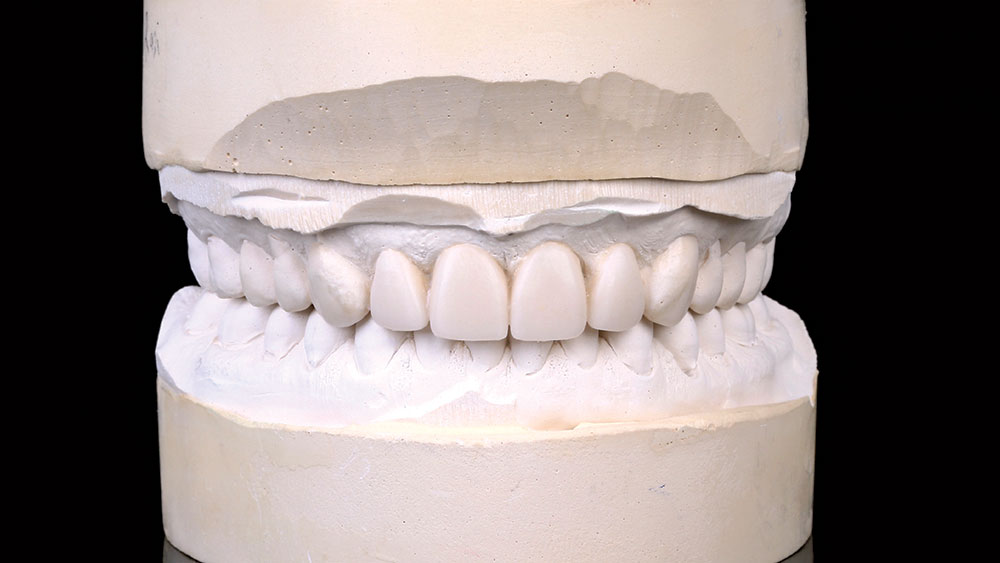
Figure 3: The lab creates a diagnostic wax-up to serve as a mockup of the proposed restorations.
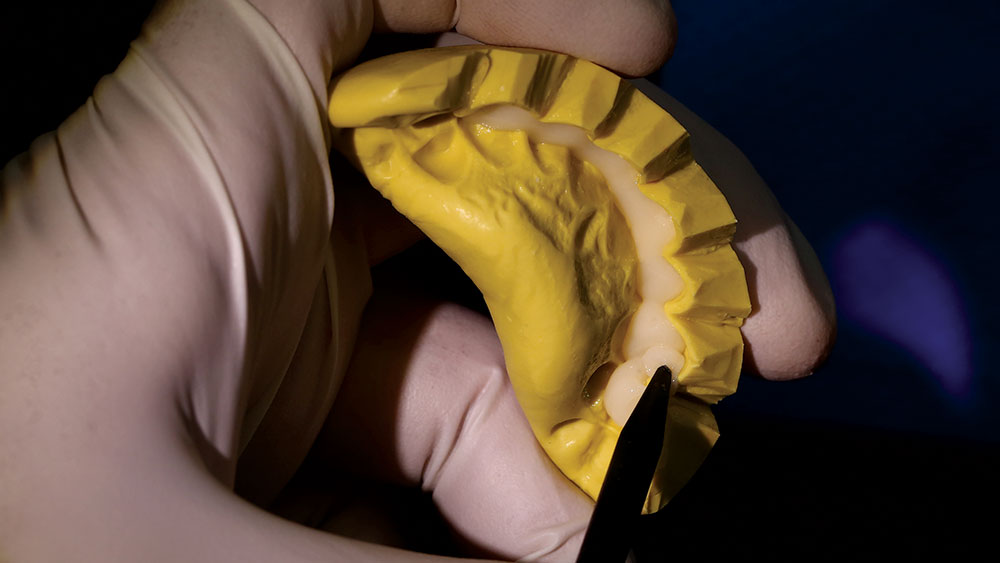
Figure 4: Next, I back-fill bisacryl material into a putty matrix I created from the diagnostic wax-up received from the lab.
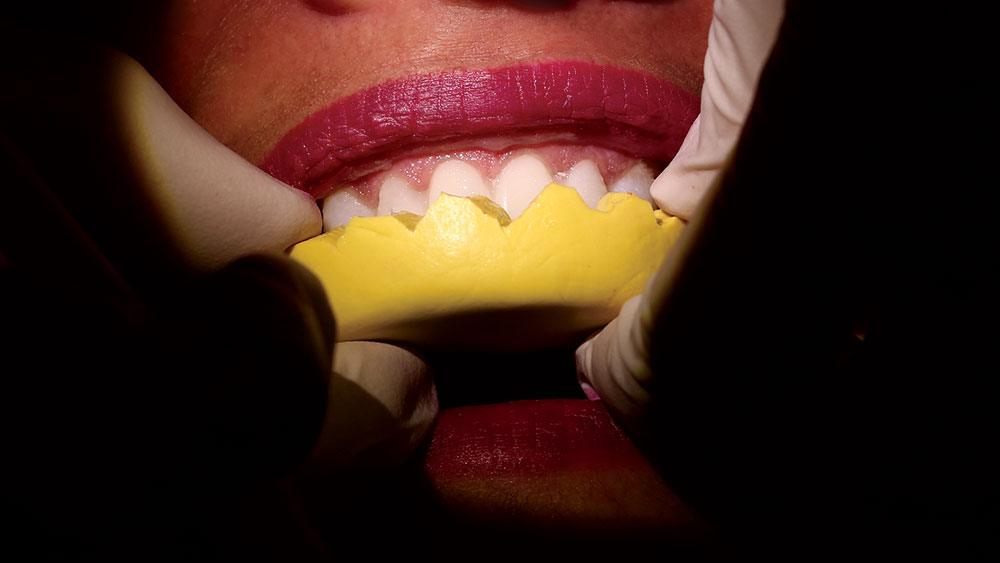
Figure 5: The putty matrix is then slowly seated over the patient’s teeth to minimize the inclusion of bubbles, and the bisacryl material is allowed to set, transferring the mockup of the proposed restorations to the patient’s mouth.
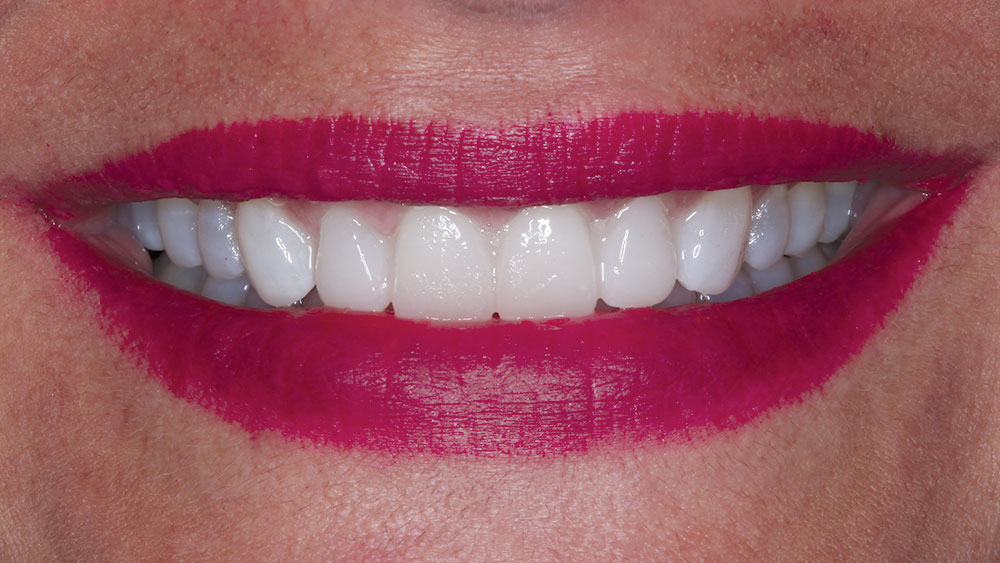
Figure 6: Once the mockup is in place and polished, our patient has a realistic glimpse of what we hope to provide in our final restorations. Particularly when you lengthen patients’ teeth, the difference is noticeable for them, and it’s important to evaluate their speech patterns and comfort.
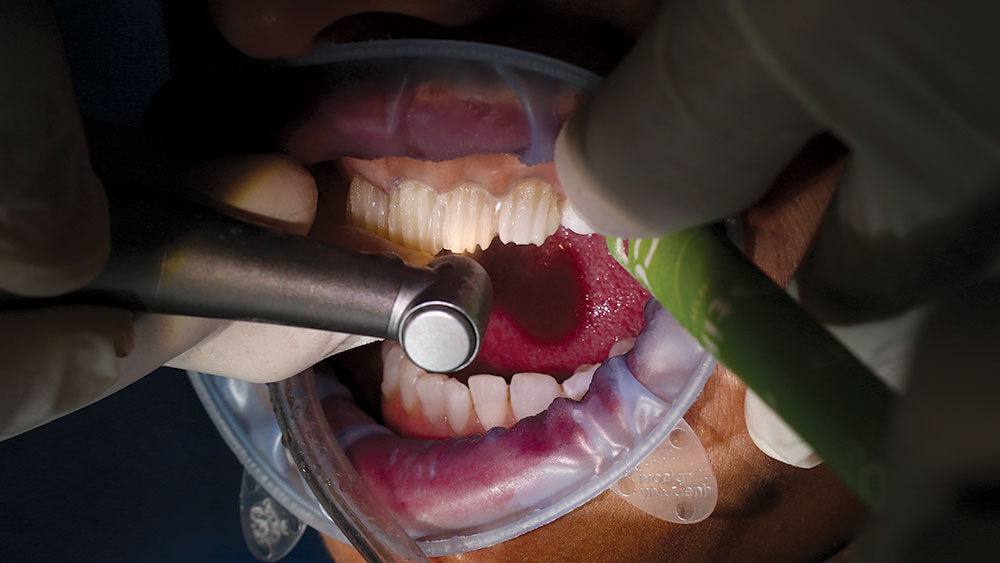
Figure 7: The patient confirms that she is satisfied with the proposed designs, and we begin the preparations at the next appointment through the mockup. Having a clear vision of where to go esthetically is important, and this technique of using a mockup based on a diagnostic wax-up can also help guide your preparations. I place vertical depth cuts through the mockup, ensuring that the tip of the bur, which is about 0.8 mm in diameter, is buried entirely into the temporary restorations along the gingival margin.
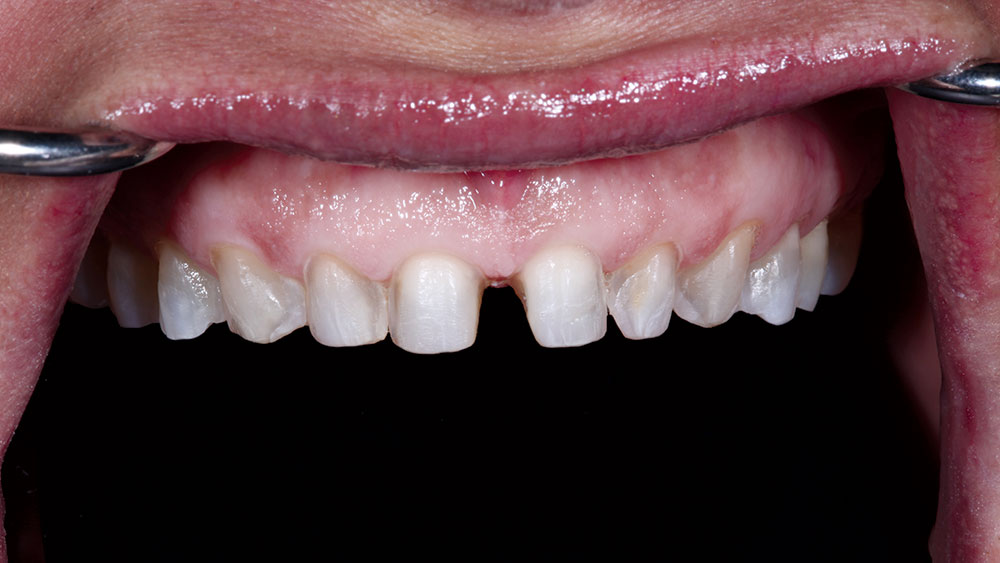
Figure 8: With BruxZir Esthetic, we’re looking for a minimal thickness of 0.7 mm for the final restorations, so we must prep appropriately for optimal strength and esthetics. Once the preparations are completed and to ensure a chamfer margin, I trace the gingival margins with a periodontal probe, placing a little pressure apically, to confirm a complete stop. I know if I have that apical stop, I can create a restoration that has a very nice chamfer margin at the gingival area of the preparation.
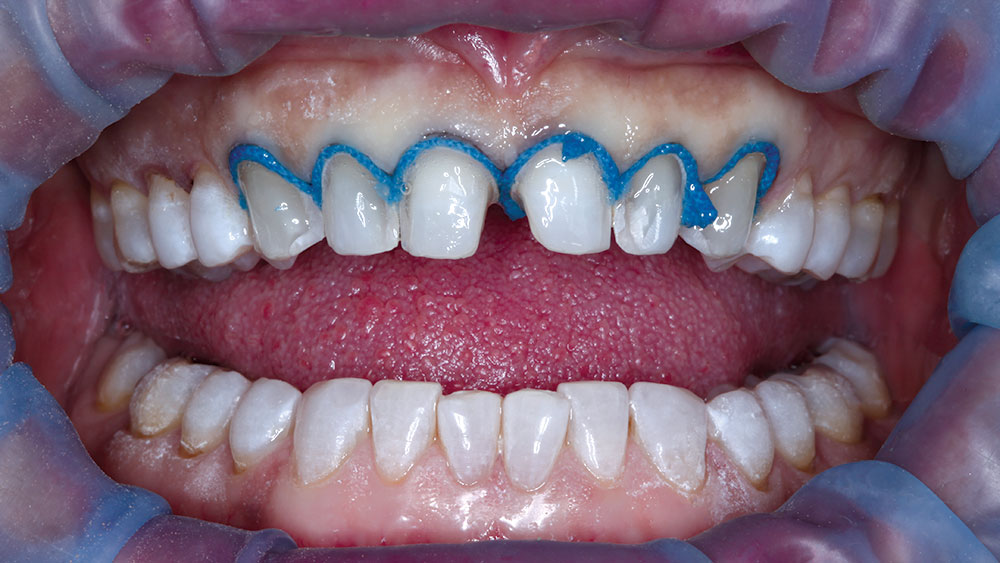
Figure 9: The next critical element is tissue management for the final impression. Placing a size-one cord all around the gingival margins creates the necessary tissue displacement. I want the cord to remain for at least five minutes to give us the retraction that we need. During that time, I’m rounding over the edges of the facial and incisal line angles a little bit more, creating rounded internal angles so the restorations can adapt well to the preparation. After about five minutes, we remove the cord and take the impression.
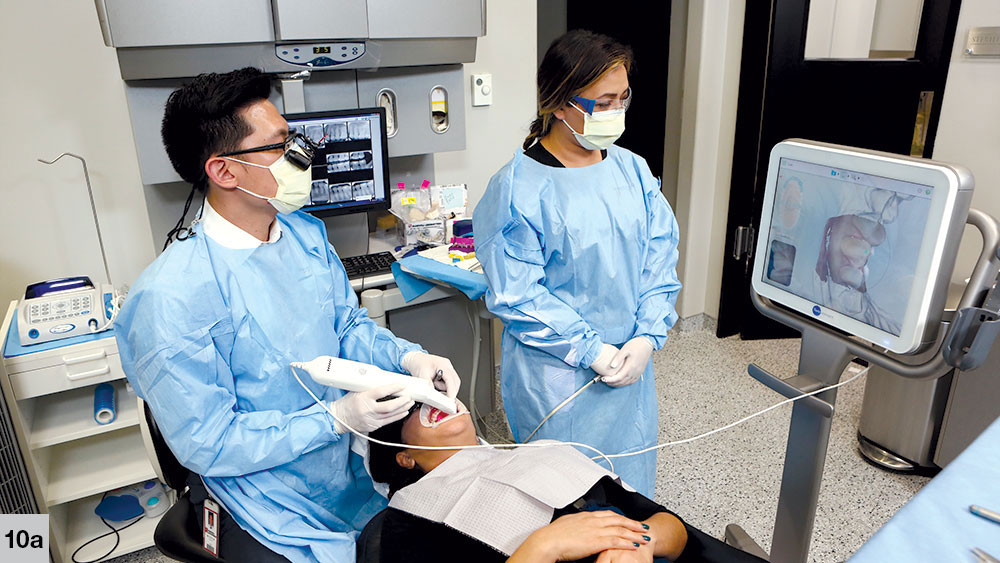
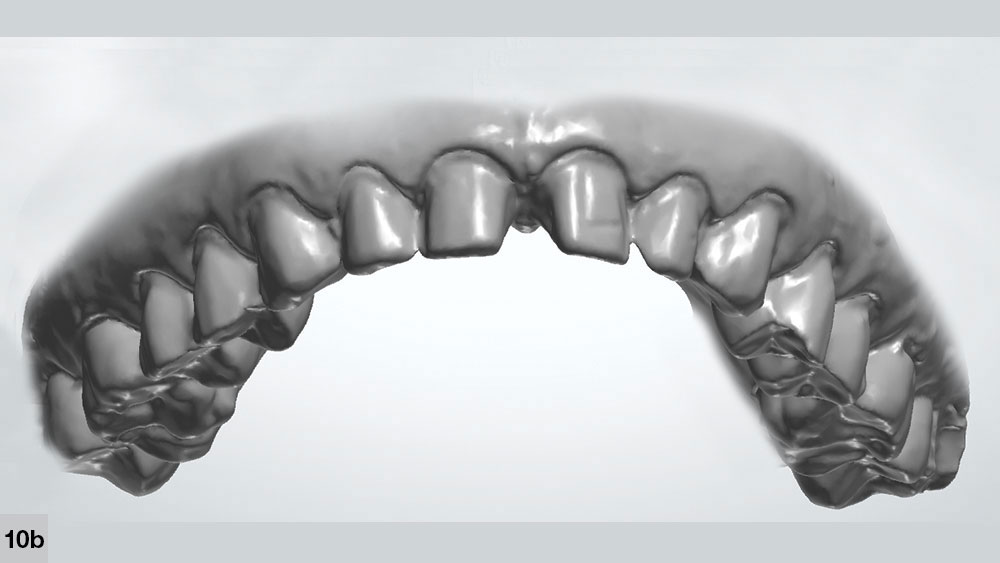
Figures 10a, 10b: Next, we use the iTero® Element to scan the preps and surrounding structures, the opposing, and the bite — it’s essentially a digital triple tray. Everything is digitally sent to the laboratory with the push of a button. Following impression-taking, BioTemps® Provisionals fabricated from the digital file of the diagnostic wax-up are delivered. The provisionals are relined intraorally and serve as temporary restorations until the final veneers are ready for delivery.

Figure 11: The digital designs for the final restorations are finalized based on the digital impression and minor adjustments requested based on observations made with the mockup in place. Ten veneers are fabricated from BruxZir Esthetic Solid Zirconia for a combination of high strength and lifelike translucency in the smile zone.
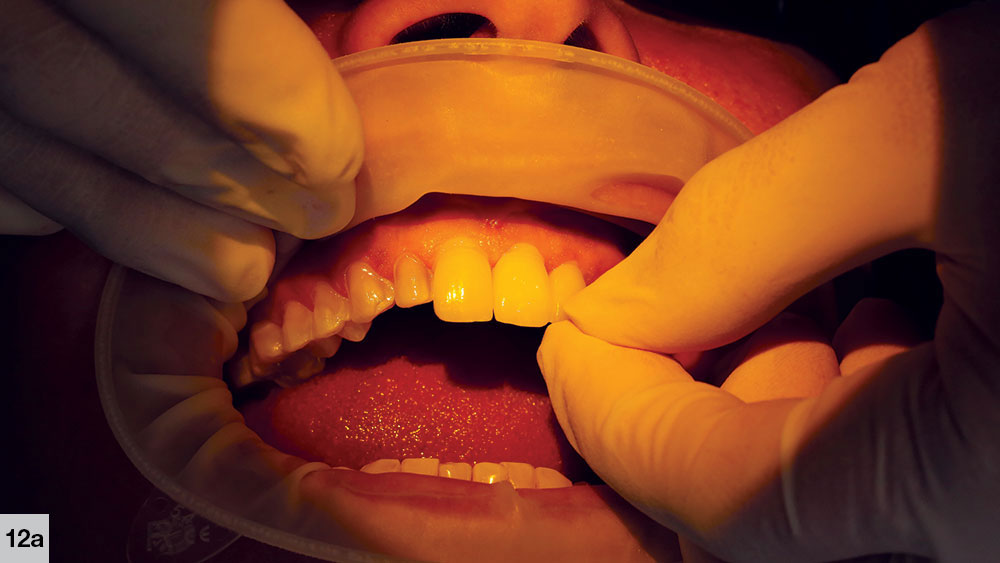
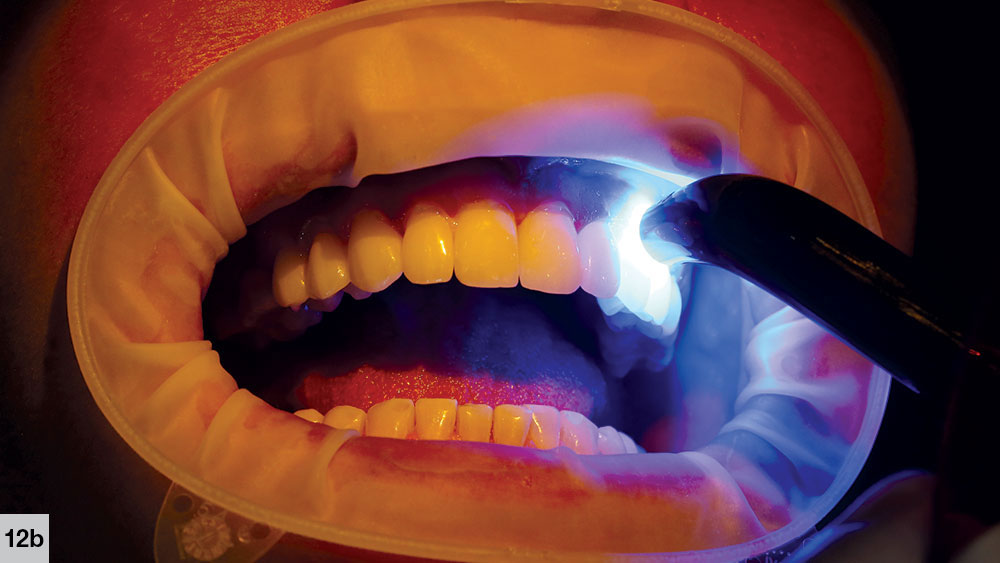
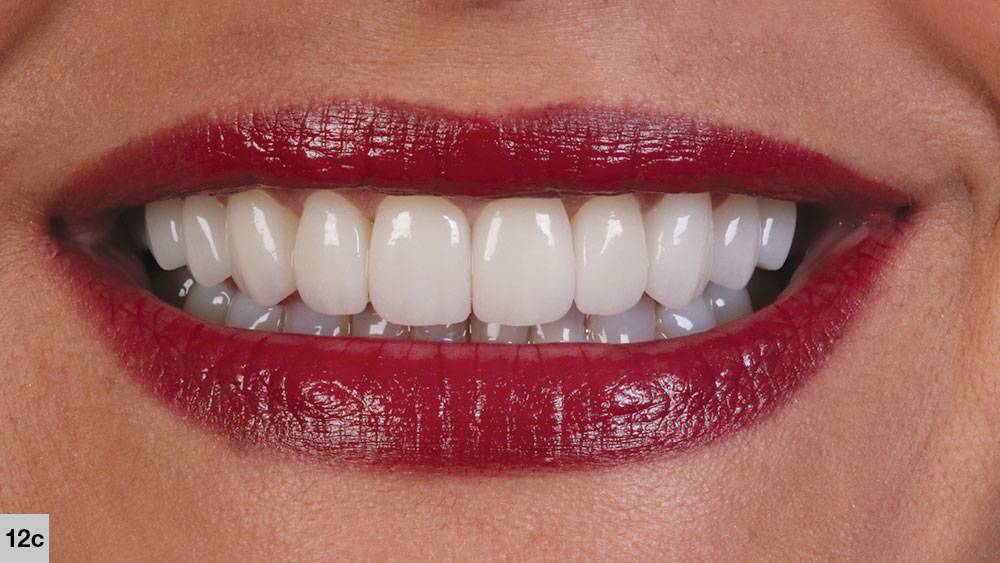
Figures 12a–12c: After decontaminating the restorations with Ivoclean (Ivoclar Vivadent; Amherst, N.Y.), I bond the BruxZir Esthetic veneers into place following the recommended Glidewell Laboratories protocol. Note: See below for detailed bonding protocol.
Recommended Bonding Protocol for BruxZir® Esthetic Veneers
Treating the Intaglio Surface: When we try in restorations, they become contaminated with salivary phosphates that have a very high affinity for zirconia. We must clean these phosphate groups off in order to establish a strong chemical bond between the tooth prep and the restoration. Any of the following three methods can effectively decontaminate the restoration:
1. Air abrasion with 50-micron aluminum oxide, with 1–2 bars of pressure.
2. Ivoclean
3. 1 percent sodium hypochlorite.
MDP Primer: Once the zirconia surfaces are decontaminated, an MDP-containing primer (10-Methacryloyloxydecyl dihydrogen phosphate) such as Monobond Plus (Ivoclar Vivadent) needs to be applied. The MDP monomer chemically adheres to zirconia and, after application, the restoration is ready for cementation.
Total-Etch Protocol: For the tooth preparations, I use a total-etch protocol:
1. Etch the tooth preparation with 37 percent phosphoric acid for 15–20 seconds on enamel, 5–10 seconds on dentin.
2. One-minute application of GLUMA® Desensitizer (Heraeus Kulzer, LLC; South Bend, Ind.); then, aspirate or wipe off excess.
3. Scrub in Kerr OptiBond™ Universal adhesive (Kerr Corporation; Orange, Calif.); then, aspirate excess, air-thin to remove solvents, and light-cure for 10 seconds.
4. Cement the veneer with NX3 Nexus™ Third Generation light-cure resin cement (Kerr Corporation). I prefer using a light-cure cement versus a dual-cure for veneers because it allows me unlimited working time to position the restorations.
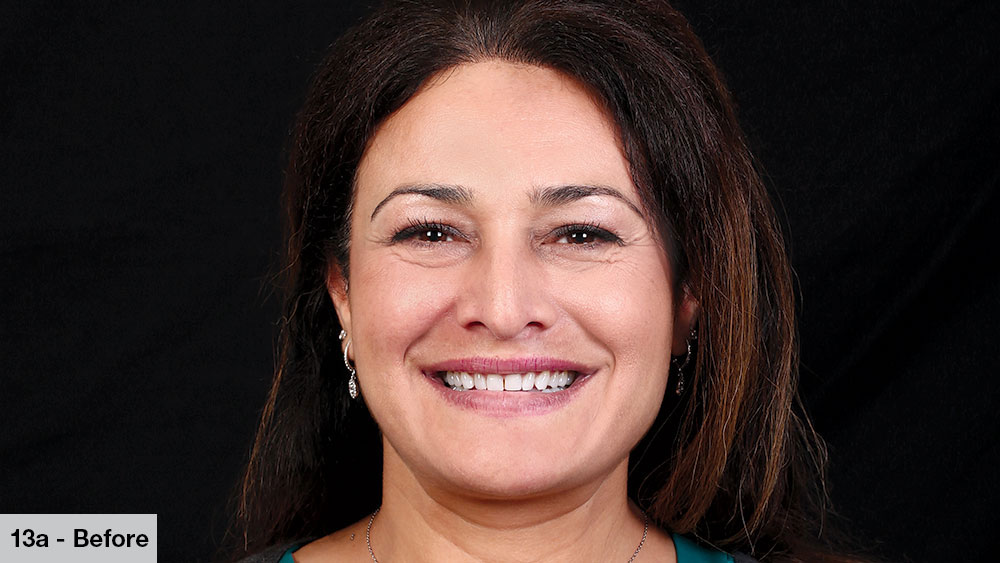
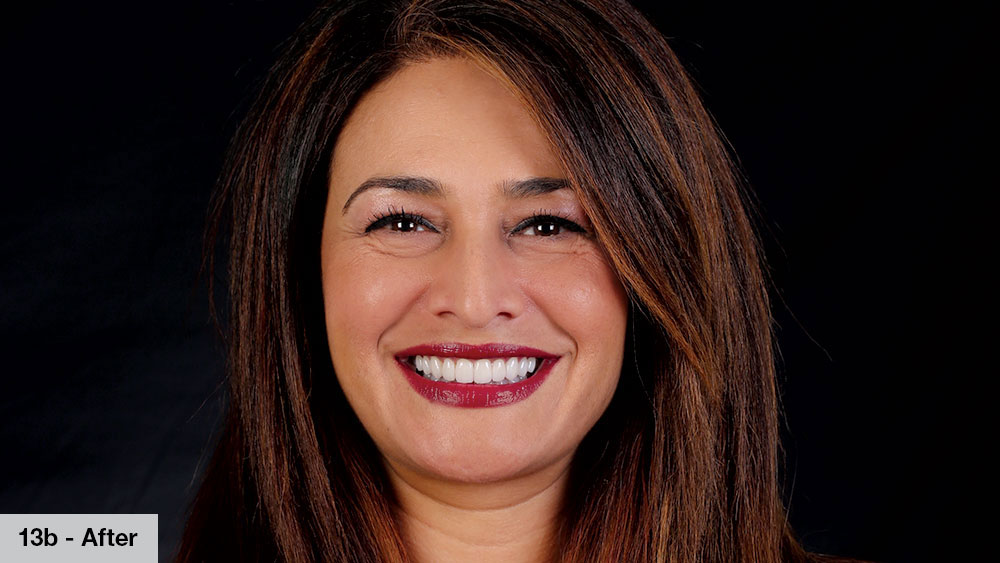
Figures 13a, 13b: Before-and-after images illustrate the dramatic transformation of the patient. In addition to enhancing the shape and contours of her teeth, we were able to provide her with the vibrant, beautiful smile she has desired for many years.
CONCLUSION
The patient’s reaction in cases like these is tremendously rewarding and satisfying. It’s gratifying that as dentists we’re able to change someone’s life and make a big emotional impact — building their confidence and giving them a smile that they’re proud to show. A smile is the facial expression that’s most recognizable, and it can be spotted from 300 feet away. That means, even at long distances, it’s easy to see the happiness on this person’s face.