Efficient and Predictable Implant Placement with Guided Surgery
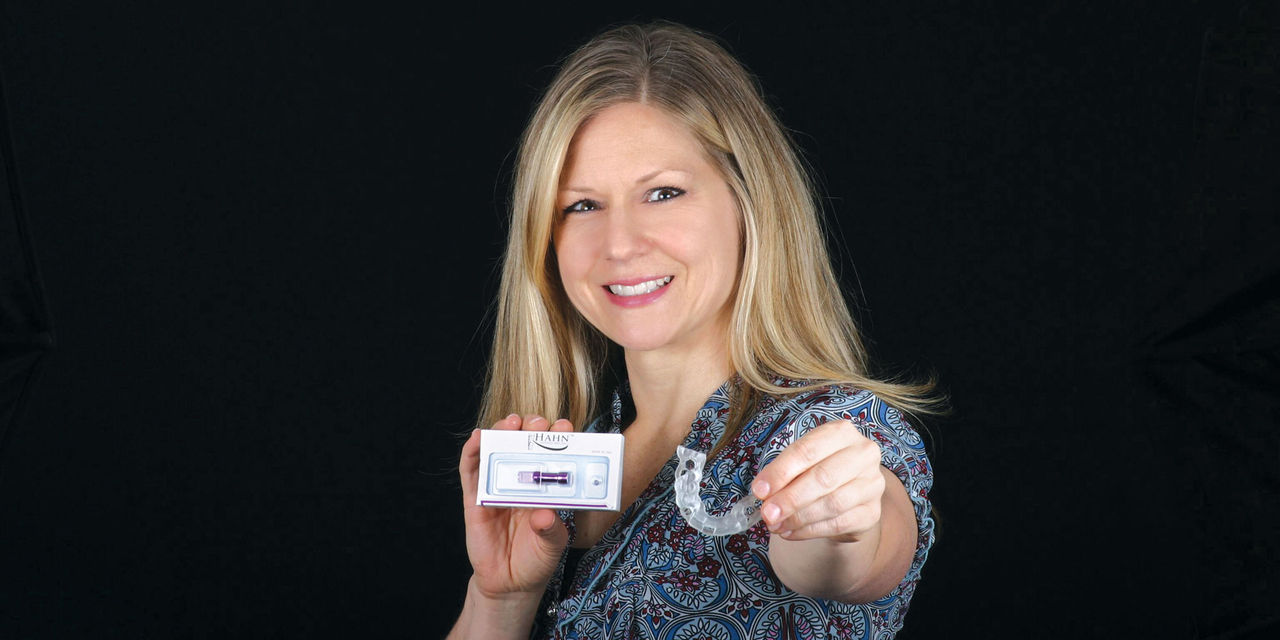
Note: The Hahn Tapered Implant System is now known as the Glidewell HT Implant System
Implant placement requires attention to detail to achieve the best result for the patient. Each decision along the way — from the diameter and length of implant used, to the depth and spacing of placement, to the management of the surrounding tissue — must be carefully considered in order to achieve the optimal result. Both seasoned implantologists and clinicians just getting started with implants can benefit from tools that help make this process easier, more accurate and more efficient. One such tool, which I consider one of the most important additions to a clinician’s repertoire, is that of digital treatment planning (DTP) with guided surgery.
DTP provides the ability to plan the case ahead of time in a virtual, 3D environment. Relevant diagnostic information about the patient is gathered, along with a CBCT scan, and used to develop a step-by-step treatment plan that outlines all surgical requirements for the case. Upon approval by the clinician, this information is then used to create a surgical guide that controls the position of the implant osteotomy in precise accordance with the agreed-upon plan. This ensures that the implant is placed at the exact depth, angle and position desired by the clinician — at an optimal distance from the buccal and lingual plates, adjacent teeth and nearby anatomical structures.
The process of creating a digital treatment plan is straightforward. In the following case, as in many others, I performed the surgery using the Hahn™ Tapered Implant System (Glidewell Direct; Irvine, Calif.), and worked with Glidewell Laboratories to create the DTP protocol and surgical guide. A key differentiator for the DTP provided by Glidewell is the dental lab’s experience restoring millions of implant cases. This restorative expertise is used to determine implant positioning that both is safe and establishes the foundation needed for a functional, esthetic outcome.
CASE REPORT
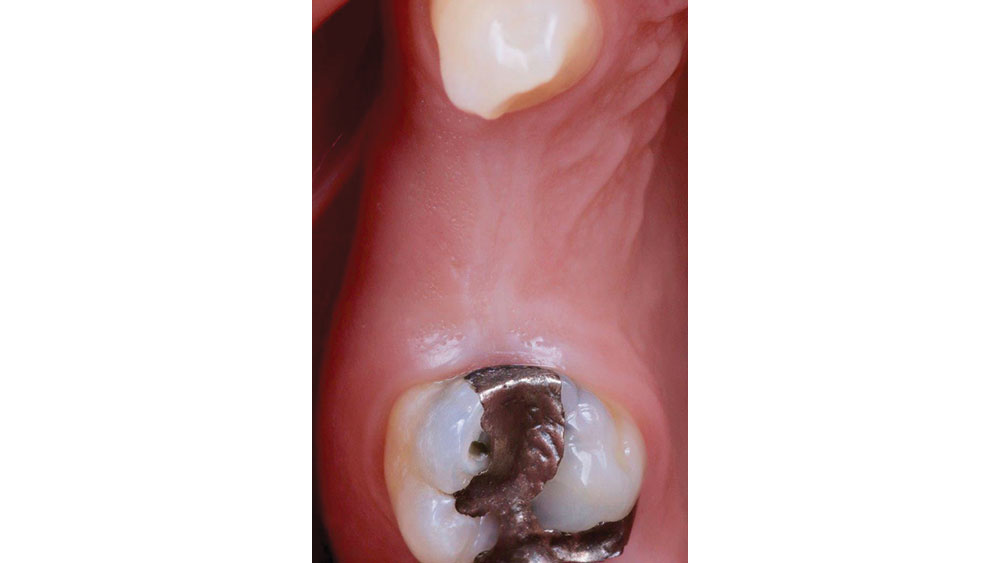
A middle-aged woman in good health came to me seeking implant restorations to replace her missing teeth #4 and #5. The teeth had been removed several years prior, and the patient owned a partial that was meant to cover the area. However, she rarely wore it due to general dislike of its esthetics and feel. Desiring a stable, high-quality replacement, she had been saving her money for implant treatment. In the meantime, the patient had learned to adjust her smile to mask the missing teeth. She was now ready to move on to a permanent solution. For her case, I chose to use Hahn implants paired with BruxZir® screw-retained crowns due to her desire for strong, long-lasting restorations.
Figure 1: The patient requested implant treatment to replace missing teeth #4 & #5. An exam and history were performed, which found the patient’s overall dental condition to be good.
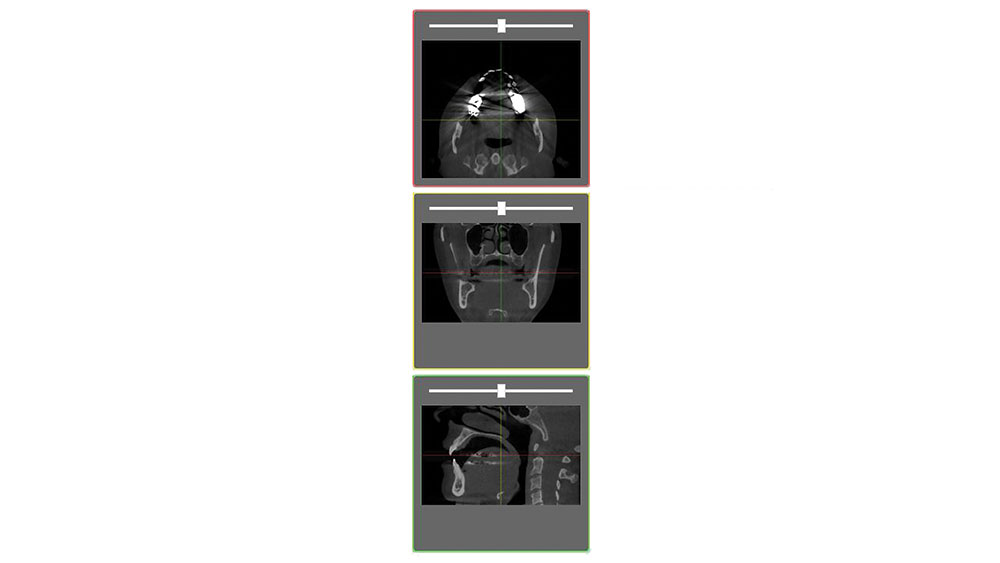
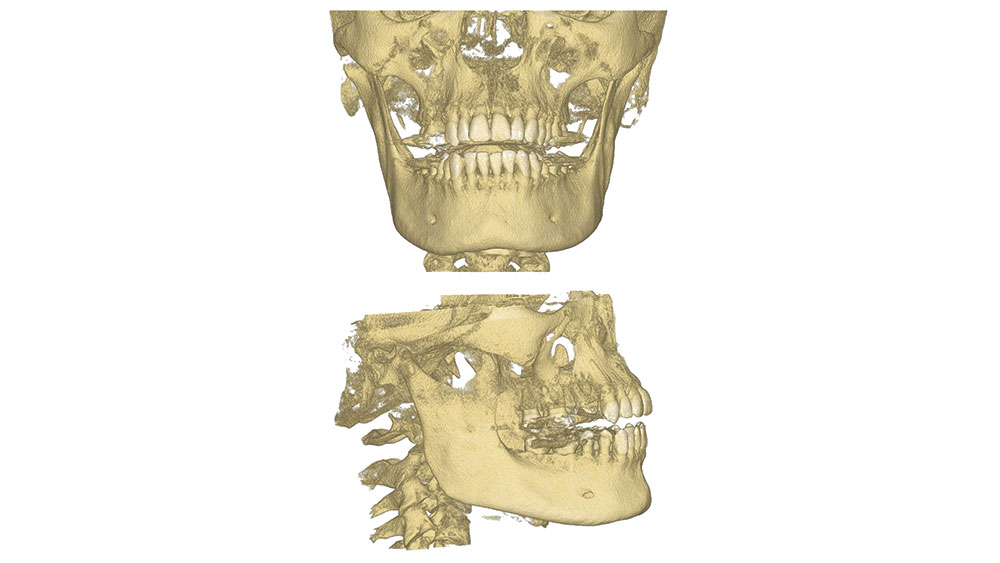
Figure 2: A CBCT scan was performed on the patient, and the DICOM files were submitted to the Glidewell DTP team for creation of a digital treatment plan and surgical guide.
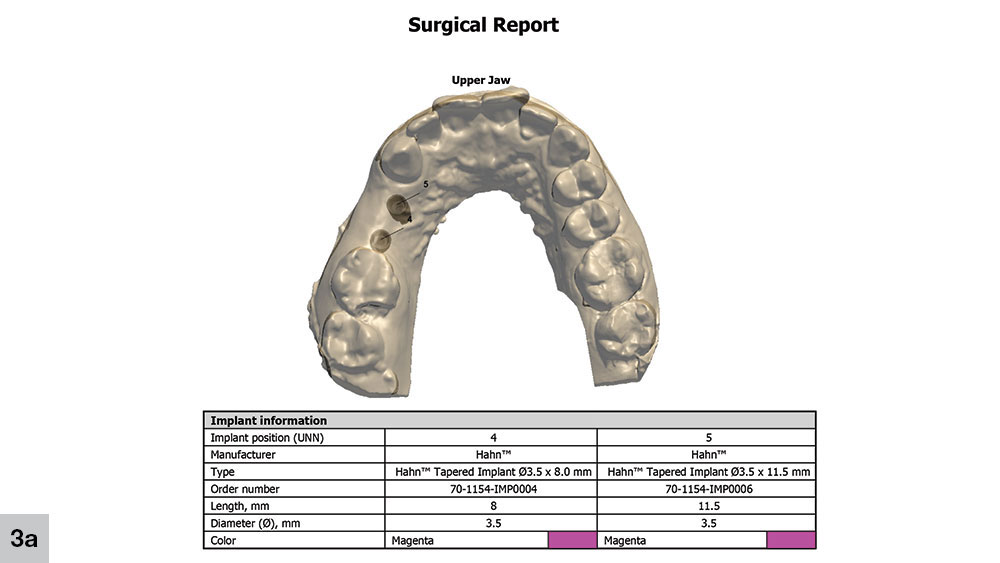
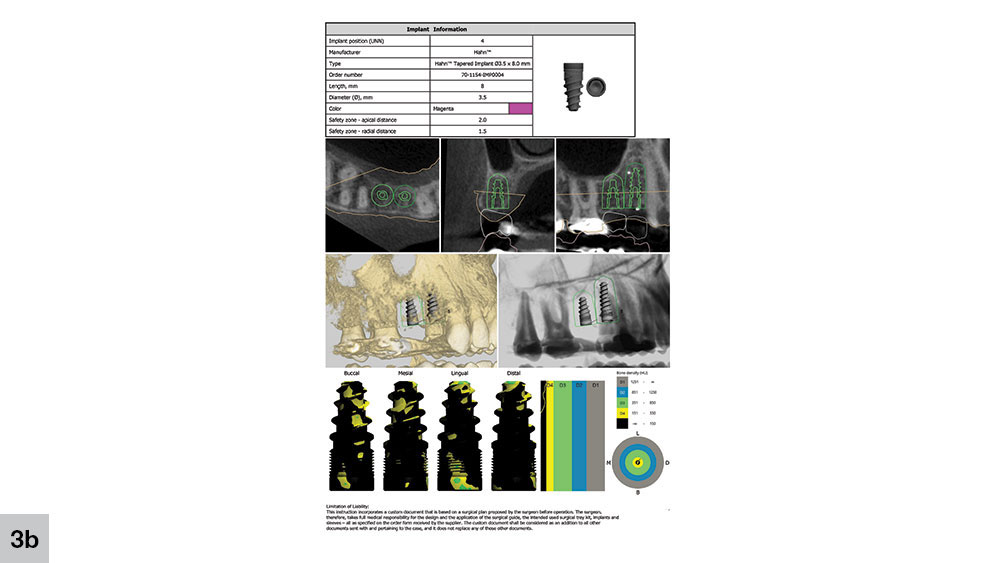
Figures 3a, 3b: After submission of the patient’s information, the DTP team at Glidewell created an initial plan proposal, which was sent to me via email in PDF format for my review. As shown, the guide included specific recommendations for surgical treatment. After reviewing the digital treatment plan and confirming my agreement with the proposal, I authorized Glidewell to move forward with production of the surgical guide.
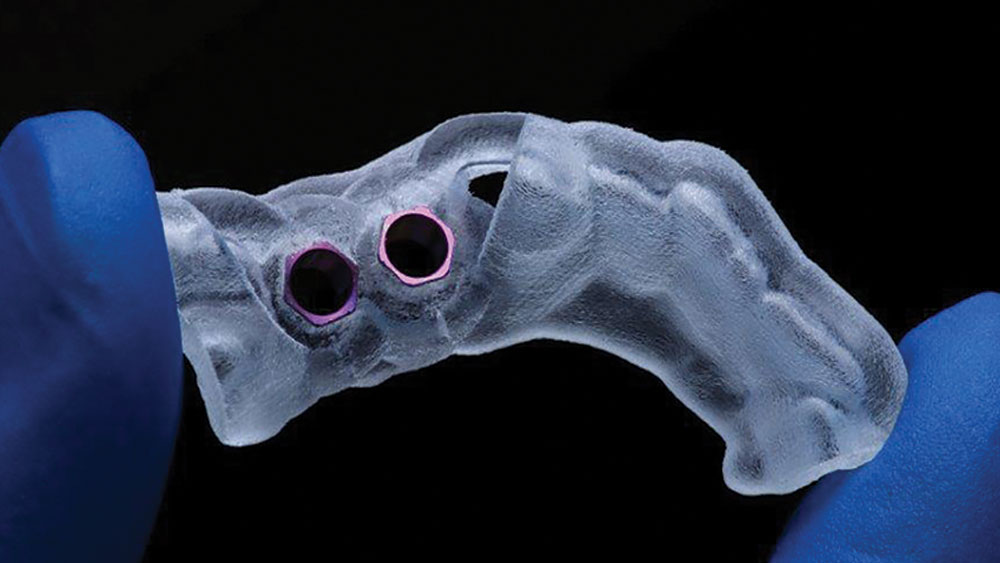
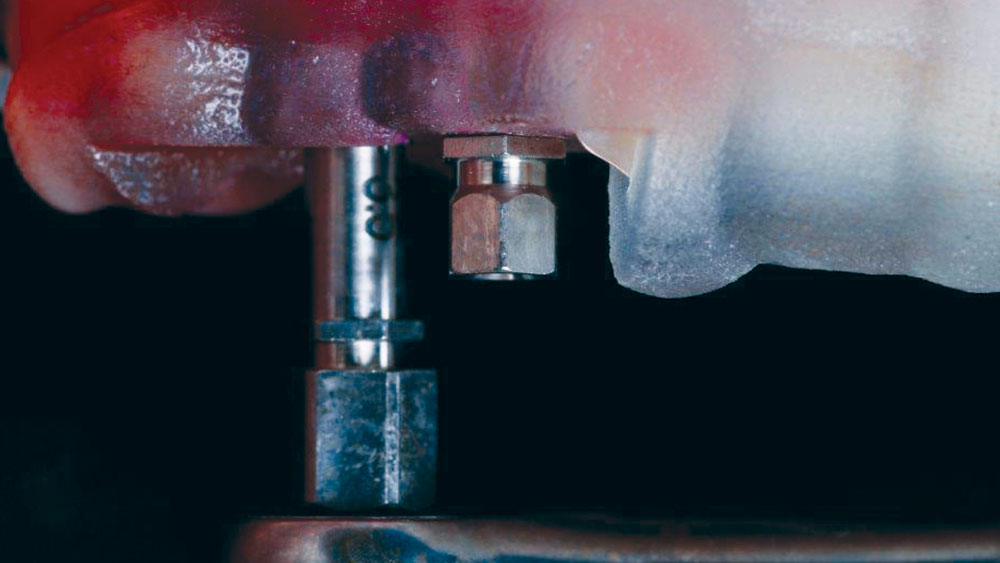
Figure 4: The surgical guide was fabricated to fit precisely and tightly over the patient’s surrounding teeth, and was outfitted with titanium sleeves sized to match the corresponding instruments from the Hahn Guided Surgical Kit. Note that the Glidewell DTP team offers surgical guides for most major implant systems.
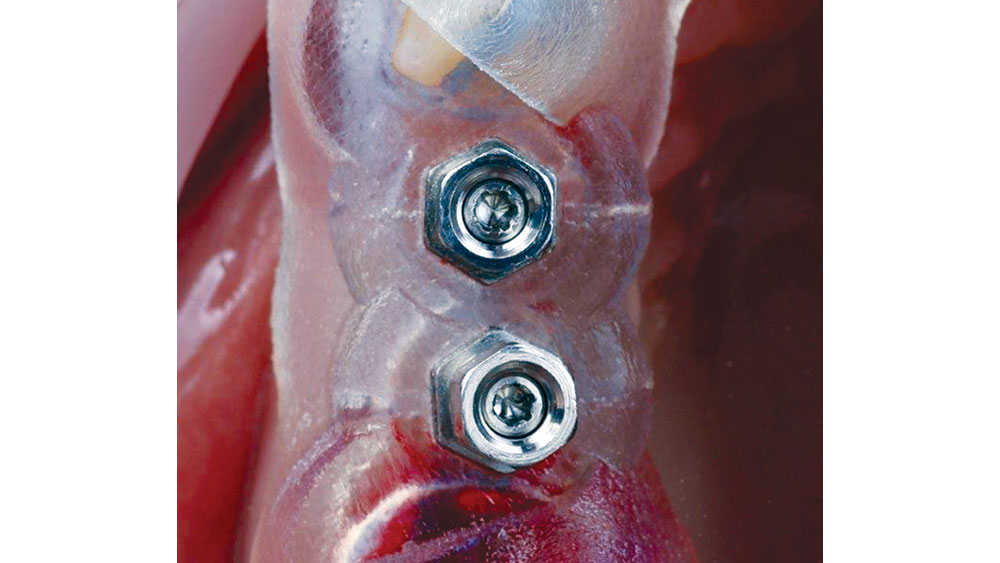
Figure 5: At the implant placement appointment, the surgical guide was seated. The guide is designed to snap firmly over the teeth, and is left in place throughout surgery. With the Hahn guided system, all surgical steps are performed through the sleeves to ensure precise placement according to the digital treatment plan.
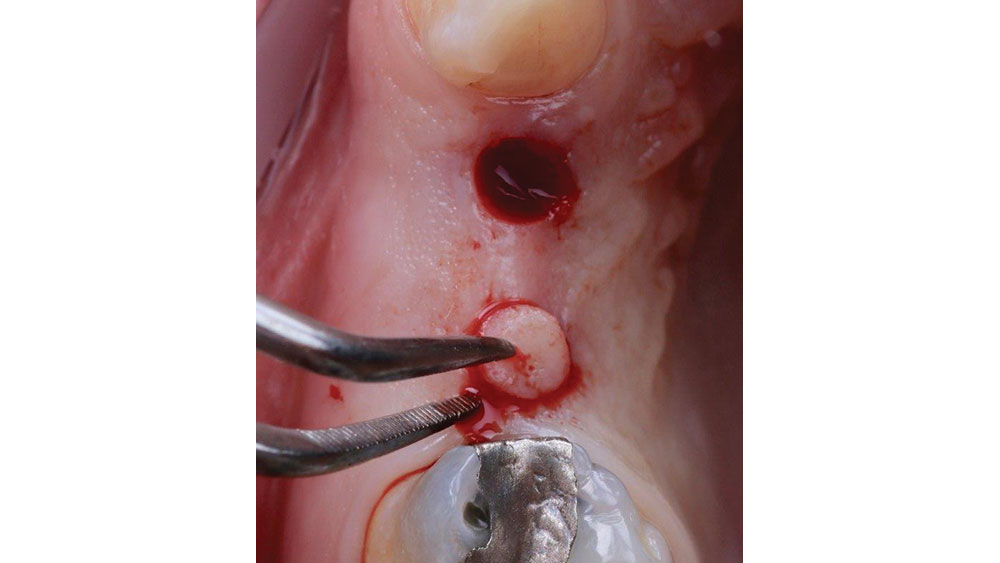
Figure 6: A flapless approach was used for this case because the patient had an adequate zone of attached tissue. Per the digital treatment plan, a 3.5 mm tissue punch from the Hahn Guided Surgical Kit was used to expose bone in the locations of teeth #4 & #5.
Figure 7: The use of flapless surgery resulted in a clean process with minimal surgical trauma.
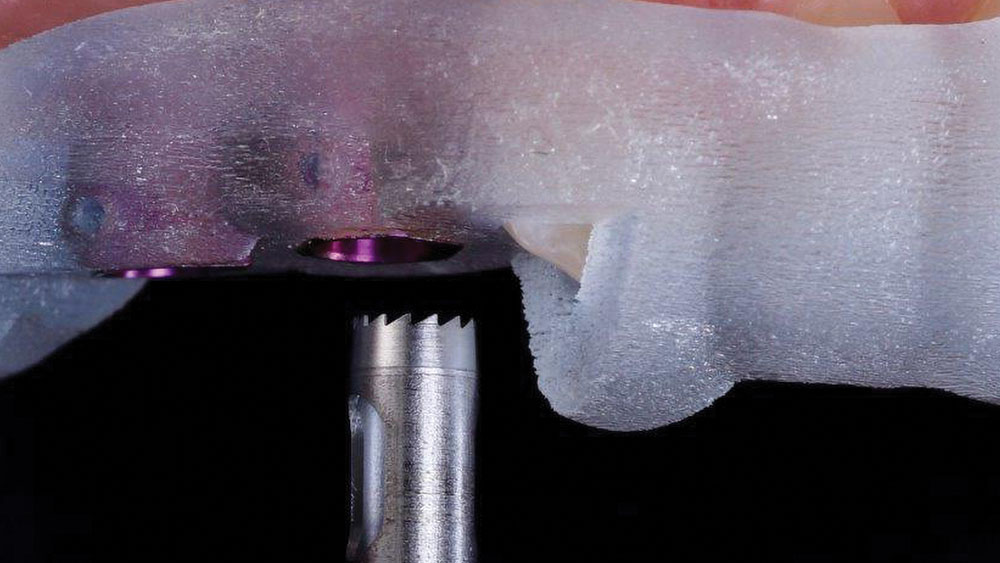
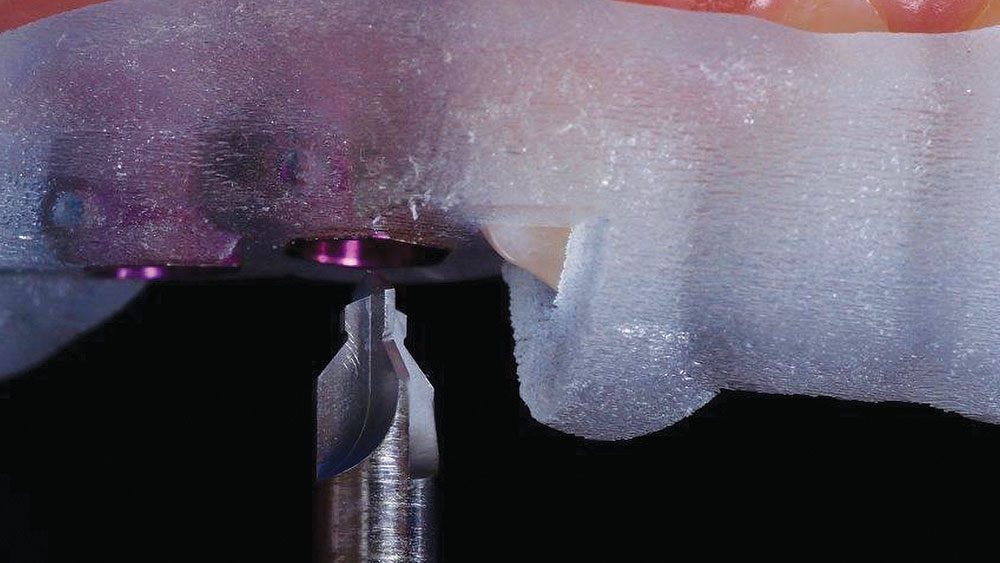
Figure 8: The digital treatment plan contributed to an easy-to-follow surgical protocol. Performing the osteotomy was a simple matter of using the drills in succession according to the steps laid out by the DTP team at Glidewell. With the surgical guide in place, correct implant positioning, angulation and depth were ensured. In this image, the alignment drill was used to create the initial osteotomy for the first of the two implants.
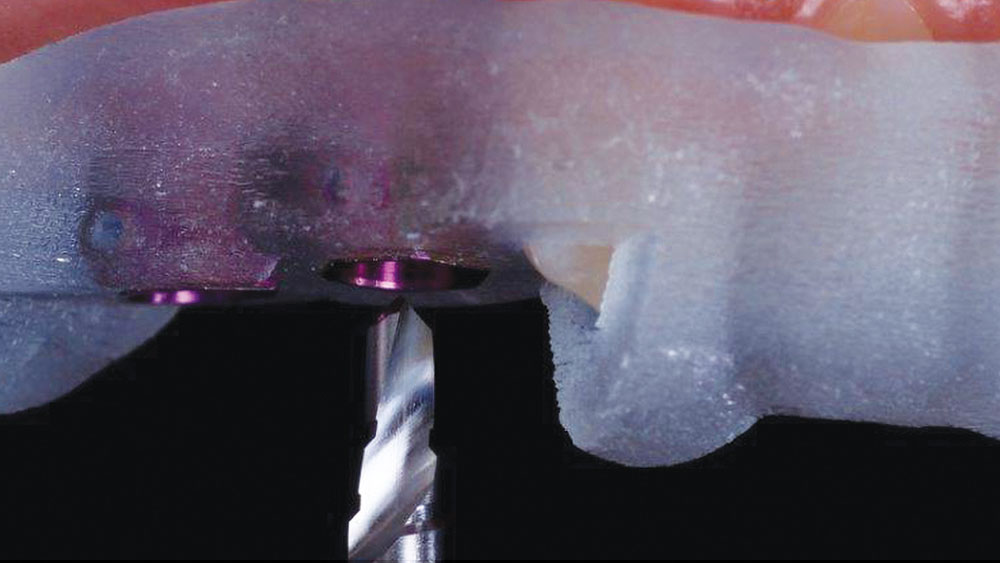
Figure 9: The next step in the protocol was to deepen the osteotomies with the 3.5 mm pilot drill from the Hahn Guided Surgical Kit. Then, a shaping drill was used to complete the osteotomies.
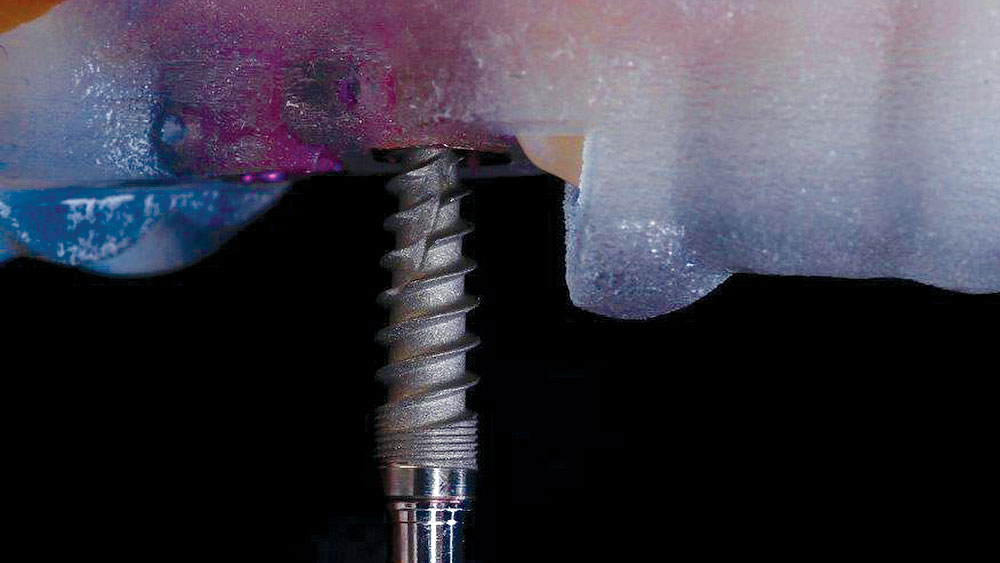
Figure 10: Per the digital treatment plan, the recommended Hahn implants for this case were both 3.5 mm in diameter, with prescribed lengths of 8 mm and 11.5 mm for positions #4 and #5, respectively. The implant mount tool was used to perform the initial threading of the implants into the bone. Note how the entire procedure, from initial osteotomy to implant placement, is performed through the surgical guide — a feature unique to the Hahn Tapered Implant System.
Figure 11: The mount wrench from the Hahn surgical kit was used to obtain proper alignment and tighten both implants to full seating.
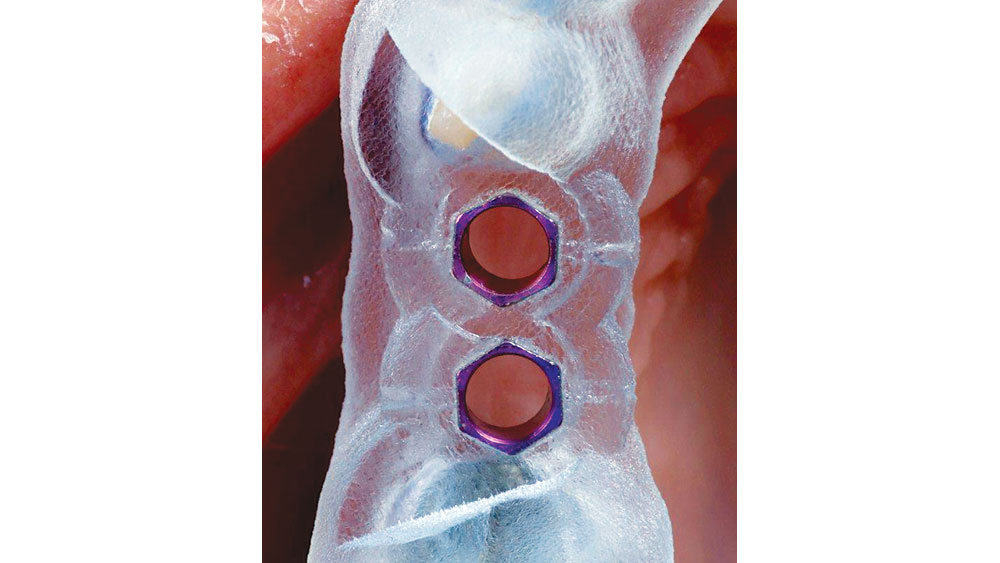
Figure 12: The internal hexes of the implants aligned with those of the titantium sleeves of the surgical guide, confirming full and proper seating.
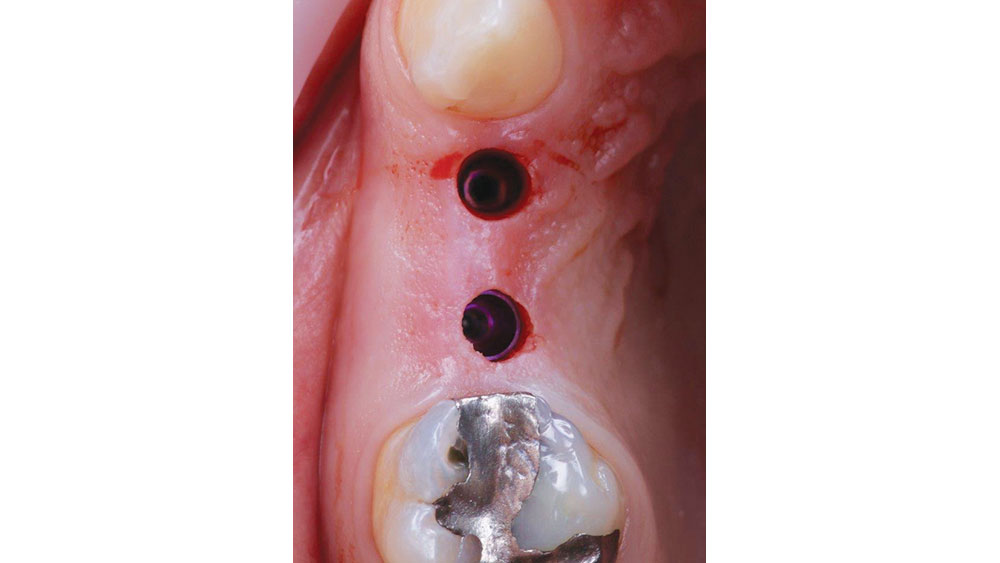
Figure 13: Removal of the surgical guide revealed the implants in place, aligned precisely with the positions determined by the digital treatment plan.
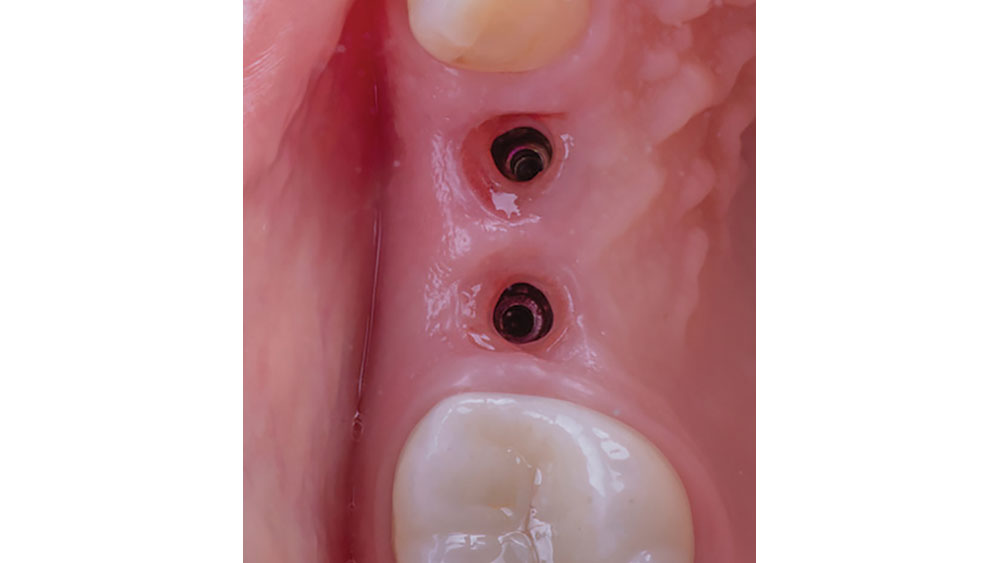
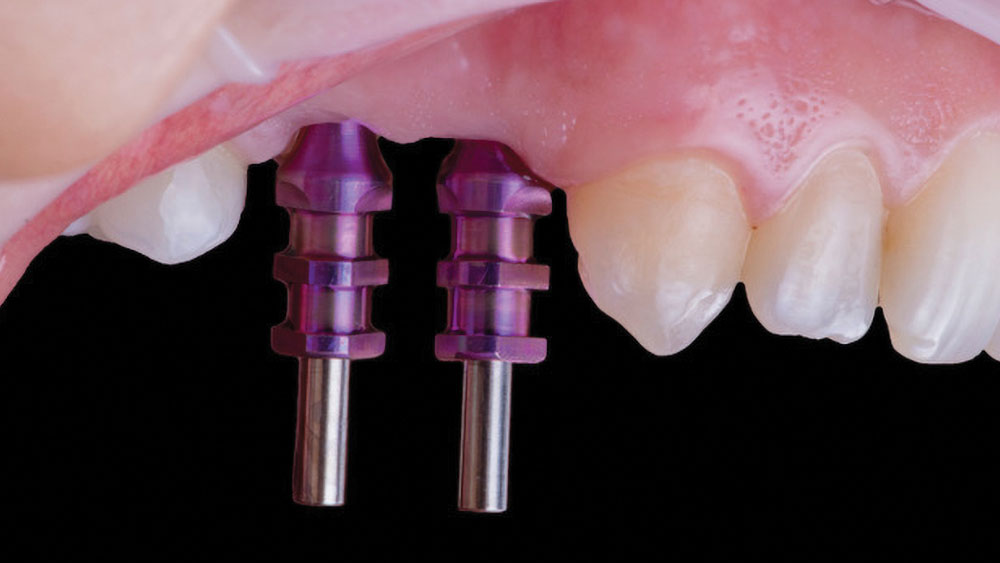
Figure 14: The patient returned for the next steps of the treatment after approximately four months of healing time. The soft tissue in the area was healthy and the stability of the implants was excellent, indicating that the patient was ready for the restorative phase of treatment.
Figure 15: Open-tray impression copings, color-coded to indicate diameter, were attached to the implants to facilitate the process of taking a final VPS impression.
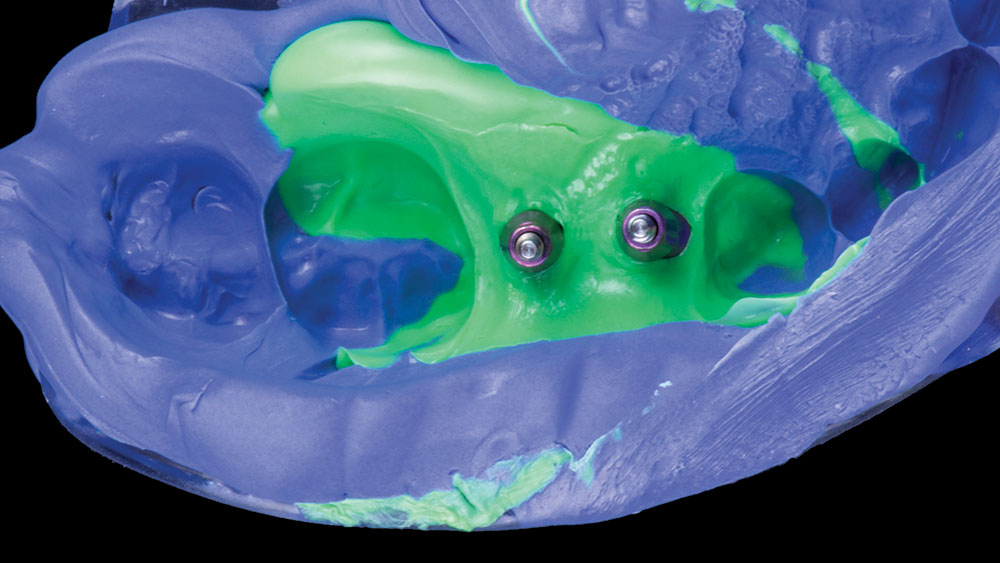
Figure 16: The final VPS impression was taken of the implant sites and sent to Glidewell Laboratories for use in creating the patient’s final restorations.
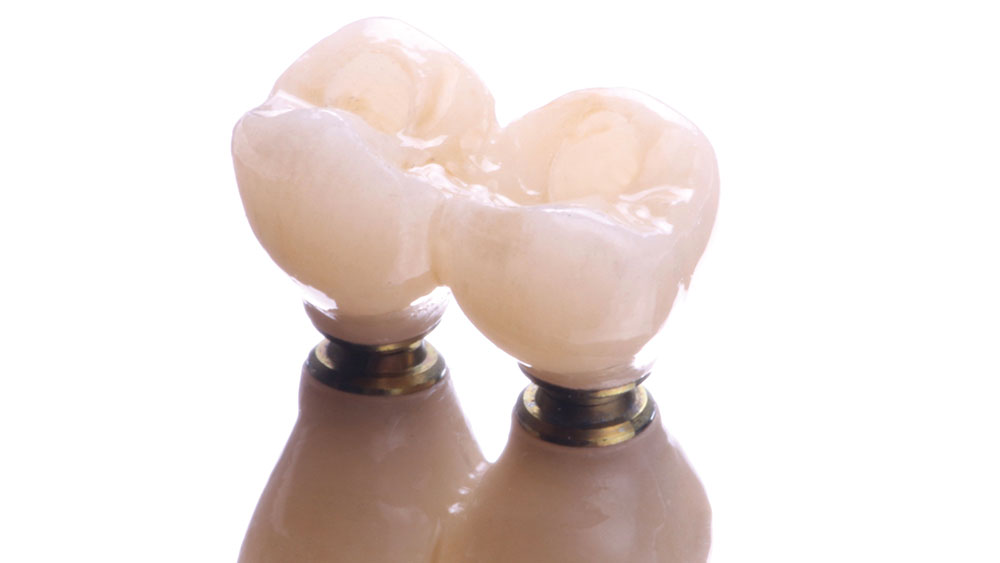
Figure 17: The final splinted screw-retained restorations prior to delivery, fabricated by Glidewell from BruxZir Full-Strength Solid Zirconia.
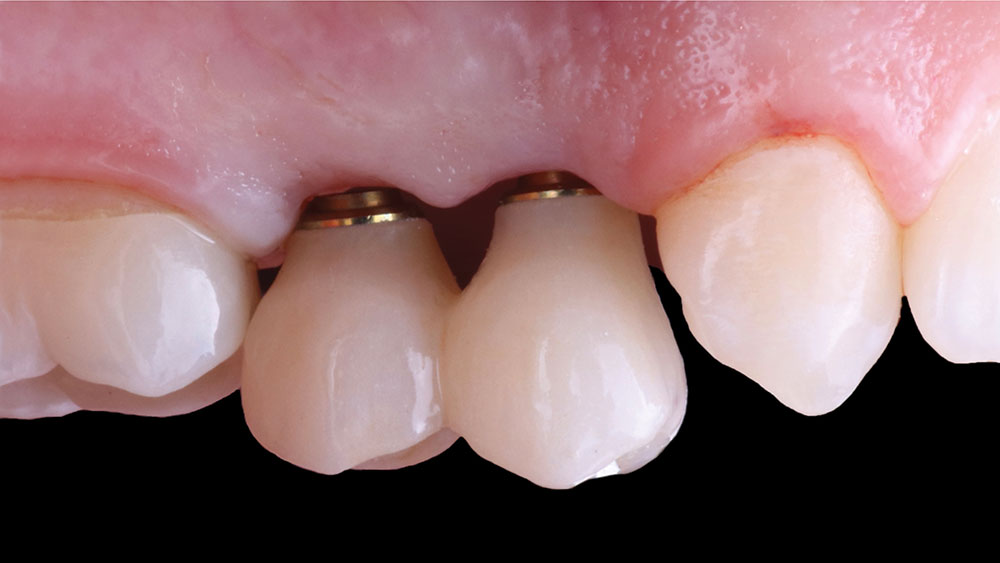
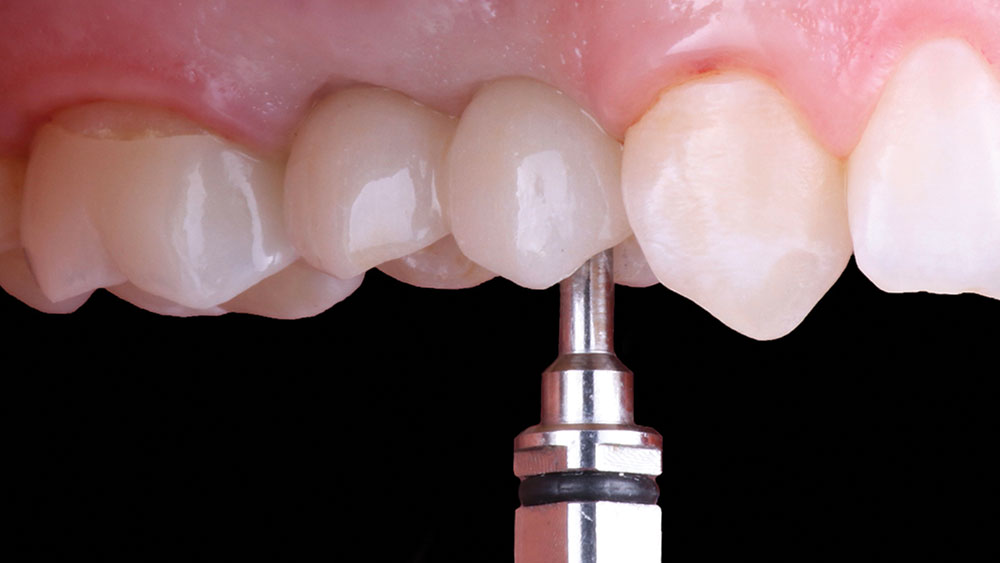
Figure 18: The well-contoured tissue and splinted screw-retained crowns made for a smooth delivery appointment.
Figure 19: The prosthetic screws were tightened to attach the restorations to the implants.
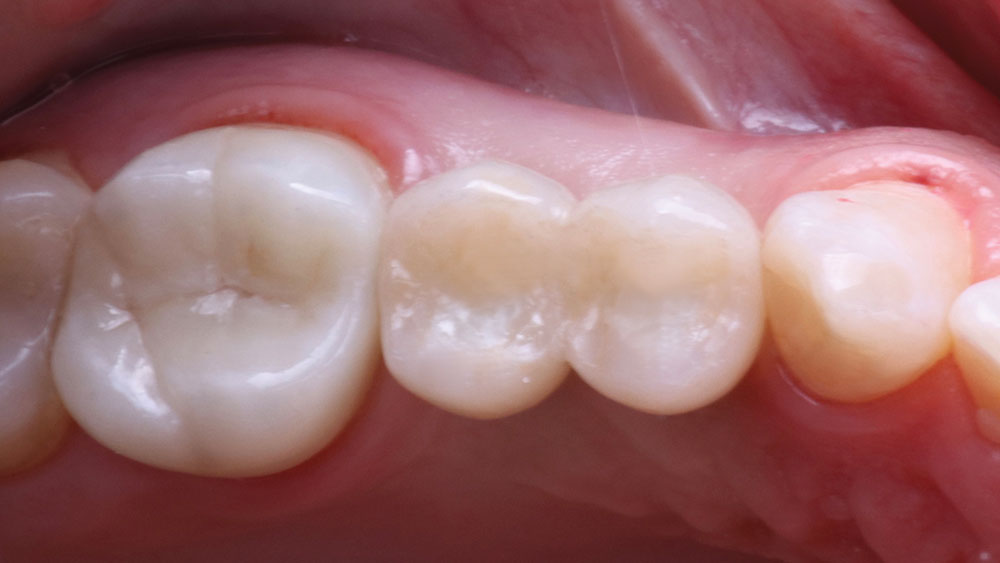
Figure 20: The successful final outcome. The use of a DTP protocol in this case made quick work of ensuring the implants were properly placed, which, in turn, helped lead to healthy and long-lasting restorations and a renewed dental outlook for the patient.
- 1
- 2
- 3
- 4
- 5
- 6
- 7
- 8
- 9
- 10
- 11
- 12
- 13
- 14
- 15
- 16
- 17
- 18
- 19
- 20
- 21
- 22