In this issue:
Glidewell Dental Symposium 2019: Answers to Audience Questions
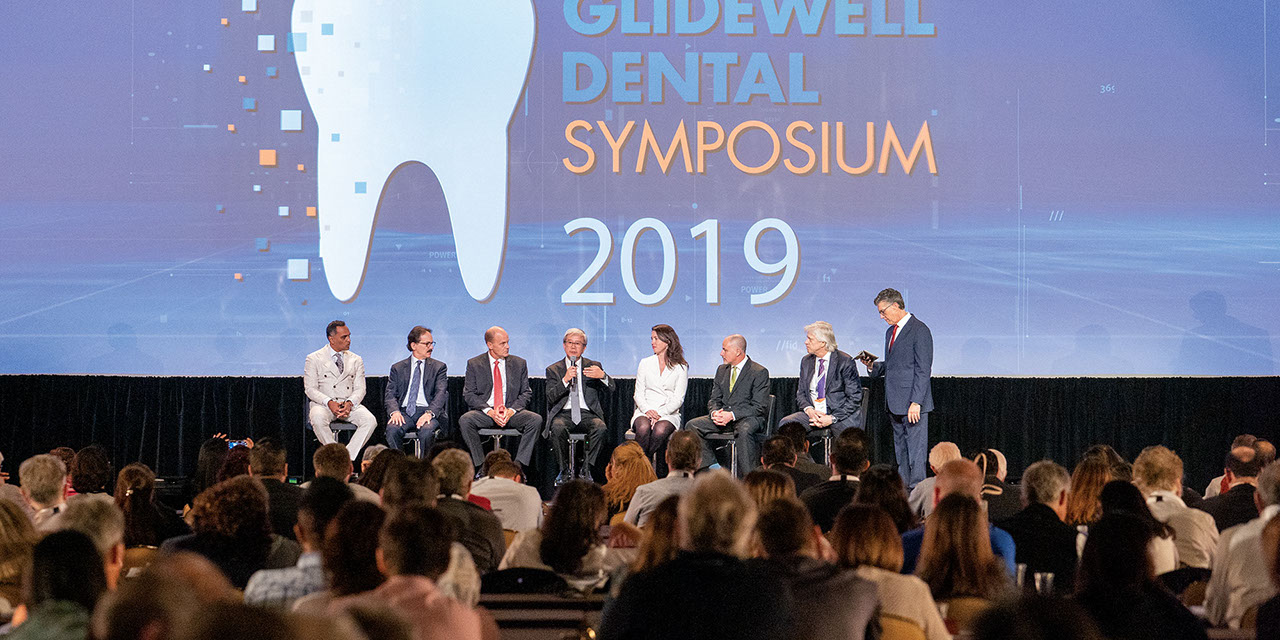
The third annual Glidewell Dental Symposium featured two panel discussions during the Friday general session. We were pleased to receive a large number of thoughtful and provocative questions for our speakers — too many to answer during the panel. In the following pages, we present additional responses to some of the audience questions regarding implant-protected occlusion, bonding techniques, zirconia adjustments, packing cord, guided surgery, and more.
ENHANCING ESTHETICS WITH PREPARATION DESIGN
Anamaria Muresan, DMD, ME, CDT
What is the bonding protocol for BruxZir® Esthetic veneers, crowns and bridges?
DR. MURESAN: BruxZir restorations can be bonded or cemented. When bonding is indicated, the followin protocol is recommended: air-abrade, decontaminate and apply MDP primer.
- Abrade: Your restoration will come back from the lab already air-abraded.
- Decontaminate: After trying in the restoration and making any needed adjustments, decontaminate by using Ivoclean® (Ivoclar Vivadent; Amherst, N.Y.) or sodium hypochlorite.
- Prime: Prime the BruxZir restoration with a reagent that contains MDP, such as Z-Prime™ Plus (BISCO; Schaumburg, Ill.) or Monobond Plus® (Ivoclar Vivadent).
- Bond: For the bond itself, you can use your resin cement of choice and bond the restoration in a clean and dry field.
FULL-ARCH IMPLANT RESTORATIONS: TOO COMPLEX FOR GPs?
Paresh B. Patel, DDS
What is the current recommendation for removing the full-arch zirconia prosthesis on recall appointments? If you do remove it periodically on recall appointments, how often do you replace the old screws with new screws?
DR. PATEL: I do not typically remove the BruxZir Implant Prosthesis unless there is evidence of inflammation or if my hygienist confirms she cannot remove debris near the intaglio surface. According to the American College of Prosthodontists article “Clinical Practice Guidelines for Recall and Maintenance of Patients with Tooth-Borne and Implant-Borne Dental Restorations,” published in January 2016, it is not recommended to remove the prosthesis for routine cleanings. If you do remove the prosthesis, it is recommended that you replace the screws with new ones.
BONE DENSITY: KEY SUCCESS FACTOR IN IMPLANT DENTISTRY
Randolph R. Resnik, DMD, MDS
What does implant-protected occlusion mean, and why is it used?
DR. RESNIK: Implant-protected occlusion is an occlusal scheme that reduces the resultant forces at the implant interface in the crestal bone. Proposed by Dr. Carl Misch in 1994, this occlusal concept is based on reducing biological and mechanical complications — such as bone loss, peri-implant disease, screw loosening, implant fracture or prosthesis failure — by developing an ideal occlusal scheme. By adhering to these principles, the possibility of occlusal overload is decreased, thereby maintaining implant occlusal load within physiologic limits. The following factors make up the concept of implant-protected occlusion:
- No Premature Occlusal Contacts: Because of the difference between a nonmobile implant and a tooth with a periodontal ligament, occlusal contacts should be timed to prevent premature occlusion.
- Mutually Protected Occlusion: This occlusal concept is also known as canine guidance, with the anterior teeth protecting the posterior teeth and the posterior teeth protecting the anterior in excursive movements. By adhering to mutually protected occlusion, fewer force-related complications occur.
- Shallow Anterior Guidance: The anterior guidance should be shallow to decrease force on implants.
- Minimal Cusp Height: The greater the cusp angle, the greater torque and associated shear forces.
- Narrow Occlusal Table: Decrease the occlusal table width to concentrate forces over the implant’s long axis.
- Ideal Occlusal Contacts: Occlusal contacts should be in the central fossa, and contacts on cantilevers and marginal ridges should be avoided.
- Minimized Cantilevers: Especially with unfavorable crown-implant ratios and parafunctional habits, cantilevers should be minimized to decrease nonideal forces.
- Controlled Parafunctional Forces: The use of occlusal guards, such as Comfort H/S™ Bite Splints, should be considered with the treatment plan, especially if parafunctional habits are present.
Additional concepts on bone density and implant-protected occlusion can be found in my four-part article series “Principles of Implant Occlusion” at chairsidemagazine.com.
THE STATE OF THE ART: MONOLITHIC ZIRCONIA
Justin Chi, DDS, CDT
I’ve heard it’s better to adjust adjacent or opposing teeth rather than the zirconia crown. Does adjusting the zirconia compromise the integrity of the restoration?
DR. CHI: If done correctly, adjusting the BruxZir restoration won’t compromise the restoration’s integrity. The main concern is not to leave the surface roughened after making adjustments with a diamond bur. I recommend the BruxZir™ Adjustment & Polishing Kit (Glidewell Direct; Irvine, Calif.) to safely and efficiently make corrections. Polishing the adjusted areas will ensure the restoration has a wear rate similar to natural dentition.
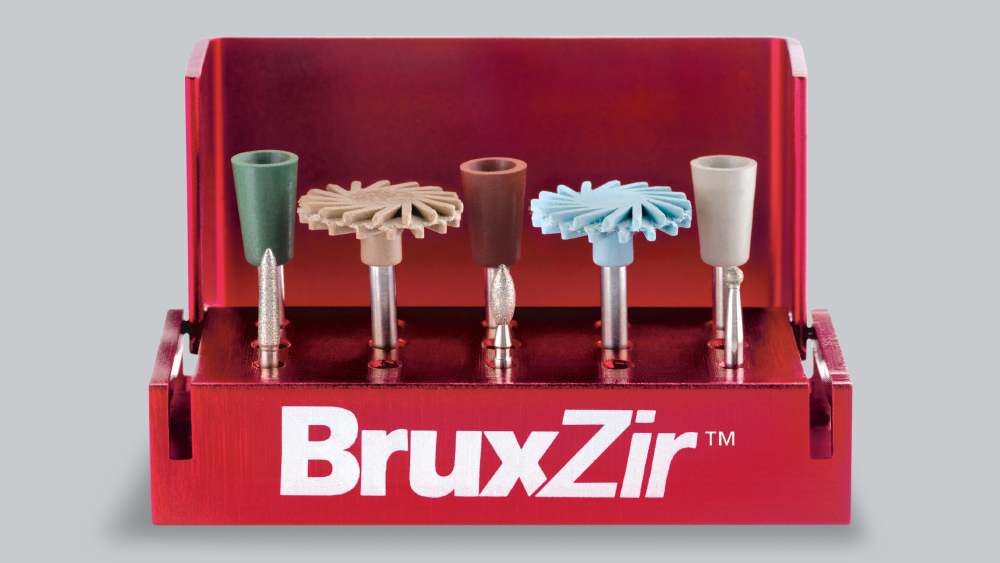
The BruxZir Adjustment & Polishing Kit is a safe and efficient way to modify and polish restorations.
BENEFITS OF GUIDED SURGERY
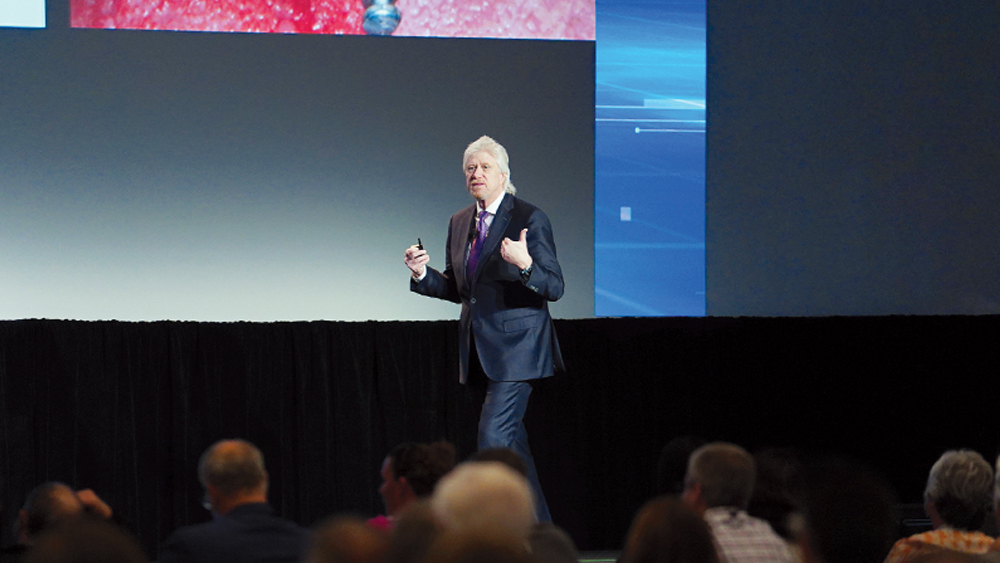
Charles Schlesinger, DDS
Do you recommend taking the surgical guide off after the pilot drill and then taking an X-ray to confirm the alignment is correct?
DR. SCHLESINGER: I do not recommend that. You should have confidence that the treatment plan you approved and the surgical guide produced from it are correct. The only time you will remove the guide is after the tissue punch and after you have delivered the implant. Trust the technology!
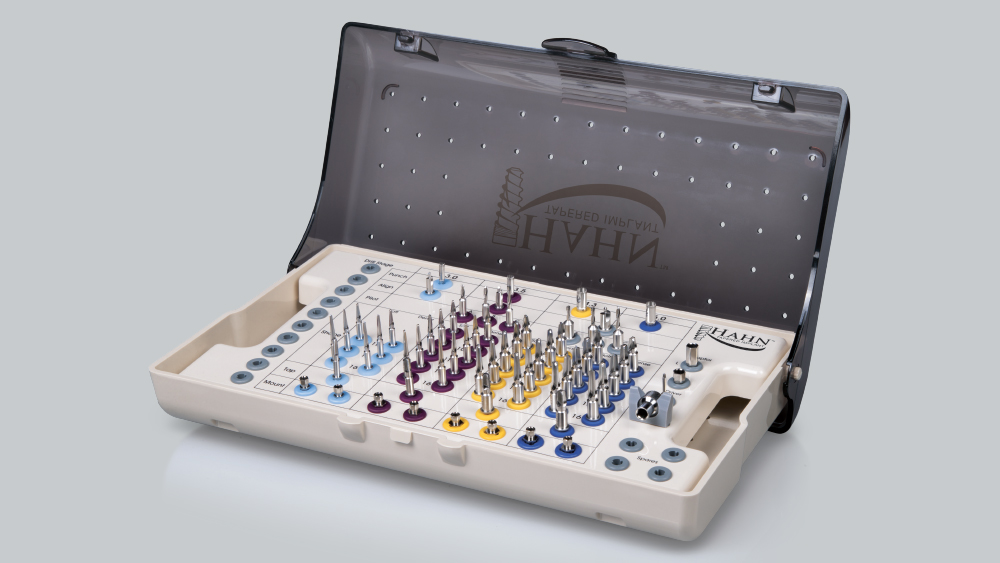
The Hahn™ Tapered Implant Guided Surgery System (Glidewell Direct) allows clinicians to confidently place implants through a digitally fabricated surgical guide with a high degree of precision and predictability.
The technology behind guided surgery has helped make implant placement a smooth and safe experience.
ANTERIOR IMPLANT RESTORATIONS: KEYS TO SUCCESS
Timothy F. Kosinski, DDS, MAGD
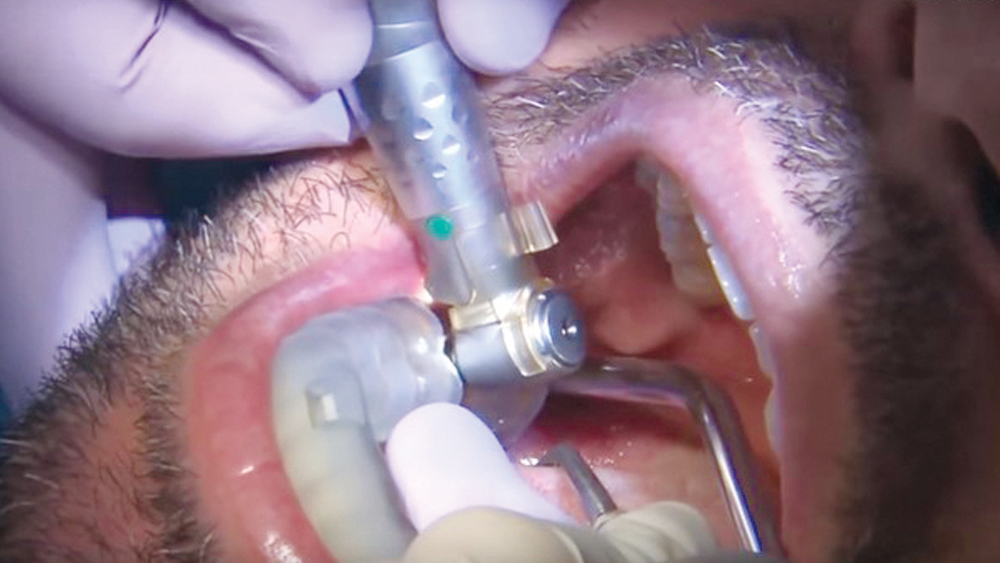
Does the Penguin RFA® (Glidewell Direct) measure boney integration or just stability? Are the two the same?
DR. KOSINSKI: The Penguin RFA provides an assessment of implant stability by measuring the micromobility of the implant. This is influenced by both the initial (mechanical) stability and the degree of osseointegration. During the healing process, mechanical stability decreases, while the stability from osseointegration increases. So, by comparing the ISQ reading at initial placement with subsequent readings, the clinician can obtain an accurate indication of boney integration.
Penguin RFA is a registered trademark of Integration Diagnostics Sweden AB.
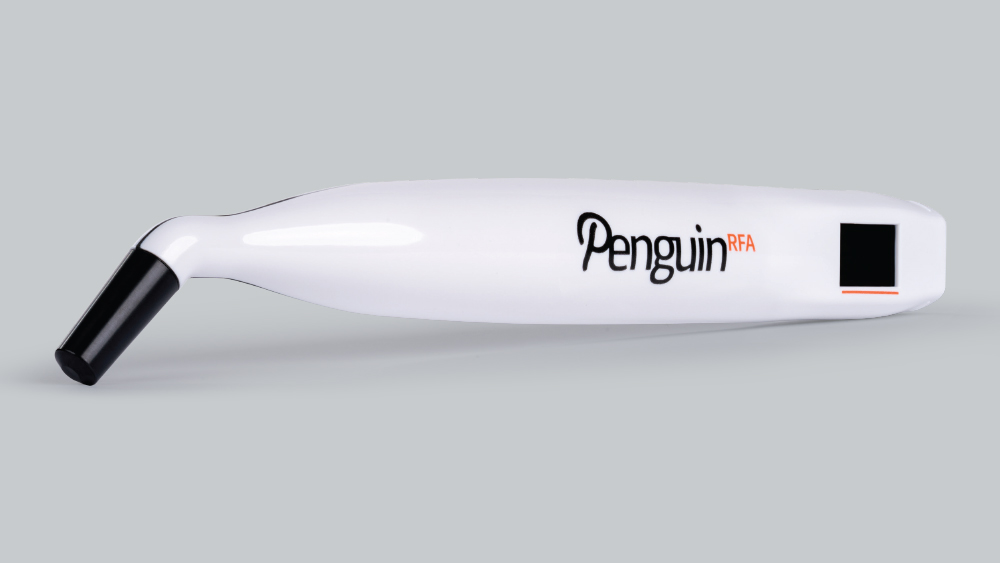
The Penguin RFA, available for the Hahn implant system via Glidewell Direct, provides an assessment of implant stability by measuring the micromobility of the implant.
PROVISIONAL RESTORATIONS: PLANNING FOR ESTHETIC SUCCESS
Steven Barrett, DDS
Typically, I initially scan the prepared teeth and then have BioTemps® Provisionals (Glidewell) fabricated and seated. After the patient wears these temps for some time and I adjust and contour them for bite and occlusion, do I need to rescan the prepared teeth or just scan the BioTemps Provisionals and send that file?
DR. BARRETT: If no further adjustments were done to the teeth after your initial scan, then the lab can use that scan to make the crowns. You will then just take a new scan of the perfected occlusion and contours of the BioTemps Provisionals as a guide for the final restorations.
MILL IT CHAIRSIDE OR SEND IT TO THE LAB?
Chad Duplantis, DDS
Is packing cord necessary every time you scan a crown preparation?
DR. DUPLANTIS: Packing cord is part of my routine when scanning a crown preparation. If I cannot see the margin, the intraoral scanner isn’t going to see it either. If I still don’t have clear visualization, I will pack a second cord and use the double-cord technique to ensure the margin is clearly visible. You must treat each case individually and make sure that the margin is visible in its entirety.
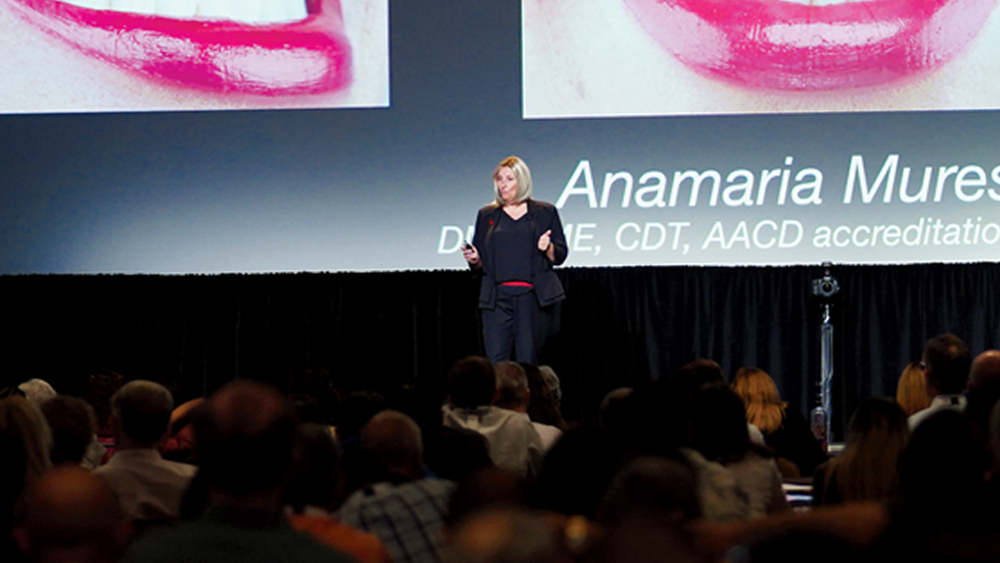
In her presentation “Enhancing Esthetics with Preparation Design,” Dr. Anamaria Muresan described how a minimum-prep design can correct up to three shades.
During his presentation “Anterior Implant Restorations: Keys to Success,” Dr. Timothy Kosinski discussed how placing implants in the anterior area can have challenges with respect to the esthetic expectations of the patient and how case selection and thorough presurgical planning is vital
In Dr. Justin Chi’s presentation “The State of the Art: Monolithic Zirconia,” he illustrated why BruxZir Esthetic Zirconia is the first true anterior-grade zirconia ever developed
In his presentation, Dr. Chad Duplantis described how to choose between in-office milling and lab fabrication, laying out the criteria that should be considered.