Aligning Patients’ Esthetic and Financial Goals
For so many of our patients, recent months have been challenging on both a personal and financial level. Patients still want the dentistry that will make them feel confident about their smiles, but, for many, finances have constricted due to the economic consequences of COVID-19. Despite payment options that may be available, many patients are simply unable to afford ceramic veneers and other first-choice esthetic treatment. Flexibility in determining patient treatment plans is one of the keys to success during this recovery, so how then can we deftly scale our treatment options to suit a range of budgets? When it comes to esthetic dental needs, I would like to propose three options.
SMILE TRANSITIONS™
The Smile Transitions™ cosmetic appliance, which simply fits over existing teeth, is an affordable option that can benefit patients who want near-immediate results for minimal cost and effort. After one appointment for impressions or scans, they can return to the office about a week later to receive their Smile Transitions. No tooth preparation or cementation is required. And, for patients who desire to do so, the appliance can be worn while eating and drinking.
In addition to the dramatic esthetic improvement, patients find the results to be motivational. Wearing Smile Transitions provides a glimpse of what’s possible, from filling in missing teeth to rejuvenating a stained, worn smile. Patients can enjoy full, albeit temporary, smile makeovers at a fraction of the top-tier cost, and still look forward to more definitive esthetic treatment when finances improve.
CASE STUDY
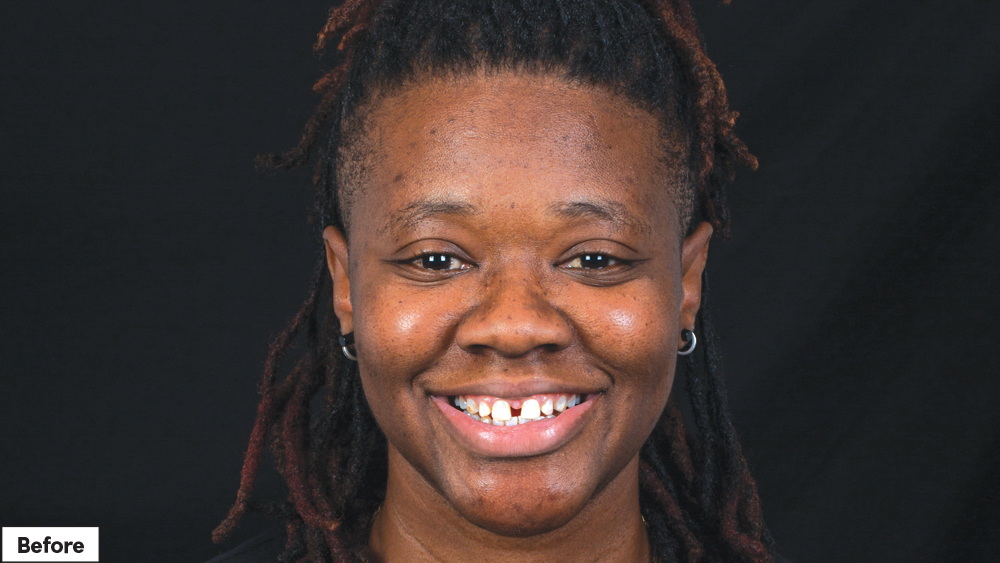
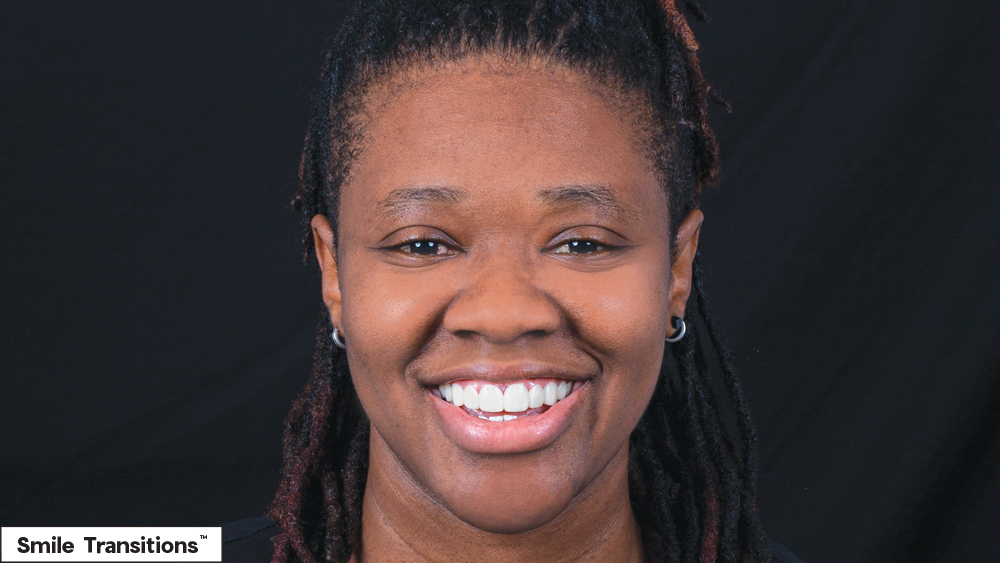
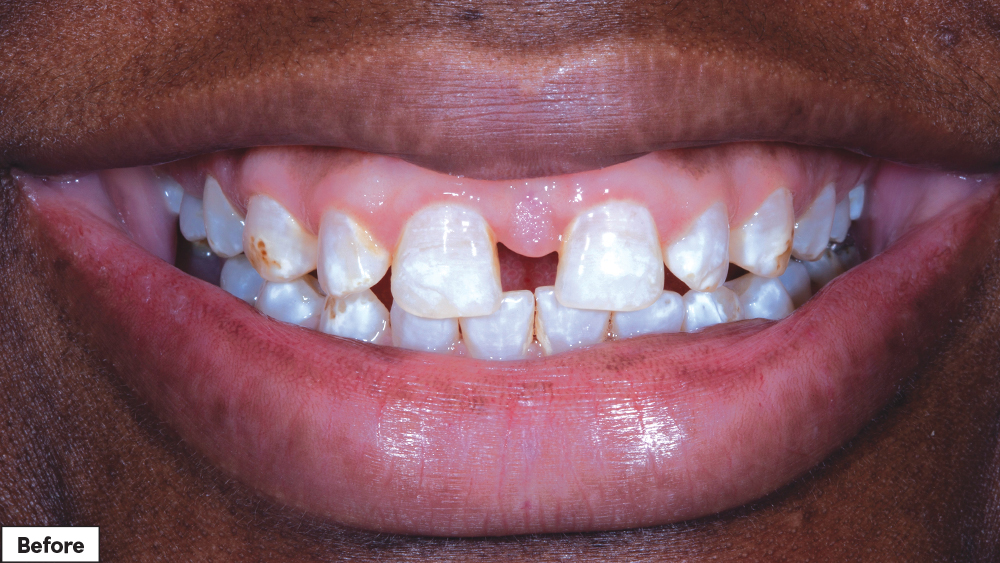
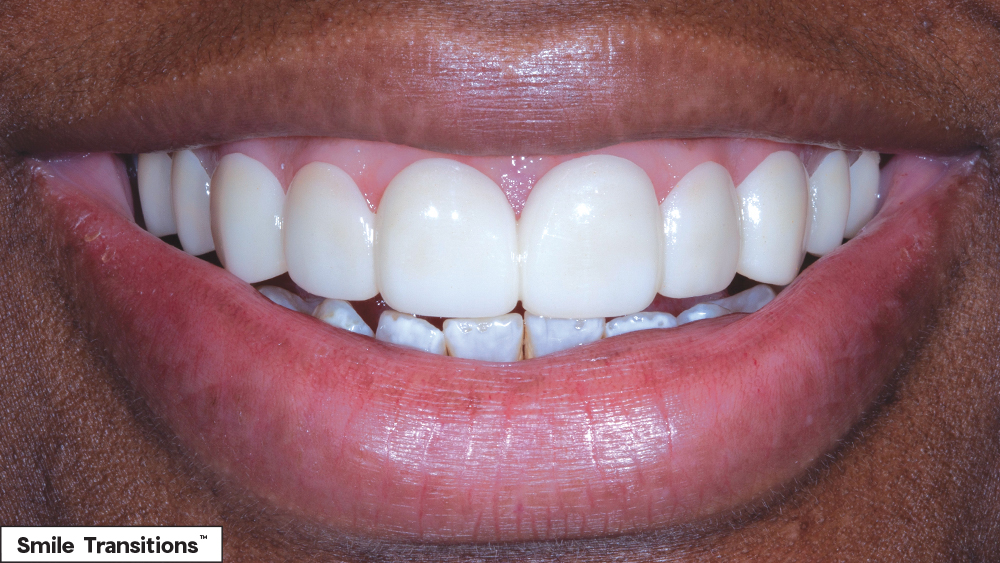
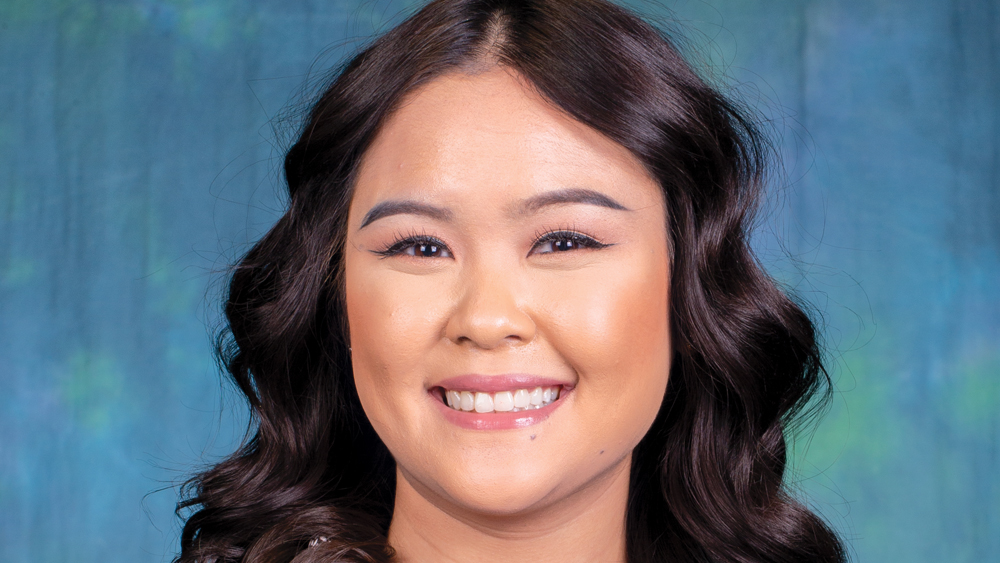
A complex treatment plan is needed to improve this patient’s smile. For a temporary, affordable transformation, her doctor delivered Smile Transitions. – Clinical dentistry by Taylor Manalili, DDS
DIRECT BONDING (DIRECT COMPOSITE VENEERS)
Direct composite veneers can also provide an interim option that is budget-friendly and provides many of the esthetic benefits of ceramic veneers. The esthetic outcome is highly dependent on clinical execution, as direct bonding is technically demanding. However, this option is still very cost-effective and convenient, requiring just one or two appointments.
For cases of 1–2 units, I like to do direct bonding in a single appointment. For cases of more than 2 units, I advise using diagnostic wax-ups, which can be created on-site or ordered from the lab. When a diagnostic wax-up is used, the full process for direct composite veneers includes a treatment-planning appointment, an optional second appointment to review the diagnostic wax-up and mock-up, and the final appointment for the direct bonding procedure.
CASE STUDY
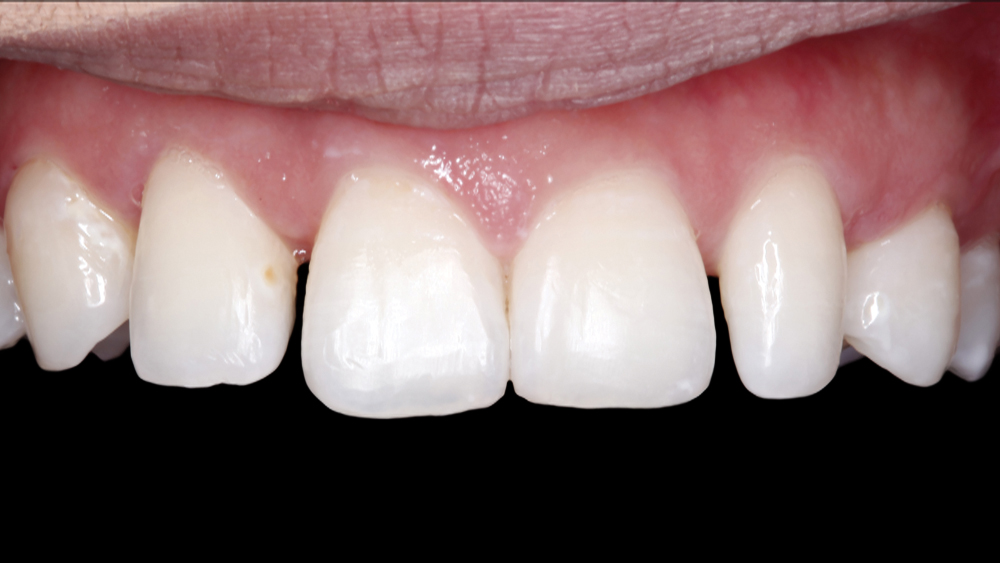
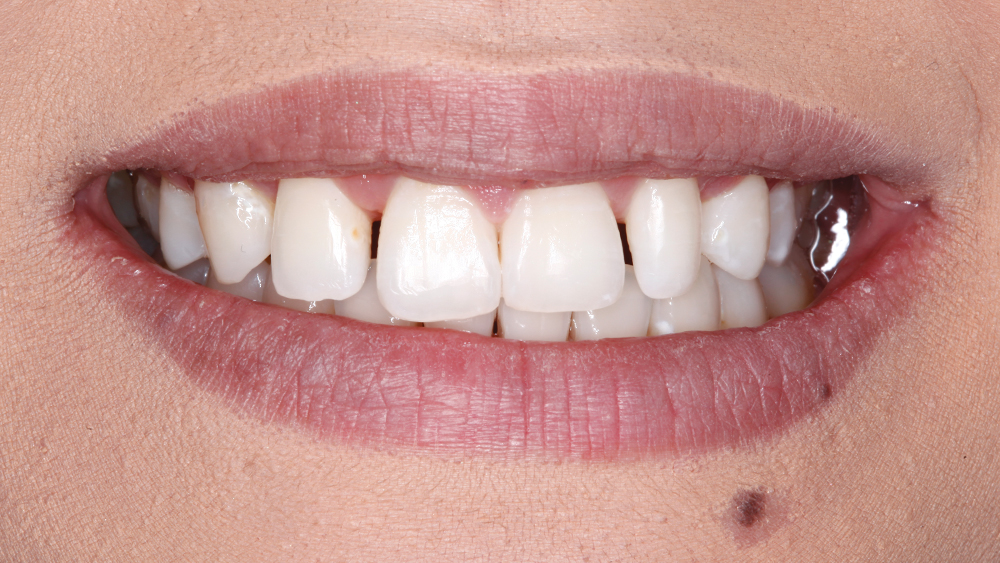
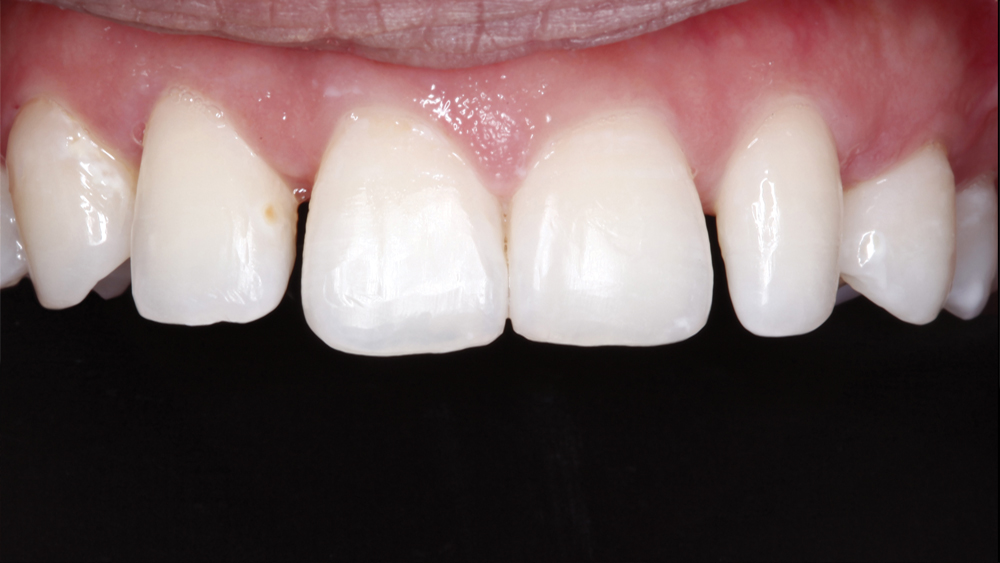
Figures 1a, 1b: This patient had peg laterals and a congenitally missing maxillary left canine. Because her natural teeth were not discolored, malformed or misaligned, but only lacking in size and shape, I determined that the additive technique of direct composite bonding would be an appropriate, minimally invasive treatment.
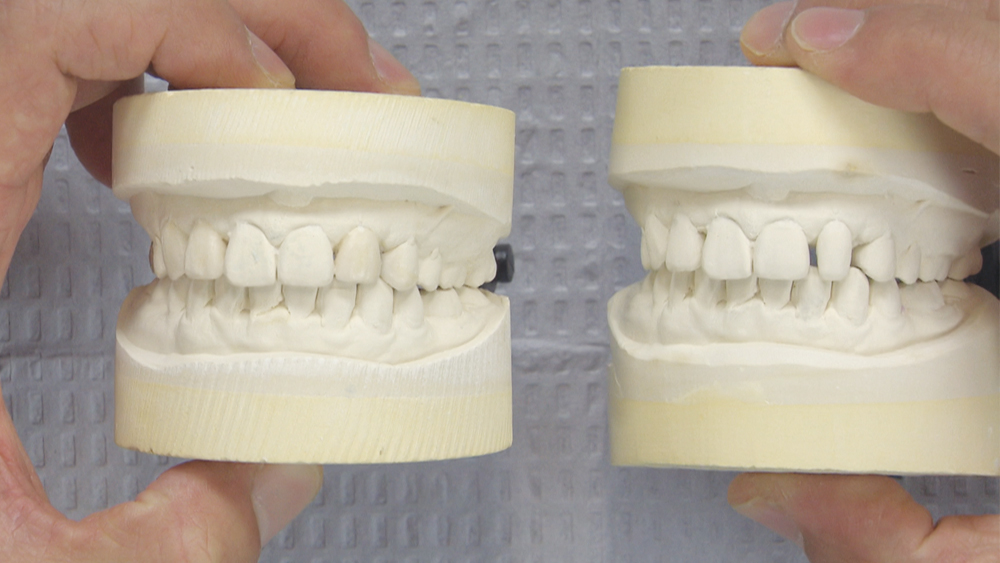
Figure 2: To treatment plan this case, I poured a second set of casts and created a diagnostic wax-up of the esthetic areas. I reduced the length of tooth #10, which originally was about even with the centrals, to achieve a better esthetic result. I applied wax to the mesial and distal surfaces of teeth #7 & #10, and to prevent the laterals from appearing too wide I added wax to the mesial portions of teeth #6 & #12. The left bicuspid occupies the space of the congenitally missing canine on that side of the arch, so I’m attempting to mimic the left canine by extending the bicuspid, lengthening it a little bit and bringing the mesial surface over.
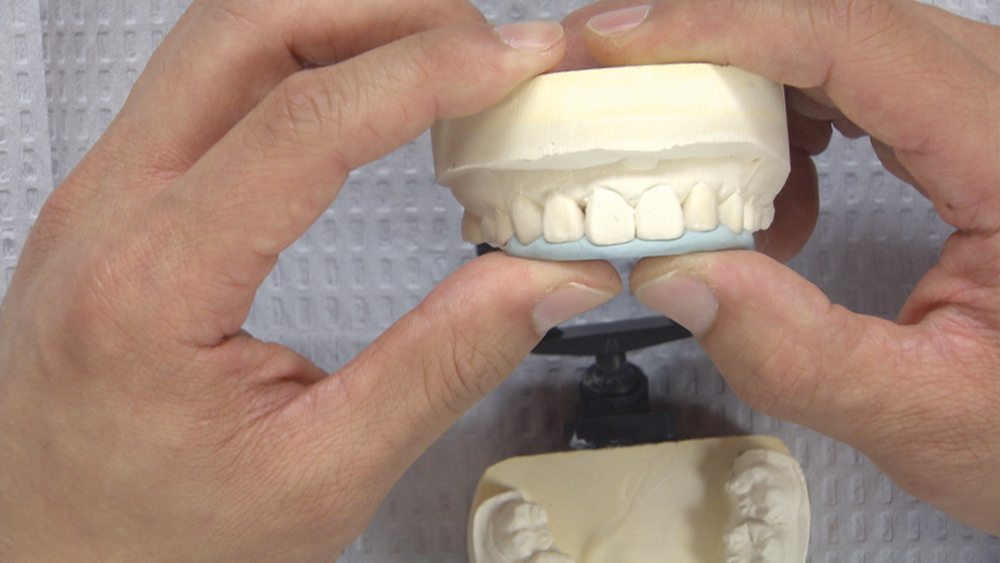
Figure 3: From the wax-up, I fabricate a putty matrix that enables me to transfer the planned changes from the wax-up model into the mouth. I position the putty matrix intraorally along the incisal edge to allow me to see the planned position of the incisal edges. Also, the scalloping of the matrix helps me determine exactly where to position the interproximal areas on each tooth. The only area where I will remove tooth structure will be on the incisal edge of tooth #10, with the rest of the areas built up with composite resin.
Figure 4: At the start of the case, I recommend the use of a prophy cup and pumice to clean the tooth surfaces.
Figure 5: Prior to isolation, I try in the putty matrix to verify that it seats completely with the rubber dam in place. I then place a rubber dam to avoid contamination, because I will be performing bonding procedures on multiple teeth. I use the second-to-smallest hole punch so it will be more constricting at the base of each tooth. For additional stability, I place individual floss ligatures.
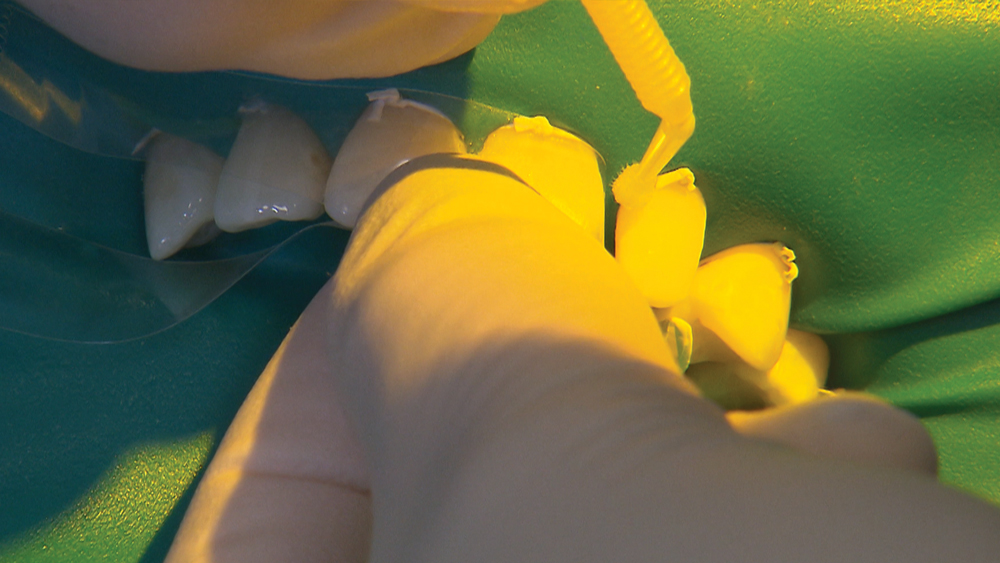
Figure 6: I apply phosphoric acid in a 37% concentration to all of the surfaces to be bonded. Because I am entirely in enamel, I will allow the acid to etch the surfaces for at least 20 seconds. To ensure the desired area is etched, it’s a good idea to apply the acid at least 2 mm beyond the anticipated restorative area. I like Gel Etchant from Kerr Corporation (Brea, Calif.) because of the material’s ideal viscosity and how it rinses off very quickly. When applying the etchant to the mesial surfaces of the laterals, I protect the centrals with a clear matrix.
Figure 7: Once I confirm the enamel surfaces have a frosted appearance, I apply Scotchbond™ Universal bonding agent (3M Company; St. Paul, Minn.) to all of the bonding surfaces. Like the etchant, I extend the bond slightly beyond where I expect to apply the resin. Once the bond is applied, I air-thin the bond to ensure the solvents evaporate. After drying, I polymerize the material for 10 seconds.
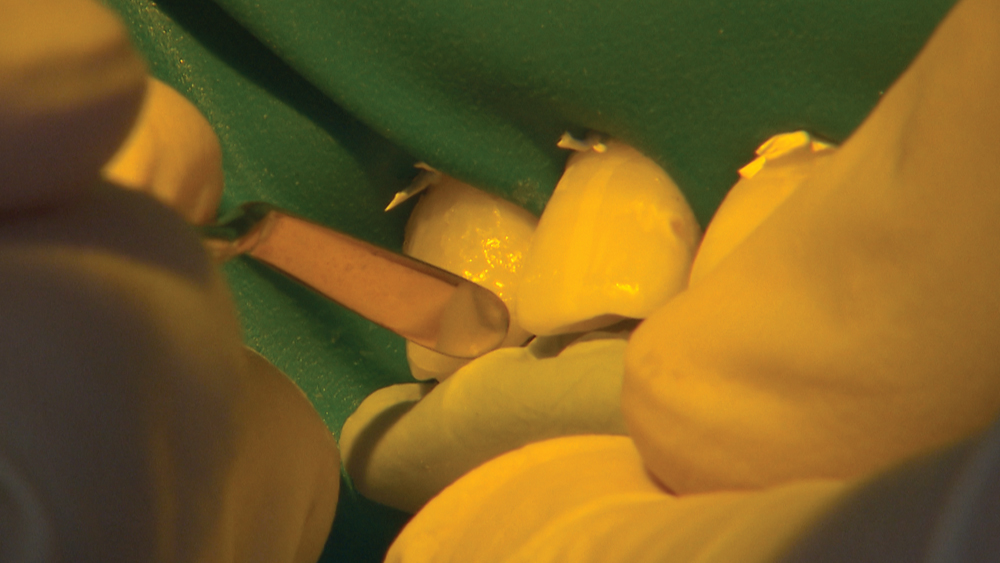
Figure 8: I begin the resin application with a spatula-shaped instrument by applying the material cervically to establish a new, natural emergence profile. The putty matrix aids in determining the new incisal edge position, and the interproximal scalloping along the incisal embrasures indicates exactly where I should extend the resin application on the proximal surfaces. I use the spatula resin applicator for most of the resin placement and shaping. For some of the finer shaping, an explorer or probe can be used. I light-cure for 20 seconds to fully polymerize the material.
Figure 9: In the esthetic zone, I try to shape the resin close to the final contours as much as possible, but slightly over-bulked. Rather than spend too much time smoothing the restoration during the resin application, I find it faster to dial in the final contours during the polishing phase. Before moving ahead to polishing, I’ll use a #12 blade to remove any roughness along the transition between the natural tooth and the resin application. Any overhangs or roughness can lead to gingival inflammation.
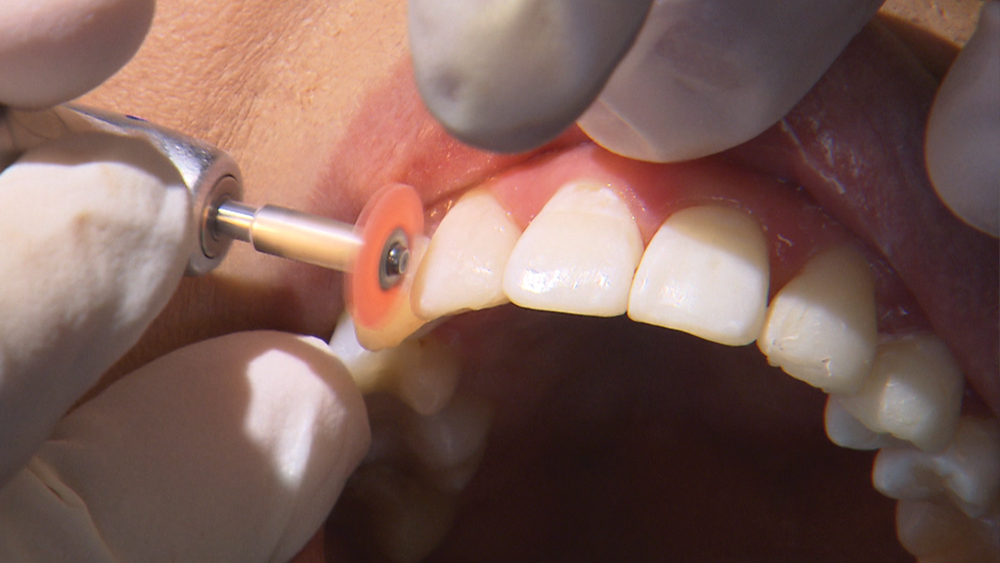
Figure 10: I like to use Sof-Lex™ discs (3M Company). The darker colors of the Sof-Lex discs are used primarily for gross reduction, and the lighter ones are used for refining the contours and margins and also removing any large areas of surface roughness. The lightest colors allow the polishing of the restorations to a high shine. My goal is for the margins to be indiscernible. After checking the occlusion, I’ll use a slow-speed round bur to adjust any high spots. It typically will remove the composite material with a minimal effect on the enamel.
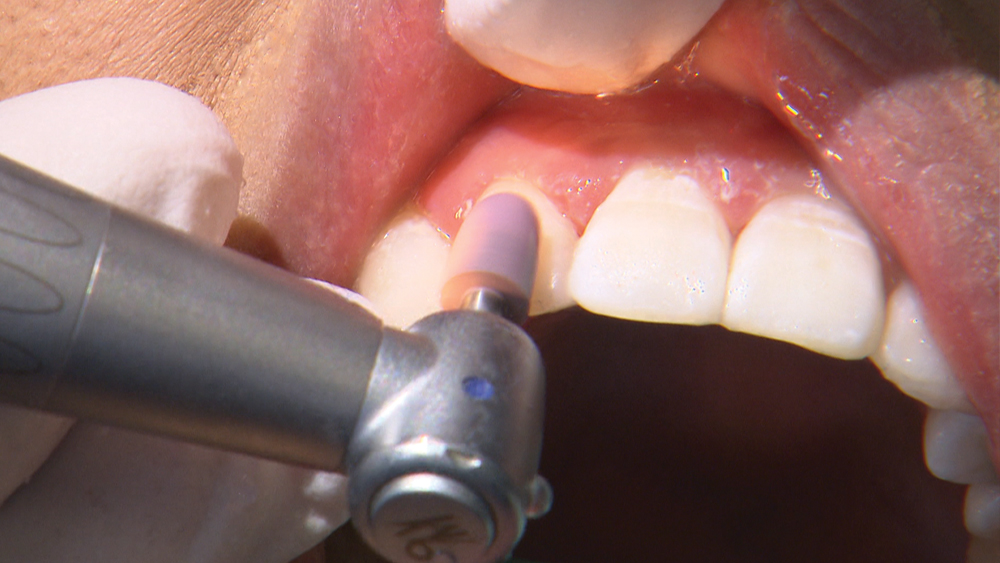
Figure 11: I finish the restoration with a coarse composite polisher and then a fine composite polisher, to remove any surface scratches. It is important to polish well and get the surface as smooth as possible. Ensuring there’s no porosity in the composite will minimize the composite’s susceptibility to staining in the future.
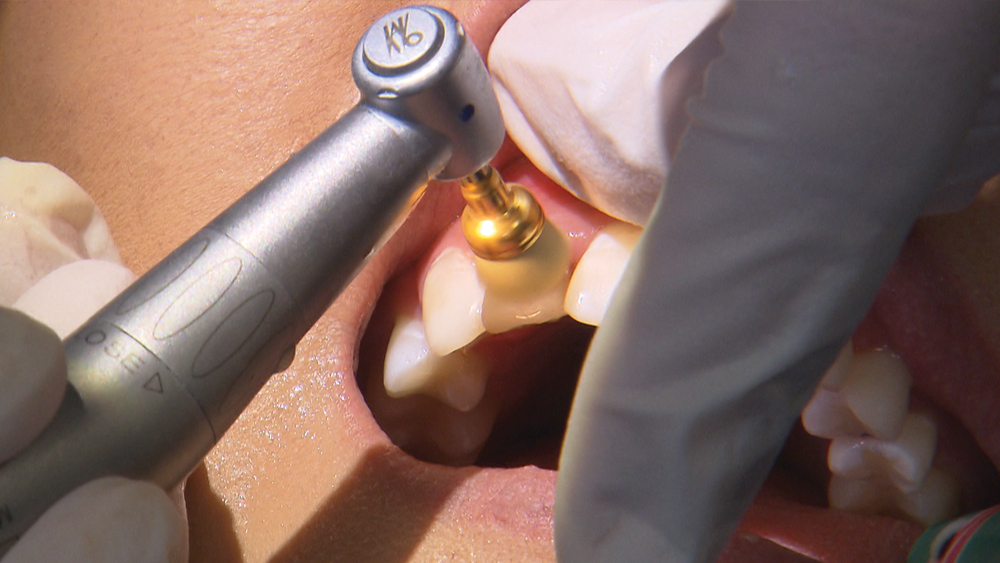
Figure 12: I finalize the polishing by using an Occlubrush® by Kerr Corporation. It has special impregnated fibers that polish the composite material to a high shine without the need for an additional paste. After that, I can check the restorations with floss, and confirm smooth contacts and the absence of rough areas along the transition to the natural tooth.
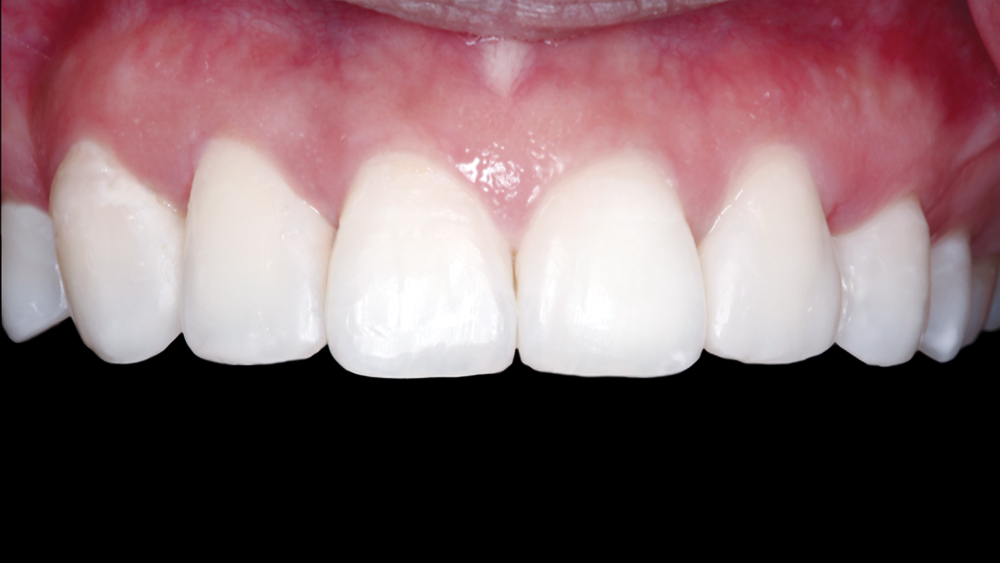
Figures 13a–13c: The patient was very excited about the final esthetic improvement. The completed composite treatment served as a minimally invasive way to alter the shape of the teeth in an affordable, reversible manner.
- 1
- 2
- 3
- 4
- 5
- 6
- 7
- 8
- 9
- 10
- 11
- 12
- 13
- 14
- 15
- 16
CERAMIC VENEERS
Assuming the patient’s teeth do not require full-coverage restorations, ceramic veneers are the premier option that I propose when patients can afford to make a substantial investment in their smiles. Ceramic veneers offer the most ideal esthetics and stability. Plus, ceramic veneers allow the greatest range for improving the shape and color of teeth.
When I am choosing veneer materials, I prescribe based on an occlusal analysis. In the absence of parafunctional habits, I order Obsidian® lithium silicate ceramic, which provides fantastic translucency and shade. And for those veneer cases that demand extra strength, my material of choice is BruxZir® Esthetic Zirconia.
In addition to these proven materials, I rely on diagnostic wax-ups for planning the case. This step enables me to successfully communicate my vision for the case to my lab team. And when I’m chairside, the diagnostic wax-up is indispensable for patient communication and motivation. All around, I view diagnostic wax-ups as the best way to eliminate surprises and stay in sync with my patients and lab team for esthetic success.
CASE STUDY
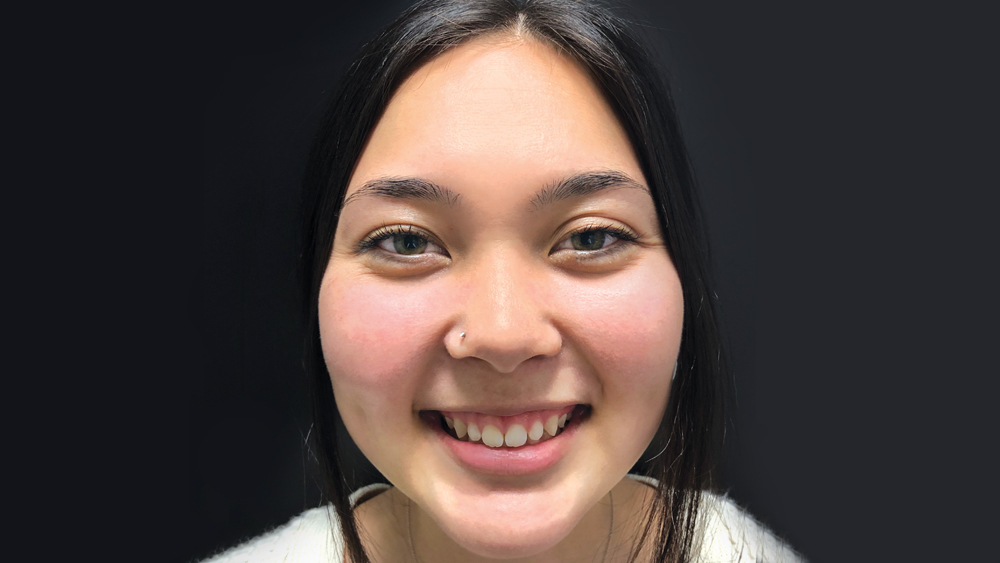
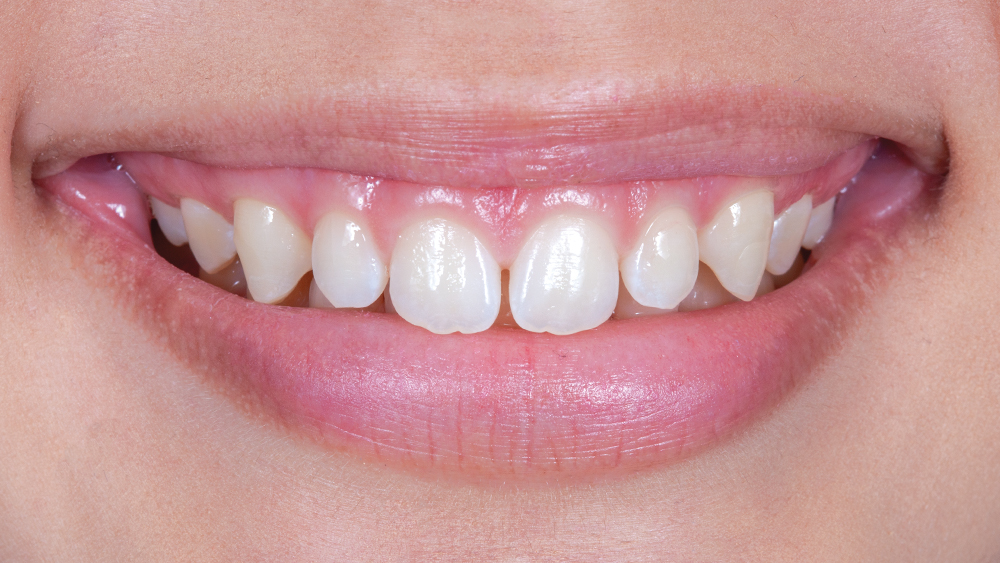
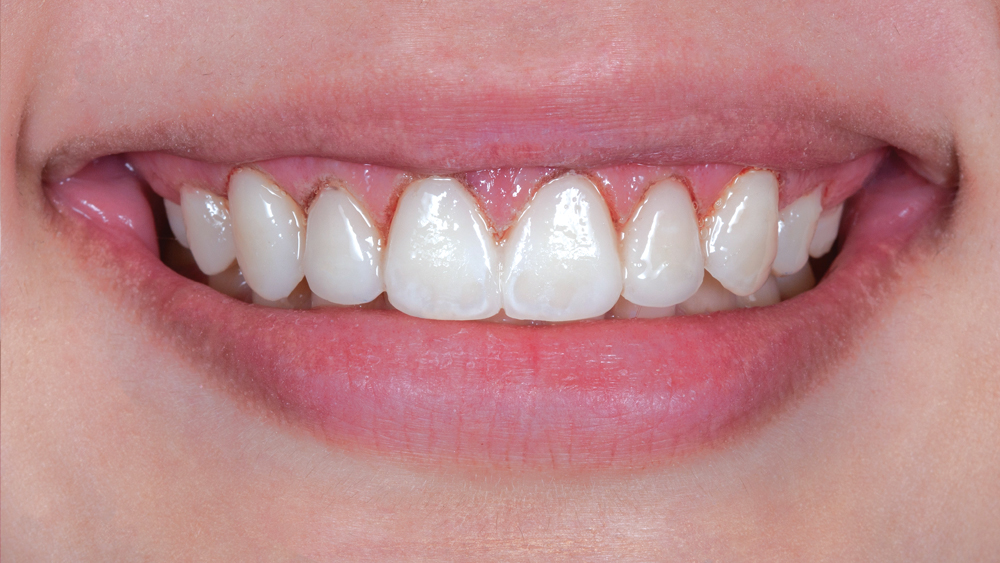
Figure 1: This 19-year-old patient wanted to improve her smile. Her chief complaints were her small teeth, spaces and gummy smile.
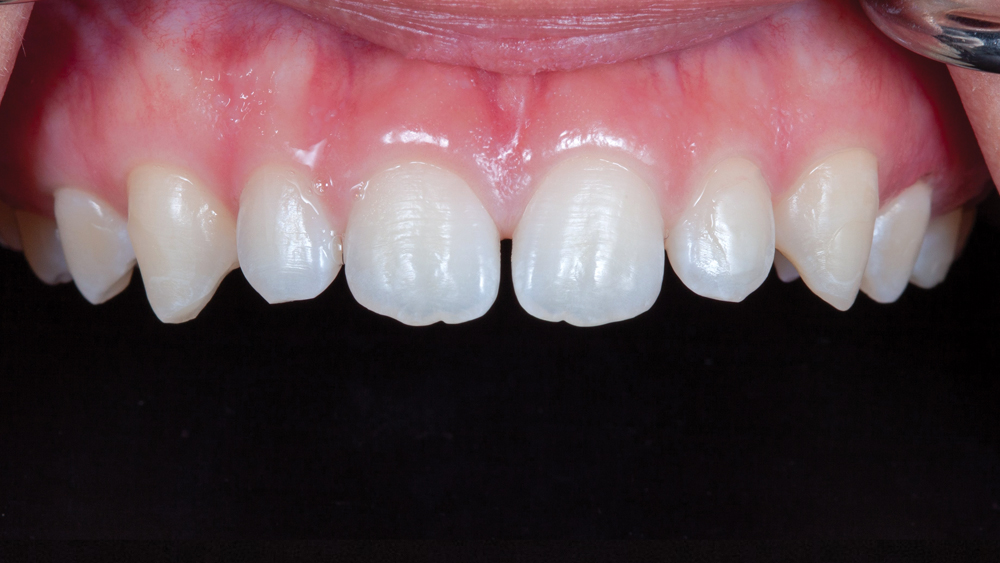
Figures 2a, 2b: Clinical evaluation revealed spaces between all anterior teeth, excessive gingival display throughout the esthetic zone and smaller clinical crown dimensions. In discussing treatment options with her, I recommended minimal-prep Obsidian veneers for teeth #4–12 and a crown-lengthening procedure.
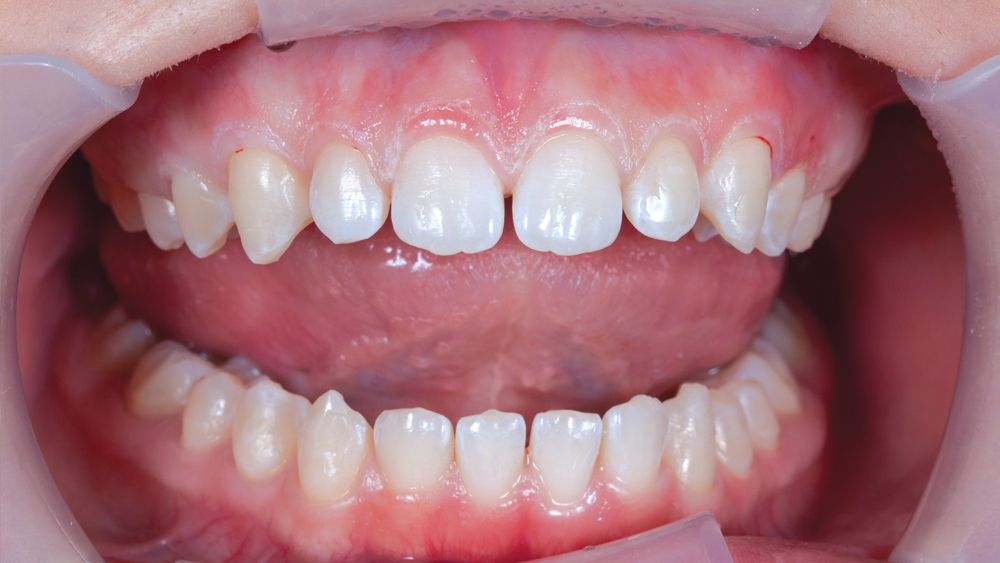
Figure 3: Using a diagnostic wax-up, I can fabricate a putty matrix to create an acrylic mock-up. This is an optimal method for evaluating the treatment plan, including the esthetics, function and speech.
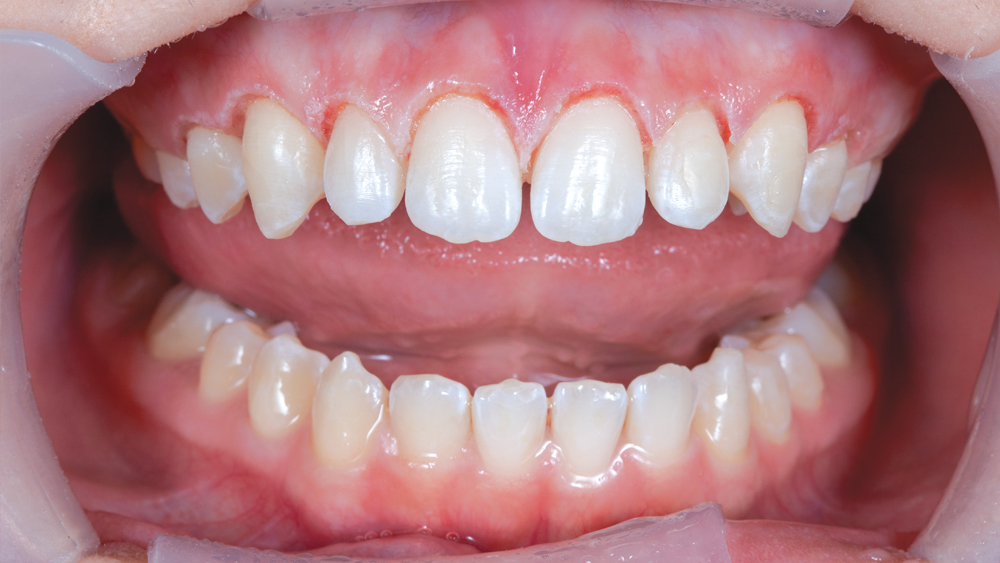
Figure 4: After the patient has accepted the treatment plan, it’s time to move ahead to the gingivectomy. I use the Waterlase iPlus (BIOLASE, Inc.; Irvine, Calif.) to outline the new contours. For this initial step, I select a laser bandage preset, which allows me to superficially score the gums.
Figure 5: Next, I advance to a higher-wattage gingivectomy setting to steadily cut the tissue. With its easy-to-navigate interface and many presets, the Waterlase iPlus system is intuitive and straightforward to use.
Figure 6: After completing the crown lengthening procedure, I use Luxatemp Ultra® (DMG America; Ridgefield Park, N.J.) in shade A1 to temporize the patient. The temporaries guide the soft-tissue healing.
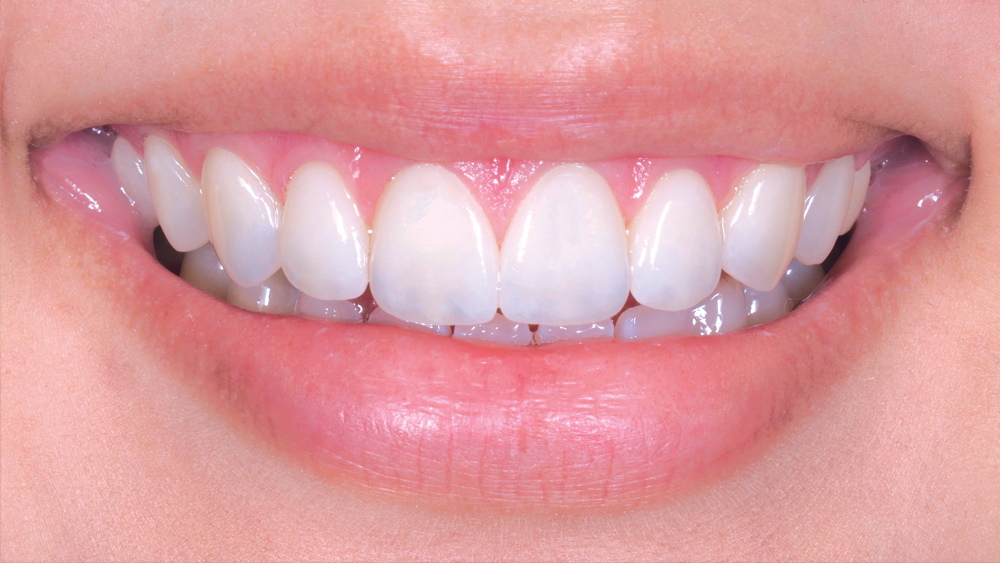
Figure 7: When the patient returns for the final appointment, I use NX3 Nexus™ Third Generation (Kerr Corporation) to cement the Obsidian veneers on teeth #4–12. As this case shows, Obsidian veneers are exceptionally natural-looking in shade and translucency.
Figure 8: Post-gingivectomy, the gingival margins are more harmonious. Improving the contours and height of the gingival veil was pivotal for the overall esthetic outcome.
Figure 9: The patient was delighted upon seeing her new smile. The Obsidian veneers, in conjunction with the gingivectomy, resulted in a more proportional, vibrant smile.
- 1
- 2
- 3
- 4
- 5
- 6
- 7
- 8
- 9
- 10
CONCLUSION
As dentists, we always prefer to render the ideal treatment. However, particularly in times such as these, it’s not just about precise clinical techniques. We must stay attuned to patients’ financial priorities and be ready to advise them on a spectrum of restorative options that will provide them with the esthetic benefits they are seeking.