In this issue:
Combining Crowns and Veneers for an Esthetic Outcome
Author


Anterior cases that include both full-coverage crowns and veneers create a material selection challenge for clinicians. Choosing a restorative material that satisfies the functional needs of each type of restoration while blending together seamlessly is crucial. It’s also important to find a material where the associated techniques and protocols allow for a predictable and repeatable result.
The following case report demonstrates how a combination of BruxZir® Esthetic Zirconia crowns and veneers was used to satisfy the esthetic needs of a patient with high demands. For this case, the reliability of the lab’s diagnostic wax-up, following tooth preparation and soft-tissue control guidelines, choosing the correct shade of zirconia, and strict adherence to the manufacturer’s bonding protocol were vital to producing a lasting outcome. The importance of each step in the protocol will be discussed.
CASE REPORT
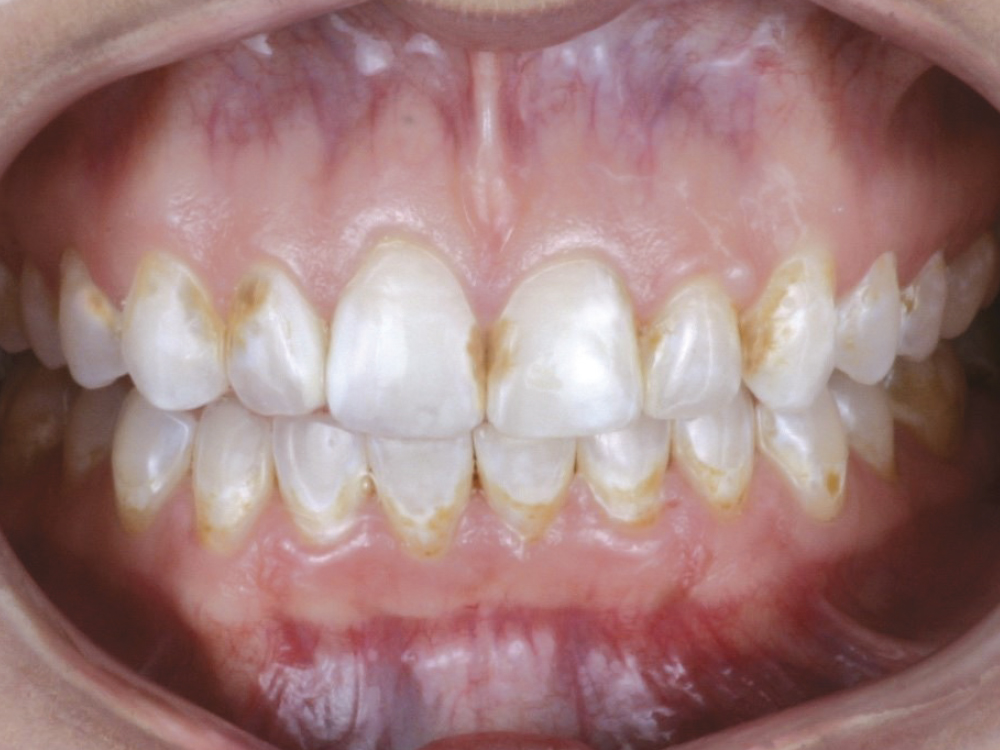
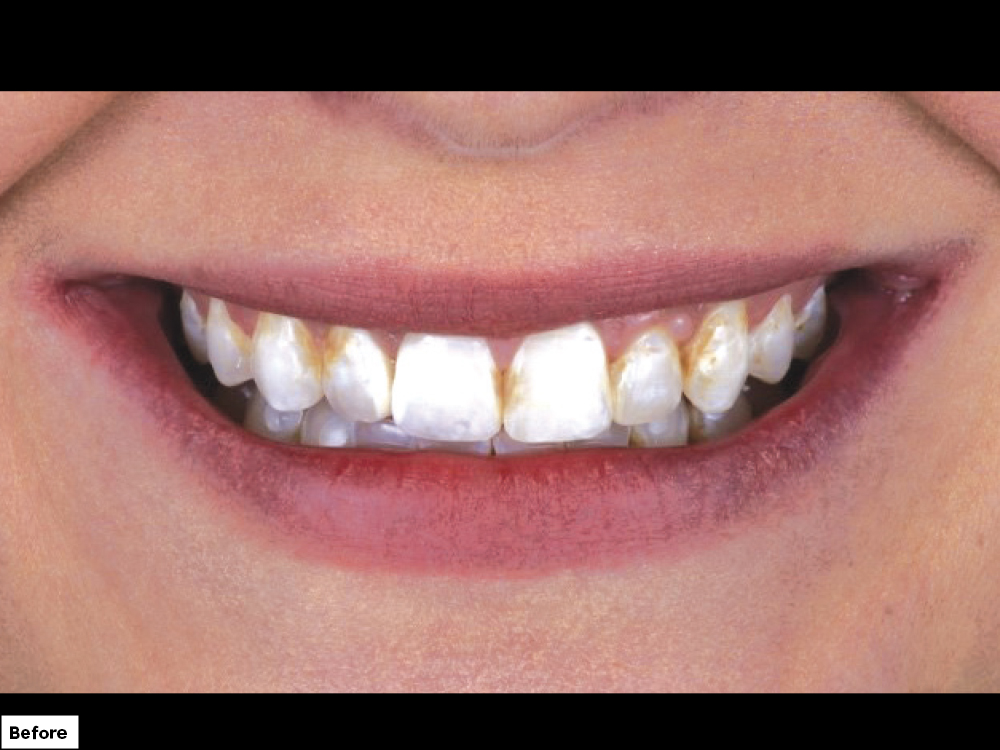
The patient presented with fluorosis, staining, decalcification and dental caries. It was decided that for the upper arch BruxZir Esthetic crowns would be placed on teeth #4, #7–10, #12 and #13, and Vivaneer™ veneers made from BruxZir Esthetic would go on teeth #5, #6 and #11. The lower arch would have veneers from teeth #20–29. BruxZir Esthetic restorations were an ideal solution for this case because of the strength, shade, translucency and proven bonding protocol of the material.
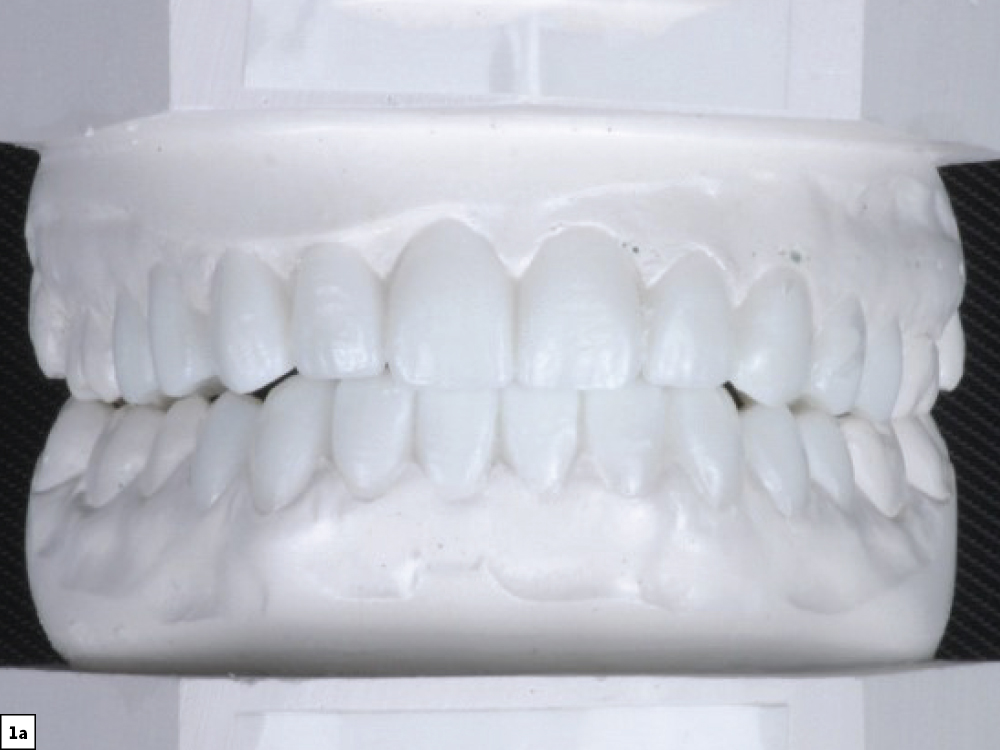
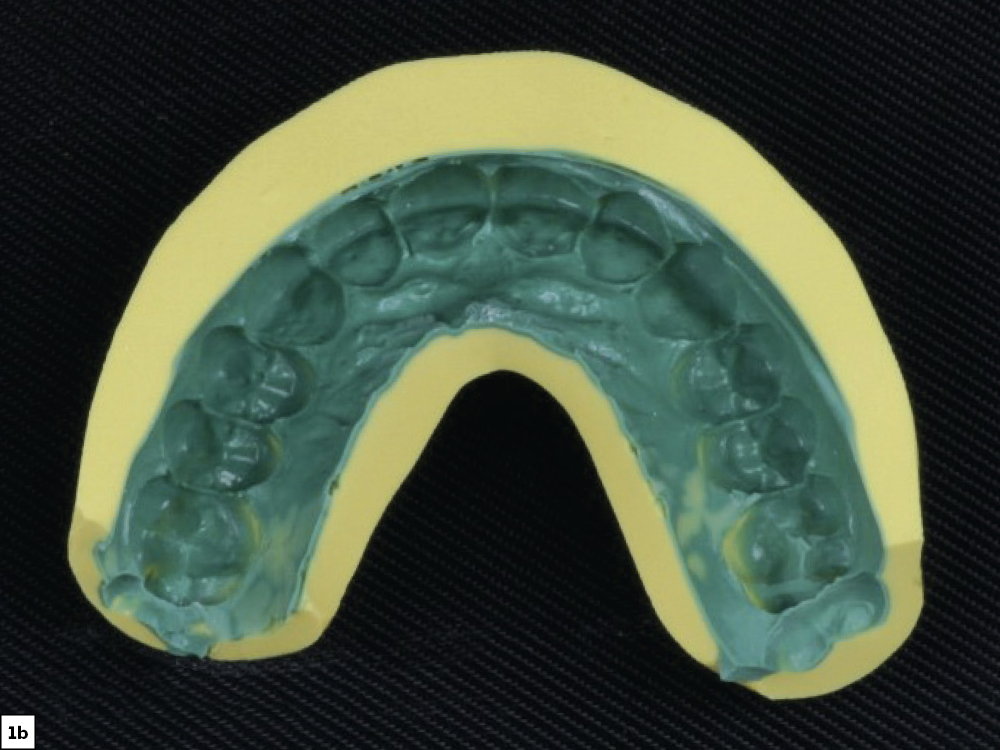
Figures 1a, 1b: I started with preliminary impressions of both arches and had the lab create a diagnostic wax-up. In this case, both upper and lower arches were treatment planned. After receiving the diagnostic wax-up back from the lab, I showed the patient the model for approval and then created a matrix from the wax-up with Capture® Soft Putty (Glidewell Direct; Irvine, Calif.).
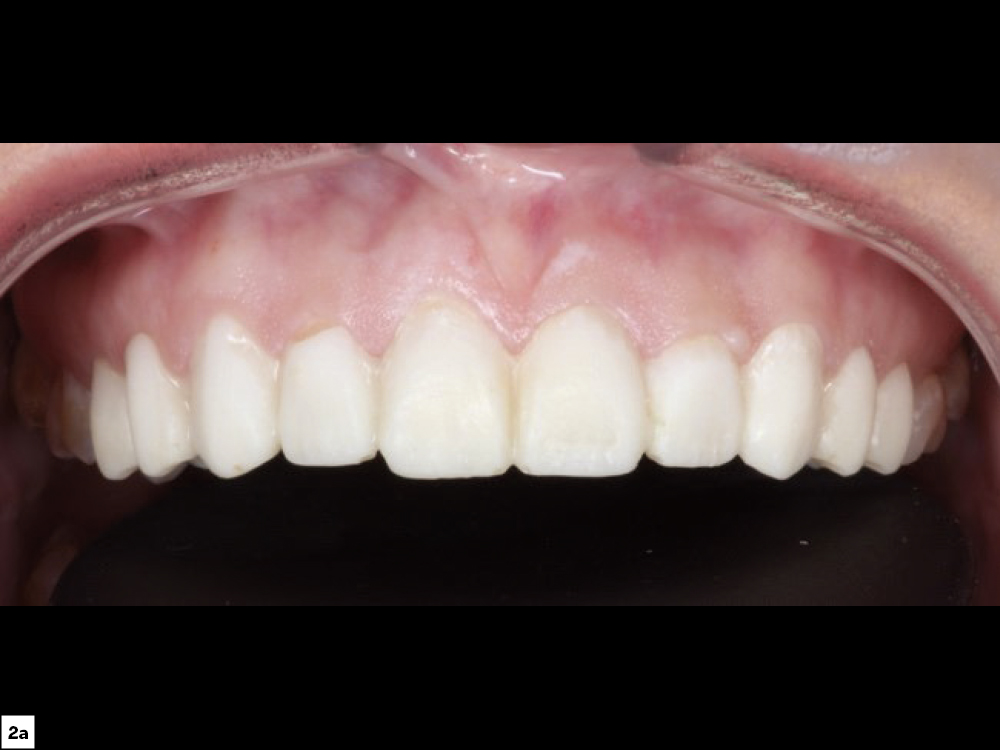
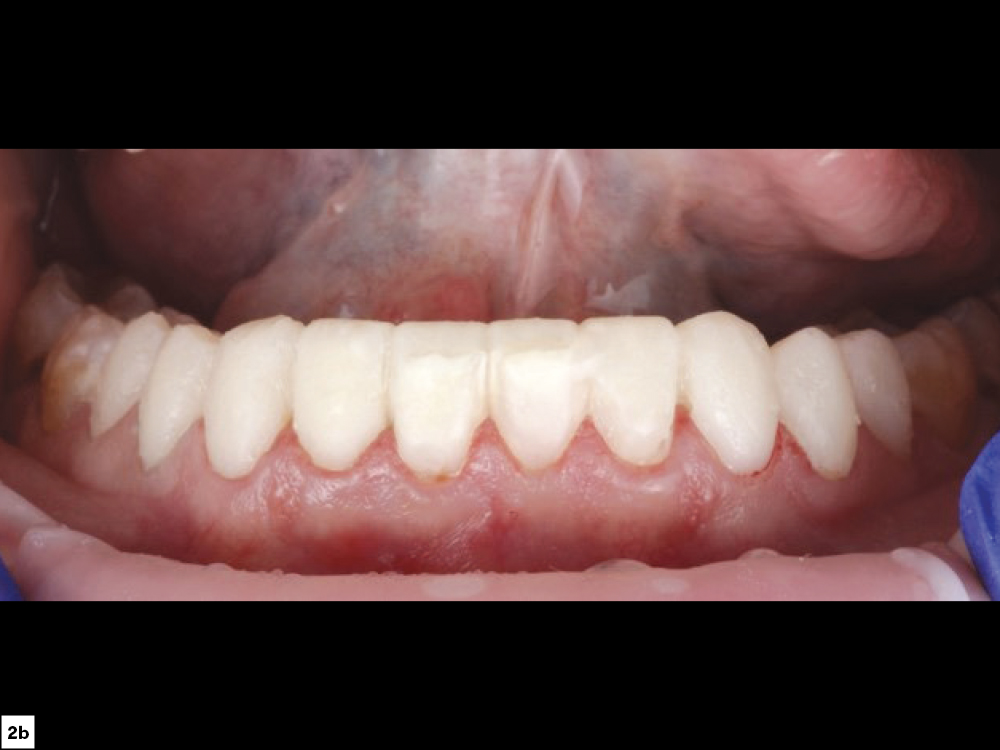
Figures 2a, 2b: Using bis-acryl temporary composite resin, I back-filled the putty matrix and seated it directly over the patient’s un-prepared teeth. This mockup gave the patient a preview of the smile design and allowed for the evaluation of esthetics as well as possible issues with speech, occlusion and comfort. I sent the patient home with the mockup and scheduled her next appointment for one week later. At the next visit, I proceeded with the preparations, placing depth cuts directly through the bis-acryl mockups. I learned this technique reading Dr. Justin Chi’s article in Chairside® magazine volume 14, issue 2.
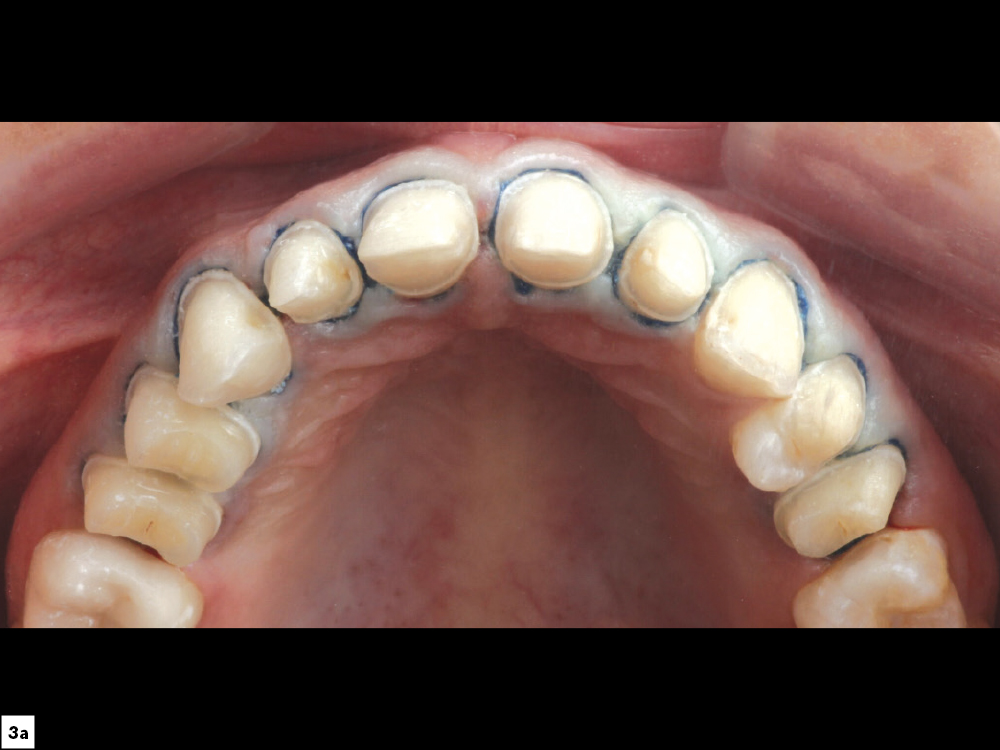
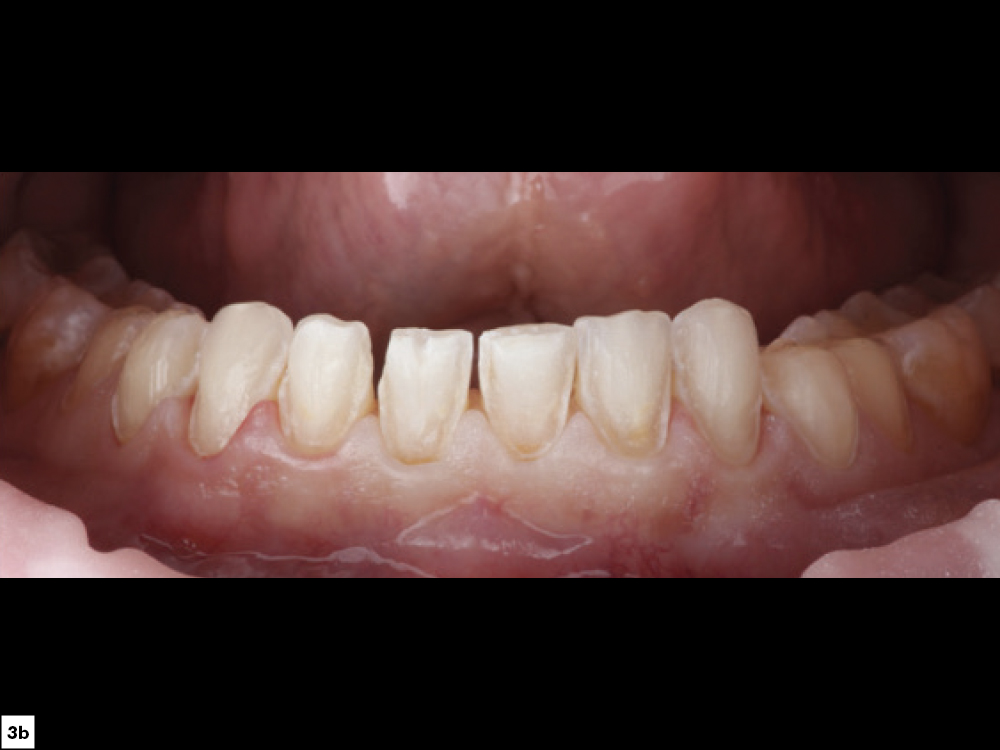
Figures 3a, 3b: After completing the crown and veneer preparations, the final impressions were taken. I used a double-cord technique, placing a size 00 cord all around the gingival margins, and then packing a size 1 cord over it. After five minutes, the tissue was displaced for an accurate impression.
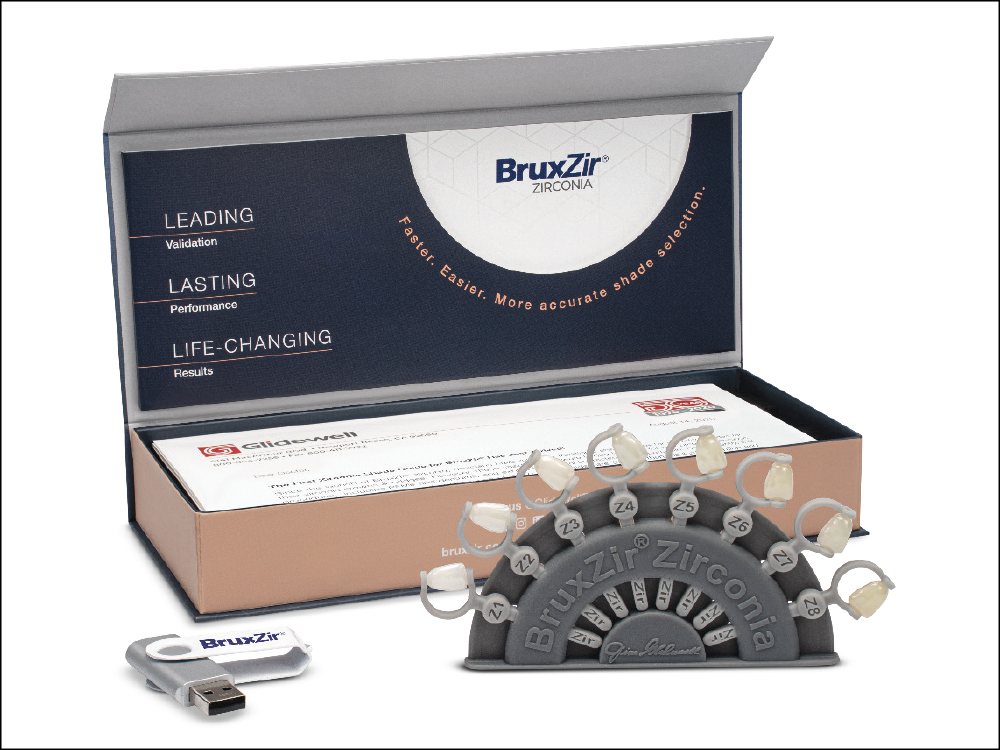
Figure 4: In order to create the Hollywood smile that the patient desired, we chose a shade together using the BruxZir Shade Guide, which is specifically dedicated to BruxZir products and is made with genuine BruxZir Zirconia for an accurate shade representation.
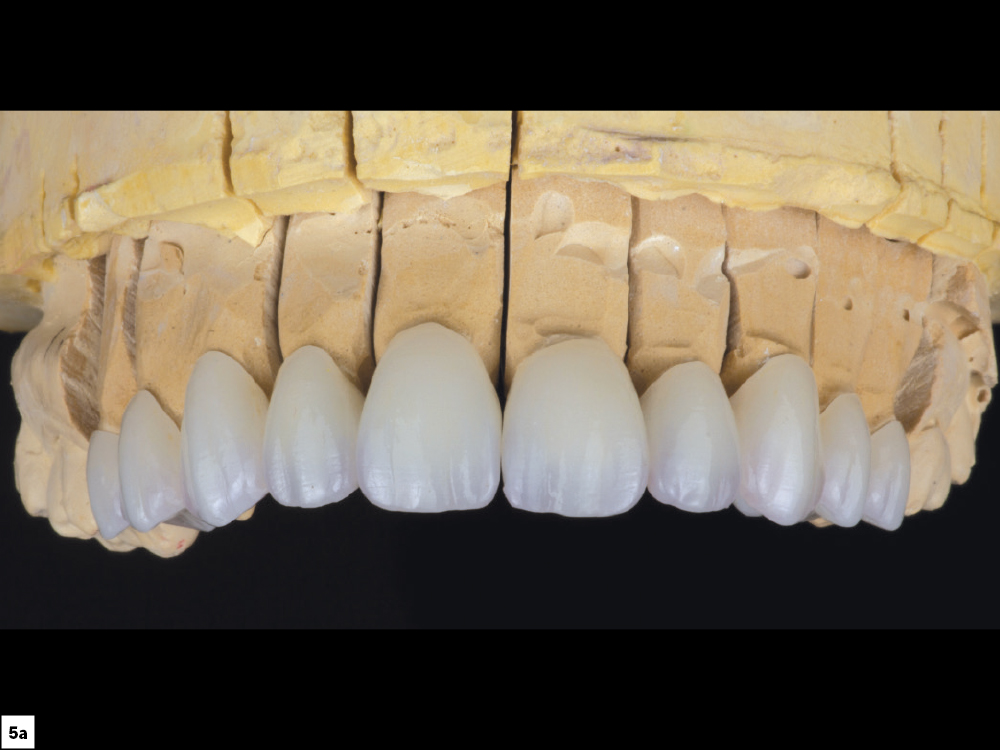
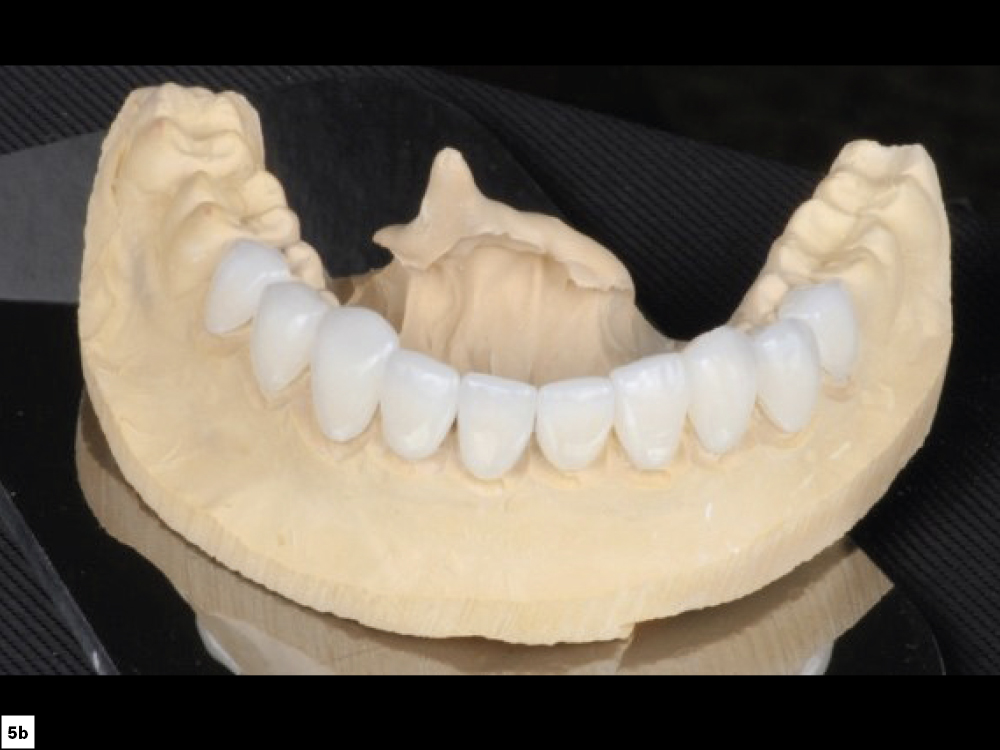
Figures 5a, 5b: The lab fabricated a total of seven BruxZir Esthetic crowns and 13 BruxZir Esthetic veneers. The veneers were made with a thickness of 0.7 mm, the minimum for BruxZir Esthetic. The final restorations that arrived in my office matched in shade and translucency for a seamless smile and were ready to deliver.
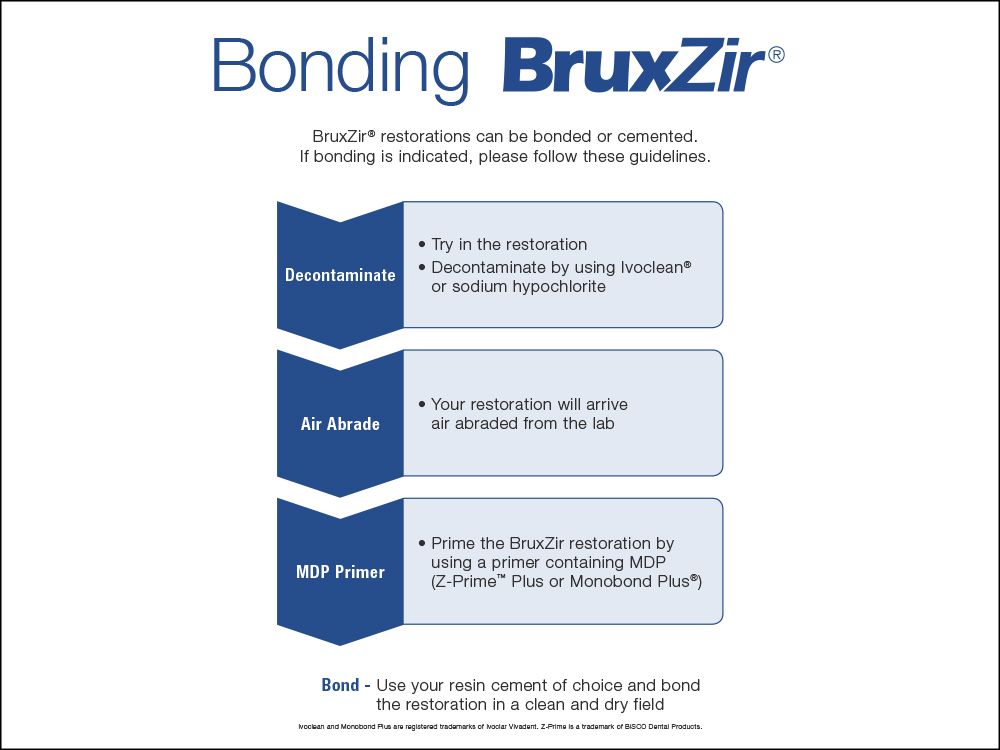
Figure 6: When the patient returned for the seating appointment, the restorations were tried in to ensure proper fit and occlusion. I then cleaned the bonding surfaces using Ivoclean® (Ivoclar Vivadent; Amherst, N.Y.), as salivary phosphates in the mouth had contaminated the restorations during the try-in. Then, because the etching and initial air abrasion steps had been completed at the lab, I was able to proceed to the bonding protocol. I used Monobond® Plus (Ivoclar Vivadent), which chemically adheres to zirconia, to prepare the veneers for the cementation process. For the tooth preparations, I began by etching with 37% phosphoric acid for about 10 seconds. GLUMA® Desensitizer (Heraeus Kulzer, LLC; South Bend, Ind.) was applied to the preparations for one minute. I then scrubbed in Kerr OptiBond™ Universal adhesive (Kerr Corporation; Orange, Calif.), aspirated the excess adhesive, air-thinned to remove solvents and light-cured for about 10 seconds. Lastly, I cemented the veneers with NX3 Nexus™ Third Generation light-cure resin cement (Kerr Corporation) to provide unlimited working time to correctly position the restorations, starting from the incisors and moving distally two at a time.
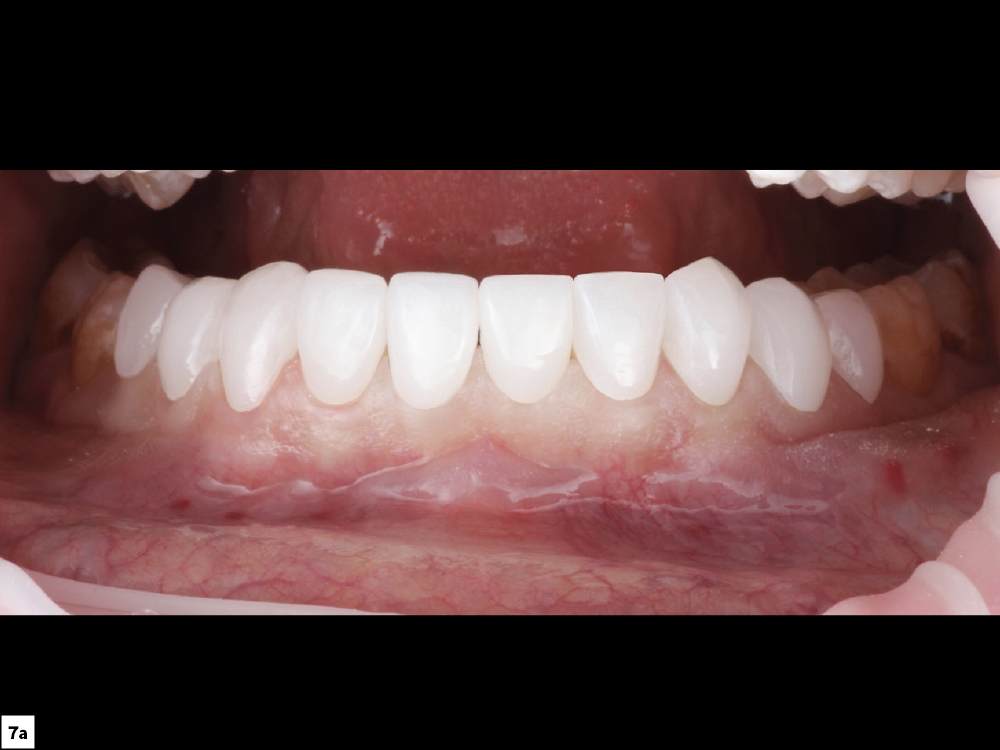
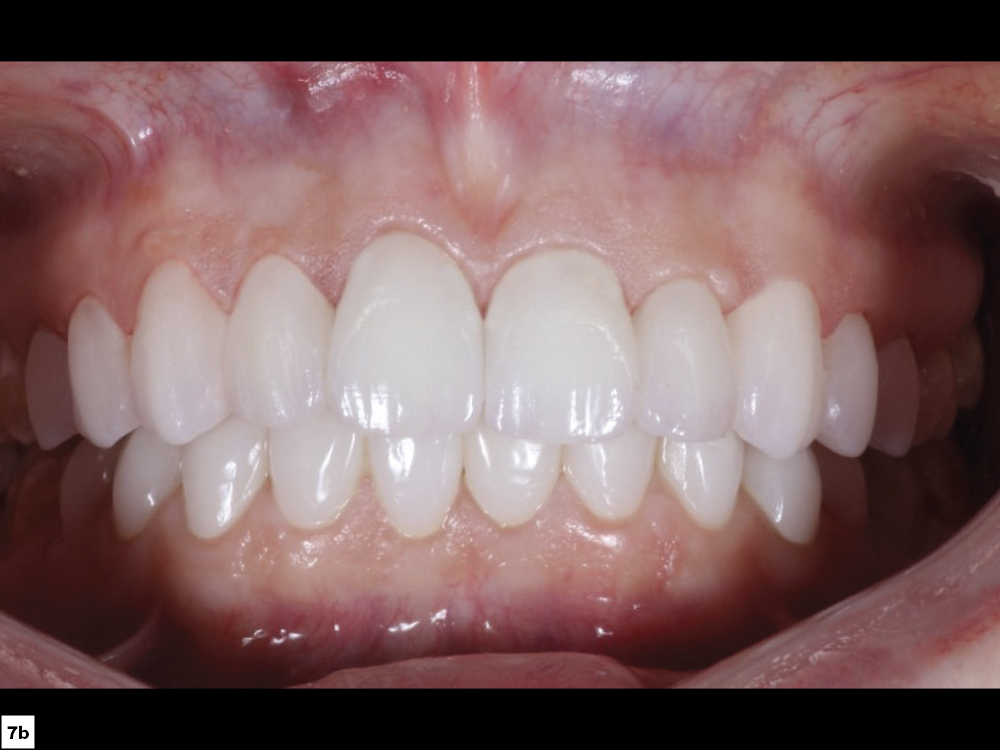
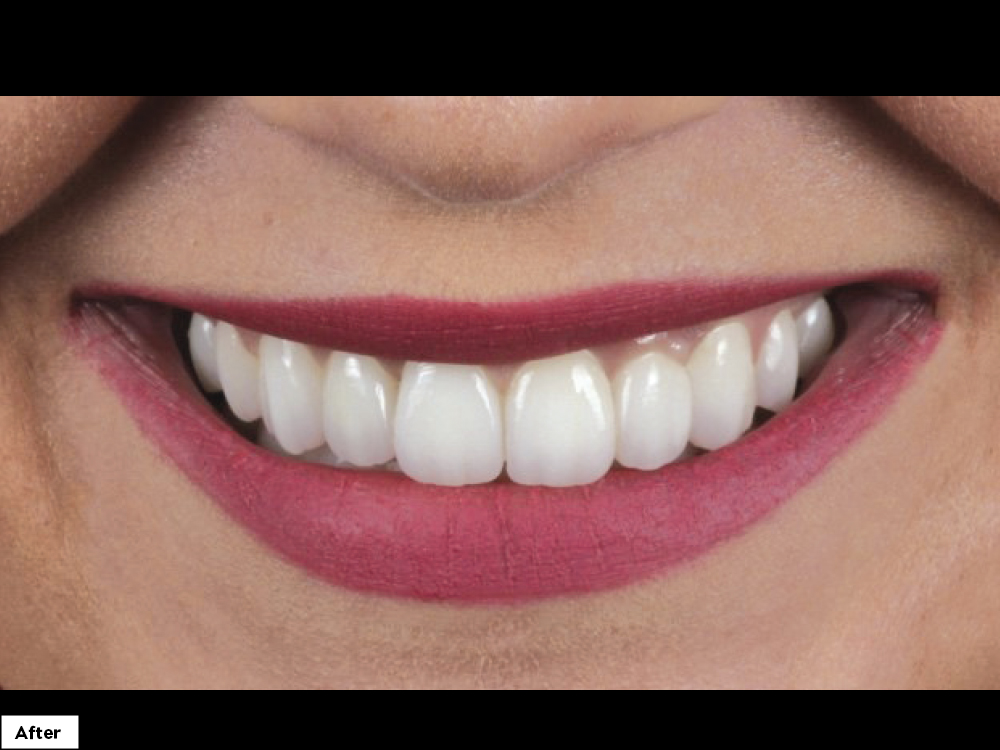
Figures 7a, 7b: With the restorations securely in place, I examined the occlusion. The esthetic appearance of the final restorations exceeded the patient’s expectations. The BruxZir material provides the durability needed for a long-lasting, esthetic smile.

Figure 8: The patient achieved the Hollywood look she desired and was thrilled with the final result.
CONCLUSION
This case report demonstrates the versatility of BruxZir Esthetic and how a combination crown and veneer treatment proved ideal for maximizing esthetics in the smile zone. With the proper planning, restorative material and clinical protocols, each case has the potential to revitalize a patient’s smile with lifelike esthetics.