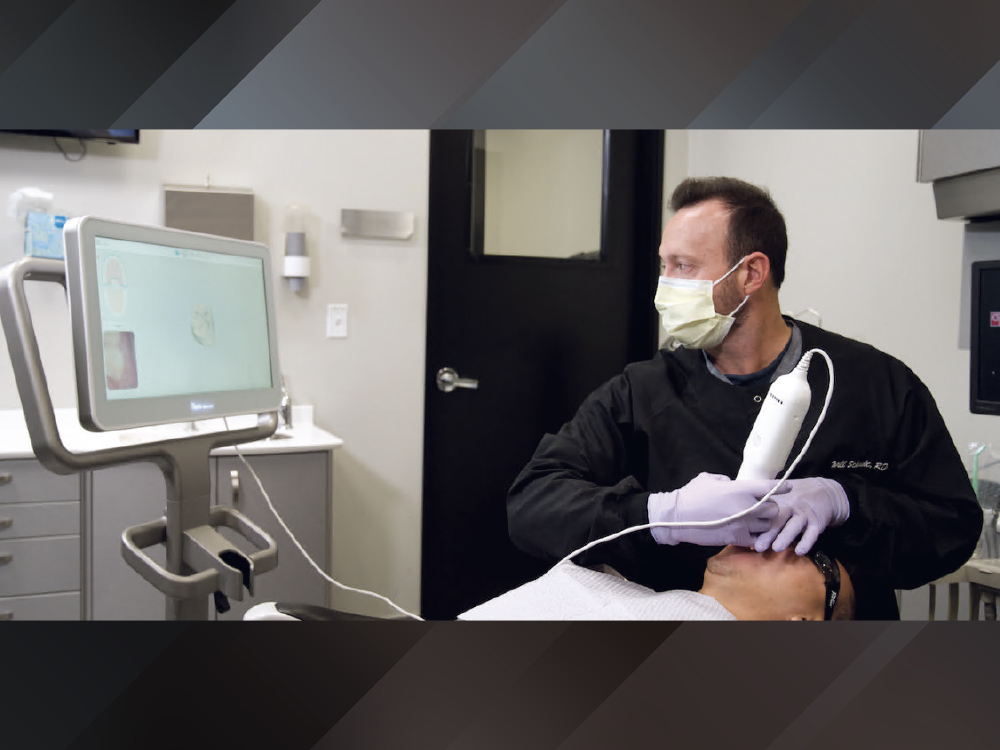
Intraoral Scanning: Reviewing the Basics

Intraoral scanning has revolutionized restorative dentistry, bringing precision and efficiency to the impression procedure. It is important to remember, however, that like traditional analog impressions, the process demands attention to detail and adherence to specific steps. From entering the patient’s information in the scanner to reviewing the final scan, each stage plays a pivotal role in ensuring the accuracy of the restoration. Follow these seven steps to become proficient in digital scanning.
STEP 1: ENTERING THE PATIENT’S INFORMATION IN THE SCANNER
While setting up the scanner for each patient, remember that the scanner’s data entry page is your official legal prescription. All items such as tooth number, stump shade, material and shade should be entered at this stage. Any additional detailed notes can also be entered at that time.
STEP 2: SOFT TISSUE CONTROL
After preparation, be sure to retract the tissue so that the margins are clearly visible. Clean and dry the tooth with air and water. Remove retraction devices if necessary, including cords, pastes and compression caps. Immediately upon pulling the retraction devices and drying the area, start the preparation scan.
STEP 3: SCANNING THE PREPARATION
If your scanner requires a separate preparation scan, you will select that option to scan first. If the scanner incorporates the preparation scan within the arch scan, perform the arch scan on the preparation arch and capture the preparation data as soon as possible, if not first. Attempt to acquire the proximal contacts of the adjacent teeth in your preparation scan.
STEP 4: SCAN THE PREPARATION ARCH
After acquiring the preparation data, it’s time to scan the preparation arch. Depending on the zone that the preparation is located, scan either a quadrant, the anterior or a full arch. Suction excess saliva and dry the teeth as well as possible to remove bubbles from the embrasures or shiny areas that will interfere with proper data collection. Scan the preparation arch, starting from the most posterior tooth in that quadrant or arch. Wrap around using the scanner’s recommended scanning pathway to capture occlusal, lingual, buccal and incisal data. Lingual and buccal data can be captured more easily by tipping or twisting the scanning wand around the anatomy.
STEP 5: SCAN THE OPPOSING ARCH
After the preparation arch, scan the opposing arch. Depending on how much of the preparation arch was scanned, match the opposing arch. For instance, if only a quadrant of the preparation arch was scanned, only scan that opposing quadrant. Follow the same drying and suction rules as before. The scanner pathway to capture the images stays the same.
STEP 6: BITE REGISTRATION
Place the scanner in the cheek vestibule and ask your patient to bite together in their firm natural bite. Scan from the posterior to anterior until the scanner registers the bite. If a full arch has been scanned, repeat the bite registration on the opposite quadrant in the same manner.
STEP 7: REVIEW THE SCAN
If everything has been acquired to your liking, send the case to be completed.


