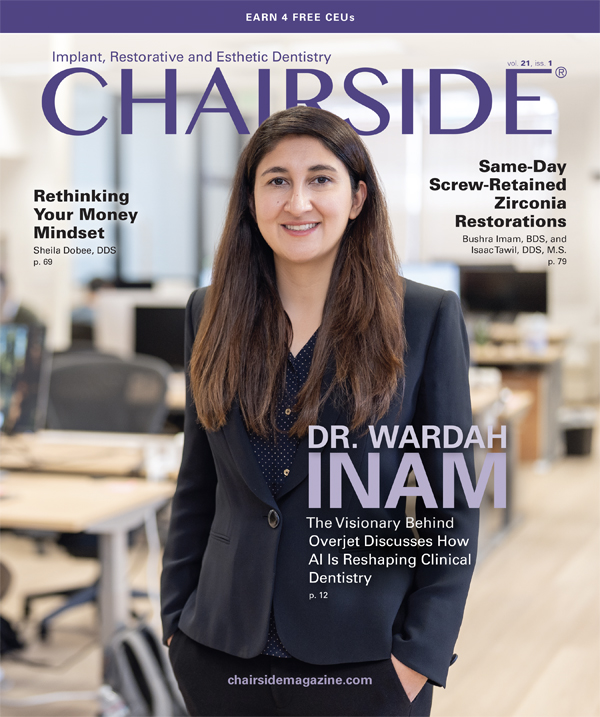
Inspired by a passion for improving lives through oral health, Glidewell Clinical Education provides contemporary, continuing education for dental professionals. Read our chief publication, Chairside® magazine, for cutting-edge clinical techniques and industry news, or take a free online CE course to expand your skillset. Listen to our “Chairside Live: Dental Insights” podcast or check out our library of over 10,000 education videos.
Dental Education

-
 Online CE CourseIntroduction to Digital Dentistry for the Dental Auxiliary
 -
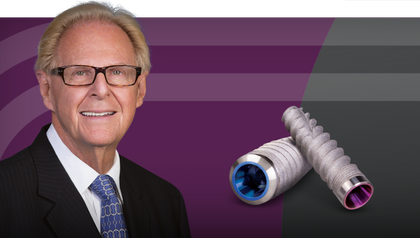
.png/_jcr_content/renditions/thumb-png-mobile-full.png) Online CE CourseImplant Treatment Planning: The Contributing Factors
Online CE CourseImplant Treatment Planning: The Contributing Factors -
 Online CE Course10 Things I Learned the Hard Way
 -
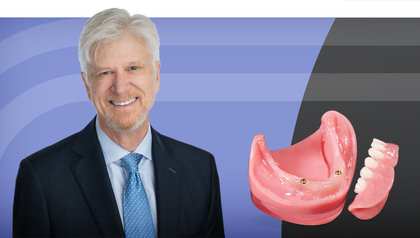 Online CE CourseRestoration of Implant Overdentures
 -
 Online CE Course11 Steps to Increase Practice Production Right Away – Part 2
 -
 Online CE CourseUsing Laboratory-Fabricated Provisionals
 -
 Online CE CourseRestoring Implants: Tissue Preparation and Impression Techniques
 -
Online CE CoursePlacing Prefabricated Provisionals
-
 Online CE CourseBite Registration and Provisional Restorations
 -
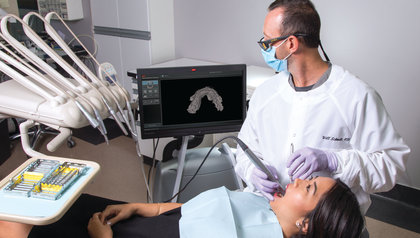
 Online CE CourseDigital Scanning for Restorative Dentistry
-
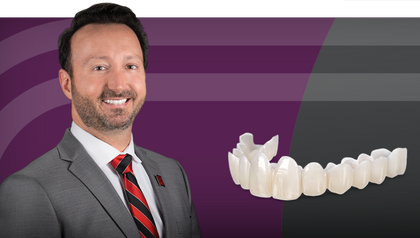
 Online CE CourseCrown & Bridge Essentials: From Preparation to Final DeliveryIn this course, Dr. Brown will review crown and bridge essentials, covering every step from tooth preparation to final delivery.
 -
 Online CE CourseRestorative Material Options for Esthetic CasesIn this practical and informative course, dental professionals will explore how to select the most appropriate restorative materials for esthetically demanding cases in both the anterior and posterior regions.
 -
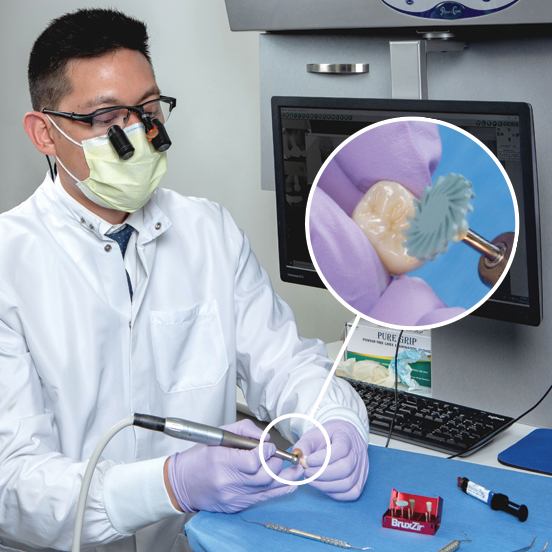
 Online CE CourseNext-Level Chairside Esthetics: Customizing Restorations with Stain, Glaze, and Finishing TechniquesIn this course, Dr. Justin Chi demonstrates how to elevate chairside restorations using advanced staining, glazing, and finishing techniques for monolithic restorations.
The best educational resource in the dental industry