It's a Small World: Reconnecting for a Great Esthetic Outcome
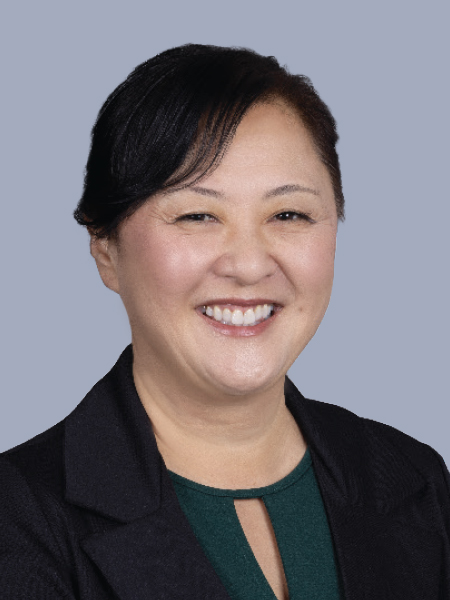
May 30, 2023
 image
Jinny Bender, DMD
Itâ  s a Small World: Reconnecting

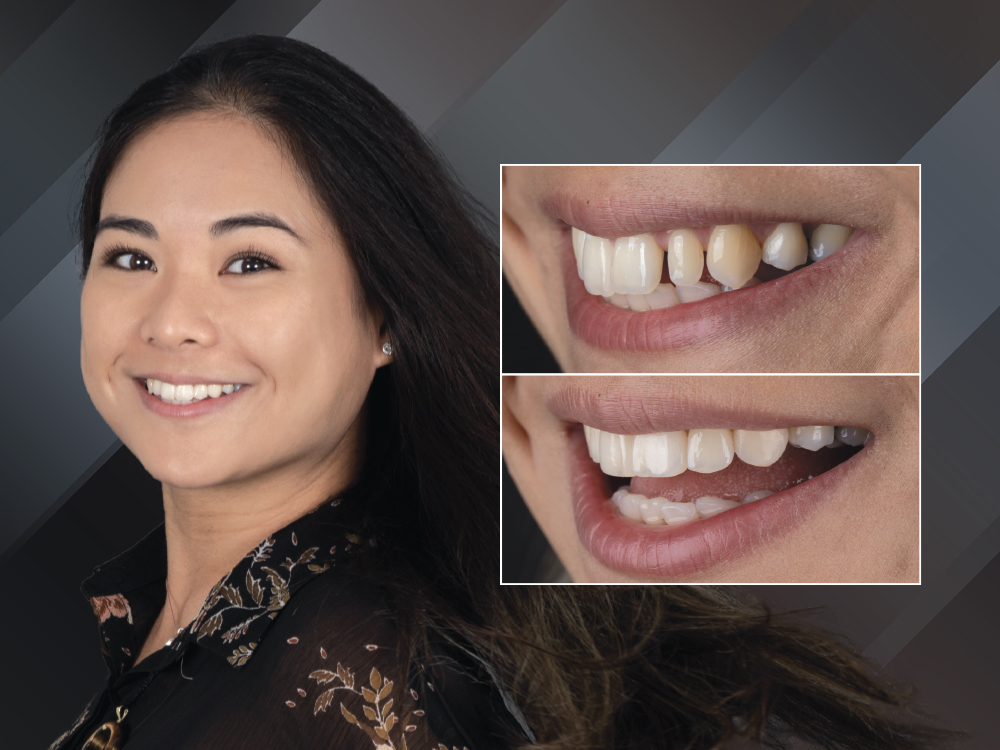
While walking toward my office one morning, I was approached by a friendly young woman who looked familiar to me. “Dr. Bender?” she asked. “I’m Justine. Remember me?” In that moment, the memories came flooding back — Justine at just 6 years old, sitting in my exam chair while proudly telling me about her visit from the tooth fairy. Now two decades later, who would have thought we would both be working at Glidewell? While we were catching up, she mentioned that she was looking for someone to improve her smile and was kind enough to share that there was no other dentist she trusted more. I was happy to take her case. Through a combination of esthetic techniques and a digital workflow, I was able to provide her with a radiant smile that surpassed her expectations.

CASE REPORT

The patient presented with irregularity and roughness of the incisal edges of her upper and lower anterior teeth, along with a peg lateral incisor. The underdeveloped appearance of tooth #10 and poor esthetics made her self-conscious about her smile. It was decided that selective cosmetic bonding and enameloplasty combined with a crown on tooth #10 would be the best treatment to create a symmetrical, beautiful smile.

Figure 1a Obsidian® All-Ceramic used for tooth #10
Figure 1b â  baby toothâ   appearance of tooth #10

Figures 1a, 1b: To fix the “baby tooth” appearance of tooth #10, I decided that Obsidian® All-Ceramic would be the most suitable material to satisfy the patient’s need for a full coverage crown with lifelike esthetics. The tooth was prepared with a 0.5 mm chamfer margin to provide enough material thickness and strength on the crown margins.

Figure 2a gaps on teeth #7â  9
Figure 2b results of the enameloplasty

Figures 2a, 2b: I used Omnichroma® bonding composite material (Tokuyama Corp.; Shunan, Japan) on teeth #7–9 to restore symmetry to the facial surfaces. Then, I performed enameloplasty on teeth #6–9 and 11 to improve the contour of the incisal edges. On the lower arch, I performed enameloplasty on teeth #22–27, contouring the teeth to a more even contour. Figure 2b shows the results of the enameloplasty and bonding along with placing the provisional crown on tooth #10.

Figure 3a intraoral digital scan
Figure 3b BioTemps® NOW

Figures 3a, 3b: I took an intraoral digital scan and then uploaded the scan to my fastdesign.io™ Software and Design Station. I received a crown proposal with just a few clicks and made only a minor adjustment to the design. Finally, I used my fastmill.io™ In-Office Mill to fabricate a BioTemps® NOW temporary crown chairside in under five minutes.

Figure 4a black triangle between tooth #9 and #10
Figure 4b healed soft tissue between tooth #9 and #10

Figures 4a, 4b: The BioTemps NOW provisional allowed the soft tissue to heal to the shape of the margin. On her next visit, she was satisfied with the appearance and fit, and I was happy to see that her soft tissue had filled in the black triangle between tooth #9 and #10.

Figure 5 A1 desired shade

Figure 5: Satisfied with the contours of the provisional crown, we determined the desired shade for the final crown to be fabricated by the laboratory. We decided on A1 because it blended well with teeth #9–11. I chose Obsidian All-Ceramic because of its natural appearance.

Figure 6 bonded cementation with 3Mâ ¢ Scotchbondâ ¢ Universal

Figure 6: Obsidian restorations can be retained with conventional cements, adhesive resin cements or self-adhesive resin cements. In this case, I chose bonded cementation because it increases the overall strength. The etched intaglio surface creates a micromechanical adhesion of cement to the tooth via a silane coupling agent. Resin cement is also very color stable, which makes it especially suitable in the esthetic zone. The tooth preparation was treated with a 37% phosphoric acid etch gel for approximately 10 seconds, followed by a water rinse for 20 seconds to avoid desiccating the tooth. I then desensitized the tooth with Gluma® (Bayer; Leverkusen, Germany) to seal dentinal tubules and to provide an antimicrobial effect while wetting the tooth to prepare for the adhesive agent. I then used 3M™ Scotchbond™ Universal (3M Corp.; St. Paul, Minnesota) for my adhesive agent.

Figure 7a NX3 Nexusâ ¢ Third Generation light-cure resin on crown
Figure 7b Tack-cure mode

Figures 7a, 7b: I used NX3 Nexus™ Third Generation light-cure resin cement (Kerr Corporation; Brea, Calif.) to bond the crown onto the prepared tooth, giving me a flexible setting time to correctly position the restoration. Tack-cure mode is recommended for predictable curing and easier removal of excess cement. Applying gentle pressure with a bite stick helps keep the crown seated in the correct position during the curing process.

Figure 8a matched shade side view
Figure 8b matched shade frontal view

Figures 8a, 8b: The results show that the lab matched the exact shade that the patient wanted. The esthetic appearance of the Obsidian crown exceeded her expectations by blending naturally with her surrounding dentition.

Figure 9 happy patient and Dr. Bender

Figure 9: I was so happy to reconnect with my former patient to deliver a brand-new smile.

CONCLUSION

This case report demonstrates how a digital chairside workflow can simplify esthetic cases. The ability to scan a patient, design a crown and mill a provisional chairside allowed me to personalize the treatment plan with greater flexibility, resulting in a beautiful outcome. Reconnecting with a former patient was an absolute joy, and I feel tremendous pride every time I see her around the Glidewell campus.