Optimizing the Cementation of Zirconia Restorations (1 CEU)

Over the past 30 years, I’ve seen incredible advancements in dental restorations and the adhesives used to cement them. The cementation techniques and protocols for these advancements, however, have remained complex.
When I began working and teaching courses at Glidewell in 2022, I realized the importance of providing clinicians with straightforward direction for the cementation of monolithic zirconia restorations. Cementing crowns, bridges, and veneers doesn’t have to be complex — and the Research & Development department at Glidewell has made the protocol easier for clinicians to carry out, whether they are prescribing a zirconia restoration from the lab or from a chairside mill.
CEMENT SELECTION
With so many categories and brands of cement on the market, it can be challenging to know which one to choose. Streamlining the decision-making process by separating them into three categories has helped me identify which types to use: conventional resin modified glass-ionomer (RMGI), adhesive resin and self-adhesive resin.
Conventional RMGI Cement: Relies on mechanical retention and requires fewer chairside steps.
Adhesive Resin Cement: Provides the strongest retention but is also technique-sensitive because it requires a separate coupling agent for chemical bonding.
Self-Adhesive Resin Cement: Strikes a balance between the RMGI and adhesive cements because it offers extra strength without the additional steps of etching, priming and bonding.
Having a universal, easy-to-use cement for a wide range of restorative needs can greatly simplify delivery. I often had several types of cement in my operatory. After teaching courses on cementation and bonding protocols here at Glidewell, I noticed that other clinicians were also looking for a single cement they could use on a more consistent basis.
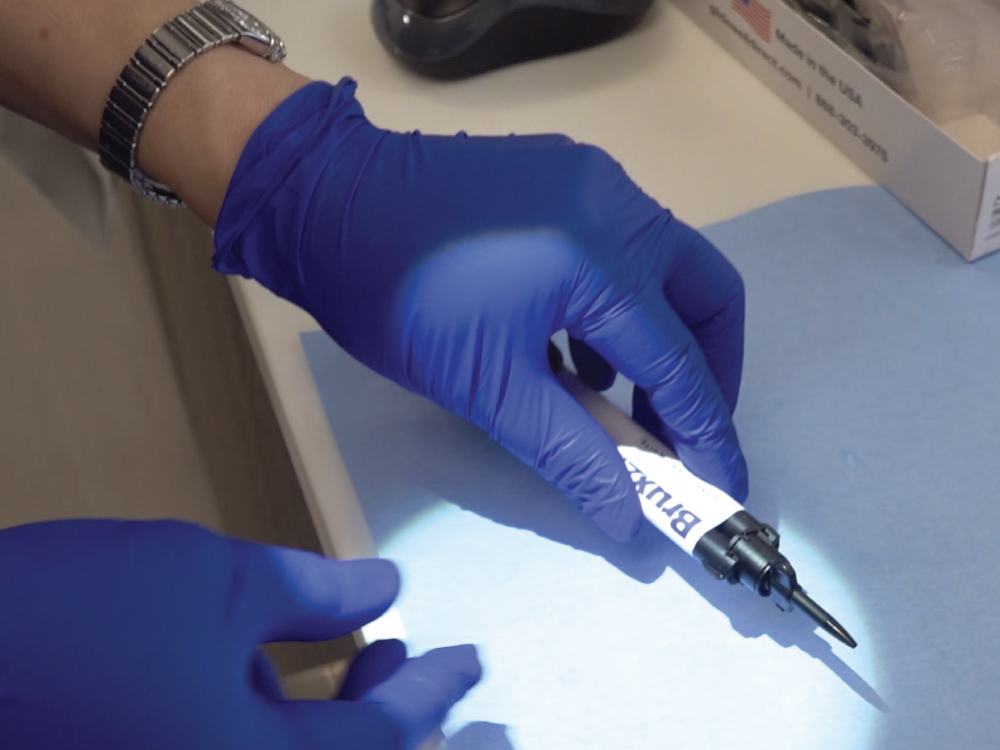
The Glidewell R&D team addressed that clinical need, releasing the BruxZir™ Dual Cure Resin Cement (available at Glidewell Direct). It is a self-adhesive resin cement that can bond to the tooth and restoration without requiring acid-etching or additional primers — all while achieving a high-strength bond. I personally have seen great success with it and use it at every opportunity, including my in-office cases with BruxZir® NOW, BruxZir Esthetic NOW and CAMouflage® NOW crowns & bridges. It’s not just for zirconia restorations. In some cases, I’ve even used this cement for single-unit lithium disilicate restorations. Despite this being a dual cure cement, Glidewell recommends light-curing for 20 seconds on each surface. Without light, it sets within 90 seconds.
AIR-ABRASION
To optimize the bond, all zirconia restorations must be air-abraded before placement. This enhances the micro-mechanical properties of the intaglio surfaces, increasing the surface area for cement and improving the quality of the bond. While all BruxZir Zirconia restorations from Glidewell are air-abraded at the lab, not all labs complete this step for you. Similarly, if you’re using an in-office mill, these restorations should be air-abraded. BruxZir Full-Strength is roughened by blasting with 50 micron aluminum oxide for 15 seconds. For BruxZir Esthetic, use 30 micron 3M™ CoJet™ at 2bar/30 psi for 15 seconds.
SIMPLIFIED ZIRCONIA CEMENTATION TECHNIQUE
I prefer to use the BruxZir Dual Cure Resin Cement because it is versatile, color stable and efficient — all aspects I look for when simplifying my day-today operatory appointments. It also eliminates several steps in the bonding protocol, which saves money, chair time and needless frustration. Now, cementing zirconia takes only four steps.
Cementing Zirconia with BruxZir Dual Cure Resin Cement
- Air-abrade (check lab)
- Try-in
- Clean restoration
- Cement
Cementing zirconia can now be accomplished in just four easy steps.
When utilizing Glidewell as your lab of choice for zirconia restorations, you can skip step one, as all BruxZir Zirconia restorations are air-abraded for you at the lab. As with any restoration, proper cleaning after try-in is still required to fully decontaminate the restoration and remove salivary phosphates. Glidewell recommends the following cleaning procedure for zirconia restorations: Apply a universal cleaning paste such as Ivoclean® (Ivoclar Vivadent; Amherst, N.Y.) or 5% Sodium Hypochlorite (NaCIO) to the internal surface for 20 seconds. Do not clean with phosphoric acid.
After cleaning, apply the BruxZir Dual Cure Resin Cement directly to the internal surface of the restoration. I tack cure for one to two seconds on the buccal and lingual surfaces to achieve a gel-like state for easy removal. Once the gross cement and fine cement are removed, a final 20 seconds of light curing is recommended. Self-curing is also acceptable, and the initial setting takes approximately 90 seconds. Ensure all excess cement is removed.
CASE EXAMPLE
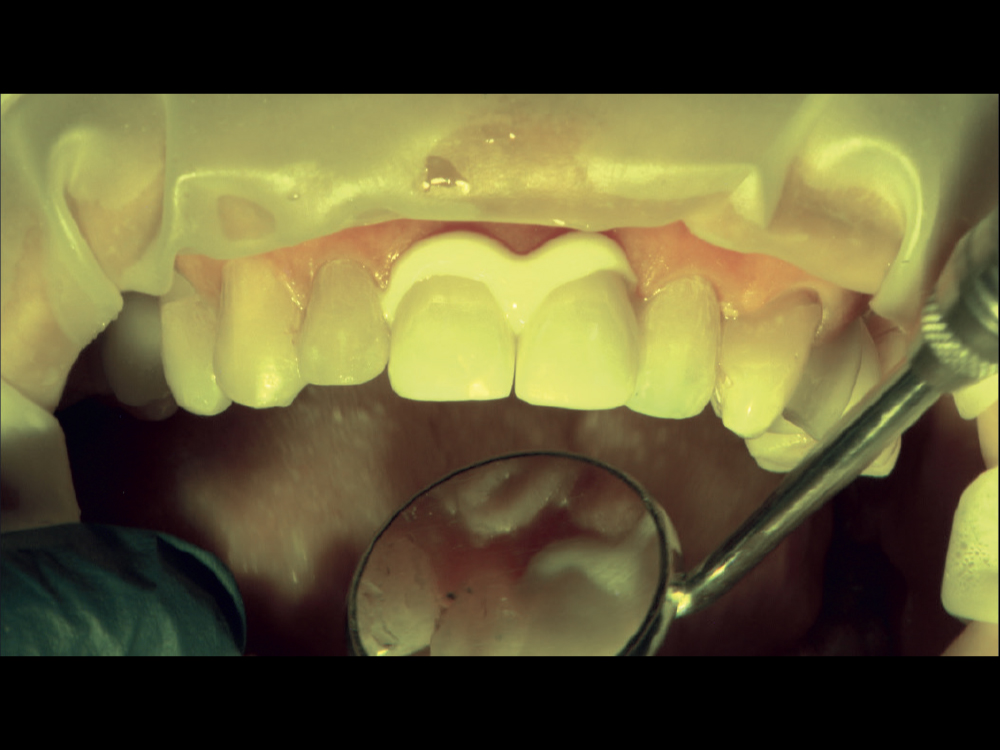
Cementing crowns in the anterior can be intimidating no matter what restorative material or cement you’re using. When a patient came to me requesting two new crowns on teeth #8 and #9, I knew I had to utilize a reliable cementation protocol to get it right on the first try.
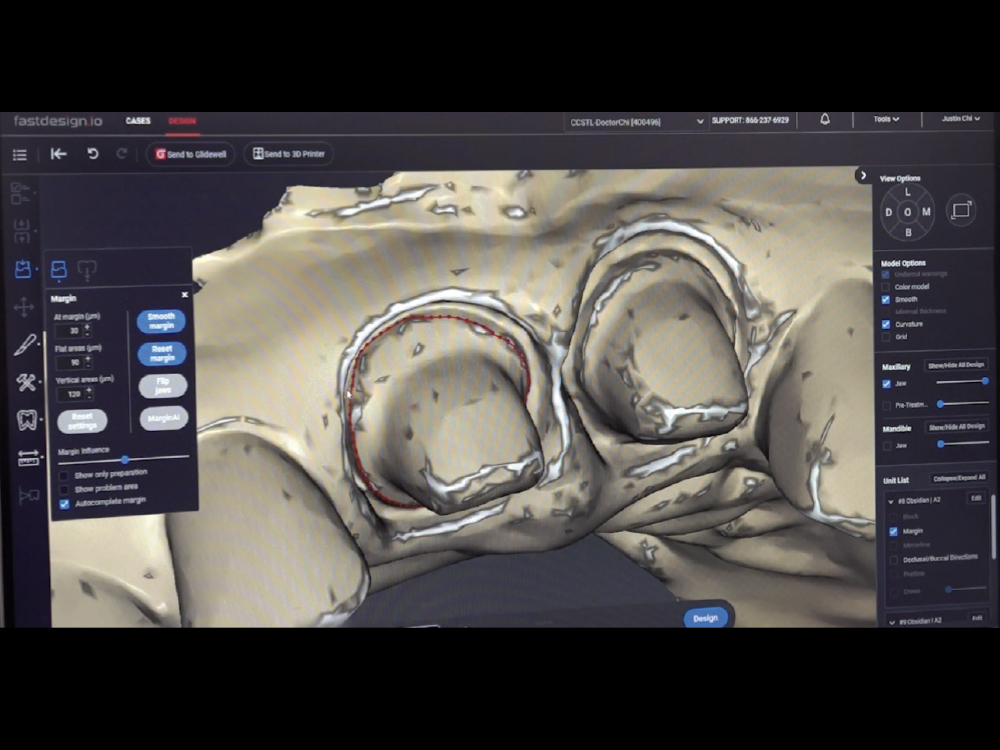
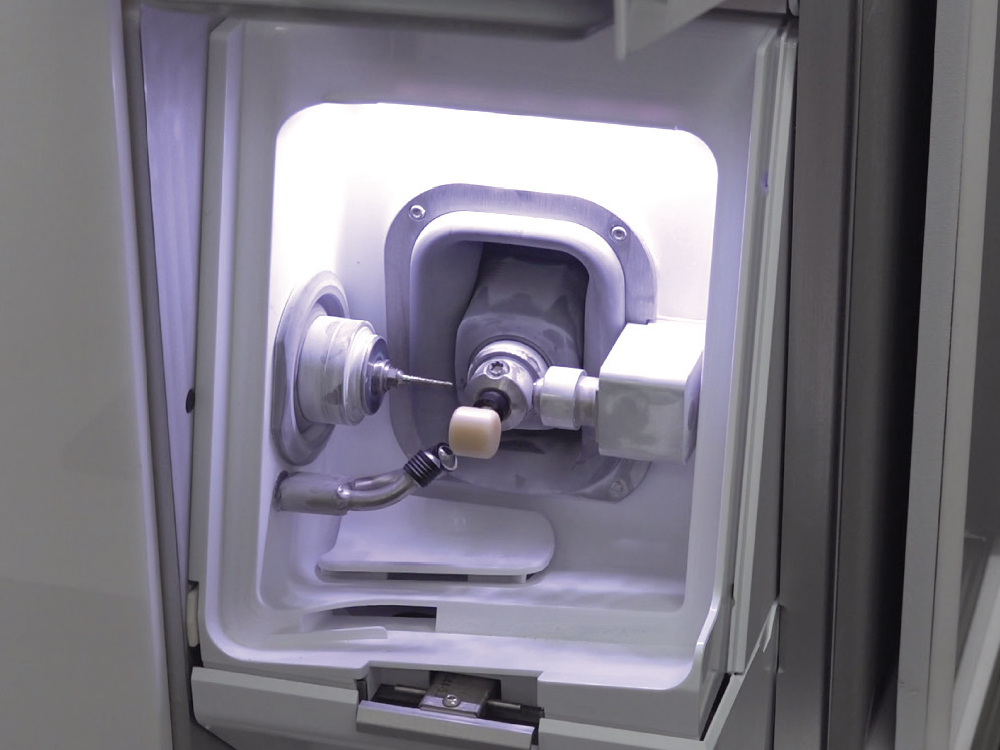
I used the glidewell.io™ In-Office Solution to scan, design and mill BioTemps® Provisionals for the patient while Glidewell fabricated BruxZir Esthetic crowns at the lab.
Preparations for zirconia cases with an axial height greater than 3 mm with minimal taper are considered retentive, which allows for reliable cementation. When the BruxZir Esthetic crowns arrived, I followed the zirconia cementation protocol outlined in this article: check that the lab air-abraded the restoration, try in the crowns, clean them, and cement them. I light cured each side of the restorations for 20 seconds. Before the cementation process was complete, the excess cement was in a rubbery state and was easy to remove in one piece. It is important to remove the cement at this stage before it hardens.
The patient was thrilled with the final result and felt more confident about his smile.
CONCLUSION
With a simplified protocol and a more universal cement, like the BruxZir Dual Cure Resin Cement, zirconia cementation has never been easier. At the end of the day, it’s not only about making it easier on ourselves. It’s about making it easier on our patients and giving them a beautiful zirconia restoration that makes them smile with confidence.
All third-party trademarks are property of their respective owners.


